Comments / Questions (42)
![]() Pirkko Tolvanen wrote:
Pirkko Tolvanen wrote:
Olen neulonut elämäni aikana melko paljon mutta yhä vain askarruttaa yksi juttu. Kun neulon tasona, niin vasemman puolen (neule oikein päin itseeni) reunasilmukka jää aina löysemmälle kuin oikean puolen. Kun reunasta otetaan silmukoita esim. hihaa varten, niin eron huomaa selvästi. Mikä neuvoksi? Kiitoksin Pirkko
03.10.2023 - 10:56DROPS Design answered:
Hei, tämä tapahtuu usein, kun neulotaan työn nurjan puolen kerroksen ensimmäisiä silmukoita. Voit kiristää lankaa hieman tavallista enemmän aina kun neulot vasemman puolen ensimmäisen silmukan. Kokeile myös neuloa reunoissa 1 reunasilmukka ainaoikeaa.
23.10.2023 - 17:52
![]() France Langlois wrote:
France Langlois wrote:
Bonjour, Lorsqu'on rabat les mailles restantes pour l'épaule, combien reste t'il de mailles pour la grandeur M. Le patron ne fournit pas cette information.
06.03.2023 - 01:29DROPS Design answered:
Bonjour Mme Langlois, il reste 19 mailles pour l'épaule (cf DOS: ... Au rang suivant sur l'endroit, diminuer 2 mailles côté encolure – ne pas oublier DIMINUTIONS-2 = 18-19-20-20-21-22 mailles pour l'épaule.. Bon tricot!
06.03.2023 - 10:38
![]() France Langlois wrote:
France Langlois wrote:
Bonjour, Diminutions pour les manches (A2 et A3)au début de chaque rang seulement ou à la fin aussi (autrement dit sur le même rang)? De plus, entre quelle maille doit-on faire un jeté sur l'envers après ces diminutions? Merci de votre aide.
03.03.2023 - 16:38DROPS Design answered:
Bonjour Mme Langlois, les diminutions de A.2 et A.3 sont pour les emmanchures (elle ne sont pas faites pour les manches). Sur l'endroit, lisez les diagrammes de droite à gauche et sur l'envers, de gauche à droite, autrement dit, le jeté de A.2 se fait après 1 m env de A.2 et le jeté de A.3 se fait avant la m envers de A.3. Bon tricot!
06.03.2023 - 08:49
![]() Sylviane Eusebe wrote:
Sylviane Eusebe wrote:
J'ai adoré faire ce pull pour ma maman et la laine super agréable mais une fois lavé je trouve que le bas c'est détendu comment faire pour éviter cela merci de votre réponse
18.02.2023 - 08:59
![]() Sylviane Eusebe wrote:
Sylviane Eusebe wrote:
Bonjour je suis sur le devant avec au départ 26 mailles il faut diminuer 2 mailles côté encolure et 3 fois diminution 2 côté épaule ce qui fait au total 8 mailles et je dois au final me retrouver avec 20 mailles et donc là impossible merci de votre aide
21.11.2022 - 17:21DROPS Design answered:
Bonjour Mme Eusebe, si vous avez 26 mailles après avoir mis en attente les mailles pour l'encolure, vous allez diminuer 2 mailles 3 fois au total soit 6 mailles au total; 26-6= il reste 20 mailles. Bon tricot!
22.11.2022 - 10:27
![]() Pia wrote:
Pia wrote:
Kan man udskiftes til garn Puna og følge opskriften med samme pind? Kom til at skrive forkert forrige sendt spørgsmål
14.10.2022 - 09:32
![]() Pia wrote:
Pia wrote:
Kan man udskiftes til garnet Puna og bruge samme pind iflg denne opskrift?
14.10.2022 - 09:28DROPS Design answered:
Hei Pia. Du kan bytte DROPS Soft-Tweed med DROPS Puna i denne oppskriften. Begge kvalitetene tilhører samme garngruppe (B), men DROPS Puna har en litt kortere løpelengde, så du trenger litt mer garn. Bruk vår garnkalkulator til å finne ut hvor mye i den størrelsen du vil strikke. Og husk å dobbeltsjekke at du får samme strikkefasthet med 1 tråd Puna + 1 tråd Kid-Silk som er oppgitt i oppskriften . mvh DROP Design
24.10.2022 - 09:45
![]() Kerstin wrote:
Kerstin wrote:
Hej Drops Design! Jag har precis stickat färdigt den här fina tröjan, men till min stora förvåning har jag kvar nästan 150 gram Soft Tweed och 35 gram Kid Silk. Alltså 3 hela nystan. Virkade Winter Sunshine for en tid sedan och fick även då en massa hela nystan över. Måste tillägga att tröjorna passar mej. Hur kommer det sig att det har blivit så här tokigt? Känns ju bättre att handla "på stan" då kan jag lämna tillbaka nystan. Vänligen Kerstin W
11.05.2022 - 10:37
![]() Joëlle wrote:
Joëlle wrote:
Bonjour’ malgré les explications données sur les diminutions avec les diagrammes je ne comprends toujours pas. D’un côté vous-même dites que toutes les diminutions se font sur l’endroit puis sur le diagramme vous indiquez 3 mailles ensemble à l’envers ? Auriez vous une petite vidéo SVP ? Merci pour votre patience
14.02.2022 - 14:12DROPS Design answered:
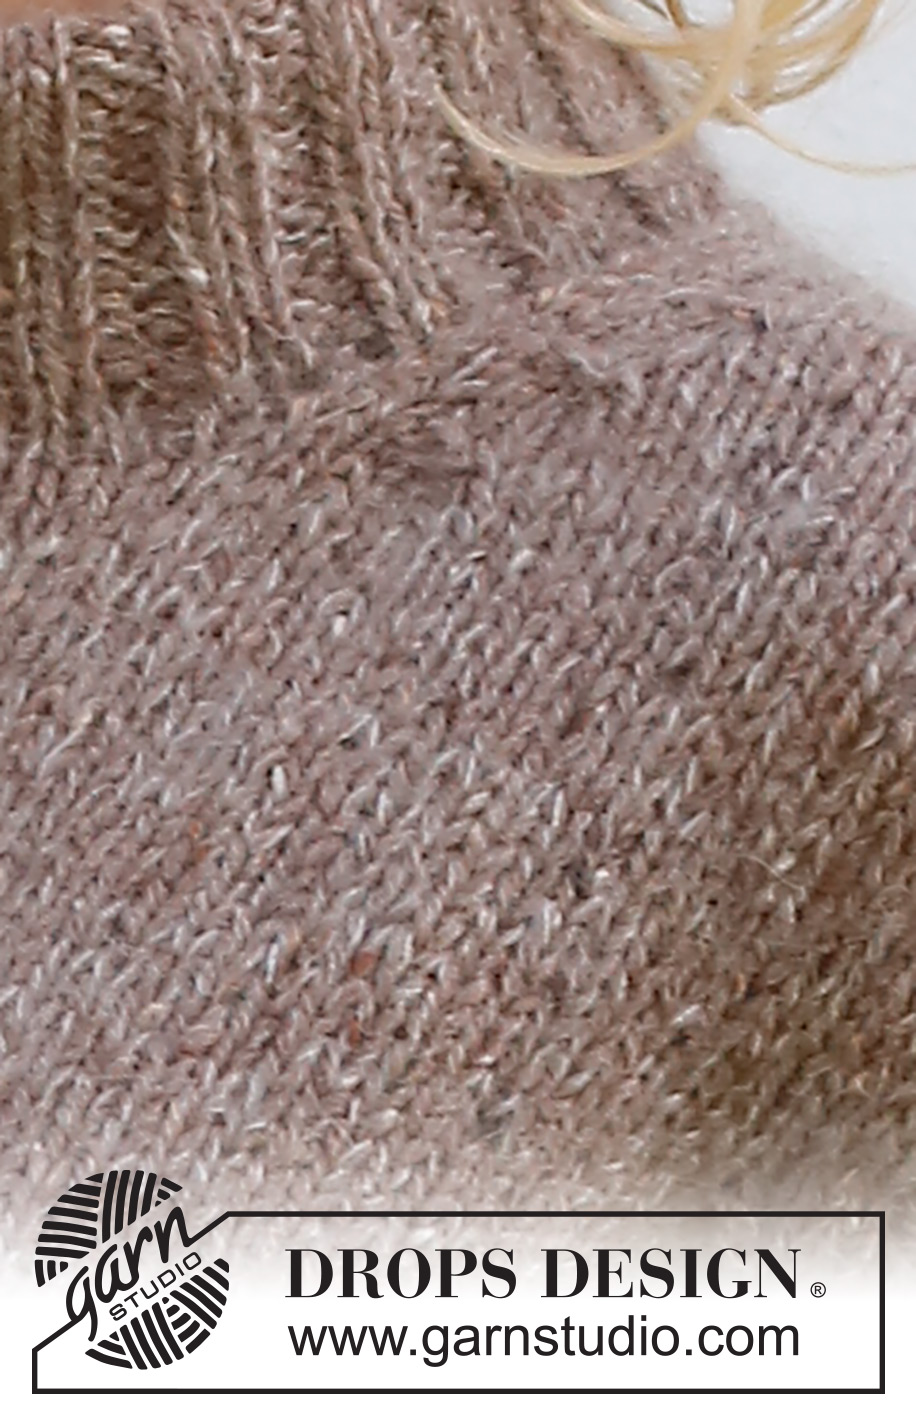
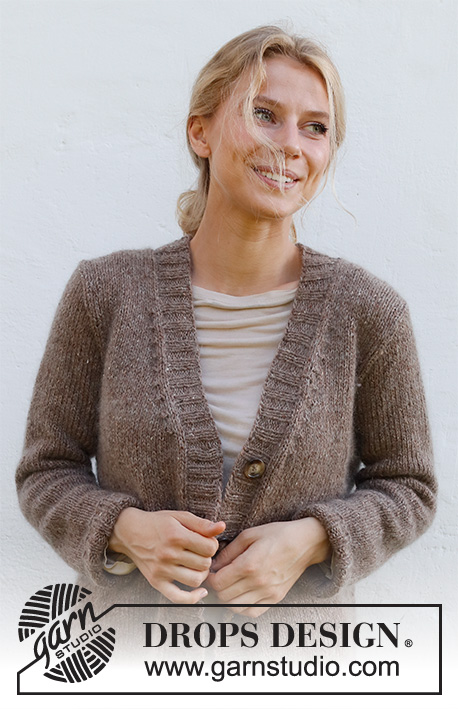
Bonjour Joëlle, c'est exact, les diminutions doivent être visibles, si vous regardez la dernière photo en haut, alors vous pourrez les voir sur l'épaule gauche; sur l'endroit, on va tricoter 3 mailles ensemble à l'endroit dans A.1, A.2 et A.3. Bon tricot!
14.02.2022 - 15:28
![]() Bo wrote:
Bo wrote:
About decrease tip-2 (for the armholes): it says to decrease according to A1, meaning you purl 3 together, but you should do so on the right side (where all stitches are knitted rather than purled). Shouldn't I knit (rather than purl) 3 together? Or do I misunderstand?
12.02.2022 - 15:50DROPS Design answered:
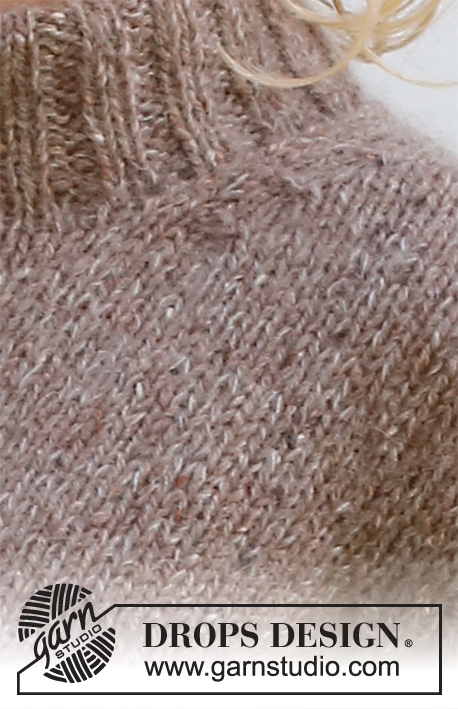
Dear Bo, you will P3 together in A.1 (and in A.2/A.3) from right side, just as shown in the diagrams so that the decreases will be visible - look at the last picture above, you will be able to see that "P3 tog" towards neckline. Happy knitting!
14.02.2022 - 09:38
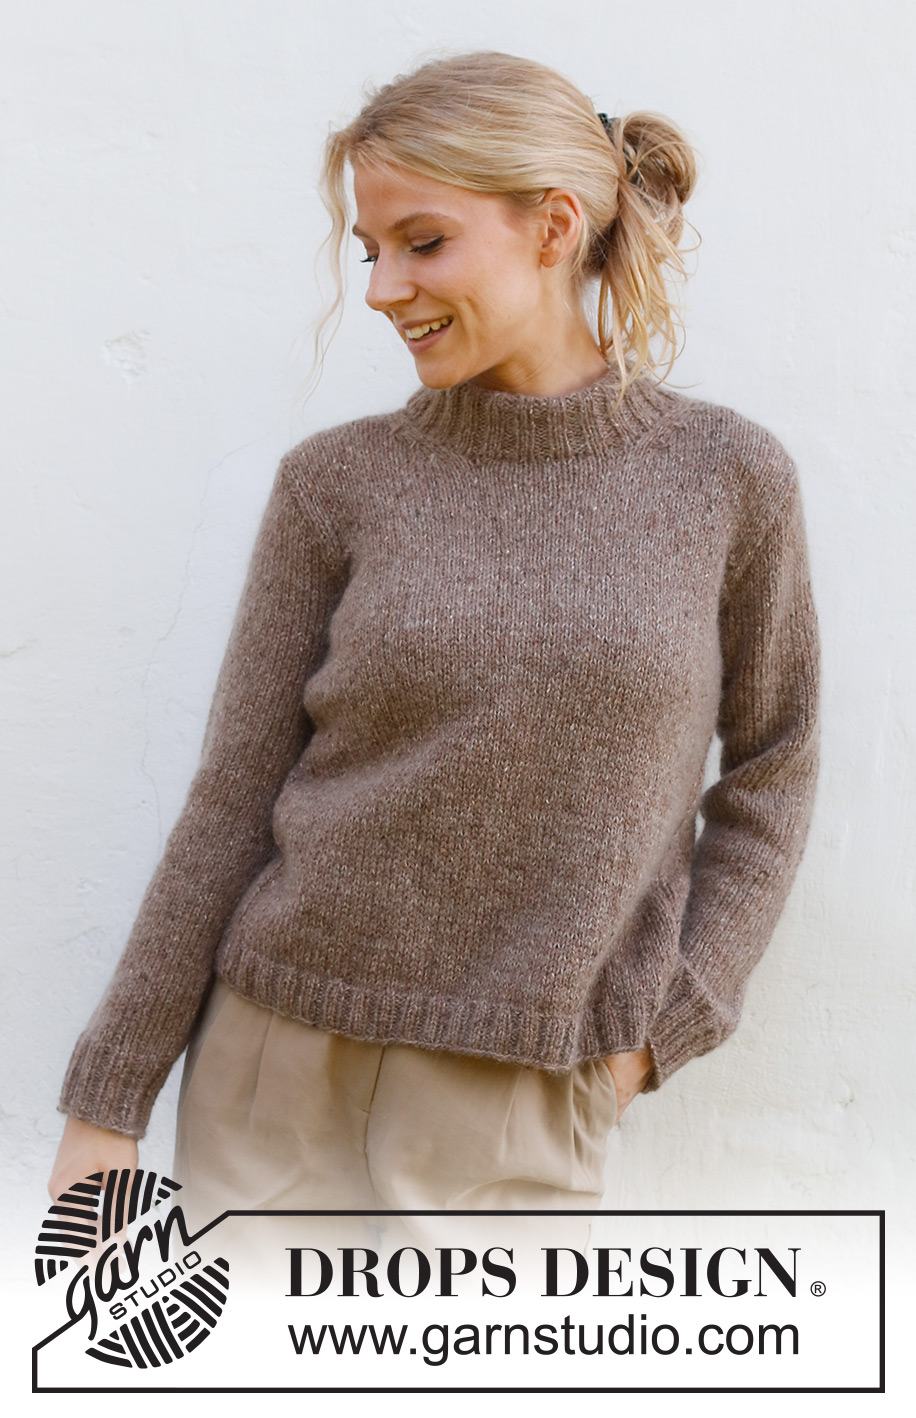
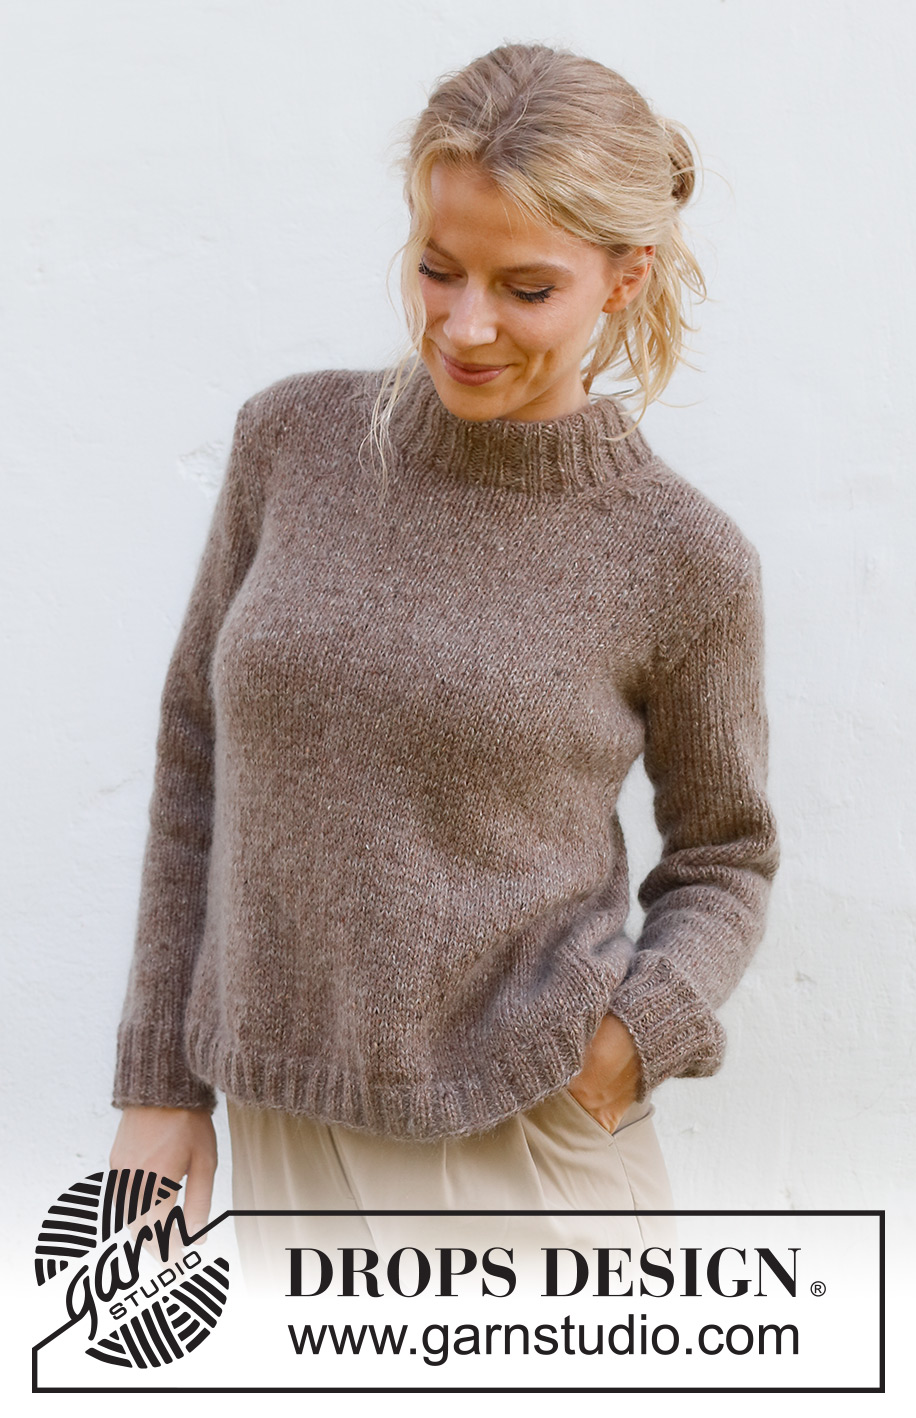
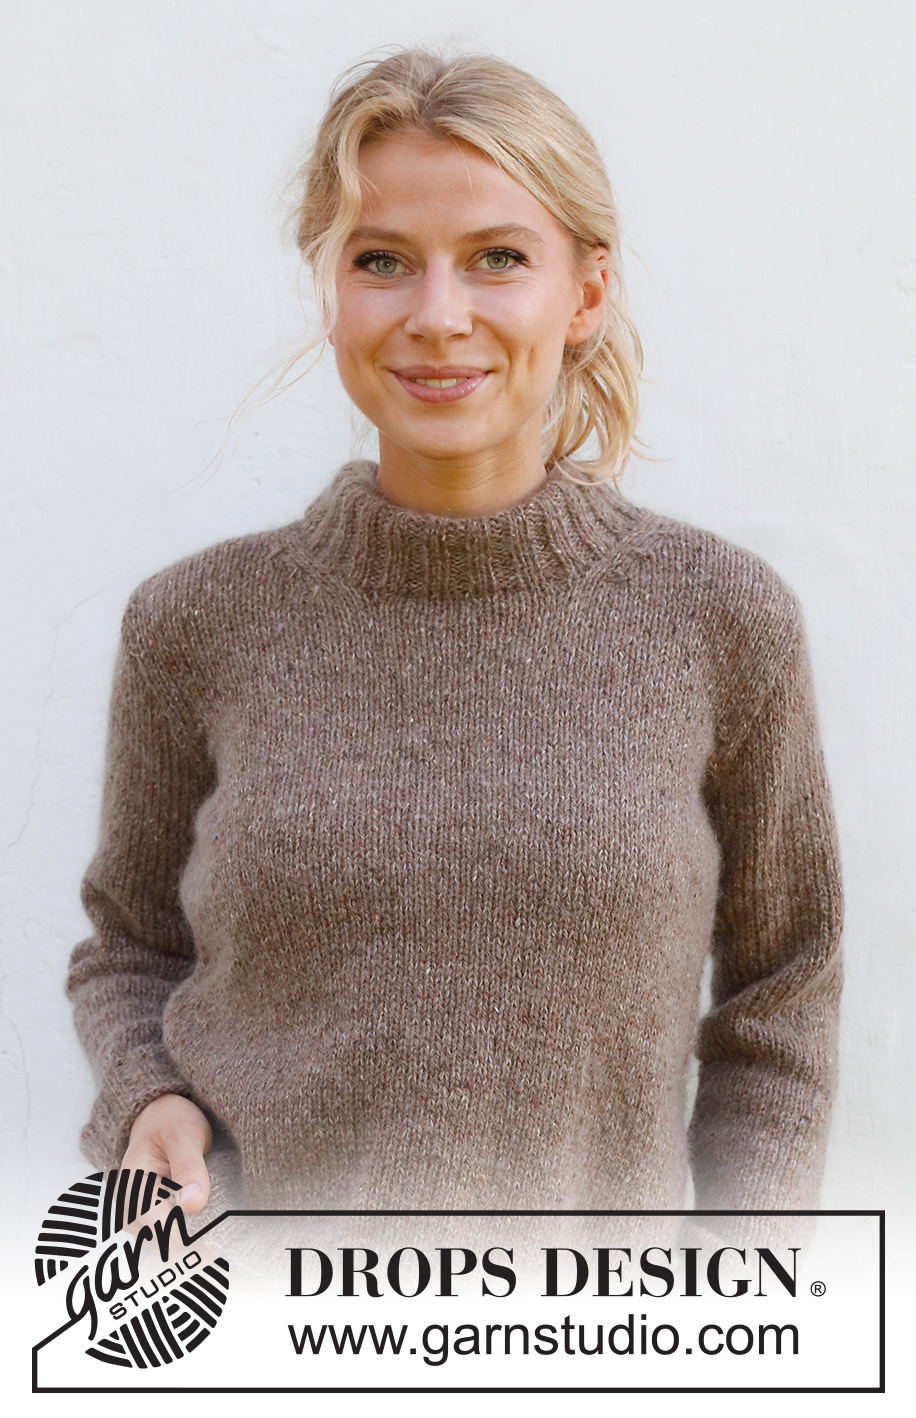
Walk with Nature#walkwithnaturesweater |
||||||||||
 |
 |
|||||||||
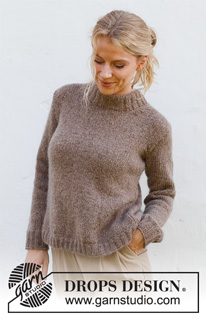
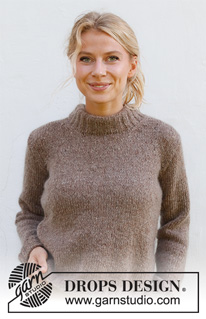
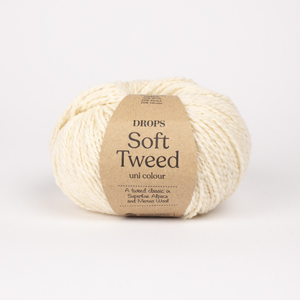
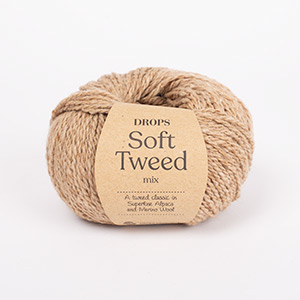
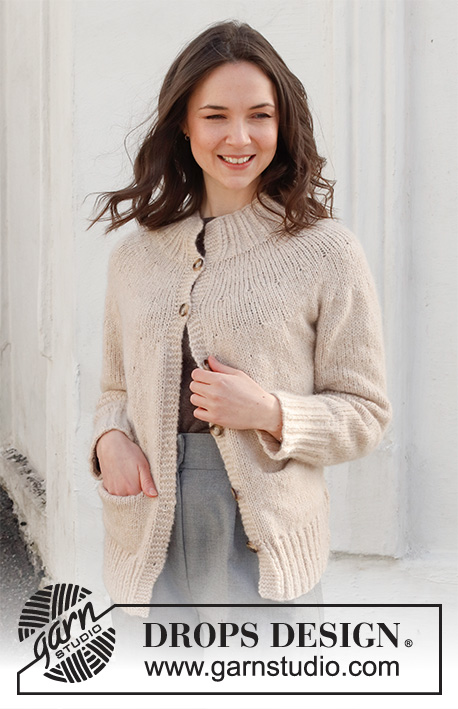
Knitted jumper in DROPS Soft Tweed and DROPS Kid-Silk. The piece is worked with double neck and ribbed edges. Sizes S - XXXL.
DROPS 227-46 |
||||||||||
|
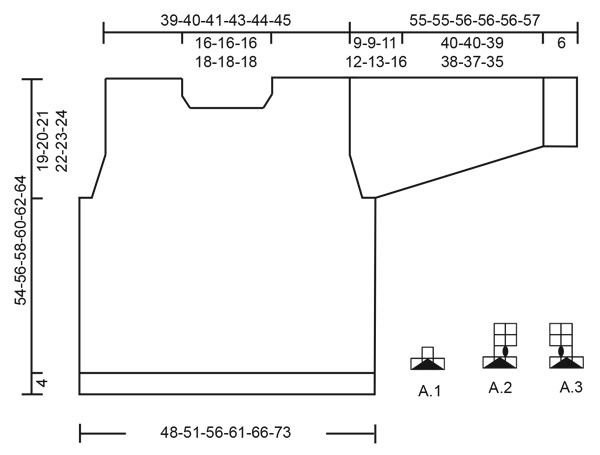
------------------------------------------------------- EXPLANATIONS FOR THE PATTERN: ------------------------------------------------------- RIDGE/GARTER STITCH (worked back and forth): Knit all rows. 1 ridge = knit 2 rows PATTERN (for decreases to armholes and neck – read DECREASE TIP-2): See diagrams A.1 to A.3. The diagrams show all rows in the pattern from the right side. DECREASE TIP-1 (evenly spaced): To work out how to decrease evenly, count the total number of stitches on needle (e.g. 184 stitches) and divide by number of decreases to be made (e.g. 32) = 5.8. In this example decrease by knitting together approx. each 5th and 6th stitch. DECREASE TIP-2 (armholes and neck): All decreases are worked from the right side! DECREASE 2 STITCHES AT THE BEGINNING OF THE ROW: Work 1 edge stitch in garter stitch, 2 stitches in stocking stitch, A.1 over the next 3 stitches (= 2 stitches decreased). DECREASE 2 STITCHES AT THE END OF THE ROW: Work until there are 6 stitches left, A.1 over the next 3 stitches (= 2 stitches decreased), 2 stitches in stocking stitch,1 edge stitch in garter stitch. DECREASE 1 STITCH AT THE BEGINNING OF THE ROW: Work 1 edge stitch in garter stitch, 2 stitches in stocking stitch, A.2 over the next 3 stitches (= 1 stitch decreased). DECREASE 1 STITCH AT THE END OF THE ROW: Work until there are 6 stitches left, A.3 over the next 3 stitches (= 1 stitch decreased), 2 stitches in stocking stitch,1 edge stitch in garter stitch. INCREASE TIP (sleeves): Work until there are 2 stitches left before the marker thread, 1 yarn over, knit 4 (marker thread sits between these 4 stitches), 1 yarn over (2 stitches increased). On the next round knit the yarn overs twisted to avoid holes. Then work the new stitches in stocking stitch. CASTING-OFF TIP: To avoid the cast-off edge being tight you can cast off with a larger size needle. If the edge is still tight, make 1 yarn over after approx. each 5th stitch at the same time as casting off; the yarn overs are cast off as normal stitches. ------------------------------------------------------- START THE PIECE HERE: ------------------------------------------------------- JUMPER – SHORT OVERVIEW OF THE PIECE: The piece is worked in the round with circular needle bottom up as far as the armholes, then the front and back pieces are finished separately, back and forth. The sleeves are worked in the round with double pointed needles/short circular needle, bottom up as far as the sleeve cap, then finished back and forth. The piece is sewn together and the neck is worked to finish. BODY: Cast on 184-196-216-236-256-280 stitches with circular needle size 4 mm and 1 strand of each quality (= 2 strands). Knit 1 round, then work rib in the round (knit 2, purl 2) for 4 cm. Knit 1 round where you decrease 32-32-36-40-44-48 stitches evenly spaced – read DECREASE TIP-1 = 152-164-180-196-212-232 stitches. Insert 1 marker at the beginning of the round and 1 marker after 76-82-90-98-106-116 stitches (= sides). Allow the markers to follow your work onwards – they are used when casting off for the armholes. Change to circular needle size 5 mm and continue with stocking stitch. REMEMBER THE KNITTING TENSION! When the piece measures 35-36-37-38-39-40 cm, cast off for the armholes as follows: Start 3-3-4-4-5-6 stitches before the marker, cast off 6-6-8-8-10-12 stitches, work 70-76-82-90-96-104 stitches, cast off 6-6-8-8-10-12 stitches (3-3-4-4-5-6 stitches on each side of the marker) and work the remaining 70-76-82-90-96-104 stitches. Back and front pieces are finished separately. BACK PIECE: = 70-76-82-90-96-104 stitches. Start from the wrong side and work stocking stitch back and forth with 1 edge stitch in GARTER STITCH on each side – read description above. AT THE SAME TIME on the next row from the right side decrease for the armholes as described below – read DECREASE TIP-2: Decrease 2 stitches on each side every 4th row a total of 1-3-4-5-6-8 times. Then decrease 1 stitch on each side every 4th row 2-0-0-1-1-0 times = 62-64-66-68-70-72 stitches. When the piece measures 52-54-56-58-60-62 cm, cast off the middle 22-22-22-24-24-24 stitches for the neck and each shoulder is finished separately. On the next row from the right side decrease 2 stitches by the neck – remember DECREASE TIP-2 = 18-19-20-20-21-22 stitches on the shoulder. Continue working until the piece measures 54-56-58-60-62-64 cm (19-20-21-22-23-24 cm from the bottom of the armholes). Cast off with knit. Work the other shoulder in the same way. FRONT PIECE: = 70-76-82-90-96-104 stitches. Start from the wrong side and work stocking stitch back and forth with 1 edge stitch in garter stitch on each side. AT THE SAME TIME on the next row from the right side decrease for the armholes as described below – remember DECREASE TIP-2: Decrease 2 stitches on each side every 4th row a total of 1-3-4-5-6-8 times. Then decrease 1 stitch on each side every 4th row 2-0-0-1-1-0 times = 62-64-66-68-70-72 stitches. When the piece measures 46-48-49-51-52-54 cm, place the middle 14-14-14-16-16-16 stitches on a thread for the neck and each shoulder is finished separately. On the next row from the right side decrease 2 stitches by the neck – remember DECREASE TIP-2. Decrease like this every 4th row a total of 3 times = 18-19-20-20-21-22 stitches on the shoulder. Continue working until the piece measures 54-56-58-60-62-64 cm (19-20-21-22-23-24 cm from the bottom of the armholes). Cast off with knit. Work the other shoulder in the same way. SLEEVES: Cast on 44-48-48-52-52-56 stitches with double pointed needles size 4 mm and 1 strand of each quality (= 2 strands). Knit 1 round, then work rib in the round (knit 2, purl 2) for 6 cm. Knit 1 round where you decrease 6-8-6-8-8-10 stitches evenly spaced = 38-40-42-44-44-46 stitches. Insert 1 marker thread at the beginning of the round (= mid-under sleeve). Allow the thread to follow your work onwards – it is used when increasing. Change to double pointed needles size 5 mm and work stocking stitch in the round until sleeve measures 9-8-10-10-10-7 cm. Now increase 1 stitch on each side of the marker thread – read INCREASE TIP. Increase like this every 5-4½-3½-3-2½-2½ cm a total of 8-9-10-11-13-14 times = 54-58-62-66-70-74 stitches. When the sleeve measures 46-46-45-44-43-41 cm, work as follows: Start 3-3-4-4-5-6 stitches before the marker thread, cast off 6-6-8-8-10-12 stitches and work to the end of the round = 48-52-54-58-60-62 stitches. Starting from the wrong side, work stocking stitch back and forth for the sleeve cap. AT THE SAME TIME cast off at the beginning of each row as follows: 2 stitches 1-1-2-2-2-3 times and 1 stitch 4-4-5-5-6-7 times on each side. Then 2 stitches at the beginning of each row on each side until the piece measures 54-54-55-55-55-56 cm. Then 3 stitches at the beginning of the next 2 rows. Cast off the remaining stitches. The sleeve measures approx. 55-55-56-56-56-57 cm. Work the other sleeve in the same way. ASSEMBLY: Sew the shoulder seams inside the cast-off edge. Sew in the sleeves, inside the 1 edge stitch on the armholes. DOUBLE NECK: Start at one shoulder seam and knit up 76 to 88 stitches around the neck (including the stitches from the thread) with short circular needle size 4 mm and 1 strand of each quality – the number of stitches should be divisible by 4. Work rib in the round (knit 2, purl 2) for 7-7-7-8-8-8 cm. Now increase all purl-2 to purl-3 = 95 to 110 stitches. Continue the new rib until the neck measures 10-10-10-11-11-11 cm. Cast off with knit over knit and purl over purl – read CASTING-OFF TIP! Fold the neck double to the inside and sew down. To avoid the neck being tight and rolling outwards, it is important that the seam is elastic. |
||||||||||
Diagram explanations |
||||||||||
|
||||||||||
 |
||||||||||
Have you finished this pattern?Tag your pictures with #dropspattern #walkwithnaturesweater or submit them to the #dropsfan gallery. Do you need help with this pattern?You'll find 30 tutorial videos, a Comments/Questions area and more by visiting the pattern on garnstudio.com. © 1982-2025 DROPS Design A/S. We reserve all rights. This document, including all its sub-sections, has copyrights. Read more about what you can do with our patterns at the bottom of each pattern on our site. |
||||||||||










Post a comment to pattern DROPS 227-46
We would love to hear what you have to say about this pattern!
If you want to leave a question, please make sure you select the correct category in the form below, to speed up the answering process. Required fields are marked *.