
Looking for a yarn?


Comments / Questions (5)
![]() Kant På Mönster 257-25 wrote:
Kant På Mönster 257-25 wrote:
Jag förstår inte hur man virkar kanterna. Finns det någon video som förklarar?
17.09.2025 - 10:51DROPS Design answered:
Hei. Har dessverre ingen video på denne kanten, men vi har skrevet opp ditt video ønske og håper vi kan få laget det snart. mvh DROPS Design
06.10.2025 - 09:07
![]() Ewa Ebbesson wrote:
Ewa Ebbesson wrote:
Jag får inte ihop hur det kan bli 275 maskor i M efter raglan ökningarna. 99,8,8,8,8,8 =139 m 139,8,8,8,8,8 = 179 m 179,4,4,4,4,4,4,4,4=211m Då ska alla ökningar vara klara och det skulle vara 275 maskor, men det är det ju inte så måste vara något ni inte har förklarat i mönstret
19.03.2025 - 13:39DROPS Design answered:
Hej Ewa. När du har 179 maskor så ska du sticka som förklarat i varv 1-4 och du stickar dessa 4 varv totalt 8 gånger. På varv 2 ökas det 8 maskor och på varv 4 ökas det 4 maskor. Dvs på dessa 4 varv ökas det 12 maskor, 12 maskor x 8 gånger = 96 maskor. 179+96= 275 m. Mvh DROPS Design
21.03.2025 - 11:33
![]() Sabine wrote:
Sabine wrote:
Bonjour, Je fais la M de ce modèle, j'ai monté 99 mailles, mais pour l'encolure je n'arrive pas au même résultat que vous pour les rangs raccourci , il ne me reste pas 3 mailles à la fin du rang 9 mais bien plus. Je dois faire 3 rangs raccourcis supplémentaire pour arriver aux 3 mailles de fin de rang. J'ai donc 163 mailles à la fin de l'encolure au lieu de 139. Où est l'erreur svp ?
17.03.2025 - 22:19DROPS Design answered:
Bonjour Sabine, vous devez augmenter pour le raglan à chaque rang sur l'endroit soit 4 fois 8 mailles = 32 + les 99 mailles montées = 131 + les 8 mailles augmentées au 9ème rang = 139 mailles. À la fin du 9ème rang, vous tricotez simplement toutes les mailles jusqu'à ce qu'il reste 3 mailles avant la fin du rang et vous tricotez ces 3 mailles comme dans A.1. Au rang suivant = sur l'envers, vous tricotez A.1 au début et à la fin du rang ainsi, vous avez maintenant A.1 de chaque côté. Bon tricot!
18.03.2025 - 10:12
![]() Ineke Berg wrote:
Ineke Berg wrote:
Sierlijk vestje.
07.03.2025 - 23:46
![]() Kyoungmi wrote:
Kyoungmi wrote:
Hi nice to meet you
25.02.2025 - 03:18
|
||||||||||||||||||||||||||||||||||
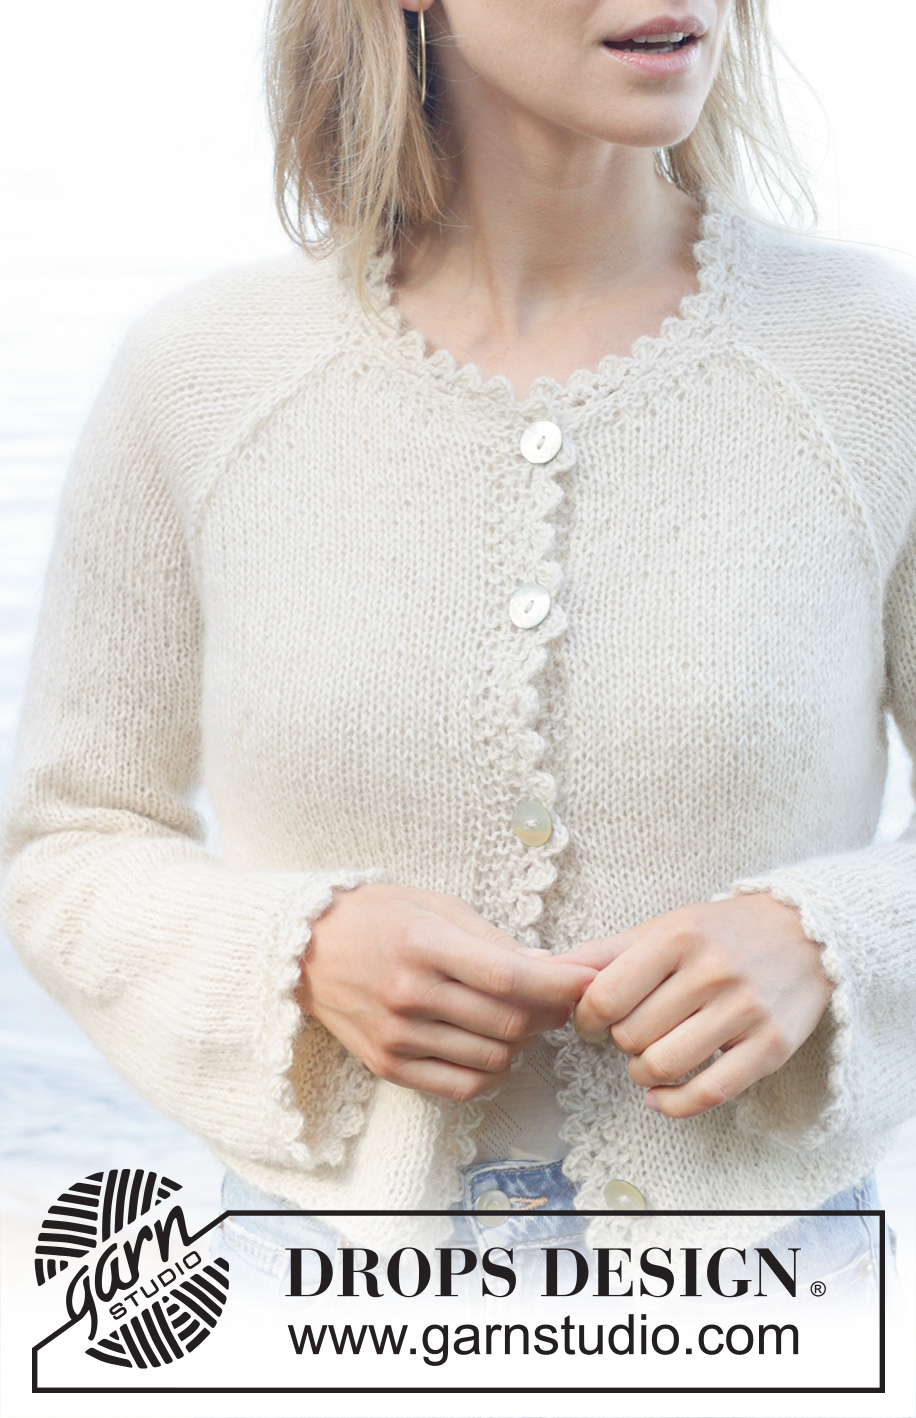
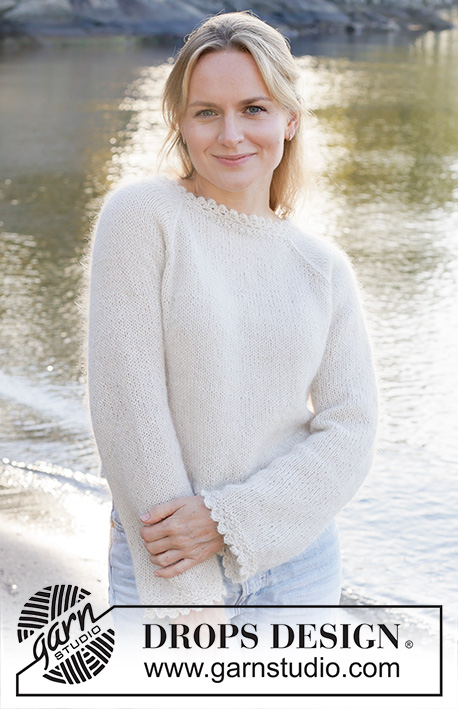
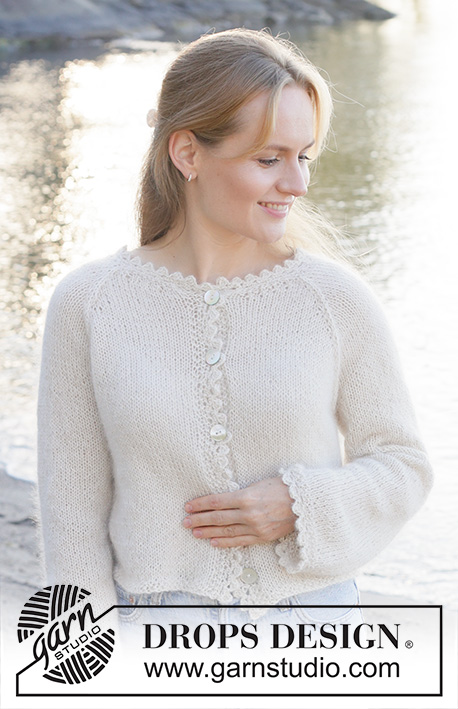
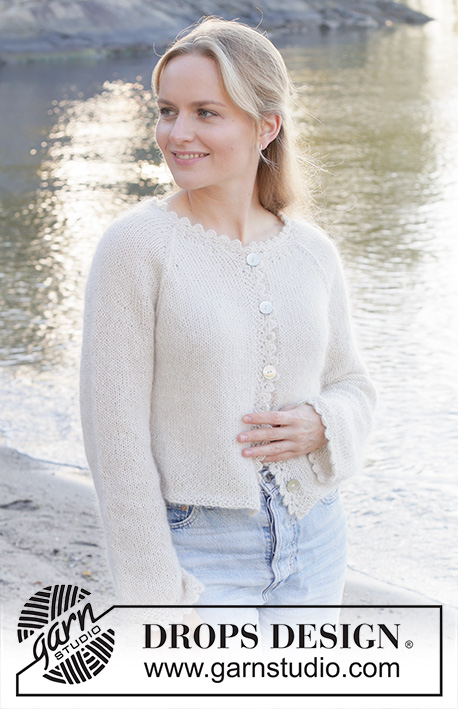
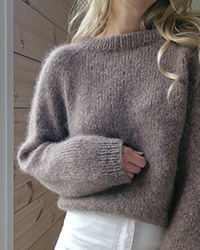
White Cascade Cardigan#whitecascadecardigan |
||||||||||||||||||||||||||||||||||
 |
 |
|||||||||||||||||||||||||||||||||
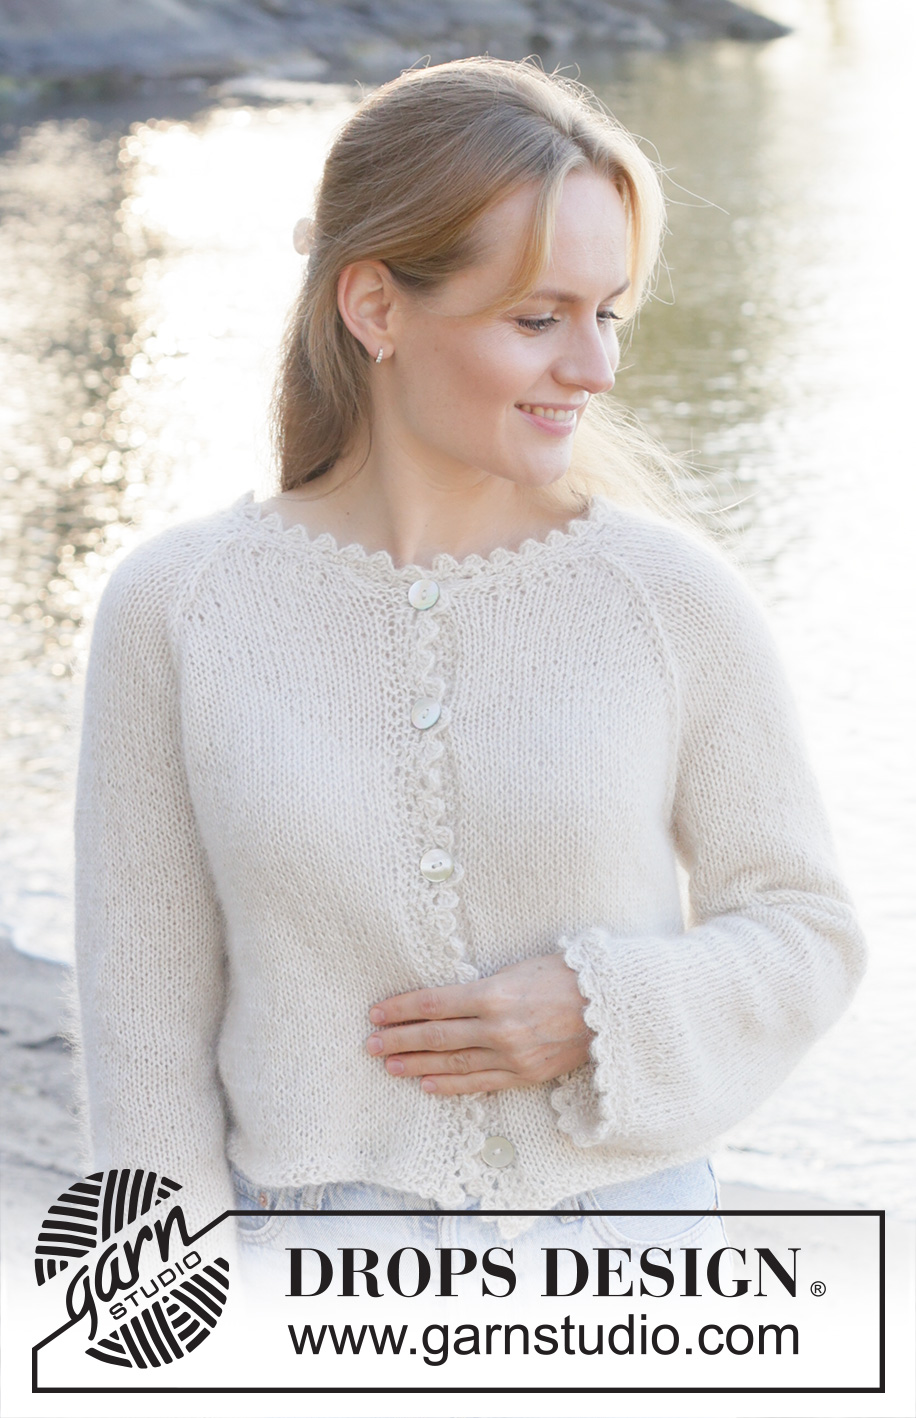
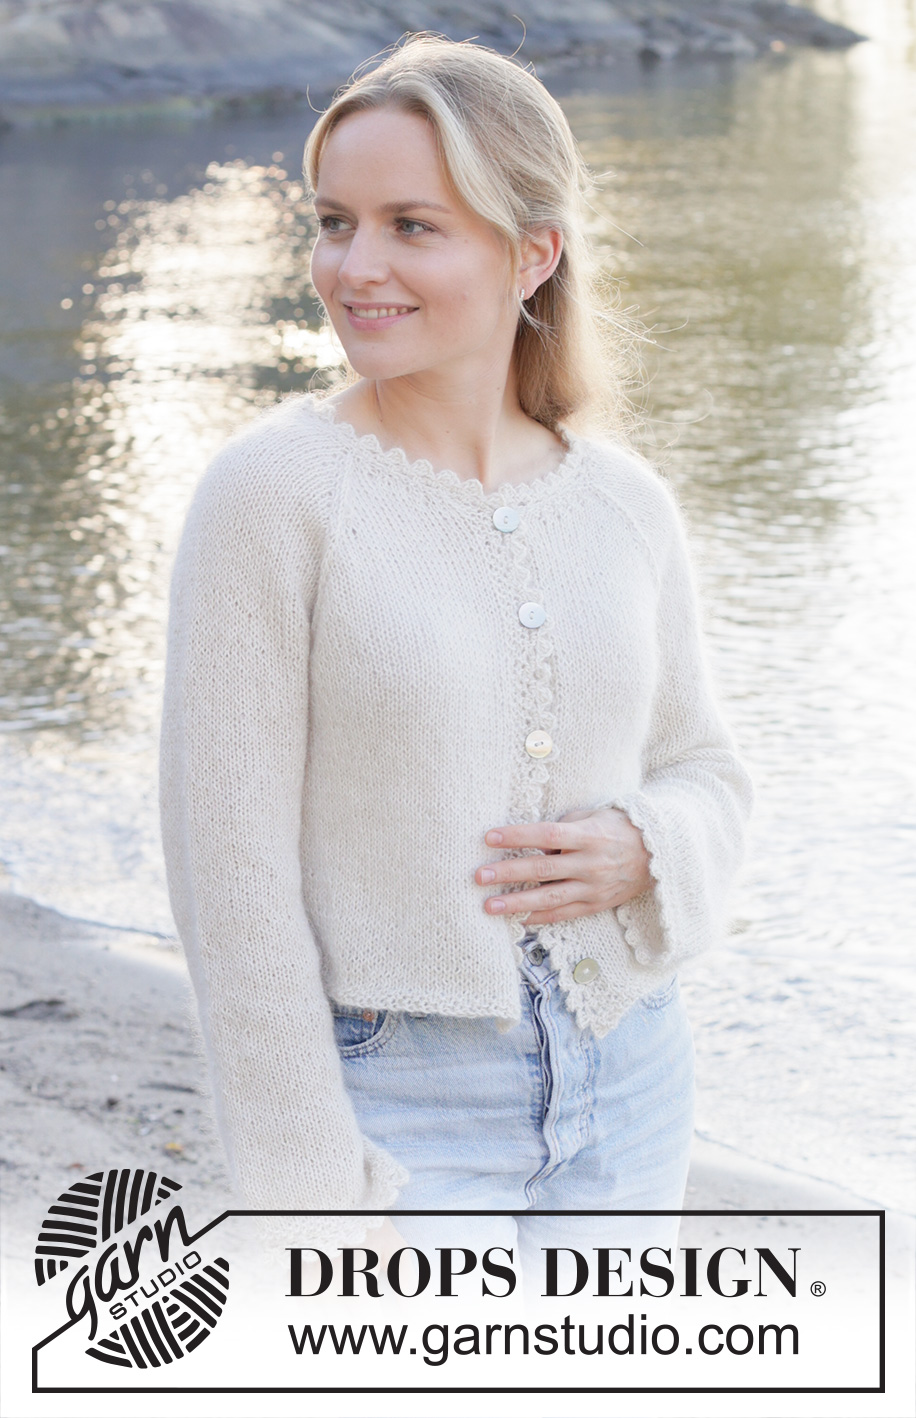
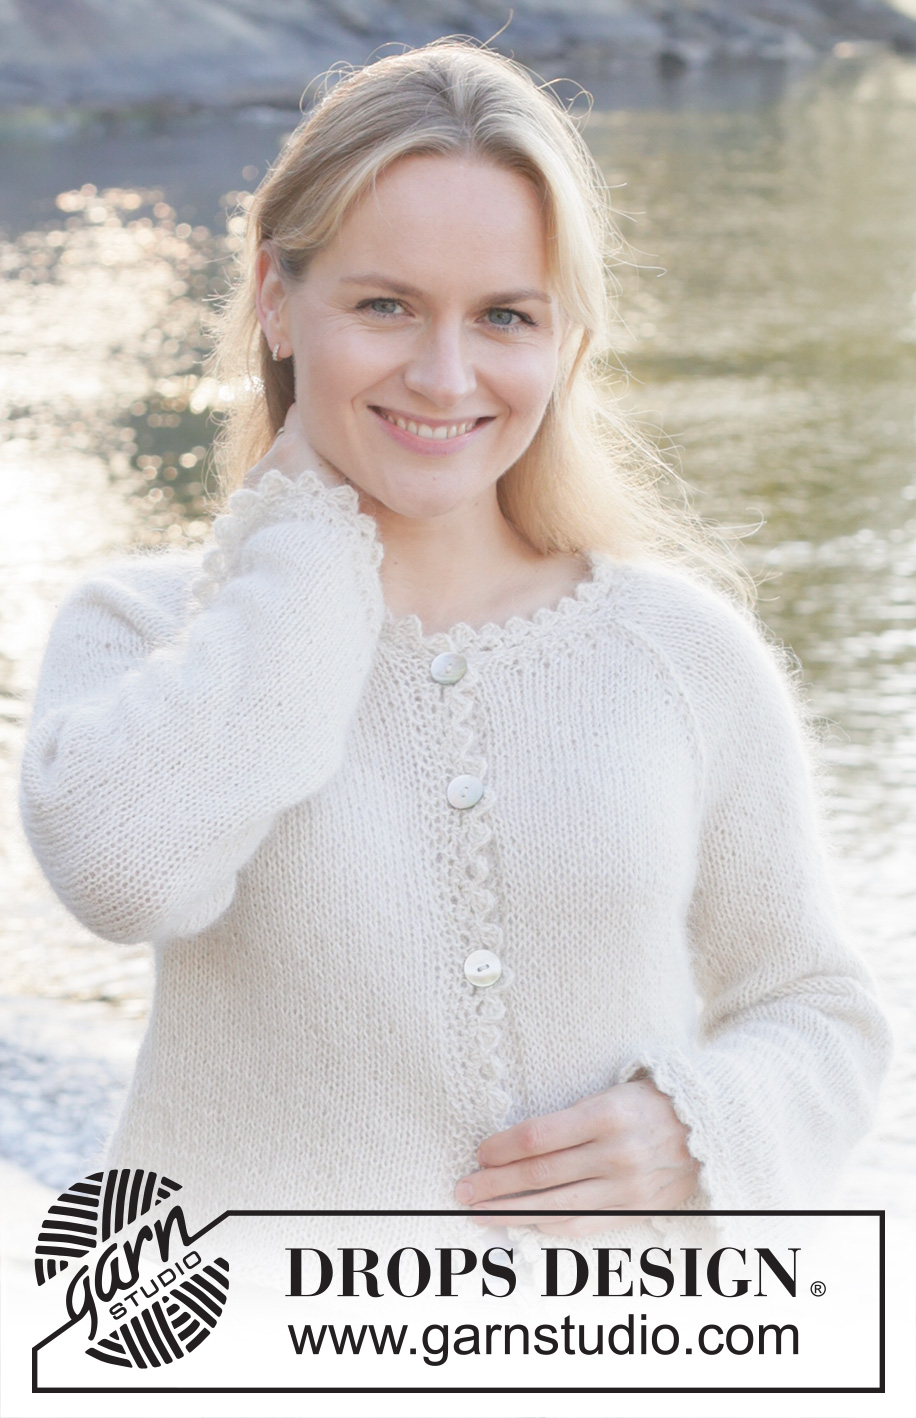
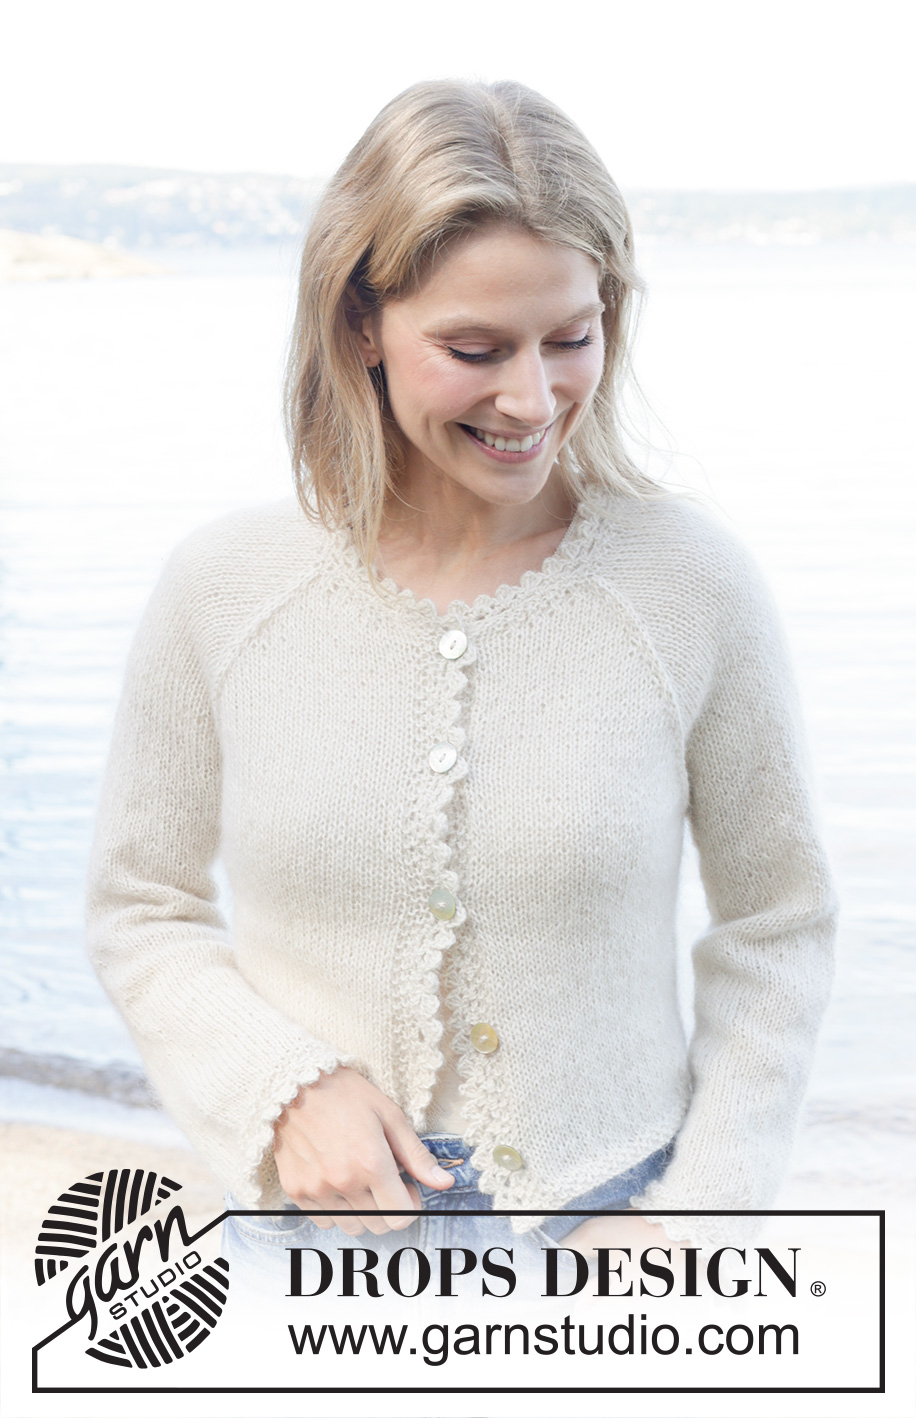
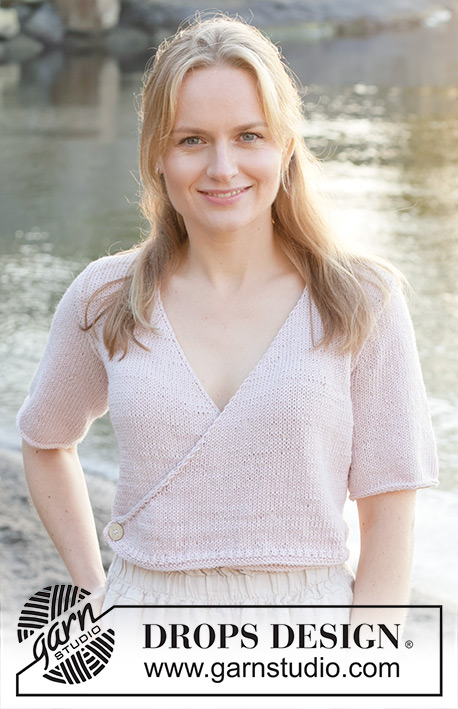
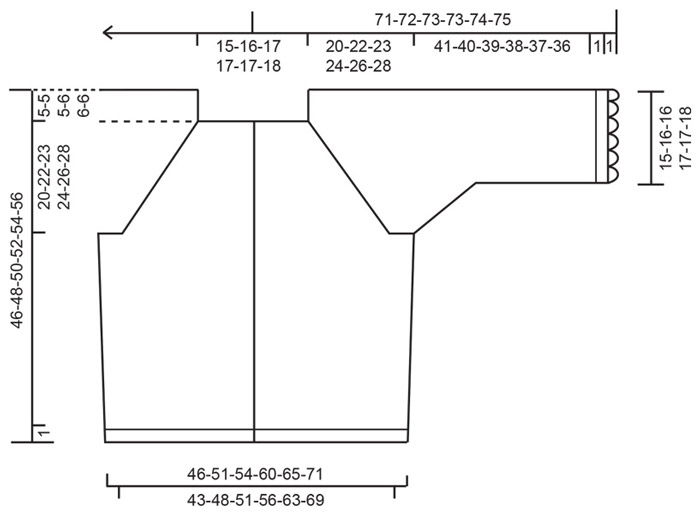
Knitted jacket in 1 strand DROPS Alpaca or DROPS Nord and 1 strand DROPS Kid-Silk. The piece is worked top down with stocking stitch, raglan and crocheted edges. Sizes S - XXXL.
DROPS 257-25 |
||||||||||||||||||||||||||||||||||
|
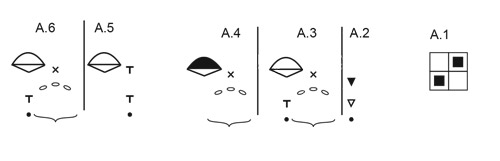
------------------------------------------------------- EXPLANATIONS FOR THE PATTERN: ------------------------------------------------------- PATTERN: See diagram A.1. The diagram shows all rows in the pattern seen from the right side. CROCHETED EDGES: See diagrams A.2-A.4 (sleeves) and diagrams A.5-A.6 (front piece and neckline). RAGLAN: Increase 1 stitch by making 1 yarn over: INCREASE ONE STITCH TOWARDS RIGHT BEFORE MARKER: Make 1 yarn over the right needle by taking the strand from the back and in front of the needle. On the next row purl the front loop of the yarn over. Then work the new stitch in stocking stitch. INCREASE ONE STITCH TOWARDS LEFT AFTER MARKER: Make 1 yarn over the right needle by taking the strand in front of the needle and backwards. On the next row purl the back loop of the yarn over. Then work the new stitch in stocking stitch. KNITTING TIP: When working short rows, there will be a small hole after each turn. This hole can be closed by tightening the strand or using the technique German Short Rows as follows: Slip the first stitch purl-wise, take the strand over the right needle and tighten well from the back (2 loops on the needle). These loops are worked together on the next row. DECREASE TIP: Decrease 1 stitch on each side of the marker-thread as follows: Work until there are 5 stitches left before the marker-thread, knit 2 together, knit 6 (marker-thread sits in the middle of these 6 stitches), slip 1 stitch knit-wise, knit 1 and pass the slipped stitch over the knitted stitch (2 stitches decreased). SLEEVE TIP: When knitting up stitches under the sleeve, you can get a small hole in the transition between stitches on the body and sleeve. This hole can be closed by picking up the strand between 2 stitches and working this strand twisted together with the first stitch between body and sleeve. ------------------------------------------------------- START THE PIECE HERE: ------------------------------------------------------- JACKET – SHORT OVERVIEW OF THE PIECE. The pattern uses both long and short needles; start with the length which fits the number of stitches and change when necessary. The piece is worked top down back and forth, from mid-front. Stitches are cast on with circular needle for the neck. Short rows are worked for the neckline and then the yoke is continued back and forth. When the yoke is finished, it is divided for body and sleeves and the body continued back and forth, while the sleeves wait. The sleeves are worked in the round, top down. An edge is crocheted along the front pieces, neck and around the bottom of the sleeves. NECK: Cast on 95-99-103-111-111-115 stitches with circular needle size 3 mm, 1 strand DROPS Alpaca/DROPS Nord together with 1 strand DROPS Kid-Silk (= 2 strands). Work 3 rows of PATTERN back and forth – read description above, as follows: Work A.1 until there is 1 stitch left on the row, then work the first stitch in A.1 so the pattern is symmetrical. After these 3 rows, insert 1 marker in the middle of the row (mid-back); the yoke is measured from here. YOKE: Insert 4 markers, without working the stitches and insert each marker in a stitch (raglan-stitch) which is worked in stocking stitch. Count 15-16-17-17-17-18 stitches (= left front piece), insert marker-1 in the next stitch, count 16-16-16-20-20-20 stitches (= sleeve), insert marker-2 in the next stitch, count 29-31-33-33-33-35 stitches (= back piece), insert marker-3 in the next stitch, count 16-16-16-20-20-20 stitches (= sleeve), insert marker-4 in the next stitch, there are 15-16-17-17-17-18 stitches after the last marker (= right front piece). Change to circular needle size 4.5 mm. Continue with stocking stitch and work a neckline of short rows, increasing for RAGLAN – read description above. Read KNITTING TIP before continuing. Remember to maintain the knitting tension! NECKLINE: ROW 1 (right side): Work 3 stitches in A.1, knit and increase for RAGLAN on each side of the 4 raglan-stitches (= 8 increased stitches), work to 2 stitches past marker-4 (right front neck), turn, tighten the strand - remember KNITTING TIP. ROW 2 (wrong side): Purl to 2 stitches past marker-1 (left front neck), turn, tighten the strand. ROW 3 (right side): Knit and increase for raglan on each side of the 4 raglan-stitches (= 8 increased stitches), work to 2 stitches past the previous turn by marker-4, turn, tighten the strand. ROW 4 (wrong side): Purl to 2 stitches past the previous turn by marker-1, turn, tighten the strand. ROW 5 (right side): Knit and increase for raglan on each side of the 4 raglan-stitches (= 8 increased stitches), work to 2 stitches past the previous turn by marker-4, turn, tighten the strand. ROW 6 (wrong side): Purl to 2 stitches past the previous turn by marker-1, turn, tighten the strand. ROW 7 (right side): Knit and increase for raglan on each side of the 4 raglan-stitches (= 8 increased stitches), work to 2 stitches past the previous turn by marker-4, turn, tighten the strand. ROW 8 (wrong side): Purl to 2 stitches past the previous turn by marker-1, turn, tighten the strand. ROW 9 (right side): Knit and increase for raglan on each side of the 4 raglan-stitches (= 8 increased stitches), work until there are 3 stitches left on the row and finish with 3 stitches in A.1. The neckline is finished and you have increased 5 times for raglan on each side of the 4 raglan-stitches = 135-139-143-151-151-155 stitches. Continue the yoke and increase for raglan as follows. YOKE (cont.): ROW 1 (wrong side): Purl with 3 stitches A.1 on each side. ROW 2 (right side): Knit with 3 stitches A.1 on each side. Increase for raglan on each side of the 4 raglan-stitches (= 8 increased stitches). Work ROWS 1 and 2 a total of 5-5-9-12-16-13 times (10-10-18-24-32-26 rows worked) = 175-179-215-247-279-259 stitches. Now increase as follows: ROW 1 (wrong side): Purl with 3 stitches A.1 on each side. ROW 2 (right side): Knit with 3 stitches A.1 on each side. Increase for raglan on each side of the 4 raglan-stitches (= 8 increased stitches). ROW 3 (wrong side): Purl with 3 stitches A.1 on each side. ROW 4 (right side): Knit with 3 stitches A.1 on each side. Increase for raglan before markers 1 and 3 and after markers 2 and 4 (i.e., only on the front and back pieces, not on the sleeves (= 4 increased stitches). Work ROWS 1 to 4 a total of 7-8-7-6-5-8 times (28-32-28-24-20-32 rows worked). All increases for raglan are now finished: you have increased 24-26-28-29-31-34 times on the front and back pieces and 17-18-21-23-26-26 times on the sleeves = 259-275-299-319-339-355 stitches. Continue with stocking stitch and 3 stitches A.1 on each side until the yoke measures 20-22-23-24-26-28 cm from the marker mid-back. Now divide for the body and sleeves. DIVIDE FOR BODY AND SLEEVES: In sizes S, M and L, the yoke is divided along the raglan-lines, in sizes XL, XXL and XXXL the yoke is divided so the raglan-lines are a short distance onto the front and back pieces. Work 39-42-45-48-52-56 stitches as before (= front piece), place the next 52-54-60-64-66-66 stitches on 1 thread for the sleeve, cast on 6-8-8-12-14-16 stitches (under the sleeve), work 77-83-89-95-103-111 stitches (= back piece), place the next 52-54-60-64-66-66 stitches on 1 thread for the sleeve, cast on 6-8-8-12-14-16 stitches (under the sleeve), work the last 39-42-45-48-52-56 stitches as before (= front piece). The body and sleeves are finished separately. BODY: = 167-183-195-215-235-255 stitches. Insert 1 marker-thread in the middle of the 6-8-8-12-14-16 cast-on stitches under each sleeve and allow them to follow your work onwards; they are used when decreasing in the sides. Continue with stocking stitch and 3 stitches A.1 on each side. When the piece measures 5-5-5-5-7-7 cm from the division, decrease 1 stitch on each side of both marker-threads – read DECREASE TIP (= 4 stitches decreased). Decrease like this every 5-5-5-5-7-7 cm a total of 3-3-3-3-2-2 times = 155-171-183-203-227-247 stitches. Continue with stocking stitch and 3 stitches A.1 on each side until the piece measures 40-42-44-45-47-49 cm from the marker mid-back. Now work a moss stitch edge as follows: Change to circular needle size 3 mm, work A.1 until there is 1 stitch left on the row, work the first stitch in A.1 so the pattern is symmetrical. After 3 rows of A.1, cast off with knit over purl and purl over knit. The jacket measures approx. 41-43-45-46-48-50 cm from the marker mid-back and 46-48-50-52-54-56 cm from top of shoulder. SLEEVES: Place the 52-54-60-64-66-66 sleeve-stitches from one thread on circular needle size 4.5 mm and knit up 1 stitch in each of the 6-8-8-12-14-16 stitches cast on under the sleeve – read SLEEVE TIP = 58-62-68-76-80-82 stitches. Insert a marker-thread in the middle of the 6-8-8-12-14-16 stitches under the sleeve. Start at the marker-thread and work stocking stitch in the round. When the sleeve measures 2 cm, decrease 2 stitches under the sleeve – read DECREASE TIP. Decrease like this every 2-2-2-1½-1½-1½ cm a total of 2-3-5-8-9-9 times = 54-56-58-60-62-64 stitches. Continue working until the sleeve measures 41-40-39-38-37-36 cm from the division. Change to double pointed needles size 3 mm and work 3 rounds of A.1. Cast off with knit over purl and purl over knit. The sleeve measures approx. 42-41-40-39-38-37 cm from the division. CROCHETED EDGE, SLEEVES: Use crochet hook size 3.5 mm and 1 strand of each quality (= 2 strands). Read CROCHETED EDGES above. Start from the right side, mid-under the sleeve. Work A.2 in the first stitch, then A.3 around the cuff until there is 1½ cm left, work A.4. When A.2-A.4 are finished in height, cut and fasten the strands. CROCHETED EDGE, FRONT PIECES AND NECK: Use crochet hook size 3.5 mm and 1 strand of each quality (= 2 strands). Read CROCHETED EDGES above. Start from the wrong side at the bottom of the left front piece. Work A.5 in the first stitch, then A.6 up the front piece, around the neck and down the right front piece (adjust so there are equal numbers of chain-spaces on the front pieces), turn and work the next row from the right side. Cut and fasten the strands. ASSEMBLY: Sew the buttons evenly onto the left front piece, in the middle of the 3 stitches in A.1. The top button is positioned 1 cm below the crocheted edge on the neck and the bottom button 4 cm above the bottom edge. The buttons are buttoned through the crocheted edge on the right front piece. |
||||||||||||||||||||||||||||||||||
Diagram explanations |
||||||||||||||||||||||||||||||||||
|
||||||||||||||||||||||||||||||||||
|
||||||||||||||||||||||||||||||||||
|
||||||||||||||||||||||||||||||||||
Have you finished this pattern?Tag your pictures with #dropspattern #whitecascadecardigan or submit them to the #dropsfan gallery. Do you need help with this pattern?You'll find 35 tutorial videos, a Comments/Questions area and more by visiting the pattern on garnstudio.com. © 1982-2025 DROPS Design A/S. We reserve all rights. This document, including all its sub-sections, has copyrights. Read more about what you can do with our patterns at the bottom of each pattern on our site. |
||||||||||||||||||||||||||||||||||


With over 40 years in knitting and crochet design, DROPS Design offers one of the most extensive collections of free patterns on the internet - translated to 17 languages. As of today we count 319 catalogues and 12019 patterns translated into English (UK/cm). 12019
We work hard to bring you the best knitting and crochet have to offer, inspiration and advice as well as great quality yarns at incredible prices! Would you like to use our patterns for other than personal use? You can read what you are allowed to do in the Copyright text at the bottom of all our patterns. Happy crafting!
Post a comment to pattern DROPS 257-25
We would love to hear what you have to say about this pattern!
If you want to leave a question, please make sure you select the correct category in the form below, to speed up the answering process. Required fields are marked *.