
Looking for a yarn?


Comments / Questions (283)
![]() Confused wrote:
Confused wrote:
Hi! Am currently stuck at the point where instructed :"Now slip the 24-24-26 (28-28) band sts towards mid front on a stitch holder. Then cast on 2 new sts at the end of row from RS (towards neck)" Where are the 2 new sts to be added? Between the 24 band(garter) sts and the stocking sts? Or right at the beginning of the 24 band sts? Instructions say "towards neck" but the 24 sts are on stitch holder... Are these extra sts to be worked in garter or stocking sts? Thank you
07.06.2025 - 13:26DROPS Design answered:
Dear Confused, you cast on at the very end of the row from the right side, next to where you placed the 24 sts on the stitch holder. So on the side where you moved stitches for the neck you will now cast on 2 stitches. The 24 stitches are later used for the hood, while the back will be worked over the stitches on the needles, including the stitches newly cast on. These stitches are worked in stocking stitch. Happy knitting!
08.06.2025 - 15:15
![]() Em wrote:
Em wrote:
I really appreciate all the lovely free patterns, but I’m really struggling to understand this one. The pattern says “ Cast on 43-47-51 (56-59) sts (incl 1 edge st in the side and 24-24-26 (28-28) band sts ”. As I am knitting the second size, would I cast on 47 sts total or do I cast on 47+1+24 for a total of 72 sts? I began by simply casting on 47 sts but after knitting for a bit, the resulting piece of knitting looks much too small (although my gauge matches the pattern). Thank you!
25.02.2025 - 13:58DROPS Design answered:
Dear Em, you should cast on 47 stitches only, the 24 sts for the front band stiches are already included in the number of stitches, so that you will work the bottom ridges: 23 sts stocking stitch and 24 stitches garter stitch, seen from RS. Make sure to keep same tension as swatch. Happy knitting!
26.02.2025 - 10:37
![]() Mindy wrote:
Mindy wrote:
Also, is the edge stitch a garter stitch? I don't see it explained anywhere in the pattern. Thanks!
17.12.2024 - 18:05DROPS Design answered:
Dear Mindy, you can work the edge stitch on the side(s) in garter stitch if you want; but there is no extra edge stitch, the edge stitches are included in the number of stitches to cast on. Happy knitting!
20.12.2024 - 08:16
![]() Mindy wrote:
Mindy wrote:
Hello! I love your patterns and am excited to start this one! Question: You don't state whether the odd or even rows are right side or wrong side, at the start. So how do I know, after knitting the 6 garter stitch rows, whether the next row is a RS or WS to start the stockinette section? Thanks for your help!
17.12.2024 - 17:47DROPS Design answered:
Hi Mindy, The first row after the ridges in garter stitch is from the right side. So all the odd rows onwards are from the right side. Happy Christmas!
18.12.2024 - 07:05
![]() Ann wrote:
Ann wrote:
In the Drops Buttercup baby jacket, what does 'after every other cm mean? Is that every alternate cm or is it after every following cm ? This instruction is in the jacket front and in the hat where it will make a definite difference whether it's after every cm or after two cms. Thank you in advance. Your answer to my question on 28.10 was very clear and helpful. Thank for your answer.
28.11.2024 - 18:26DROPS Design answered:
Dear Ann, it means you will alternate. So you work the short rows, then work 1cm normally, work short rows again, now work 2cm normally, work short rows, then work 1cm normally, e.t.c. Happy knitting!
07.12.2024 - 19:09
![]() Ann Stevens wrote:
Ann Stevens wrote:
Drops buttercup baby jacket; a further question. When piece measures 19---30 cm, then repeat short rows every other cm. until finished measurements. Does every other cm mean alternate centimetres, so after two cm do two short rows? Or do you mean after each cm do the short rows? Thank you. Ann Stevens
15.11.2024 - 07:15
![]() Ann Stevens wrote:
Ann Stevens wrote:
Drops Buttercup baby jacket. Still confused. Left front; ready to start short rows. Wrong side facing, knit band garter stitches, then turn and knit back to front edge. Second row is knit all the way across to side edge. Is that the two rows in garter stitch? Then continue in pattern for another 4cm and repeat short rows etc. etc. please help.
28.10.2024 - 19:36DROPS Design answered:
Dear Mrs Stevens, starting from WS knit the first 24-28 (see size) stitches (front band); turn (leaving the remaining stitches unworked) and work these stitches from RS ; turn and work now the first 12-14 sts only, turn (leaving the remaining sts unworked), and work these stitches from RS, turn and work now all stitches as before. You have worked 4 rows for short rows; repeat on every 4th cm (and then on every 2nd cm). Happy knitting!
29.10.2024 - 08:59
![]() Carol wrote:
Carol wrote:
Buttercup sweater. Short rows. Very confusing for me. Do you garter st the band, then turn, then knit row back? Then is work 2 garter rows only over outermost 12 sets part of the short row? I know how to do short rows but can’t figure this out the way it’s written. HELP!
05.06.2024 - 01:49DROPS Design answered:
Dear Carol, yes, when you knit the short rows, you knit the band stitches, turn, knit back, turn at the edge, and then knit the whole row. HERE is a video that might help you. Happy Knitting!
05.06.2024 - 02:03
![]() Reta Warren wrote:
Reta Warren wrote:
Can you knittering in wool
12.04.2024 - 05:51
![]() Mariagrazia wrote:
Mariagrazia wrote:
Ho realizzato il cardigan e le scarpine per una bimba di pochi mesi, seguendo le istruzioni, e il risultato è veramente bello. Per quanto abbia tenuto ben stretto il filo, purtroppo i buchi ai giri di ritorno con i ferri accorciati sono molto visibili, e un po' rovinano l'estetica del cardigan. Apprezzo comunque la morbidezza che il capo ha acquistato proprio con la tecnica dei ferri accorciati,darebbe bello trovare una soluzione all'inconveniente. Grazie
15.10.2023 - 20:37
|
|
Buttercup#buttercupset |
|
 |
 |
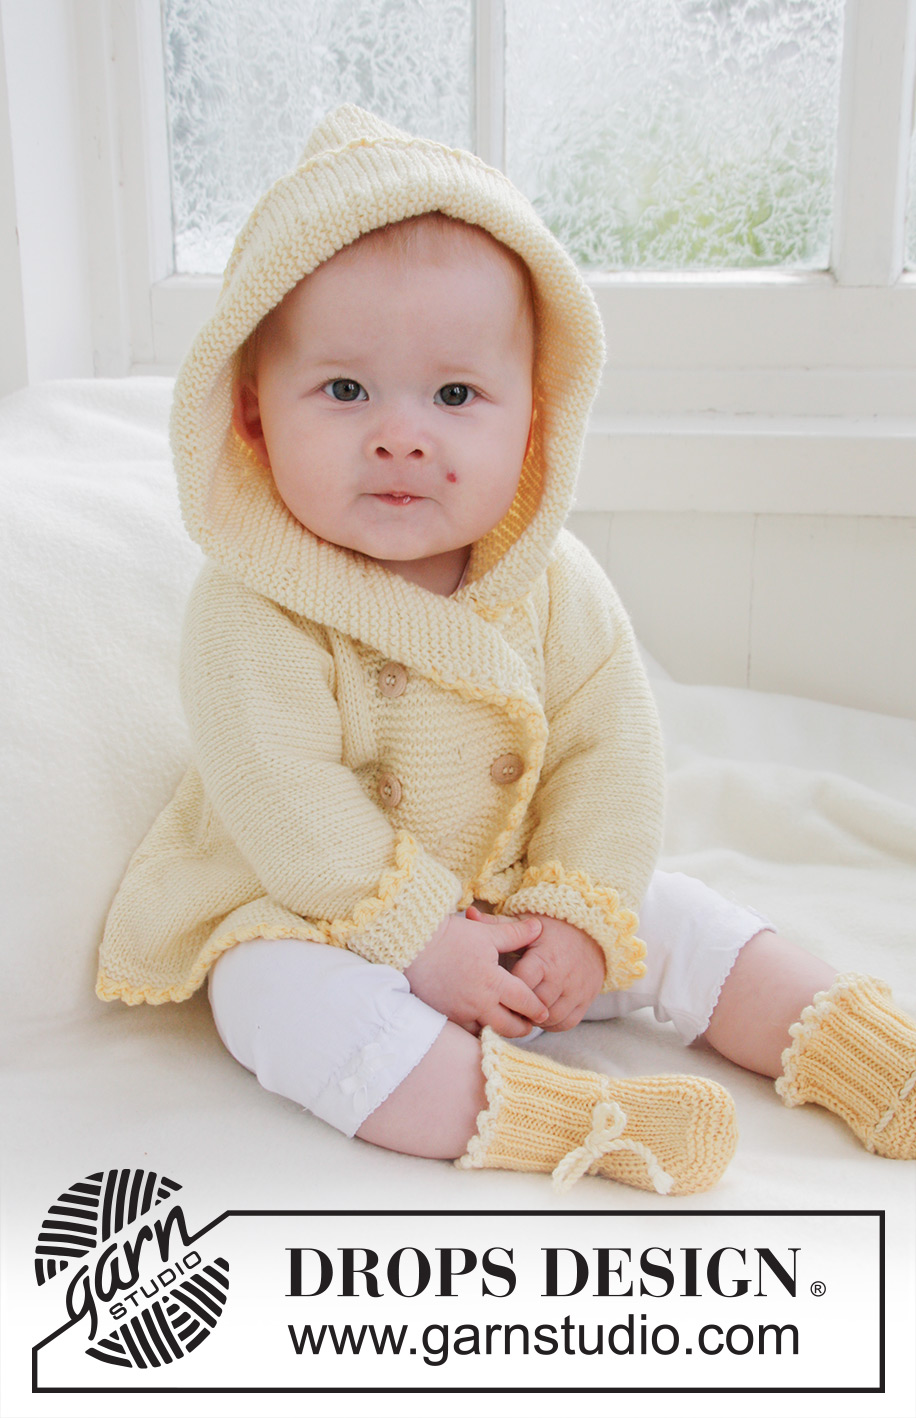
Knitted jacket with hood and booties for baby and children in DROPS BabyMerino
DROPS Baby 21-1 |
|
|
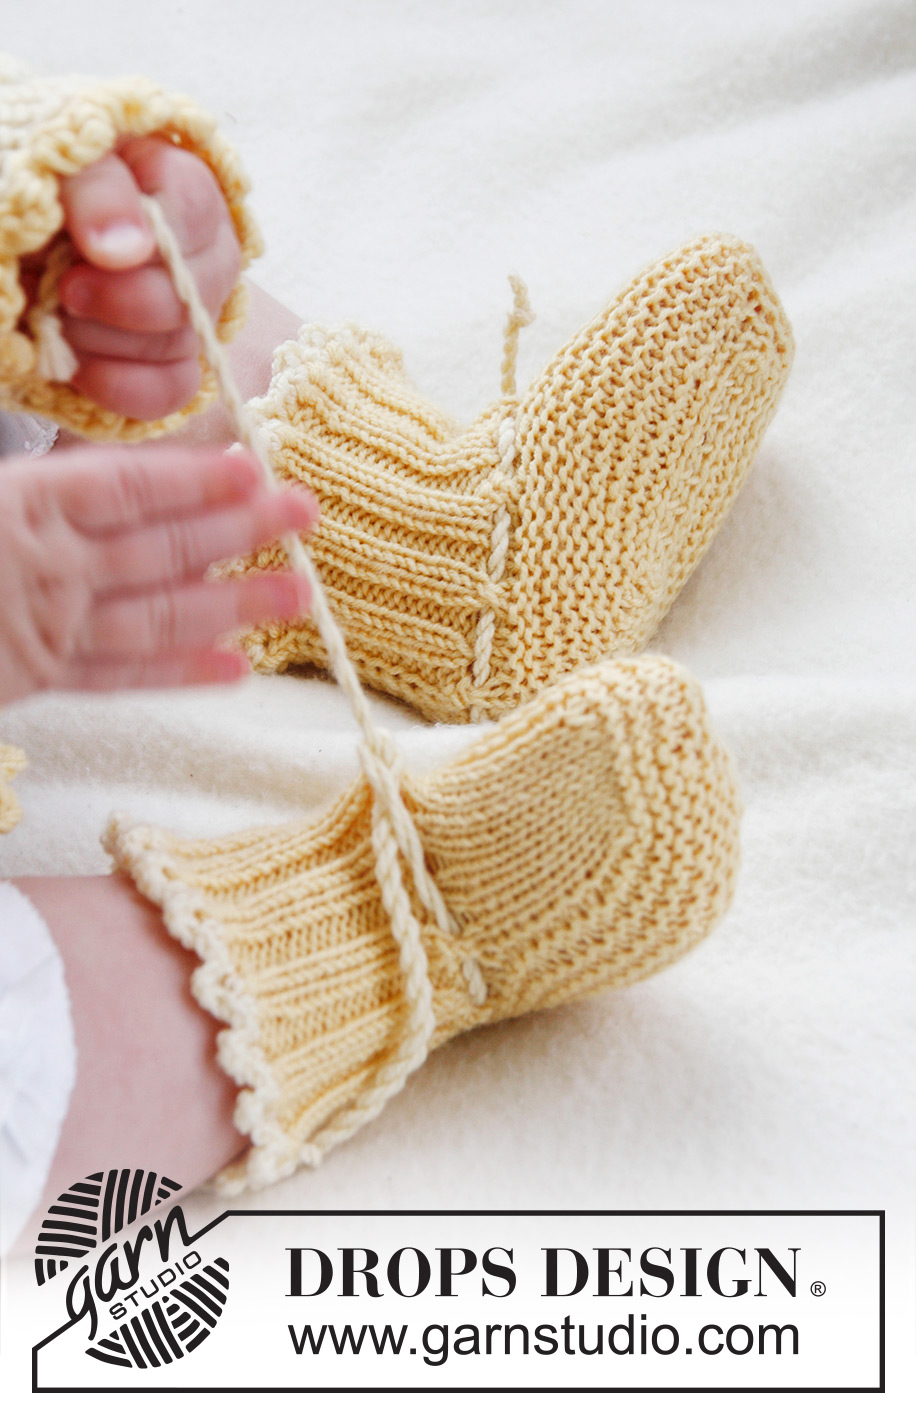
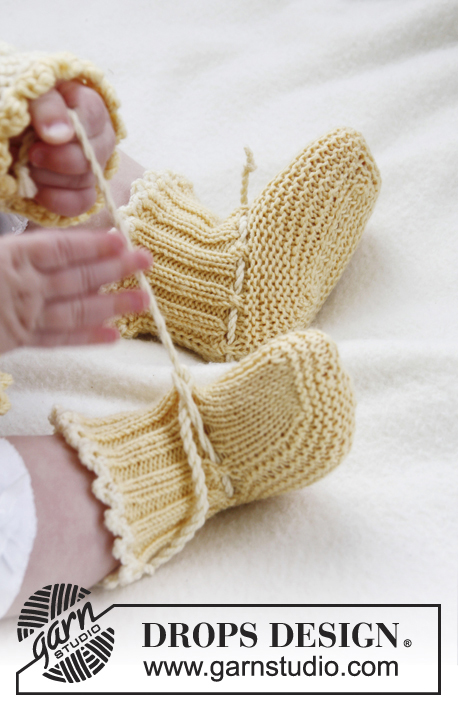
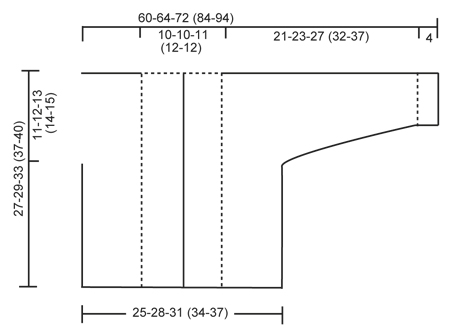
GARTER ST (back and forth on needle): K all rows. SHORT ROWS: * Work 2 rows in garter st over the 24-24-26 (28-28) band sts, work 2 rows in garter st only over the outermost 12-12-13 (14-14) sts. NOTE: When turning mid piece, slip first st. Tighten yarn and continue as before. This is done to avoid holes in the transitions *. BUTTON HOLES: The jacket is double-breasted. Bind off for 4 button holes on right band. 1 BUTTON HOLE = K tog fourth and fifth st from edge and make 1 YO. On same row also K tog fourth and fifth LAST st on band, make 1 YO. Bind off for 2 button holes when piece measures: SIZE 1/3 MONTHS: 14 and 19 cm / 5½" and 7½" SIZE 6/9 MONTHS: 16 and 21 cm / 6 1/4"- and 8 1/4" SIZE 12/18 MONTHS: 18 and 24 cm / 7" and 9½" SIZE 2 YEARS: 20 and 27 cm / 8" and 10½" SIZE 3/4 YEARS: 22 and 30 cm / 8 3/4" and 11 3/4" ---------------------------------------------------------- JACKET: Worked back and forth on circular needle. Beg on front piece, cast on sts for sleeve and work up to the shoulder. Knit the other front piece, place both front pieces tog and work down the back piece. LEFT FRONT PIECE: Read all of the following section before continuing! Cast on 43-47-51 (56-59) sts (includes 1 edge st in the side and 24-24-26 (28-28) band sts towards mid front) on needle size 2.5 mm / US 1or2 with Baby Merino. Work 6 rows in GARTER ST - see explanation above. Switch to circular needle size 3 mm / US 2or3 and work in stockinette st but continue to work the 24-24-26 (28-28) band sts towards mid front in Garter st. When piece measures 4 cm / 1½'', work SHORT ROWS - see explanation above (1st row = from WS). Repeat from *-* 1 time every 4 cm / 1½'' until piece measures 19-21-24 (27-30) cm / 7½"-8 1/4"-9½" (10 5/8"-11 3/4"), then repeat from *-* 1 time every 2 cm / 3/4'' until finished measurements. AT THE SAME TIME when piece measures 16-17-20 (23-25) cm / 6¼''-6¾''-8'' (9''-9¾''), cast on new sts at the end of every row from WS (towards the side of sleeve): 6 sts 2-2-3 (3-3) times, 8 sts 1-1-1 (2-3) times and 21-22-22 (25-26) sts 1 time = 84-89-99 (115-127) sts for shoulder/sleeve. Work inc sts in stockinette st. When all sts have been cast on, continue in stockinette st and Garter st as before while AT THE SAME TIME also working the outermost 10 sts on sleeve in garter st. When piece measures 27-29-33 (37-40) cm / 10 5/8''-11 3/8''-13'' (14½''-15¾''), insert a marker = mid on top of shoulder. Now slip the 24-24-26 (28-28) band sts towards mid front on a stitch holder. Then cast on 2 new sts at the end of row from RS (towards neck), repeat inc on next row towards neck = 64-69-77 (91-103) sts on needle. Work 1 row from WS. Put all sts on a stitch holder. RIGHT FRONT PIECE: Cast on and work as left front piece but reversed. In addition bind off for BUTTON HOLES on band - see explanation above. NOTE! Slip sts on a stitch holder after the last row with inc (i.e. last row = from WS). BACK PIECE: Work left front piece on to circular needle, cast on 16-16-18 (20-20) new sts (= back of neck) and work right front piece on to circular needle = 144-154-172 (202-226) sts. NOW MEASURE PIECE FROM MARKERS ON SHOULDERS. Continue in stockinette st and Garter st at the end on each sleeve back and forth on needle. When piece measures 8½-9½-10 (10-11) cm / 3 1/4"-3 3/4"-4" (4"-4 3/8"), beg to bind off sleeve sts. Bind off at beg of every row in each side as follows: 21-22-22 (25-26) sts 1 time, 8 sts 1-1-1 (2-3) times and 6 sts 2-2-3 (3-3) times = 62-70-76 (84-90) sts on needle. Continue in stockinette st with 1 edge st in garter st each side. When piece measures approx. 26-28-32 (36-39) cm / 10 1/4"-11"-12½" (14 1/4"-15 1/4") – fold the piece double at the markers on shoulders and make sure that the back piece is as long as front piece down to rows in garter st, switch to needle size 2.5 mm / US 1or2 and work 6 rows in garter st, then bind off. ASSEMBLY: Sew the sleeve and side seams inside 1 edge st. Sew on buttons. HOOD: Knit up approx. 102-106-112 (118-122) sts (including sts from stitch holders at the front – NOTE: If more/fewer sts have been knitted up, dec/inc evenly on 1st row. Continue in garter st over all sts while AT THE SAME TIME working short rows in each side every 2 cm / 3/4'' – SEE EXPLANATION ABOVE. Bind off when hood measures approx. 21-23-25 (27-28) cm / 8 1/4"-9"-9 3/4" (10 5/8"-11"). Sew hood neatly tog at the top - sew in outer loop of edge st to avoid a chunky seam. CROCHET BORDER: Crochet a border around the entire jacket. Beg at the bottom on right front piece and crochet with 2 strands yellow Baby Merino and hook size 3 mm / C as follows: Work 1 sc, * ch 3, 1 dc in 1st ch, skip approx. ½ cm / 1/4'', 1 sc in next st *, repeat from *-*. Crochet the same way around the openings on sleeves. ----------------------------------------------------------- BOOTEE: The bootee is worked back and forth from mid back. Cast on 48-52-56 (56) sts on needle size 2.5 mm / US 1or2 with 2 strands yellow Baby Merino. Remove 1 strand and work rib (= K 2/P 2) for 5-6-6 (7) cm / 2"-2 3/8"-2 3/8" (2 3/4") – adjust so that next row is worked from WS. P 1 row from WS while at the same time dec 14-14-18 (14) sts evenly = 34-38-38 (42) sts. On next row work eyelet row as follows from RS: K 1, *K 2 tog, 1 YO *, repeat from *-* and finish with K 1. P 1 row from WS. Now slip the outermost 12-13-13 (15) sts in each side on a stitch holder. Work 4-4½-5½ (6½) cm / 1½"-1 3/4"-2 1/4" (2½") in stockinette st over the middle 10-12-12 (12) sts. Slip sts from stitch holders back on needle and knit up 10-11-13 (16) sts on each side of mid piece = 54-60-64 (74) sts on needle. K every row over all sts for 3-4-5 (5) cm / 1 1/8"-1½"-2" (2") while at the same time after 1½-2-2½ (3) cm / ½"-3/4"-7/8" (1 1/8"), start dec on every other row as follows until completed: Dec 1 st at the beg and the end of row and K 2 tog on each side of the 2 mid sts. bind off and sew tog mid under foot and continue up mid back in outer loop of edge sts to avoid a chunky seam. Knit another bootee the same way. TIES: Cut 3 strands light yellow of approx. 1 meter / 1.1 yds each, twine them tightly tog, fold them double and they will twine again, tie a knot in each end. Thread tie up and down through the eyelet row on bootee. CROCHET BORDER: Crochet a border at the top of bootee on hook size 2 mm/US B with light yellow as follows: 1 sc in first st, * ch 3, 1 dc in 1st ch, skip approx. ½ cm / 1/4'', 1 sc in next st *, repeat from *-* and finish with 1 sl st in sc from beg of round. |
|
|
|
Have you finished this pattern?Tag your pictures with #dropspattern #buttercupset or submit them to the #dropsfan gallery. Do you need help with this pattern?You'll find 21 tutorial videos, a Comments/Questions area and more by visiting the pattern on garnstudio.com. © 1982-2025 DROPS Design A/S. We reserve all rights. This document, including all its sub-sections, has copyrights. Read more about what you can do with our patterns at the bottom of each pattern on our site. |
|


With over 40 years in knitting and crochet design, DROPS Design offers one of the most extensive collections of free patterns on the internet - translated to 17 languages. As of today we count 314 catalogs and 11822 patterns - 11812 of which are translated into English (US/in).
We work hard to bring you the best knitting and crochet have to offer, inspiration and advice as well as great quality yarns at incredible prices! Would you like to use our patterns for other than personal use? You can read what you are allowed to do in the Copyright text at the bottom of all our patterns. Happy crafting!
Post a comment to pattern DROPS Baby 21-1
We would love to hear what you have to say about this pattern!
If you want to leave a question, please make sure you select the correct category in the form below, to speed up the answering process. Required fields are marked *.