
Popular categories
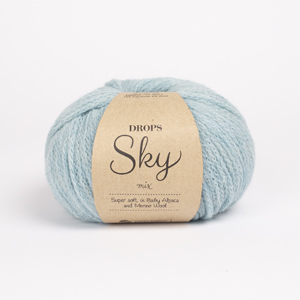
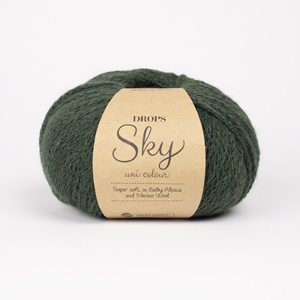
Looking for a yarn?






























Comments / Questions (122)
 Sonja Timmermans wrote:
Bij het telpatroon is bovenaan bij de schouders die 2x 3 cm armsgat boord meegenomen in de boven breedte of niet ? Dank u
31.10.2026 - 13:18DROPS Design answered:
Dag Sonja,
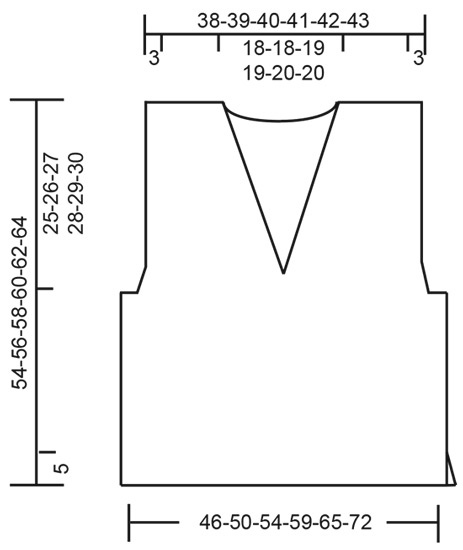
De maattekening geeft de maten aan als het kledingstuk helemaal klaar is, dus inclusief de boorden.
31.10.2026 - 17:16
 Anne wrote:
Bonjour, pensez-vous qu'il est possible de tricoter ce modèle avec le fil Karisma, groupe B également mais moins de métrage, donc avec 8 pelotes. Merci.
11.10.2026 - 15:19DROPS Design answered:
Bonjour Anne, vous pouvez effectivement tricoter ce modèle en DROPS Karisma, utilisez le convertisseur pour savoir la quantité nécessaire pour votre taille, et pensez à bien vérifier votre tension (comme pour tout autre ouvrage). Bon tricot!
12.10.2026 - 09:35
 Ximena wrote:
Se puede tejer en circular , para evitar coser.
08.10.2026 - 01:05DROPS Design answered:
Hola Ximena, tienes que trabajar el principio de ida y vuelta, por las aberturas laterales. Después de las aberturas laterales puedes unir la labor y trabajar en redondo hasta las sisas y finalmente terminas los delanteros y la espalda de ida y vuelta.
11.10.2026 - 19:16
 Sonja wrote:
Ich komme jetzt beim Vorderteil zu den 11 Abnehmen beim Armausschnitt. Es steht, dass man am Anfang und am Ende der Nadel jeweils 2 Maschen zus. stricken muss. Jetzt ist meine Frage, ob man dies bei jeder Nadel muss, oder nur auf der Vorderseite, und dann die Rückseite ohne Abnehmen stricken? Dankeschön 🍀
07.10.2026 - 20:48DROPS Design answered:
Liebe Sonja, die Anbanhmen für den Armauschnitt entesthen in jeder Hinreihe insgesamt 11 Mal (22 Reihen); nach den 2 ersten Maschen am Anfang der Hinreihe und vor den 2 letzten maschen der Hinreihe am Ende der Hinreihe; beachten Sie nur, daß diese Abnahmen werden am Armloch bearbeitet, wenn man die Arbeit für den V Halsausschnitt teilt, wird man nur 1 Masche für Armloch abnehmen. Viel Spaß beim Stricken!
08.10.2026 - 08:39
Kara wrote:
I’m ready to decrease after the ribbing and am unclear if the decrease happens in the ribbing or if the knit one row from the wrong side instruction after you get to 6cm is the start of the stockinette. This is my second go at the decrease as I started on the third size but could see the piece was going to be far too large — so I’m going to keep the ribbing (because I’d like it not too snug) and decrease then proceed according to the smallest size. Any tips are welcome. Thank you!
05.09.2026 - 01:31DROPS Design answered:
Hi Kara, We recommend that you decrease on the second row (from the right side) after the ribbing is finished. Finish the rib after a row from the right side, knit a row from the wrong side then knit a row from the right side and decrease. Regards, Drops Team.
05.09.2026 - 06:37
 Lulu wrote:
Hola estoy haciendo la disminución para el cuello en v , el patrón marca que la disminución sea cada 2 filas, es decir que llego a los 3 puntos antes del cuello , disminuyó y luego volteó y hago la vuelta de revés , esa cuenta como una fila, y luego empiezo de nuevo a tejer la vuelta de derecho al terminar esa vuelta se hace de nuevo la disminución ? Ósea contaría como la 2 da fila?
02.06.2026 - 07:49DROPS Design answered:
Hola Lulu, solo en la 1ª fila del escote-v se disminuye cuando queden 3 puntos hasta el marcapuntos. Ahora giras y trabajas normal de vuelta (2ª fila). En la siguiente fila, cuando queden 3 puntos antes del final de la fila trabajas 2 puntos juntos y 1 punto orillo. (3ª fila). Girar y trabajar 1 fila de vuelta (4ª fila). En la siguiente fila, repite como la 3ª fila y así en todas las filas impares, disminuyendo cada 2ª fila. En el otro lado del delantero se trabajan las disminuciones a la inversa; en las filas con disminuciones trabajas: 1 punto orillo, disminución simple, trabajar el resto de la fila.
14.06.2026 - 23:57
Kara wrote:
I am somehow not seeing the yardage of material needed for this project (Audrey vest). Also wondering if printing the pattern is possible. Thanks for any help.
05.04.2026 - 21:22DROPS Design answered:
Hi kara, Each ball of Drops Sky has approx. 208 yards of yarn and each ball weighs 50 g (1.8 oz.). You print the pattern by clicking on the printer icon to the right of the "Audrey Vest" title-line. Regards, Drops Team.
06.04.2026 - 15:28
 CLAUDINE wrote:
Bonjour, Je souhaiterai tricoter ce modèle que je trouve très joli. Pouvez-vous me dire combien il faut acheter de pelotes ? Merci pour votre réponse, cordialement
11.03.2026 - 17:57DROPS Design answered:
Bonjour Claudine, vous trouverez la quantité nécessaire pour chaque sous l'onglet "Explications" en haut de page, par ex en taille S, il vous faudra 150 g DROPS Sky/50 g la pelote = 3 pelotes Sky en S. Bon tricot!
12.03.2026 - 09:35
 Grace wrote:
Hello, In the back part of the vest, the pattern says to "Decrease INSIDE." I do not understand what "decreases INSIDE" means. (Then decrease inside 2 stitches, decreasing 1 stitch on each side 8-11-14-16-21-27 times – read DECREASE TIP-2 = 64-66-68-70-72-74 stitches. Best, Grace
17.02.2026 - 05:56DROPS Design answered:
Hi Grace, This means that you decrease after the first 2 stitches at the beginning of the row and before the last 2 stitches at the end of the row. Regards, Drops Team.
17.02.2026 - 06:31
Claudette wrote:
Bonjour. Pourriez-vous me dire pourquoi doit-on diminuer des mailles après avoir fait les côtes? Merci
10.02.2026 - 18:54DROPS Design answered:
Bonjour Claudette, il faut plus de mailles pour les côtes avec les aiguilles 3,5 que pour le jersey avec les aiguilles 4,5, ainsi on va diminuer pour conserver la bonne largeur (les côtes ne doivent pas resserrer le bas du pull). Bon tricot!
11.02.2026 - 17:10
|
|
Audrey Vest#audreyvest |
|
 |
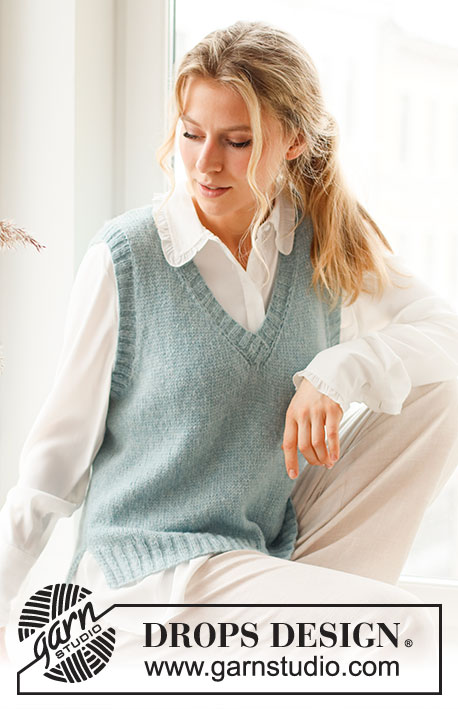 |
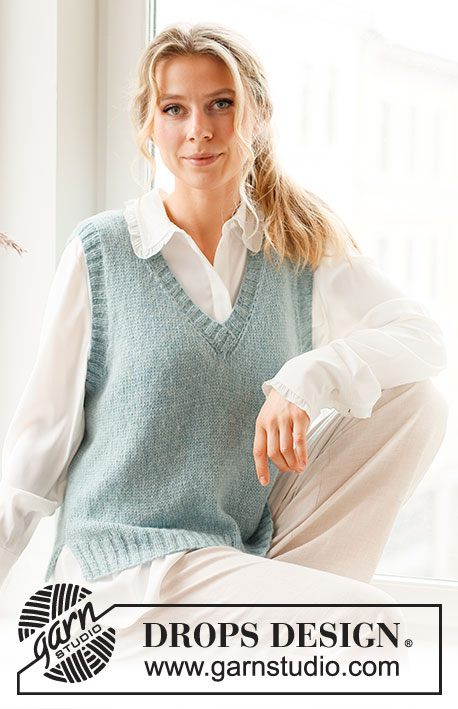
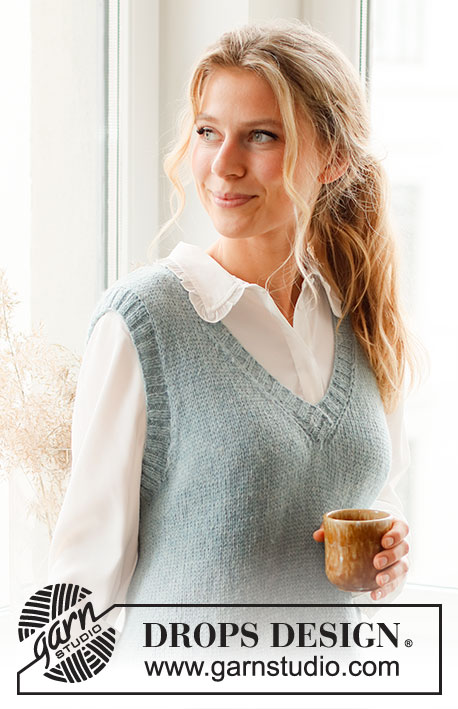
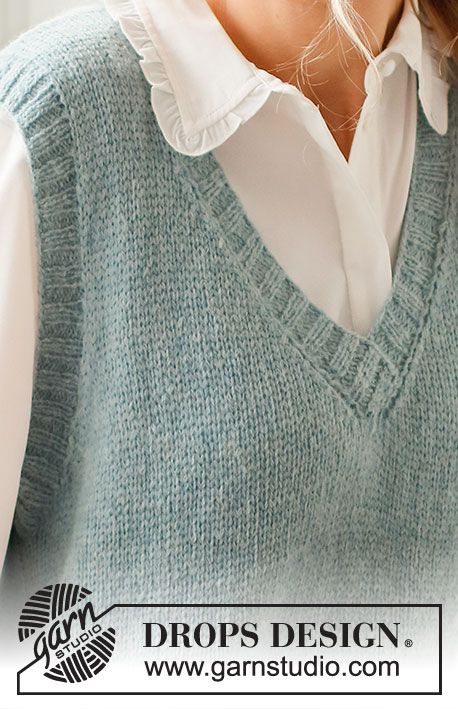
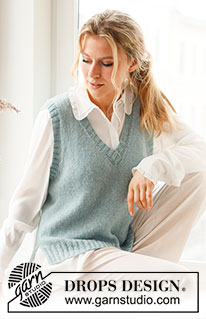
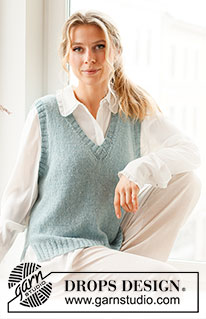
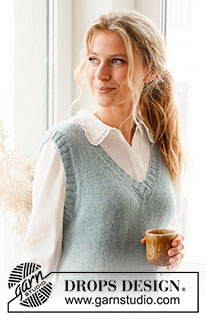
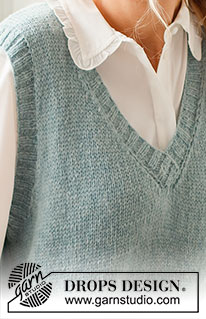
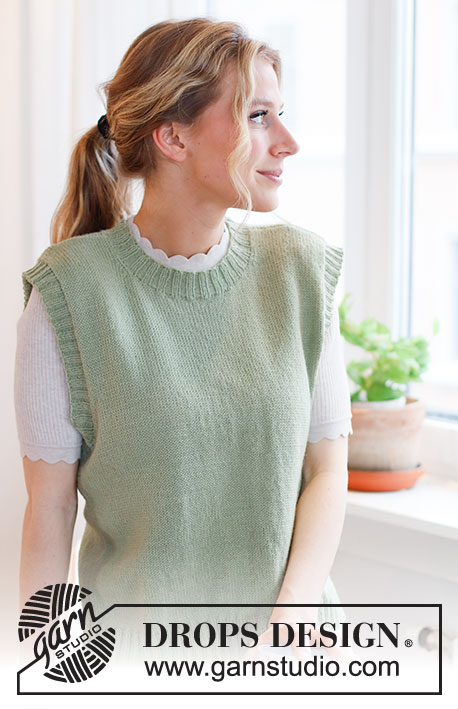
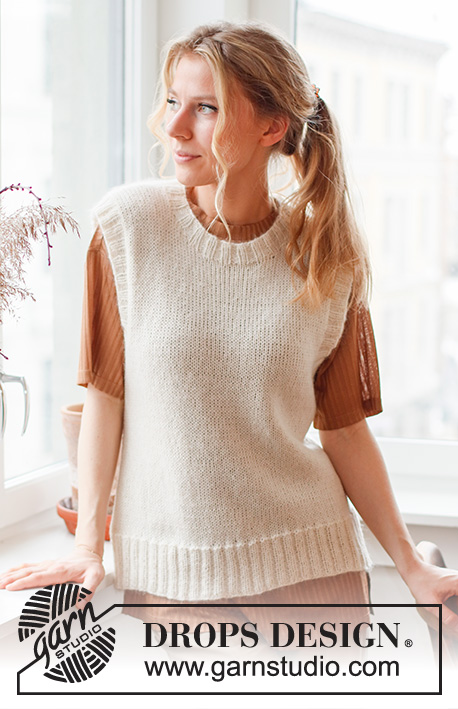
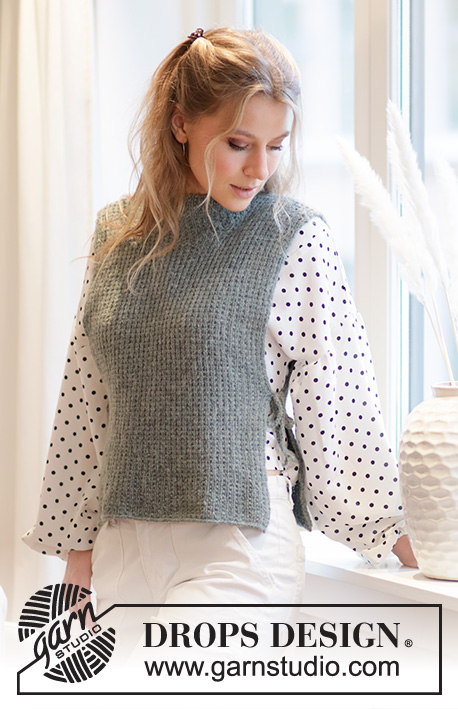
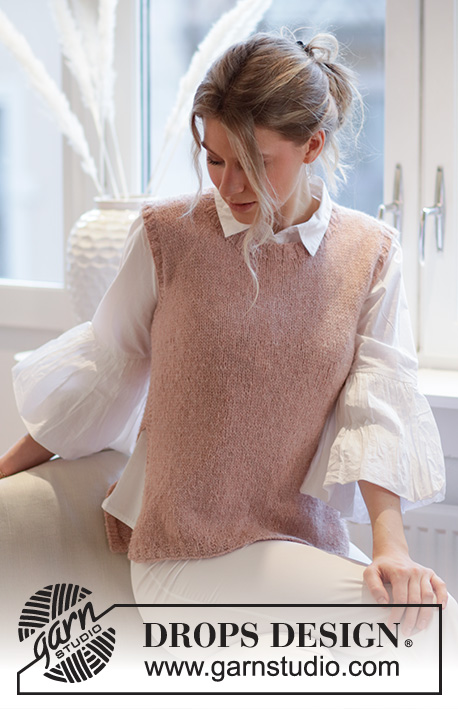
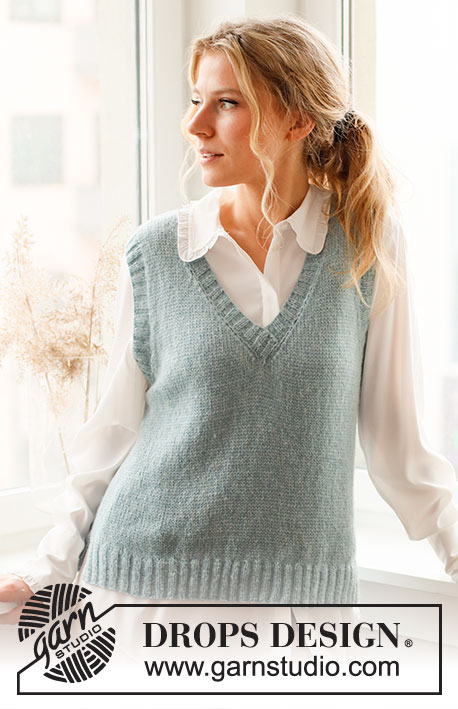
Knitted vest / slipover in DROPS Sky. The piece is worked in stocking stitch with ribbed edges, V-neck and split in the sides. Sizes S - XXXL.
DROPS 220-43 |
|
|
------------------------------------------------------- EXPLANATIONS FOR THE PATTERN: ------------------------------------------------------- RIDGE/GARTER STITCH (worked back and forth): Knit all rows. 1 ridge in height = Knit 2 rows. DECREASE TIP (evenly spaced): To work out how to decrease evenly, count the total number of stitches on the needle (e.g. 118 stitches) and divide by the number of decreases to be made (e.g. 24) = 4.9. In this example, decrease by knitting together approx. each 4th and 5th stitch. DECREASE TIP-2 (for armholes): Decrease on the inside of 2 stitches. All decreases are worked from the right side. Decrease as follows at the beginning of the row: Knit 2, slip 1 stitch as if to knit, knit 1 and pass the slipped stitch over the knitted stitch. Decrease as follows at the end of the row: Work until there are 4 stitches left, knit 2 together and knit the last 2 stitches. ------------------------------------------------------- START THE PIECE HERE: ------------------------------------------------------- VEST – SHORT OVERVIEW OF THE PIECE: The piece is worked back and forth, in sections and sewn together to finish. The V-neck and armhole edges are worked in the round to finish. BACK PIECE: Cast on 118-130-138-150-166-182 stitches with circular needle size 3.5 mm and Sky. Purl 1 row (= wrong side). Then work the next row from the right side as follows: 2 edge stitches in GARTER STITCH – read description above, * knit 2, purl 2 *, work from *-* until there are 4 stitches left, knit 2 and finish with 2 edge stitches in garter stitch. Continue this rib for 6 cm. Knit 1 row from the wrong side then knit 1 row from the right side where you decrease 24-28-28-30-34-36 stitches evenly spaced – read DECREASE TIP = 94-102-110-120-132-146 stitches. Change to circular needle size 4.5 mm. Work stocking stitch back and forth, with 1 edge stitch in garter stitch on each side. REMEMBER THE KNITTING TENSION! When the piece measures 29-30-31-32-33-34 cm, cast off for the armholes at the beginning of each row as follows: Cast off 3 stitches 1 time, then 2 stitches 2-2-2-3-3-3 times on each side. Then decrease inside 2 stitches, decreasing 1 stitch on each side 8-11-14-16-21-27 times – read DECREASE TIP-2 = 64-66-68-70-72-74 stitches. Continue with stocking stitch. When the piece measures 52-54-56-58-60-62 cm, cast off the middle 34-34-36-36-38-38 stitches for the neck and each shoulder is finished separately. Cast off 1 stitch on the next row from the neck = 14-15-15-16-16-17 stitches on the shoulder. Continue working stocking stitch until the piece measures 54-56-58-60-62-64 cm (25-26-27-28-29-30 cm from the bottom of the armhole). Cast off with knit from the right side (making sure the cast-off edge is not tight). Work the other shoulder in the same way. FRONT PIECE: Cast on 118-130-138-150-166-182 stitches with circular needle size 3.5 mm and Sky. Purl 1 row (= wrong side). Then work the next row from the right side as follows: 2 edge stitches in garter stitch, * knit 2, purl 2 *, work from *-* until there are 4 stitches left, knit 2 and finish with 2 edge stitches in garter stitch. Continue this rib for 6 cm. Knit 1 row from the wrong side then knit 1 row from the right side where you decrease 24-28-28-30-34-36 stitches evenly spaced = 94-102-110-120-132-146 stitches. Change to circular needle size 4.5 mm. Work stocking stitch back and forth with 1 edge stitch in garter stitch on each side until the piece measures 29-30-31-32-33-34 cm. Insert 1 marker in the middle of the row, with 47-51-55-60-66-73 stitches on each side (this marker is used when working the V-neck). READ THE WHOLE OF THE NEXT SECTION BEFORE CONTINUING! Continue with stocking stitch and cast off for the armholes at the beginning of each row as follows: 3 stitches 1 time, then 2 stitches 2-2-2-3-3-3 times on each side. Then decrease inside 2 stitches, decreasing 1 stitch on each side 8-11-14-16-21-27 times = 64-66-68-70-72-74 stitches. V-NECK: At the same time when the piece measures 31-33-34-36-37-39 cm start to decrease for the V-neck. Start from the right side and work as before until there are 3 stitches left before the marker, knit 2 together and work 1 edge stitch in garter stitch. Place the remaining stitches on a thread without working them. Each shoulder is finished separately; do not cut the strand. The left shoulder is continued from here, working back from the wrong side. LEFT SHOULDER (front piece): Continue with stocking stitch and 1 edge stitch in garter stitch towards the neck, decreasing inside this edge stitch at the end of each row from the right side. Decrease every 2nd row 17-17-18-18-19-19 more times (a total of 18-18-19-19-20-20 decreases, decrease by knitting 2 together, the first decrease was made when the front piece was divided) = 14-15-15-16-16-17 stitches on the shoulder. Continue with stocking stitch and 1 edge stitch in garter stitch towards the neck until the piece measures a total of 54-56-58-60-62-64 cm. Cast off with knit from the right side. RIGHT SHOULDER (front piece): Place the stitches from the thread back on the needle. Continue with stocking stitch and 1 edge stitch in garter stitch towards the neck (the first row is worked from the right side), decreasing for the neck inside the edge stitch at the beginning of each row from the right side. Decrease every 2nd row (slipping 1 stitch, knitting 1 and passing the slipped stitch over the knitted stitch) a total of 18-18-19-19-20-20 times = 14-15-15-16-16-17 stitches left on the shoulder. NOTE! The first decrease is on the first row worked). Continue with stocking stitch and 1 edge stitch in garter stitch towards the neck until the piece measures a total of 54-56-58-60-62-64 cm. Cast off with knit from the right side. ASSEMBLY: Sew the shoulder seams with grafting stitches, inside the cast-off edges. Start under the armholes and sew the side seams inside the 1 edge stitch – leave approx. 6 cm open for the split on each side. NECK: Start from the right side, at the bottom of the V-neck using short circular needle size 3.5 mm and knit up 168 to 184 stitches (number of stitches must be divisible by 4 and the stitches are knitted up inside the 1 edge stitch), first along the right side, then around the back of the neck and down the left side. Work the first row from the wrong side as follows; 1 edge stitch in garter stitch, * purl 2, knit 2 *, work from *-* until there are 3 stitches left, purl 2 and finish with 1 edge stitch in garter stitch. Work this rib back and forth for 3 cm. Cast off with knit over knit and purl over purl. At the bottom of the V-neck, mid-front, lay the right side over the left side and sew down neatly in the outermost stitch on the neck-edge. Repeat in the same way on the inside of the neck, so the left side is sewn onto the right side. ARMHOLE-EDGE: Start from the right side by the side seam under the armhole. Using short circular needle size 3.5 mm, knit up 124 to 152 stitches around the armhole (number of stitches must be divisible by 4). Work rib in the round (knit 2, purl 2) for 3 cm. Cast off with knit over knit and purl over purl. Work the other armhole in the same way. |
|
 |
|
Have you finished this pattern?Tag your pictures with #dropspattern #audreyvest or submit them to the #dropsfan gallery. Do you need help with this pattern?You'll find 18 tutorial videos, a Comments/Questions area and more by visiting the pattern on garnstudio.com. © 1982-2026 DROPS Design A/S. We reserve all rights. This document, including all its sub-sections, has copyrights. Read more about what you can do with our patterns at the bottom of each pattern on our site. |
|






With over 40 years in knitting and crochet design, DROPS Design offers one of the most extensive collections of free patterns on the internet - translated to 17 languages. As of today we count 333 catalogues and 12525 patterns translated into English (UK/cm). 12525
We work hard to bring you the best knitting and crochet have to offer, inspiration and advice as well as great quality yarns at incredible prices! Would you like to use our patterns for other than personal use? You can read what you are allowed to do in the Copyright text at the bottom of all our patterns. Happy crafting!
Post a comment to pattern DROPS 220-43
We would love to hear what you have to say about this pattern!
If you want to leave a question, please make sure you select the correct category in the form below, to speed up the answering process. Required fields are marked *.