Comments / Questions (2)
![]() Monica Martinsson wrote:
Monica Martinsson wrote:
Hej! Jag har nu stickat klart denna fina kofta. Min fråga är ska jag blöta ner koftan med vatten ( sprayflaska) eller skölja i vatten och krama ur vattnet innan jag sträcker ut koftan enligt mått angivet på mönstret? Har aldrig stickat något i denna typ av garn tidigare. Tacksam för ert råd och svar. Vänlig hälsning Monica
20.11.2024 - 17:05DROPS Design answered:
Hei Monica. Om den oppgitte strikkefastheten er fulgt, så skal du ikke behøve å strekket plagget til oppgitt mål. Men om du ønsker å vaske den før bruk, følg vaskeanvisningen til garnet. Les gjerne mer om garnet under GARN & STICKOR/ DROPS AIR / scroll helt ned og klikk på Tvättråd og les om: Hur tar jag hand om detta garn? mvh DROPS Design
25.11.2024 - 09:14
![]() Lisa wrote:
Lisa wrote:
Beautiful day
08.08.2024 - 18:44
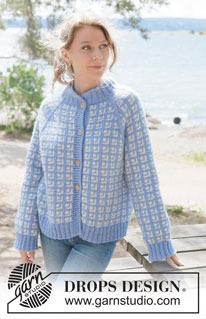
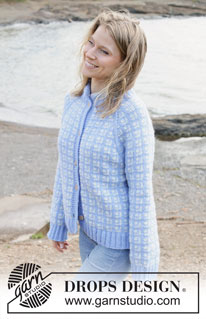
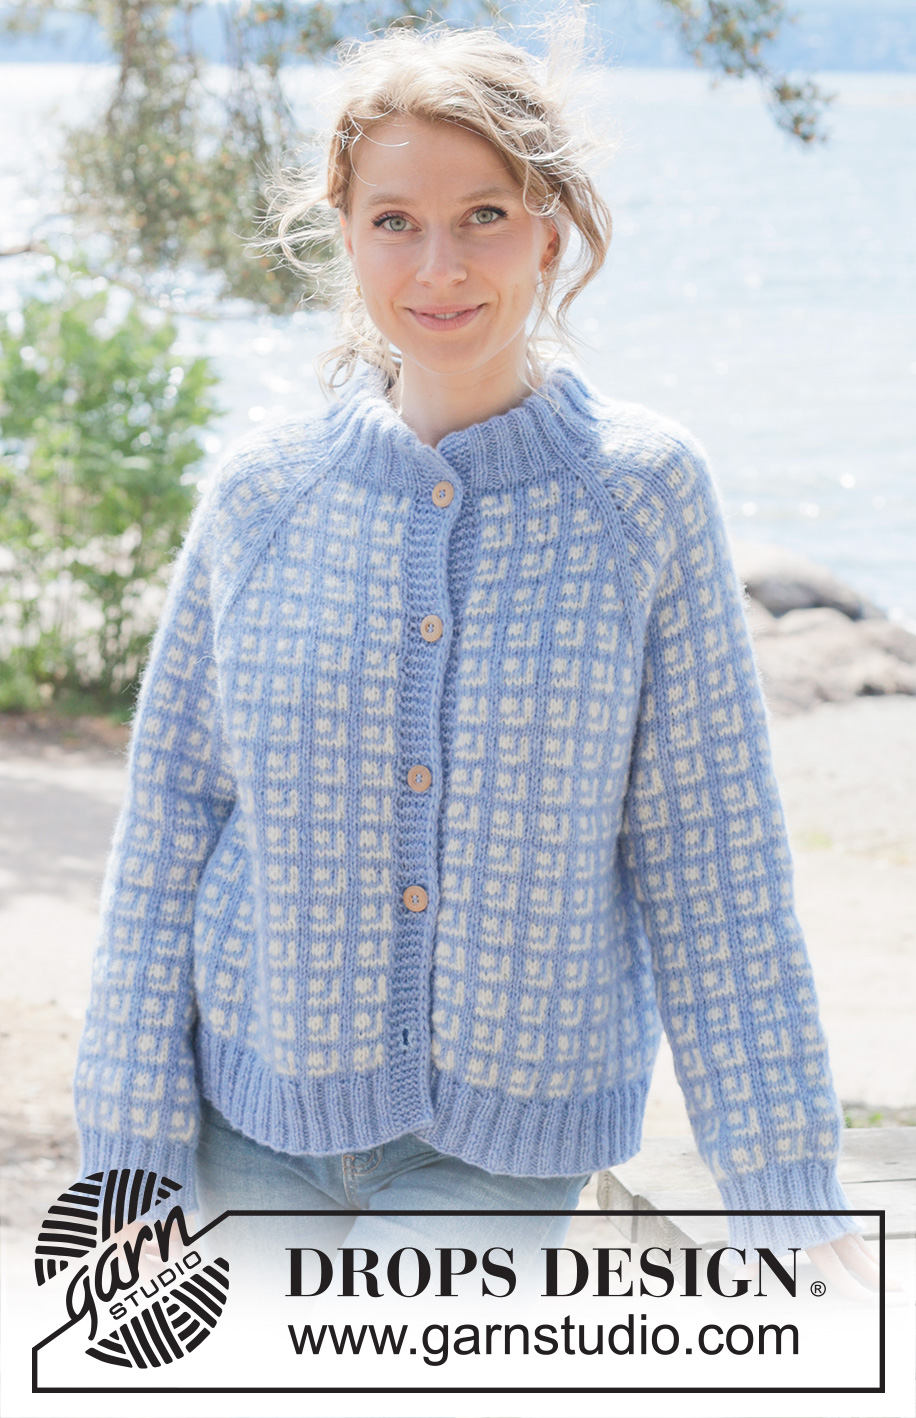
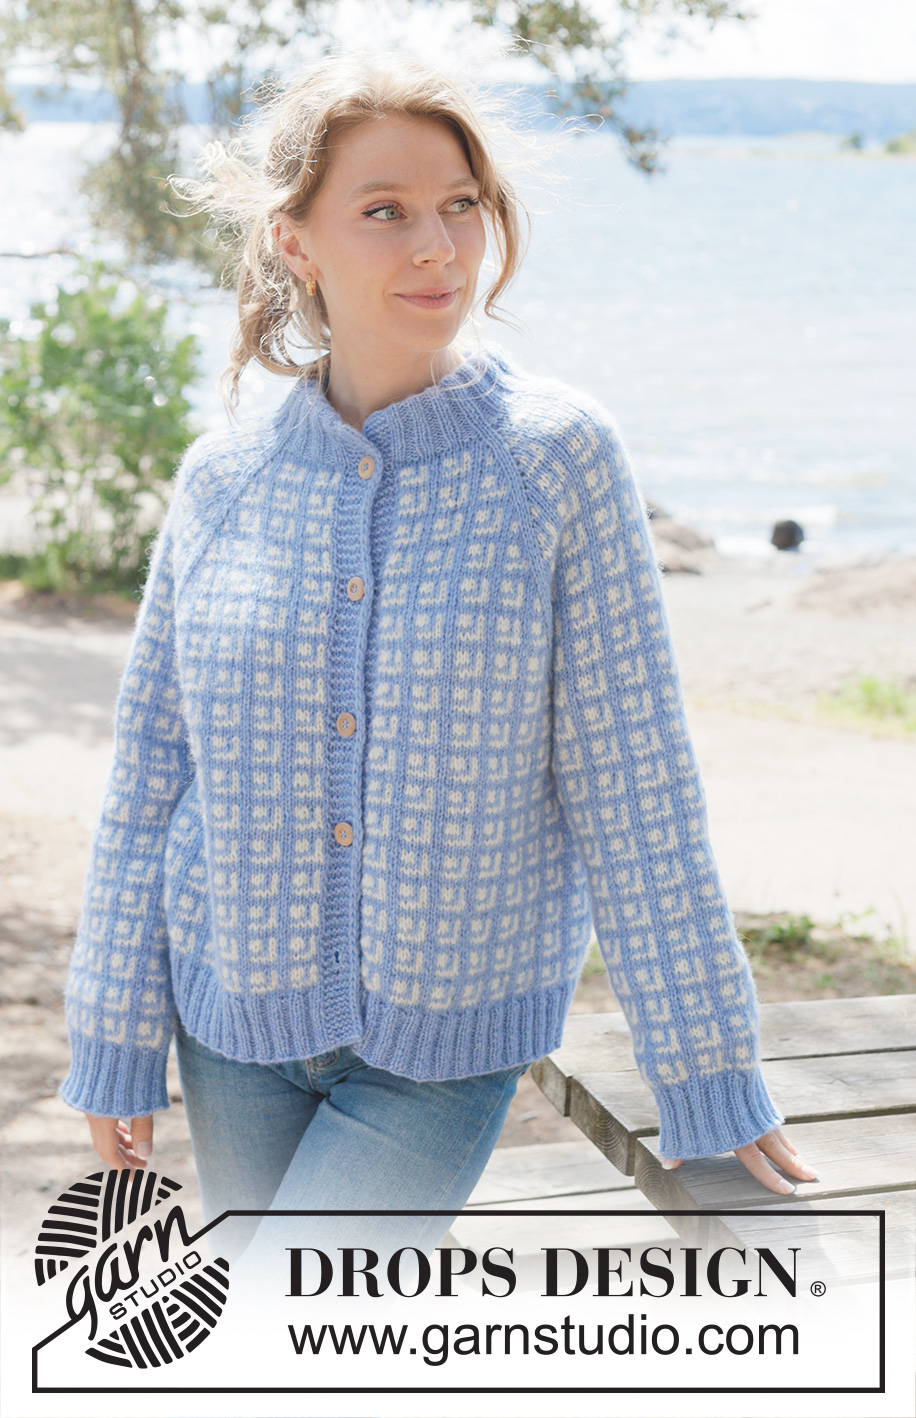
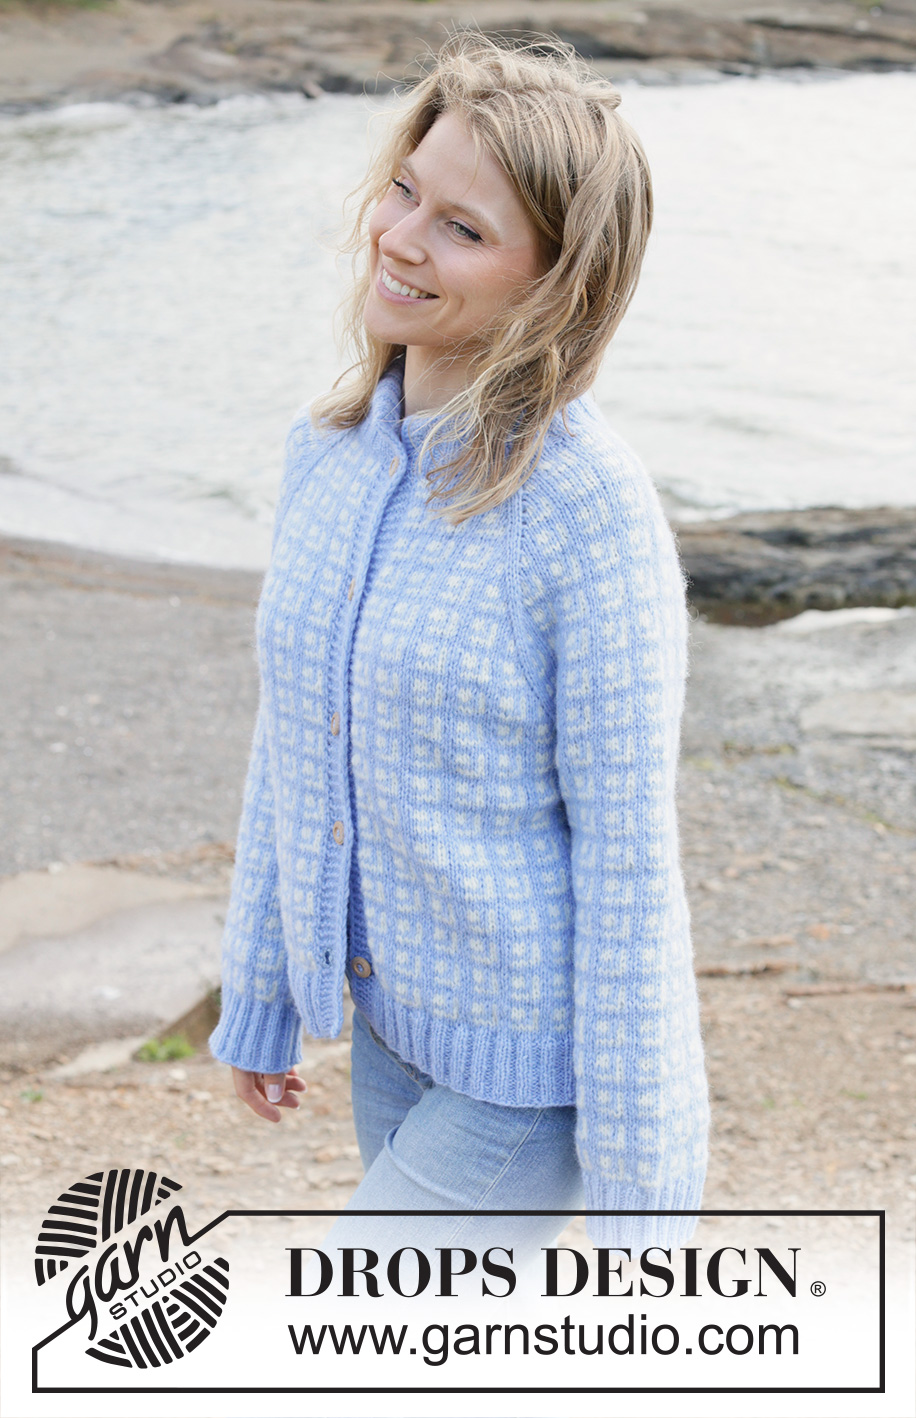
River Breakup Cardigan#riverbreakupcardigan |
|||||||
 |
 |
||||||
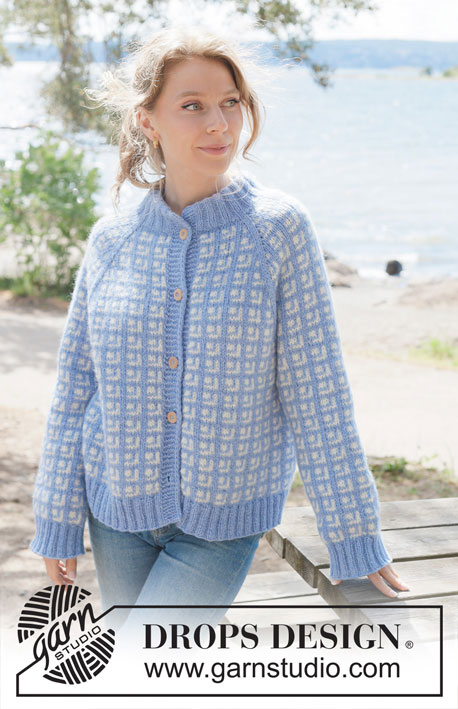
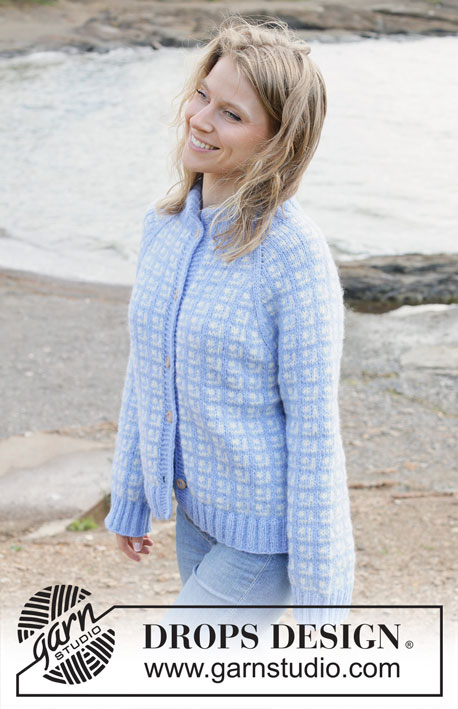
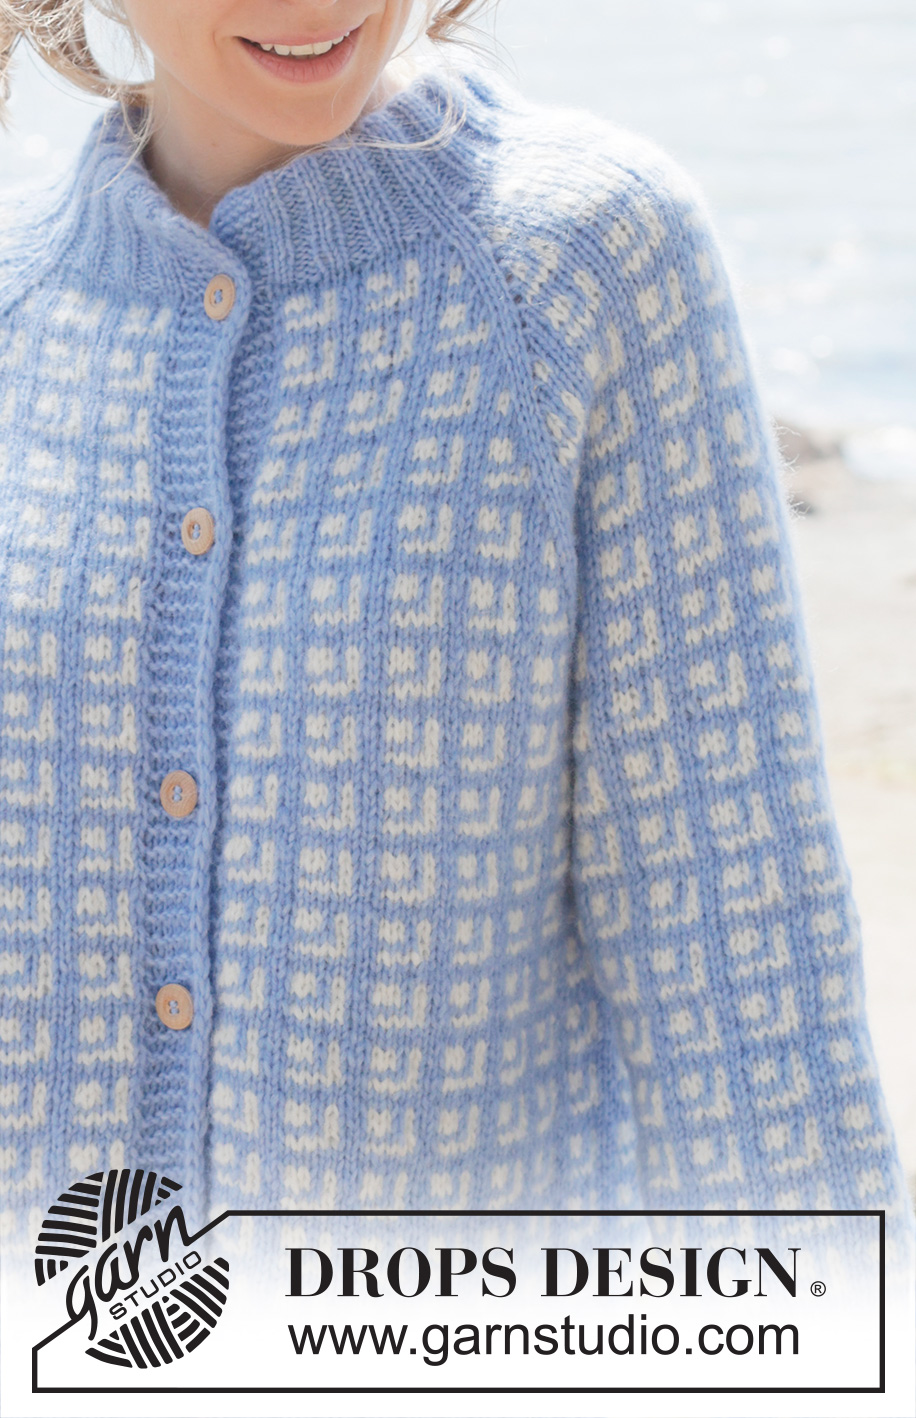
Knitted jacket in DROPS Air. The piece is worked top down with raglan, Nordic pattern, double neck and I-cord. Sizes S - XXXL.
DROPS 254-29 |
|||||||
|
------------------------------------------------------- EXPLANATIONS FOR THE PATTERN: ------------------------------------------------------- GARTER STITCH (worked back and forth): Knit all rows. 1 ridge = knit 2 rows. BANDS WITH I-CORD BEGINNING OF ROW: Slip 1 stitch purl-wise with strand in front, knit 1, work 5 garter stitches. END OF ROW: Work until there are 7 stitches left on the row, work 5 garter stitches, slip 1 stitch purl-wise with strand in front, knit 1. Work in the same way from both the right and wrong side. PATTERN: See diagrams A.1 to A.3. The diagrams show the pattern from the right side. The pattern is worked in stocking stitch. RAGLAN: Increase 1 stitch by making 1 yarn over as follows: INCREASE TOWARDS THE RIGHT BEFORE RAGLAN-STITCH: Make 1 yarn over by taking the strand forwards, around the right needle from the back. On the next row purl the front loop. Then work the new stitch in stocking stitch. INCREASE TOWARDS THE LEFT AFTER RAGLAN-STITCH: Make 1 yarn over by laying the strand in front of the right needle, then taking it backwards. On the next row purl the back loop. Then work the new stitch in stocking stitch. BUTTONHOLES: Work the buttonholes from the right side, when there are 5 stitches left on the row. ROW 1 (right side): Make 1 yarn over, knit 2 together, knit 1, slip 1 purl-wise with strand in front, knit 1. ROW 2 (wrong side): Work the band as before, knit the yarn over to leave a hole. The first buttonhole is worked on the first row from the right side after the neck is finished. Then work the other 4-4-5-5-5-5 buttonholes with 11-11½-9½-10-10-10½ cm between each one. The bottom buttonhole is worked in the transition between the stocking stitch and rib. INCREASE TIP (evenly spaced): To work out how to increase evenly, count the total number of stitches on the needle (e.g., 182 stitches) minus bands (e.g., 14 stitches) and divide the remaining stitches by the number of increases to be made (e.g., 33) = 5.6. In this example, increase by making 1 yarn over after alternately each 5th and 6th stitch. (Do not increase over the bands). On the next row work the yarn overs twisted to avoid holes. DECREASE TIP: Decrease 1 stitch on each side of the marker-thread as follows: Work until there are 3 stitches left before the marker-thread, knit 2 together, knit 2 (marker-thread sits between these 2 stitches), slip 1 stitch knit-wise, knit 1 and pass the slipped stitch over the knitted stitch (2 stitches decreased). ------------------------------------------------------- START THE PIECE HERE: ------------------------------------------------------- JACKET – SHORT OVERVIEW OF THE PIECE. The pattern uses both long and short needles; start with the length which fits the number of stitches and change when necessary. The neck and yoke are worked back and forth with circular needle, from mid front and top down. When the yoke is finished, it is divided for body and sleeves and the body continued back and forth with circular needle, while the sleeves wait. The sleeves are then worked in the round. The neck is folded to the inside and sewn down. If there is a «0» in your chosen size, skip the information and go straight to the next instruction. NECK: Cast on 92-92-92-108-108-108 stitches with circular needle size 5 mm and colour light blue DROPS Air. Change to circular needle size 3.5 mm (casting on with a larger needle size makes the cast-on edge elastic). Purl 1 row from the wrong side. Work next row from the right side as follows: Work 1 GARTER STITCH – read description above, work rib (knit 2, purl 2) until there are 3 stitches left, knit 2, then 1 garter stitch. Continue this rib for 5-5-5-6-6-6 cm (= approx. neck-height when it is folded double). At the end of the next 2 rows, cast on 6 band-stitches = 104-104-104-120-120-120 stitches. Continue the rib, working the 7 outermost stitches on each side according to BANDS WITH I-CORD – read description above. Work until the neck measures 11-11-11-13-13-13 cm from the cast-on edge, finishing after a row from the wrong side. Insert 1 marker inside one of the bands; the piece is now measured from here. YOKE: Continue with needle size 5 mm. Insert 4 marker-threads as follows without working the stitches and inserting the threads between 2 knitted stitches; these 2 stitches are called raglan-stitches and are always worked in stocking stitch with colour light blue. Count 20-20-20-24-24-24 stitches (= left front piece), insert 1 marker-thread before the next stitch, count 20 stitches (= sleeve), insert 1 marker-thread before the next stitch, count 24-24-24-32-32-32 stitches (= back piece), insert 1 marker-thread before the next stitch, count 20 stitches (= sleeve), insert 1 marker-thread before the next stitch. There are 20-20-20-24-24-24 stitches left after the last marker-thread (= right front piece). Continue with PATTERN and increase for RAGLAN (read descriptions above) as follows: ROW 1 (right side): Work the band as before (with colour light blue), increase 0-0-0-2-2-2 stitches evenly spaced as far as marker-thread 1 at the same time as working A.2 a total of 1-1-1-2-2-2 times, then work A.3 (left front piece), increase 1 stitch for raglan on each side of the 2 raglan-stitches, work A.1, A.2, A.3 (sleeve), increase 1 stitch for raglan on each side of the 2 raglan-stitches, increase 2-2-2-6-6-6 stitches evenly between marker-threads 2 and 3 at the same time as working A.1, A.2 a total of 2-2-2-4-4-4 times, then A.3 (back piece), increase 1 stitch for raglan on each side of the 2 raglan-stitches, work A.1, A.2, A.3 (sleeve), increase 1 stitch for raglan on each side of the 2 raglan-stitches, increase 0-0-0-2-2-2 stitches evenly as far as the band, working A.1 then A.2 a total of 1-1-1-2-2-2 times (right front piece), work the band as before with the first BUTTONHOLE– read description above = 114-114-114-138-138-138 stitches. ROW 2 (wrong side): Work stocking stitch, pattern and bands as before, with the new stitches worked into the pattern as shown in the diagrams (remember to work the yarn overs as described under RAGLAN). ROW 3 (right side): Work stocking stitch, pattern and bands as before, increasing for raglan on each side of the raglan-stitches (= 8 increased stitches). ROW 4 (wrong side): Work stocking stitch, pattern and bands as before, with the new stitches worked into the pattern as shown in the diagrams (remember to work the yarn overs as described under RAGLAN). Work ROWS 3 and 4 11-11-11-17-20-17 times (22-22-22-34-40-34 rows worked) = 202-202-202-274-298-274 stitches. Remember to maintain the knitting tension. NOTE: Each time A.1 - A.3 are completed 1 time in height, you have room for 2 more repeats of A.2 in width. Now increase for raglan before/after the raglan-stitches as follows: ROW 1 (right side): Work stocking stitch, pattern and bands as before and increase for raglan before marker-thread 1, after marker-thread 2, before marker-thread 3 and after marker-thread 4, i.e., only increase on the front and back pieces, not on the sleeves (= 4 increased stitches). ROW 2 (wrong side): Work stocking stitch, pattern and bands as before, with the new stitches worked into the pattern as you go. Work ROWS 1 and 2 12-12-15-9-12-15 times (= 24-24-30-18-24-30 rows worked) = 250-250-262-310-346-334 stitches. All increases for raglan are now finished. You have increased a total of 24-24-27-27-33-33 times on the front and back pieces and 12-12-12-18-21-18 times on the sleeves. The pattern begins and ends with a whole or half repeat of A.2 by each raglan-line. Continue with stocking stitch, pattern and bands as before, without further increases until the yoke measures 22-22-25-25-30-30 cm from the marker mid-front. Now divide for the body and sleeves. DIVIDE FOR BODY AND SLEEVES: Work the first 44-44-47-53-59-59 stitches as before (= front piece), place the next 44-44-44-56-62-56 stitches on a thread for the sleeve, cast on 10-16-22-16-16-22 stitches (in side under sleeve), work 74-74-80-92-104-104 stitches (= back piece), place the next 44-44-44-56-62-56 stitches on a thread for the sleeve, cast on 10-16-22-16-16-22 stitches (in side under sleeve), work the last 44-44-47-53-59-59 stitches as before (= front piece). The body and sleeves are finished separately. BODY: = 182-194-218-230-254-266 stitches. Continue with stocking stitch, pattern and bands as before (A.2 is also worked across the 10-16-22-16-16-22 cast-on stitches under each sleeve and the pattern now fits around the whole body) until the piece measures approx. 44-46-48-49-51-53 cm from the marker mid-front – finishing after 1 row with colour light blue after a complete square in height. On the next row from the right side, begin the rib AT THE SAME TIME as increasing 30-34-38-42-46-46 stitches evenly on the row – read INCREASE TIP = 212-228-256-272-300-312 stitches, as follows: Change to circular needle size 3.5 mm. Use colour light blue, work the band as before, rib (knit 2, purl 2 – remember to increase) until there are 9 stitches left, knit 2 and work the band as before. Cast off when the rib measures 6-6-6-7-7-7 cm. The jacket measures approx. 50-52-54-56-58-60 cm from the marker and 56-58-60-62-64-66 cm from top of shoulder. SLEEVES: Place the 44-44-44-56-62-56 sleeve-stitches from the thread on one side of the piece on circular needle size 5 mm and knit up 1 stitch in each of the 10-16-22-16-16-22 stitches cast on under the sleeve = 54-60-66-72-78-78 stitches. Insert a marker-thread in the middle of the 10-16-22-16-16-22 stitches under the sleeve. Start at the marker-thread, work in the round continuing the pattern from the yoke – the pattern will not fit under the sleeve until the sleeve decreases are finished. When the sleeve measures 3-3-3-2-2-2 cm, decrease 2 stitches under the sleeve – read DECREASE TIP. Decrease like this every 3-2-2-1½-1½-1½ cm a total of 3-6-6-9-9-9 times = 48-48-54-54-60-60 stitches. Continue working until the sleeve measures approx. 40-41-39-37-33-34 cm from the division, finishing in the same way as on the body. Change to double pointed needles size 3.5 mm. Work rib (knit 2, purl 2) with colour light blue, AT THE SAME TIME increase 8-8-10-10-12-12 stitches evenly on the first round = 56-56-64-64-72-72 stitches. When the rib measures 6-6-6-7-7-7 cm, cast off. The sleeve measures approx. 46-47-45-44-40-41 cm. ASSEMBLY: Fold the neck double to the inside and sew down. To avoid the neck being tight and rolling outwards, it is important that the seam is elastic. Sew together the openings on the bands mid-front with small stitches. Sew the buttons onto the left band. |
|||||||
Diagram explanations |
|||||||
|
|||||||
 |
|||||||
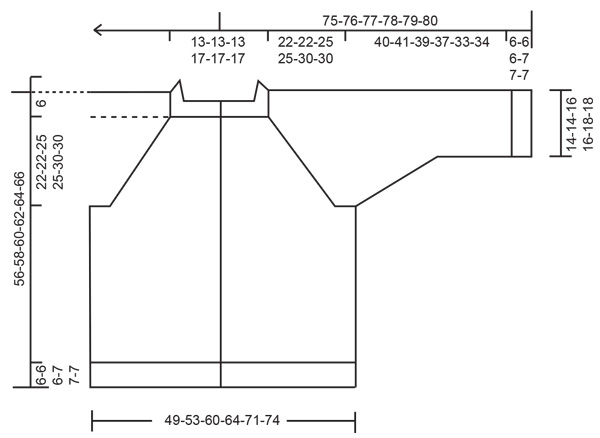 |
|||||||
Have you finished this pattern?Tag your pictures with #dropspattern #riverbreakupcardigan or submit them to the #dropsfan gallery. Do you need help with this pattern?You'll find 32 tutorial videos, a Comments/Questions area and more by visiting the pattern on garnstudio.com. © 1982-2026 DROPS Design A/S. We reserve all rights. This document, including all its sub-sections, has copyrights. Read more about what you can do with our patterns at the bottom of each pattern on our site. |
|||||||







Post a comment to pattern DROPS 254-29
We would love to hear what you have to say about this pattern!
If you want to leave a question, please make sure you select the correct category in the form below, to speed up the answering process. Required fields are marked *.