
Popular categories
Looking for a yarn?


Comments / Questions (40)
![]() Anja wrote:
Anja wrote:
Hallo. Kann ich diesen Pullover mit Drops Big Merino stricken? Ich weiß, der Pullover ist dann nicht flauschig. Ist aber Garngruppe C.
16.02.2026 - 10:34DROPS Design answered:
Liebe Anja, ja, Sie können Big Merino nehmen. Wichtig ist, dass Sie die Maschenprobe einhalten. Sie müssten dann noch die benötigte Lauflänge / Garnmenge für Ihre gewünschte Größe berechnen. Dazu orientieren Sie sich an der benötigten Gesamtlauflänge von Alpaca (50 g / 167 m; das zweite Garn brauchen Sie nicht hinzunehmen, da Sie Big Merino nur einfädig verstricken), d.h. Anzahl der benötigten Knäuel x Lauflänge pro Knäuel, und teilen diese Gesamtlauflänge dann durch die Lauflänge von Big Merino (75 m/50 g). Viel Spaß beim Stricken!
16.02.2026 - 11:17
![]() Brizard Martine wrote:
Brizard Martine wrote:
Modèle 250-13. Je suis perdue au moment de reprendre la réalisation de la manche en tricotant en rond. Jusqu'alors, je tricotais en aller-retour en faisant sur l’endroit, 2 m envers, une maille double puis 2 m envers encadrant la torsade. Sur le rang envers, on faisait 2m endroit, 1m envers, 2 m endroit. Comment faut-il faire ce rang envers quand on travaille en rond, notamment comment fait-on pourla maille double qui était 1 maille envers.
09.02.2026 - 18:49DROPS Design answered:
Bonjour Mme Brizard, sur l'endroit (= en rond), tricotez cette maille à l'endroit. Bon tricot!
10.02.2026 - 17:23
![]() Pernilla wrote:
Pernilla wrote:
Hej, jag har problem att förstå om jag ska följa mönsterberskrivningen A2 på v.8 fram till markören mitt bak? Hur gör jag i sådana fall på v.9 när bara halva arbetet stickats enligt v.8? Tacksam för hjälp!
08.01.2026 - 12:23DROPS Design answered:
Hej Pernilla. A.2 stickas bara på ärmarna, på fram och bakstycket stickar du slätstickning. Mvh DROPS Design
08.01.2026 - 13:23
![]() Thea wrote:
Thea wrote:
Na naald 7, keer het werk. Moet ik dan terugbrengen van middenachter? Wordt een arm dan niet 2 naalden minder gebreid?
04.12.2025 - 11:15DROPS Design answered:
Dag Thea,
Ik heb je vraag neergelegd bij de ontwerpafdeling. Het zou best kunnen dat de draad daar afgeknipt en afgehecht moet worden en dat je daarna midden achter begint met de pas. Hopelijk komt er spoedig een reactie in de vorm van een correctie op het patroon.
17.12.2025 - 16:52
![]() Anja wrote:
Anja wrote:
Hallo. Kann ich das Garn für diesen Pullover tauschen, und zwar mit Karisma + Kid Silk? Bei den Garnkombinationen steht, dass Karisma + Kid Silk = Garngruppe C. Wenn ich aber in der Anleitung das Garn tausche, kommt Karisma nicht vor. Oder Karisma + Baby Merino extra fine? Ich würde mich über eine Antwort sehr freuen.
21.10.2025 - 18:50DROPS Design answered:
Liebe Anja, Alpaca & Kid-Silk gehören in Garngruppe A, Karisma jedoch in Gruppe B und kommt daher bei den Garnalternativen nicht vor. Sie können trotzdem Karisma + Kid-Silk wie bei den Garnkombinationen verwenden, das Maschenbild wird aber dichter als mit Alpaca. Karisma + Baby Merino würde ein noch festeres Maschenbild ergeben, da Baby Merino eine andere Lauflänge und Struktur als Kid-Silk hat. Den Flauscheffekt erreichen Sie am besten mit Kid-Silk. Berechnung der Garnmenge: Benötigte Anzahl der Knäuel x Lauflänge von Alpaca (für Gr. S z.B. 5 x 167m = 835m), das Ergebnis durch die Lauflänge von Karisma teilen (z.B. für Gr. S: 835m durch 100m = 8,35, d.h. 9 Knäuel Karisma).
22.10.2025 - 19:49
![]() Annelies wrote:
Annelies wrote:
Ik wil beginnen maar na de opzet steken kom ik op de achterkant van het werk maar dit is vlgs het patroon de goede kant, klopt dat of moet ik deze toer averecht breien en dan met de 1 e toer beginnen?
31.08.2025 - 11:02DROPS Design answered:
Dag Annelies,
Na het opzetten brei je eerst heen en weer om een halslijn te maken. De eerste naald brei je aan de goede kant.
04.09.2025 - 22:08
![]() Lucia wrote:
Lucia wrote:
Dopo che arrivo a 150 maglie (misura M) non riesco a capire com'è possibile raggiungere 282 maglie se gli aumenti in totale sono 22 per il davanti/dietro e 11 per le maniche. Potete spiegarmi?
08.03.2025 - 16:15DROPS Design answered:
Buonasera Lucia, per il davanti e dietro si aumentano 8 maglie per 22 volte e per le maniche 4 maglie per 11 volte, quindi 150 + 88 + 44 = 282 maglie. Buon lavoro!
18.03.2025 - 21:21
![]() Ji wrote:
Ji wrote:
I'm stuck on the beginning of the neckline. It says to insert 4 markers, but I get 5. I have counted it over and over and I still get 5 markers. How do you get 4 when the pattern writes down 5 marker-threads? Please help.
04.02.2025 - 07:11DROPS Design answered:
Dear Ji, you should have 4 marker-threads (one for each raglan) + 1 marker (to mark mid-back). Happy knitting!
04.02.2025 - 10:02
![]() Annica wrote:
Annica wrote:
Hej, kan man sticka denna tröja enbart med kid silk? Såg ett inlägg på instagram där det stod att hon bara använt kid silk
04.01.2025 - 08:56DROPS Design answered:
Hei Annica. Jo, men da med 2 tråder Kid-Silk. Genseren blir veldig lett (deilig), husk å overholde strikkefastheten. mvh DROPS Design
07.01.2025 - 14:26
![]() MONI wrote:
MONI wrote:
Danke für die Anleitung, falls sie gratis ist. Die Garne sehen sehr schön aus. Das wäre seit vielen, vielen Jahren das erste Mal, dass ich wieder etwas stricke. Liebe Grüße Moni
27.12.2024 - 20:31
|
|||||||||||||||||||
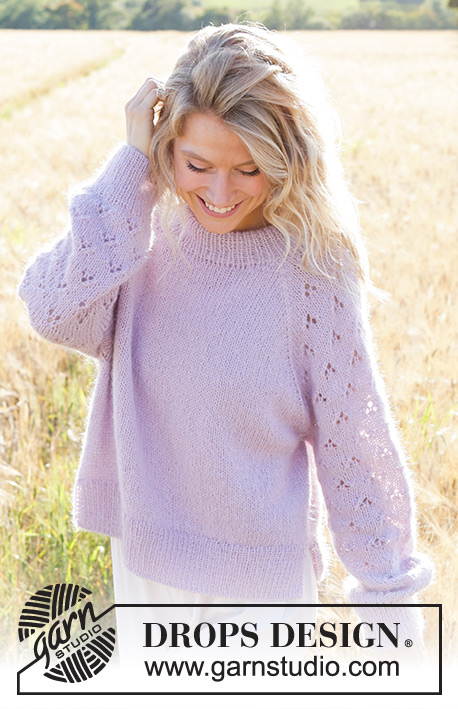
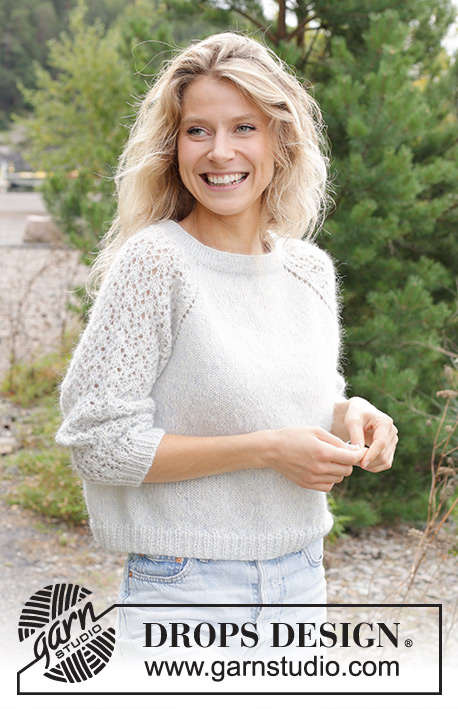
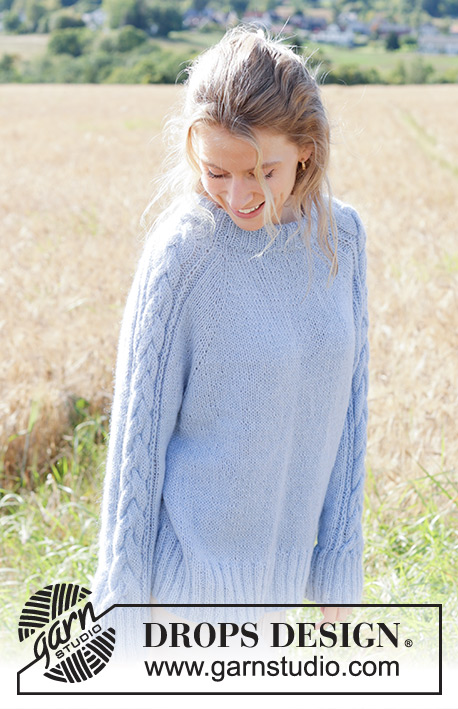
Aisling Sweater#aislingsweater |
|||||||||||||||||||
 |
 |
||||||||||||||||||
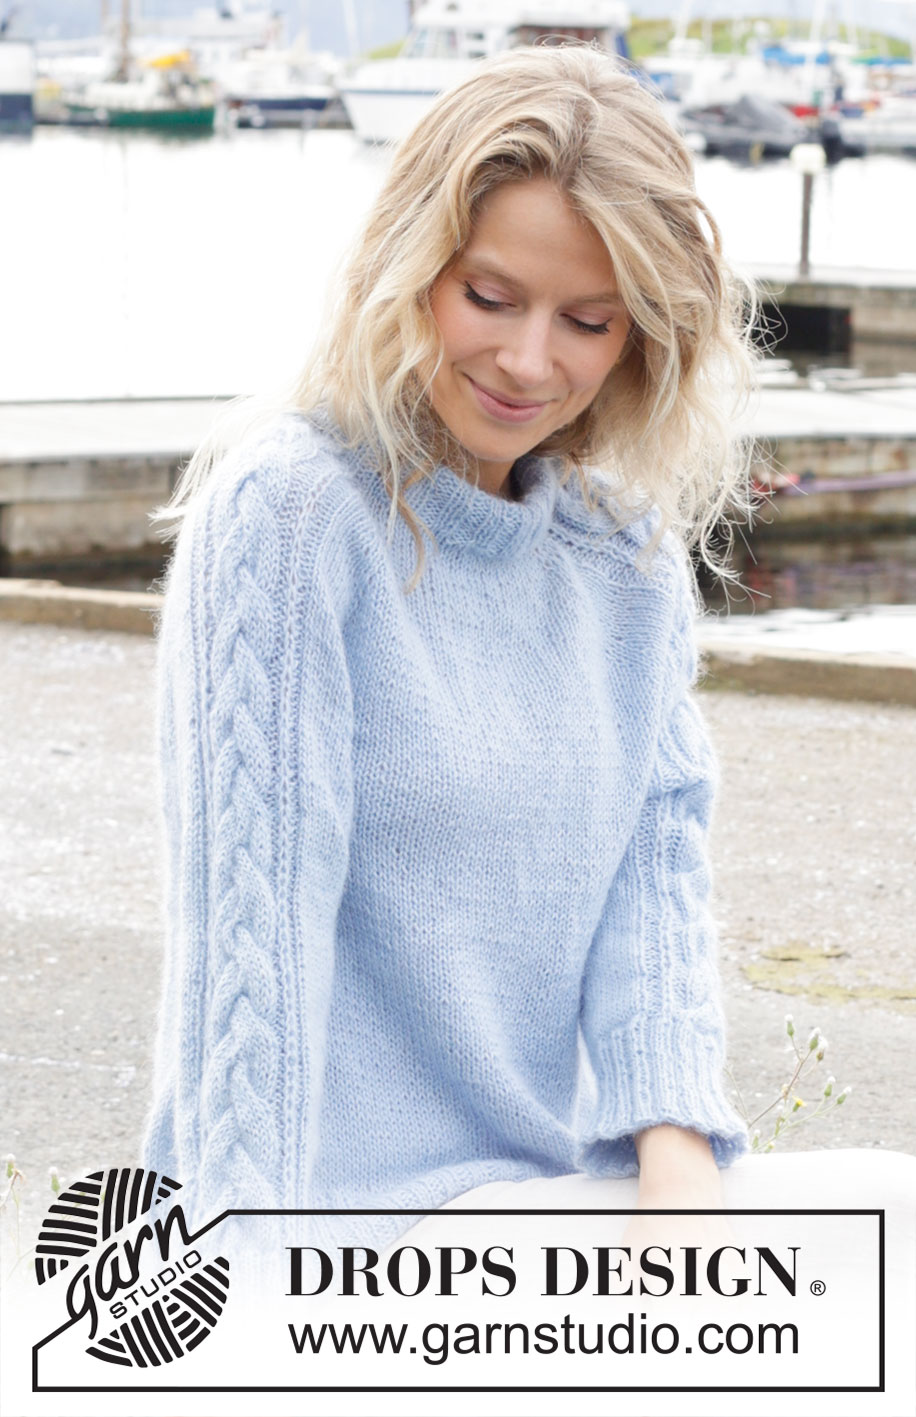
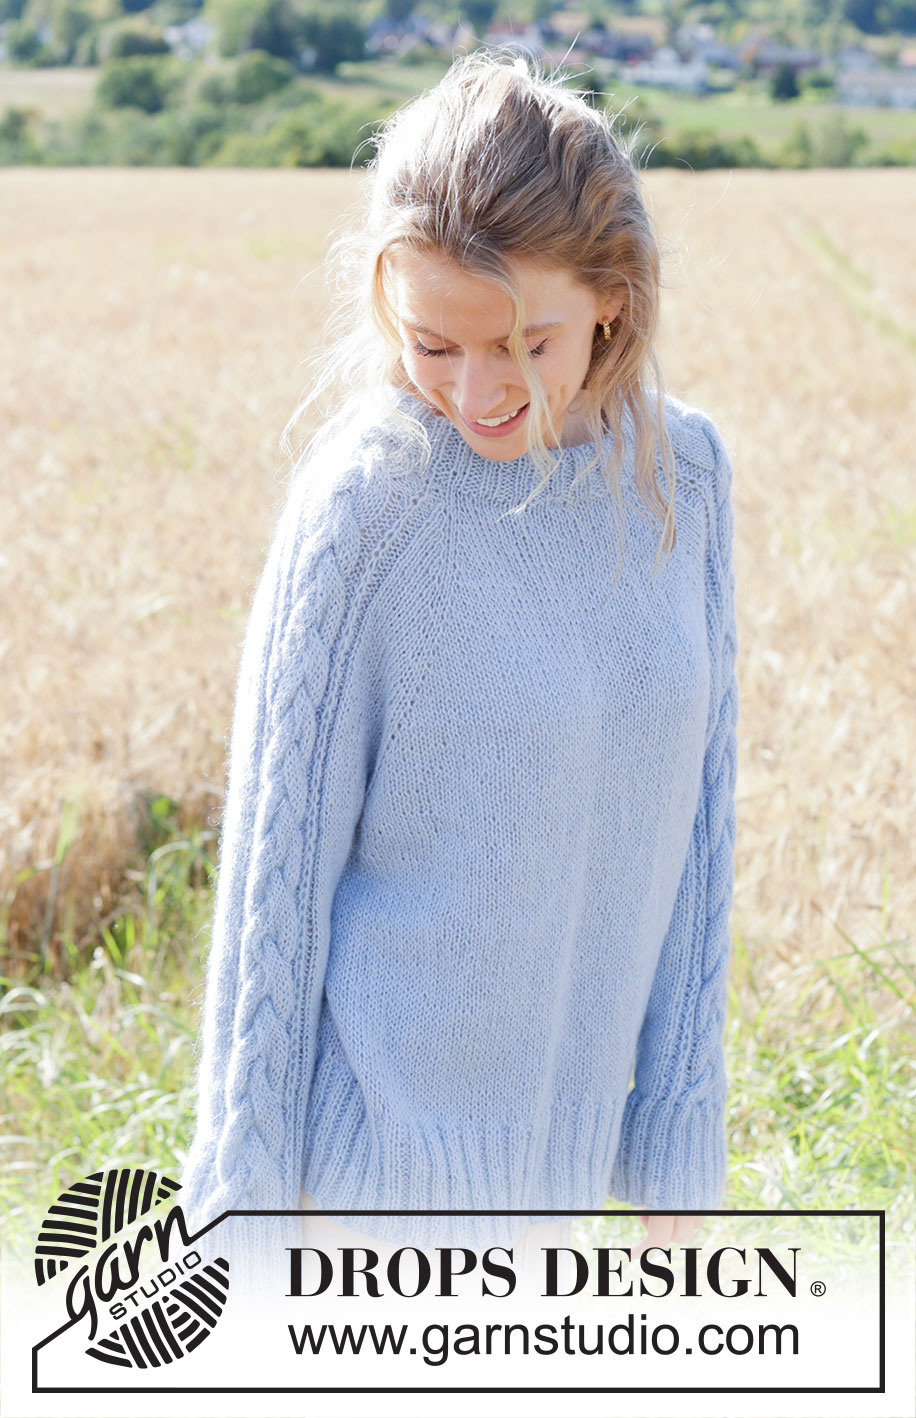
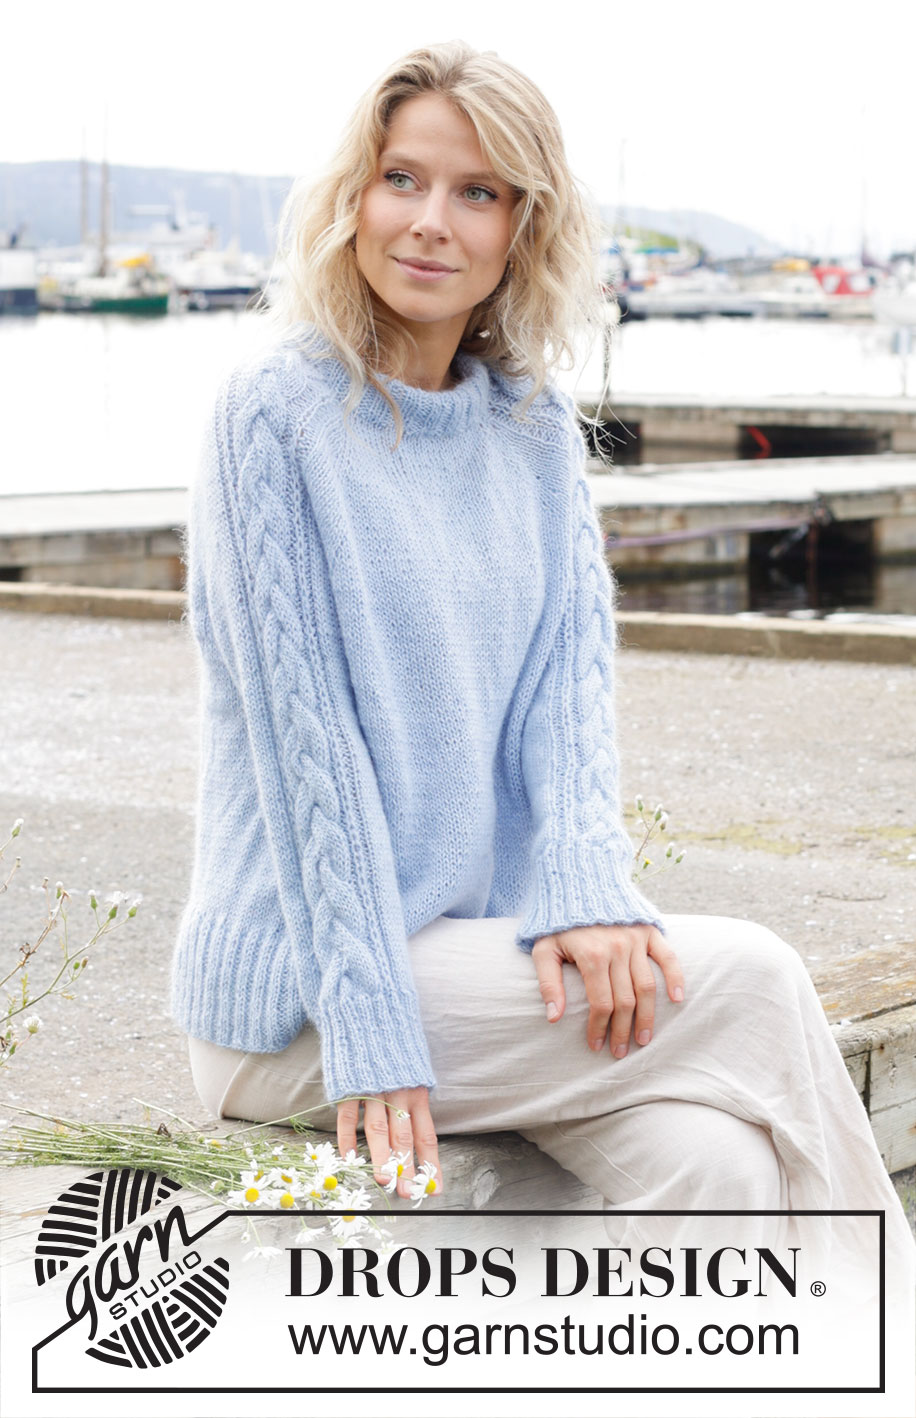
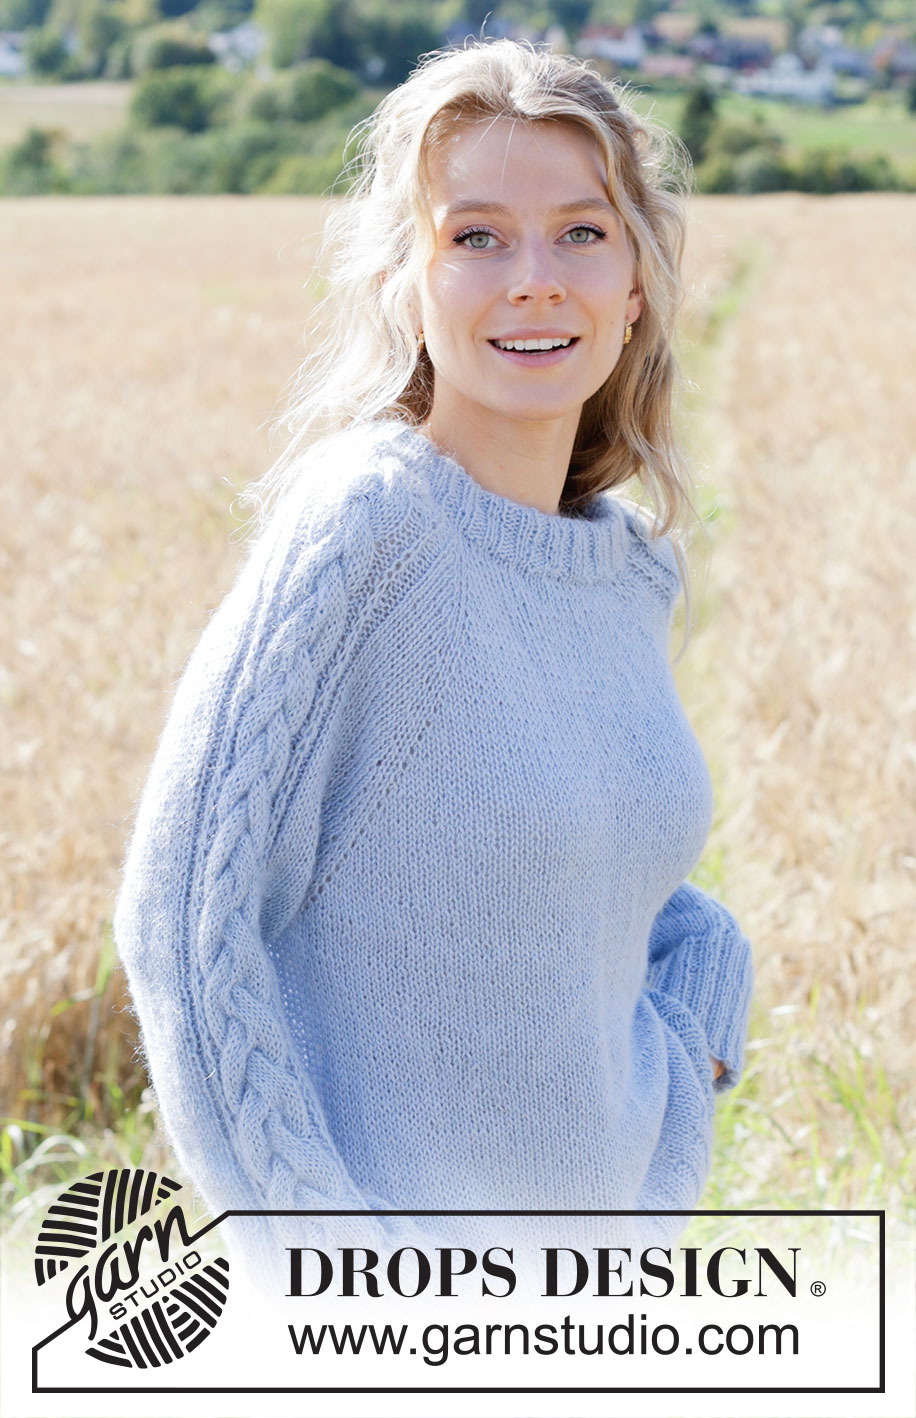
Knitted jumper in DROPS Alpaca and DROPS Kid-Silk. The piece is worked top down with raglan, cables, Fisherman’s rib on sleeves and double neck. Sizes S - XXXL.
DROPS 250-13 |
|||||||||||||||||||
|
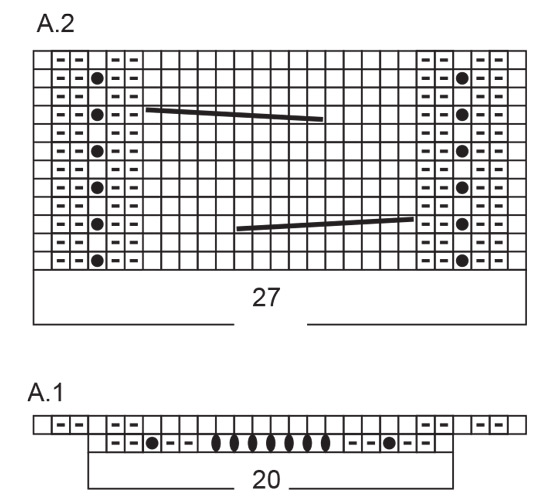
------------------------------------------------------- EXPLANATIONS FOR THE PATTERN: ------------------------------------------------------- PATTERN: See diagrams A.1 and A.2. The diagrams show all rows in the pattern from the right side. RAGLAN: Increase 1 stitch before/after 2 stocking stitches in each transition between body and sleeves, marker-thread sits between these 2 stitches. Increase 1 stitch by making 1 yarn over which is worked twisted on the next row/round to avoid a hole. Then work the new stitches in stocking stitch. DECREASE TIP (for sleeves): Decrease 1 stitch on each side of the marker-thread as follows. Work until there are 3 stitches left before the marker-thread, knit 2 together, knit 2 (marker-thread sits between these 2 stitches), slip 1 stitch knit-wise, knit 1 and pass the slipped stitch over the knitted stitch. ------------------------------------------------------- START THE PIECE HERE: ------------------------------------------------------- JUMPER – SHORT OVERVIEW OF THE PIECE: The pattern uses both long and short needles; start with the length which fits the number of stitches and change when necessary. Stitches are cast on for the neckline, which is worked back and forth, increasing stitches on each side until the neckline is finished. The yoke is worked in the round with circular needle, from mid-back and top down. When the yoke is finished, it is divided for the body and sleeves, the body continued in the round while the sleeves wait. The sleeves are worked in the round, top down. Stitches are knitted up for the neck, which is folded double to the inside and sewn down. NECKLINE: Cast on 70-70-70-78-78-78 stitches with circular needle size 5 mm and 1 strand of each quality (2 strands). Insert 4 marker-threads without working the stitches; these are used when increasing for raglan. Each marker-thread is inserted between 2 stitches as follows: Count 3 stitches (front piece), insert 1 marker-thread, count 20 stitches (sleeve), insert 1 marker-thread, count 12-12-12-16-16-16 stitches, insert 1 marker here (mid-back), count 12-12-12-16-16-16 stitches (back piece), insert 1 marker-thread, count 20 stitches (sleeve), insert 1 marker-thread, count 3 stitches (front piece). Work back and forth as follows: ROW 1 (right side): Knit the stitches on the front and back pieces, work A.1 over the 20 stitches on each sleeve and increase for RAGLAN on each side of all 4 marker-threads – read description above (8 stitches increased for raglan and 7 stitches increased in each A.1), cast on 2 stitches at end of row = 94-94-94-102-102-102 stitches. ROW 2 (wrong side): Purl the stitches on the front and back pieces, work the last row in A.1 over the sleeve-stitches, cast on 2 stitches at end of row = 96-96-96-104-104-104 stitches. ROW 3 (right side): Knit the stitches on the front and back pieces, work A.2 over A.1 on the sleeves, increase for raglan on each side of all 4 marker-threads (8 increased stitches), cast on 2 stitches at end of row = 106-106-106-114-114-114 stitches. ROW 4 (wrong side): Work pattern and stocking stitch as before, cast on 2 stitches at end of row = 108-108-108-116-116-116 stitches. ROW 5 (right side): Work pattern and stocking stitch as before, increase for raglan on each side of all 4 marker-threads (8 increased stitches), cast on 2 stitches at end of row = 118-118-118-126-126-126 stitches. ROW 6 (wrong side): Work pattern and stocking stitch as before, cast on 2 stitches at end of row = 120-120-120-128-128-128 stitches. ROW 7 (right side): Work pattern and stocking stitch as before, increase for raglan on each side of all 4 marker-threads (8 increased stitches), cast on 6-6-6-14-14-14 stitches at end of row = 134-134-134-150-150-150 stitches. Cut the yarn. The neckline is now finished and you have increased 4 times for raglan. Continue the yoke with stocking stitch and A.2, working in the round from mid-back. YOKE: Continue increasing for raglan (8 increased stitches) 2 more times (a total of 6 times, including those on the neckline) = 150-150-150-166-166-166 stitches. Continue increasing for raglan every 2nd round but every 2nd increase is only on the front and back pieces, i.e., increase on the front and back pieces every 2nd round and on the sleeves every 4th round, alternately 4 and 8 increased stitches. Increase like this 18-22-26-26-30-30 times on the front and back pieces (9-11-13-13-15-15 times on the sleeves) = 258-282-306-322-346-346 stitches. Continue increasing for raglan, but now only on the front and back pieces (the sleeve-increases are finished). Increase like this every 2nd round a total of 2-1-0-0-0-4 times (do not increase in sizes L, XL, XXL). A total of 26-29-32-32-36-40 times on the body and 15-17-19-19-21-21 times on the sleeves (including the increases on the neckline). There are 266-286-306-322-346-362 stitches. Continue with stocking stitch and A.2 until the piece measures 24-26-29-29-33-36 cm, measured mid-back. DIVIDE FOR BODY AND SLEEVES: Work the first 38-41-44-48-52-56 stitches (half back piece), place the next 57-61-65-65-69-69 stitches on 1 thread for the sleeve, cast on 10-10-10-12-14-16 stitches (in side under sleeve), work the next 76-82-88-96-104-112 stitches (front piece), place the next 57-61-65-65-69-69 stitches on 1 thread for the sleeve, cast on 10-10-10-12-14-16 stitches (in side under sleeve), work the last 38-41-44-48-52-56 stitches (half back piece). BODY: = 172-184-196-216-236-256 stitches. Work stocking stitch in the round until the body measures 18-18-17-19-17-16 cm from the division. Knit 1 round and increase 36-40-44-48-52-56 stitches evenly spaced = 208-224-240-264-288-312 stitches. Change to circular needle size 4 mm. Work rib (knit 2, purl 2) for 10 cm. Cast off. The jumper measures approx. 58-60-62-64-66-68 cm from the shoulder. SLEEVES: Place the 57-61-65-65-69-69 stitches from the thread on the one side of the piece on short circular needle/double pointed needles size 5 mm and knit up 1 stitch in each of the 10-10-10-12-14-16 stitches cast on under the sleeve = 67-71-75-77-83-85 stitches. Insert a marker-thread in the middle of the new stitches. Work stocking stitch and continue A.2 in the round. When the sleeve measures 4 cm, decrease 2 stitches under the sleeve – read DECREASE TIP. Decrease like this every 5-3½-2½-2½-2-1½ cm a total of 6-8-9-10-11-11 times = 55-55-57-57-61-63 stitches. Continue working until the sleeve measures 34-33-32-31-28-25 cm. Knit 1 round and increase 5-5-7-7-7-9 stitches evenly spaced = 60-60-64-64-68-72 stitches. Change to double pointed needles size 4 mm. Work rib (knit 2, purl 2) for 8 cm. Cast off. The sleeve measures approx. 42-41-40-39-36-33 cm from the division. DOUBLE NECK: Start mid-back and knit up from the right side 88 to 104 stitches around the neck, with short circular needle size 4 mm and 1 strand of each quality (2 strands) – stitch count must be divisible by 4 – making sure that the raglan-stitches continue as knitted stitches in the rib (seen from the right side). Work rib in the round (knit 2, purl 2) for 11 cm. Cast off. Fold the neck double to the inside and fasten with a couple of stitches |
|||||||||||||||||||
Diagram explanations |
|||||||||||||||||||
|
|||||||||||||||||||
 |
|||||||||||||||||||
 |
|||||||||||||||||||
Have you finished this pattern?Tag your pictures with #dropspattern #aislingsweater or submit them to the #dropsfan gallery. Do you need help with this pattern?You'll find 31 tutorial videos, a Comments/Questions area and more by visiting the pattern on garnstudio.com. © 1982-2026 DROPS Design A/S. We reserve all rights. This document, including all its sub-sections, has copyrights. Read more about what you can do with our patterns at the bottom of each pattern on our site. |
|||||||||||||||||||


With over 40 years in knitting and crochet design, DROPS Design offers one of the most extensive collections of free patterns on the internet - translated to 17 languages. As of today we count 325 catalogues and 12298 patterns translated into English (UK/cm). 12298
We work hard to bring you the best knitting and crochet have to offer, inspiration and advice as well as great quality yarns at incredible prices! Would you like to use our patterns for other than personal use? You can read what you are allowed to do in the Copyright text at the bottom of all our patterns. Happy crafting!
Post a comment to pattern DROPS 250-13
We would love to hear what you have to say about this pattern!
If you want to leave a question, please make sure you select the correct category in the form below, to speed up the answering process. Required fields are marked *.