
Popular categories
Looking for a yarn?


Comments / Questions (16)
![]() Irene wrote:
Irene wrote:
Mitä tarkoittaa ohjeen takakappaleen alussa: Neulo 1 kerros nurin nurjalta puolelta? Onko se silmukoiden luomisen jälkeinen kerros oikea vai nurja? Olen aina ajatellut, että se on oikea. Pitääkö siis neuloa ensin oikeaa kerros ja sitten nurjaa. Tällä tavalla siihen tulee sileää ennen joustinneuletta, onko se tarkoitus?
26.02.2026 - 21:47DROPS Design answered:
Hei, tässä mallissa ensimmäinen kerros neulotaan työn nurjalta puolelta, eli neulo aluksi 1 kerros nurin.
02.03.2026 - 18:59
![]() Federica wrote:
Federica wrote:
Se non ho capito male, il diagramma A.1 non si deve leggere come al solito (dritto e rovescio) ma indica solo i ferri a dritto e quindi il motivo finale sarebbe una coste 1/1. È corretto? Grazie
14.12.2025 - 18:10DROPS Design answered:
Buonasera Federica, il diagramma mostra tutti i ferri del motivo, sia dal diritto che dal rovescio del lavoro. Buon lavoro!
15.12.2025 - 23:14
![]() Leonie wrote:
Leonie wrote:
Hallo, Ik wil dit gilet breien met Drops Melody. Mijn proefritje op nld 6 is bij 14 st en 16 nld , 10 bij 9 cm. Wat raden jullie aan om met welke nld te breien. En ik heb ongeveer 5 1/2 bol van 50 gram. Kom ik hiermee uit voor maar L?
04.12.2025 - 13:54DROPS Design answered:
Dag Leonie,
Met de garenvervanger, waarvan een link staat onder de materialenlijst bij ieder patroon, kun je vervangend garen vinden voor je project. De benodigde hoeveelheid wordt dan ook gelijk aangegeven.
Verder hebben we een artikel op de site staan waarin uitgelegd is hoe je garen kunt vervangen door een ander garen en hoe je dit uitrekent. Zie hier.
04.12.2025 - 20:01
![]() Valerie wrote:
Valerie wrote:
Bonjour, est-ce que je peux tricoter ce modèle sans le fil kid-silk? Merci
11.10.2025 - 23:09DROPS Design answered:
Bonjour Valérie, oui, mais il vous faudra le changer pour une autre laine du groupe de fils E pour obtenir plus facilement le bon échantillon car on tricote ici les 2 laines ensemble; consultez ici les alternatives possibles et les quantités correspondantes. Bon tricot!
15.10.2025 - 08:08
![]() Sandy wrote:
Sandy wrote:
I’m looking to knit this vest . I see from the pattern size picture that the XL is 57 cm + 114 around. My measurements are 109cm . I like this loose but not too sack looking . The L size is 53 = 106 . Can you please advise. I’m thinking the size XL as this is the finished size. Thanks
13.06.2025 - 01:05DROPS Design answered:
Dear Sandy, measure a similar garment you have and like the shape to compare with the measurements in the chart; then you can choose if you rather get a tighter or a looser piece. Read more here. Happy knitting!
13.06.2025 - 08:00
![]() Edvige wrote:
Edvige wrote:
Il davanti e il dietro mi piacerebbe lavorarli assieme .
19.01.2025 - 19:16DROPS Design answered:
Buonasera Edvige, può apportare le modifiche che preferisce al modello. Buon lavoro!
21.01.2025 - 23:06
![]() Liliana wrote:
Liliana wrote:
Salve sto' lavorando il davanti destro nella taglia XXL 71 maglie, non mi torna il conto dopo le 19 diminuzioni mi restano 44 maglie e non 52... dov'è l'errore? Grazie mille
25.11.2024 - 17:55DROPS Design answered:
Buonasera Liliana, 71-19 = 52 maglie. Buon lavoro!
27.11.2024 - 00:14
![]() Jantine wrote:
Jantine wrote:
Ik begrijp dat bij het patroon December Skies, Spencer 228/32 twee soorten garen worden gebruikt. In het patroon kan ik niet vinden waar de Alpaca Bouclé en waar de Drops Kid Silk worden gebruikt. Is het laatste soms voor de boorden? En hoeveel heb ik nodig als ik alles van bouclé brei? Ik hoop op een spoedig antwoord, hartelijk dank alvast. Gr. Jantine
25.02.2024 - 12:33DROPS Design answered:
Dag Jantine,
Het hele werkstuk wordt met 2 draden gebreid, 1 draad Kid-Silk en 1 draad Alpaca bouclé. (Van Kid-Silk heb je veel minder nodig omdat het een laag gewicht heeft en een lange looplengte.)
28.02.2024 - 20:30
![]() CATH N wrote:
CATH N wrote:
I do not understand A.1. What does it mean "twisted" as in "KNIT TWISTED FROM RIGHT SIDE , PURL TWISTED FROM WRONG SIDE"?? And how does the little A1 diagram relate to the instruction/big diagram: the PATTERN says "shows all rows in the pattern from the right side". It doesn't show all rows in the pattern I printed , only an outline of the garment with stitches for different sizes. Please help.
10.02.2024 - 11:36DROPS Design answered:
Dear Cath, twisted = work in the back loop, you can see an example of knitting twisted in the following video:https://www.garnstudio.com/video.php?id=32&lang=en. A.1 is the 2-stitch pattern that is worked the whole round, as explained in the written instructions. You can see how to read this chart here: https://www.garnstudio.com/lesson.php?id=68&cid=19. When it says that the PATTERN shows all rows in the pattern from the right side it means that all rows in chart A.1 are shown as seen from the right side; you will find more information in the lesson above. The outline is the size chart, explained here: https://www.garnstudio.com/lesson.php?id=24&cid=19. Happy knitting!
11.02.2024 - 23:01
![]() Noemi Mizrahi wrote:
Noemi Mizrahi wrote:
Do I DECREASE stitches after the rib? usually one adds stitches after the rib ( in other patterns )
08.11.2023 - 04:06DROPS Design answered:
Dear Mrs Mizrahi, for same width you need more stitches to work rib with smaller needles than to knit stocking stitch with larger needles, reason why you decrease after rib. Happy knitting!
08.11.2023 - 08:35
|
|||||||
December Skies#decemberskiesvest |
|||||||
 |
 |
||||||
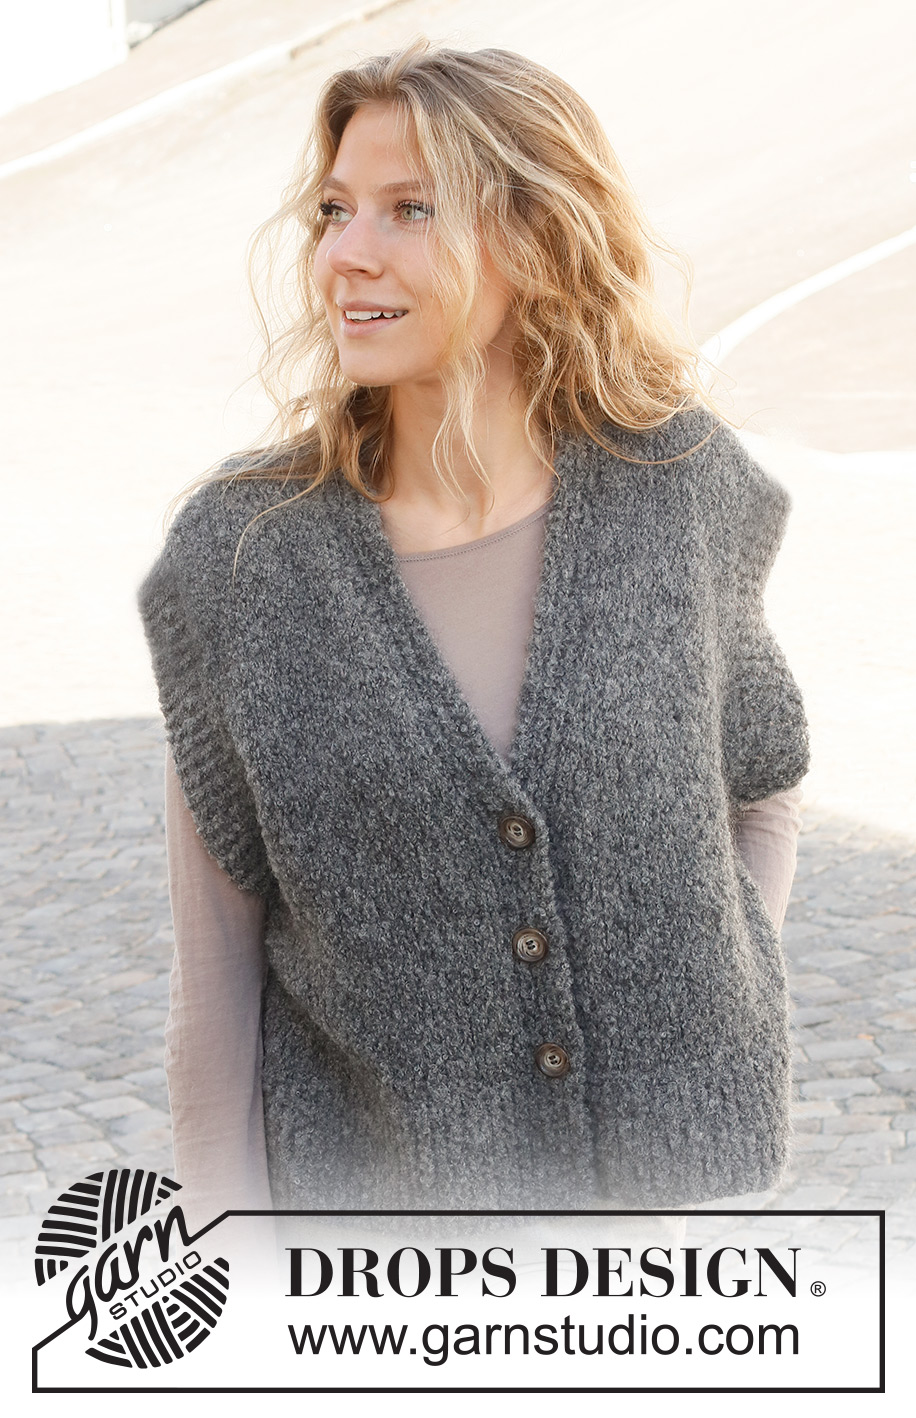
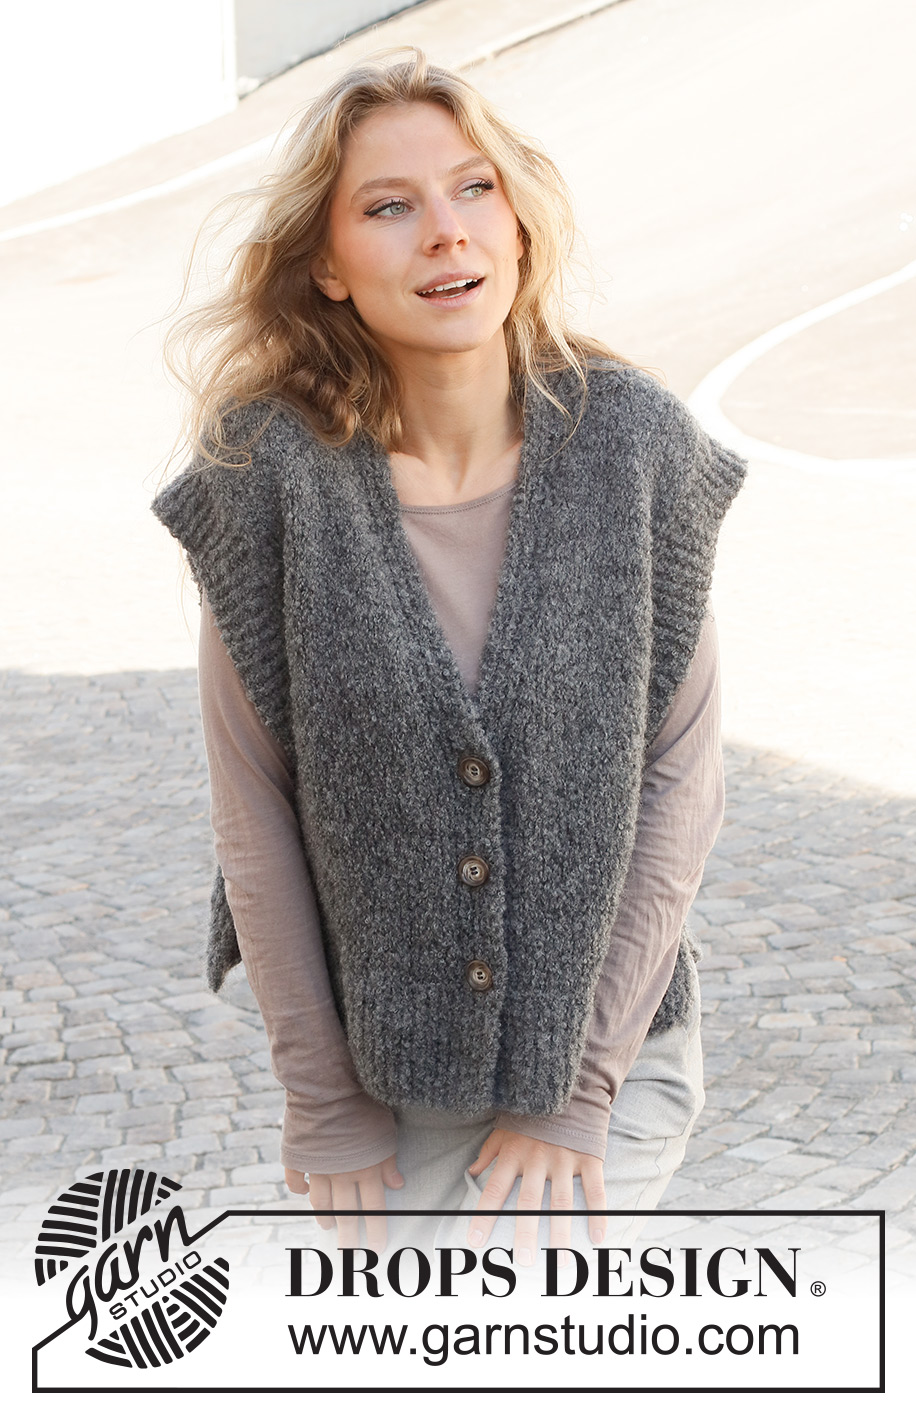
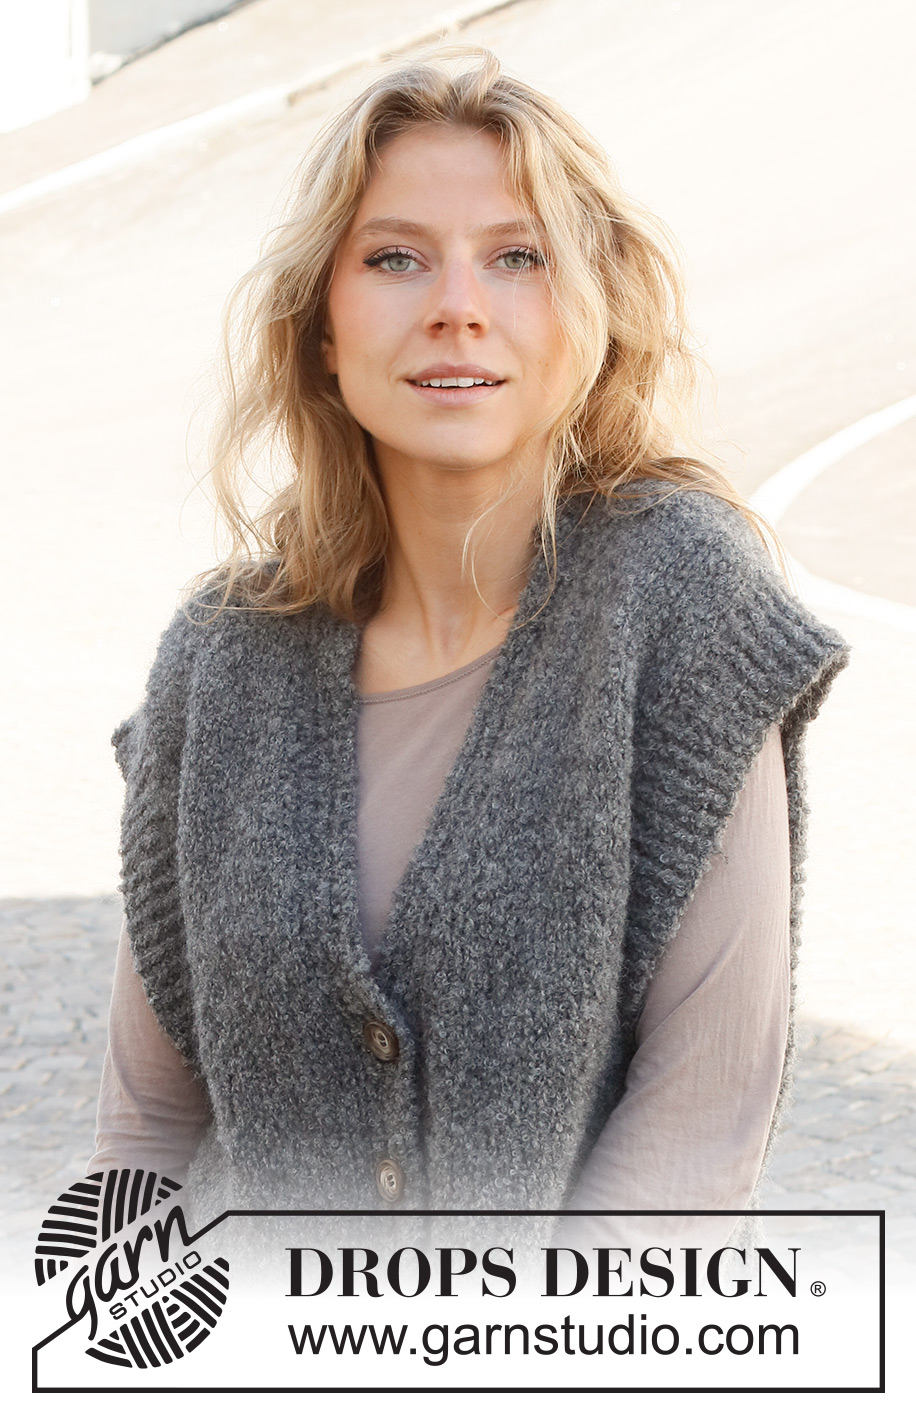
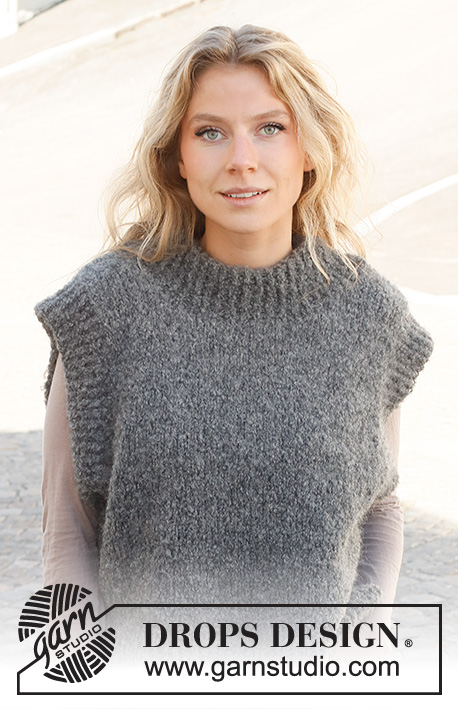
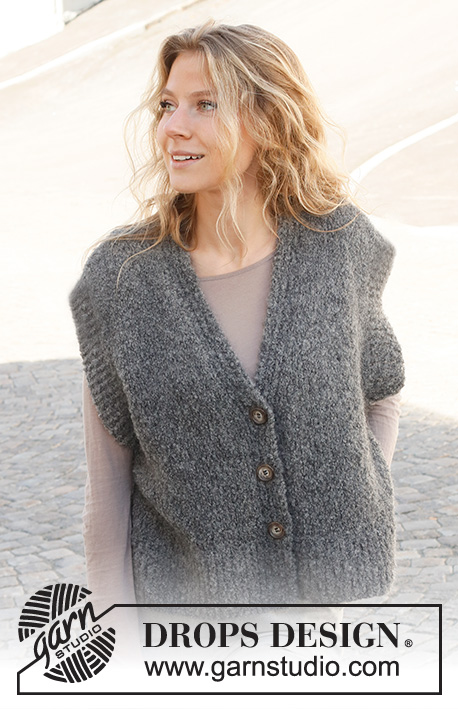
Knitted vest in DROPS Alpaca Bouclé and DROPS Kid-Silk. The piece is worked with split, V-neck and ribbed edges. Sizes XS - XXL.
DROPS 228-32 |
|||||||
|
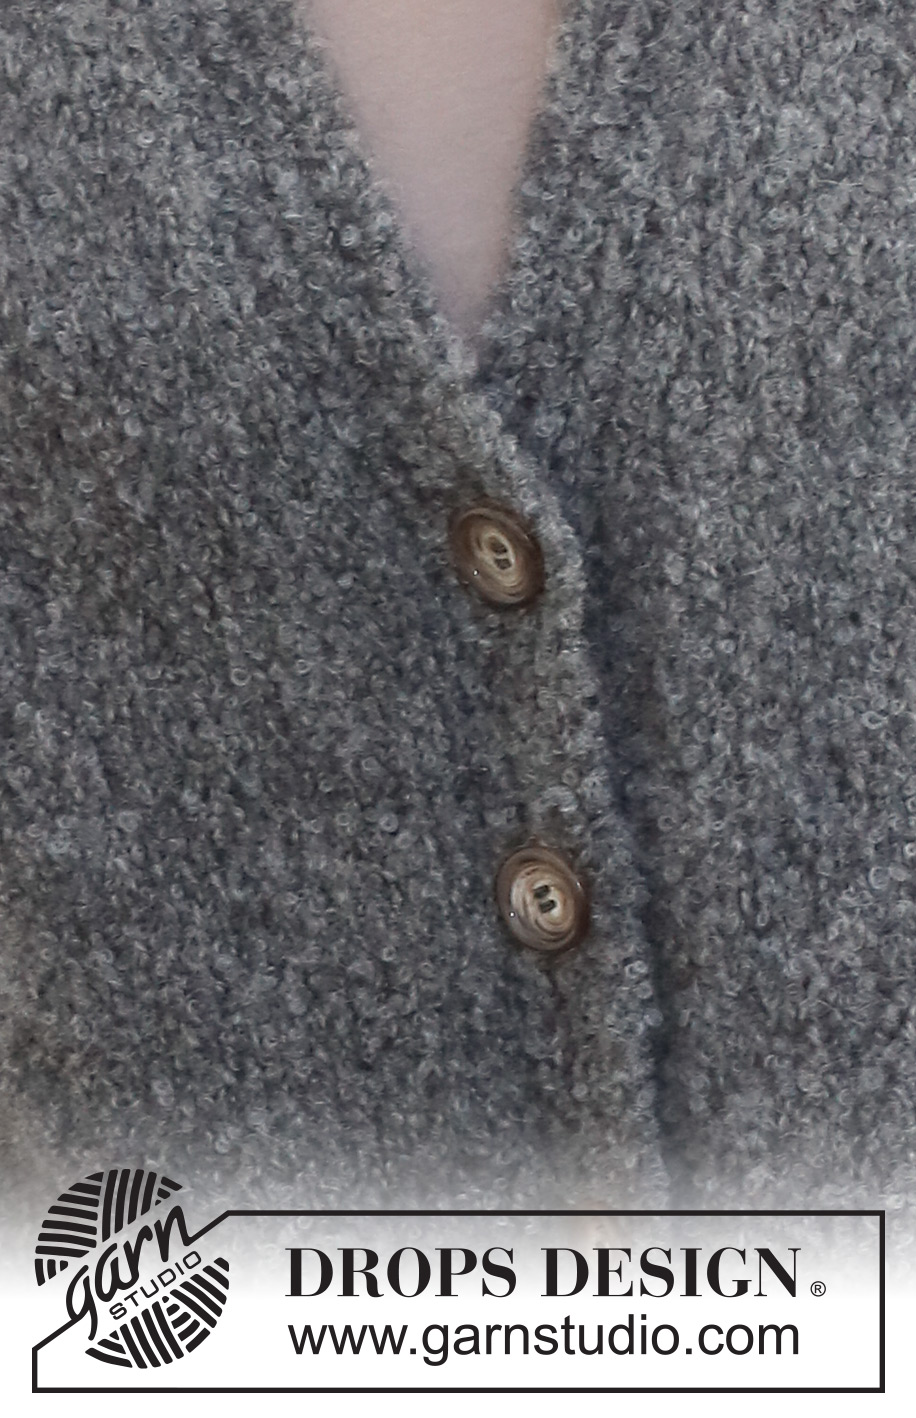
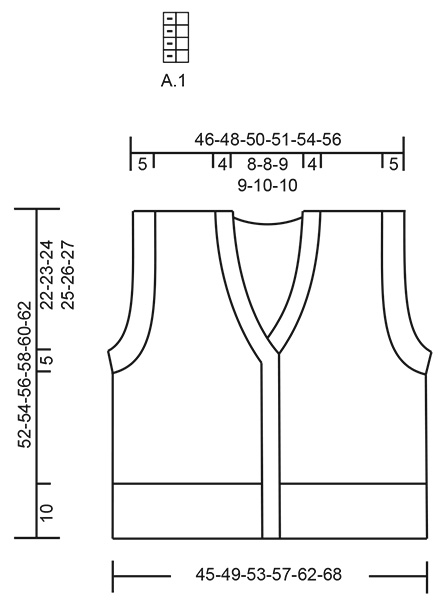
------------------------------------------------------- EXPLANATIONS FOR THE PATTERN: ------------------------------------------------------- RIDGE/GARTER STITCH (worked back and forth): Knit all rows. 1 ridge = knit 2 rows. PATTERN: See diagram A.1. The diagram shows all rows in the pattern from the right side. DECREASE TIP-1 (evenly spaced): To work out how to decrease evenly, count the total number of stitches on needle (e.g. 87 stitches), minus the edge stitches (e.g. 2 stitches) and divide the remaining stitches by number of decreases to be made (e.g. 24) = 3.5. In this example decrease by alternately knitting together each 2nd and 3rd stitch and each 3rd and 4th stitch. BUTTONHOLES: Work the buttonholes on the right band. 1 BUTTONHOLE = purl together the 3rd and 4th stitch from the edge and make 1 yarn over. On the next row knit the yarn over to leave a hole. Work the buttonholes when the piece measures: XS: 10, 18 and 26 cm S: 9, 18 and 27 cm M: 10, 19 and 28 cm L: 9, 19 and 29 cm XL: 10, 20 and 30 cm XXL: 9, 20 and 31 cm CASTING-OFF TIP: To avoid the cast-off edge being tight you can cast off with a larger size needle. If the edge is still tight, make 1 yarn over after approx. each 6th stitch at the same time as casting off; the yarn overs are cast off as normal stitches. ------------------------------------------------------- START THE PIECE HERE: ------------------------------------------------------- VEST – SHORT OVERVIEW OF THE PIECE: The back and front pieces are worked separately, back and forth, then sewn together. Ribbed edges are worked around the armholes to finish. BACK PIECE: Cast on 87-95-103-111-121-131 stitches with needle size 4.5 mm and 1 strand of each quality (= 2 strands). Purl 1 row from the wrong side. Then work rib as follows: 1 edge stitch in GARTER STITCH – read description above, work A.1 until there are 2 stitches left, work the first stitch in A.1 so the rib is symmetrical and 1 edge stitch in garter stitch. Continue this rib back and forth for 10 cm. Knit 1 row from the right side where you decrease 24-26-29-31-34-36 stitches evenly spaced – read DECREASE TIP = 63-69-74-80-87-95 stitches. Cast on 1 stitch at the end of the row (= edge stitch for the seam). Turn work and change to needle size 6 mm. Purl to the end of the row and cast on 1 stitch (= edge stitches for the seam) = 65-71-76-82-89-97 stitches. Continue with stocking stitch and 1 edge stitch in garter stitch on each side. REMEMBER THE KNITTING TENSION! When the piece measures 25-26-27-28-29-30 cm, cast off 3-4-4-5-6-7 stitches for the armholes at the beginning of the next 2 rows = 59-63-68-72-77-83 stitches. Then cast off 1 stitch on each side every 4th row a total of 3-4-5-6-7-8 times = 53-55-58-60-63-67 stitches. Continue with stocking stitch and 1 edge stitch in garter stitch on each side. When the piece measures 50-52-54-56-58-60 cm, cast off the middle 21-21-22-22-23-23 stitches for the neck and finish each shoulder separately. Cast off 1 stitch on the next row from the neck = 15-16-17-18-19-21 stitches on the shoulder. Work until the piece measures 52-54-56-58-60-62 cm. Cast off with knit from the right side – read CASTING-OFF TIP! Work the other shoulder in the same way. RIGHT FRONT PIECE: Cast on 49-55-59-63-67-71 stitches with needle size 4.5 mm and 1 strand of each quality (= 2 strands). Purl 1 row from the wrong side. Then work rib as follows: 1 edge stitch in GARTER STITCH – read description above, work A.1 until there are 2 stitches left, work the first stitch in A.1, so the rib is symmetrical, and 1 edge stitch in garter stitch. Continue this rib back and forth for 10 cm – remember the BUTTONHOLE on the right band, read description above. Work the next row from the right side as follows: 1 edge stitch in garter stitch, work A.1 as before over the next 6 stitches (= 7 band stitches), knit 41-47-51-55-59-63 stitches and decrease 13-16-17-18-19-19 stitches evenly over these stitches, 1 edge stitch in garter stitch = 36-39-42-45-48-52 stitches. Cast on 1 stitch at the end of row (= edge stitch for seam). Change to needle size 6 mm. Purl until there are 7 stitches left, work rib as before over the next 6 stitches and 1 edge stitch on garter stitch = 37-40-43-46-49-53 stitches. Continue stocking stitch with 7 band stitches towards mid-front and 1 edge stitch in garter stitch towards the side. When the piece measures 25-26-27-28-29-30 cm, cast off 3-4-4-5-6-7 stitches for the armhole at the beginning of the next row from the wrong side = 34-36-39-41-43-46 stitches. Then cast off 1 stitch at the beginning of each 4th row a total of 3-4-5-6-7-8 times. AT THE SAME TIME when the piece measures 27-28-29-30-31-32 cm, start to decrease for the V-neck as follows from the right side: Work the 7 band stitches, slip 1 stitch as if to knit, knit 1 and pass the slipped stitch over the knitted stitch (= 1 stitch decreased), work to the end of the row. Decrease like this every 2½ cm a total of 9-9-10-10-10-10 times. After all the decreases for armhole and neck there are 22-23-24-25-26-28 stitches on the shoulder. Continue working until the piece measures 52-54-56-58-60-62 cm. On the next row from the wrong side cast off the first 15-16-17-18-19-21 stitches – remember CASTING-OFF TIP = 7 stitches left for the neck. Continue with rib over these 7 stitches for approx. 8-8-9-9-10-10 cm (to match the neckline – the neck should be stretched slightly when sewing from the shoulder seam to the middle of the back of the neck). Cast off. LEFT FRONT PIECE: Cast on 49-55-59-63-67-71 stitches with needle size 4.5 mm and 1 strand of each quality (= 2 strands). Purl 1 row from the wrong side. Then work rib as follows: 1 edge stitch in garter stitch, work A.1 until there are 2 stitches left, work the first stitch in A.1 so the rib is symmetrical and 1 edge stitch in garter stitch. Continue this rib back and forth for 10 cm – remember the BUTTONHOLES on the right band, read description above. Work the next row from the right side as follows: 1 edge stitch in garter stitch, knit 41-47-51-55-59-63 stitches and decrease 13-16-17-18-19-19 stitches evenly over these stitches, work A.1 as before over the next 6 stitches, 1 edge stitch in garter stitch (= 7 band stitches) = 36-39-42-45-48-52 stitches. Change to needle size 6 mm. Work 1 edge stitch on garter stitch, rib as before over the next 6 stitches, purl to the end of the row and cast on 1 stitch (= edge stitch for the seam), = 37-40-43-46-49-53 stitches. Continue stocking stitch, with 7 band stitches towards mid-front and 1 edge stitch in garter stitch towards the side. When the piece measures 25-26-27-28-29-30 cm, cast off 3-4-4-5-6-7 stitches for the armhole at the beginning of the next row from the right side = 34-36-39-41-43-46 stitches. Then cast off 1 stitch at the beginning of each 4th row a total of 3-4-5-6-7-8 times. AT THE SAME TIME when the piece measures 27-28-29-30-31-32 cm, start to decrease for the V-neck as follows from the right side: Work until there are 9 stitches left, knit 2 together (= 1 stitch decreased) and work the 7 band stitches as before. Decrease like this every 2½ cm a total of 9-9-10-10-10-10 times. After all the decreases for armhole and neck there are 22-23-24-25-26-28 stitches on the shoulder. Continue working until the piece measures 52-54-56-58-60-62 cm. On the next row from the right side cast off the first 15-16-17-18-19-21 stitches – remember CASTING-OFF TIP = 7 stitches left for the neck. Continue with rib over these 7 stitches for approx. 8-8-9-9-10-10 cm (to match the right neck). Cast off. ASSEMBLY: Sew the shoulder seams inside the cast-off edge – start on the outside of the shoulder and sew in each and every stitch. Sew the neck together mid-back and sew the neck to the neck-line. Sew the side seams from the armhole down, inside the 1 edge stitch, leaving a 10 cm split at the bottom. Sew the buttons onto the left band. SLEEVE-EDGES: Start from the right side at the bottom of the armhole and knit up 92 to 110 stitches around the armhole inside the 1 edge stitch, with circular needle size 4.5 mm and 1 strand of each quality (= 2 strands). The number of stitches should be divisible by 2 and the edge should not be tight. Work A.1 in the round for 5 cm. Cast off with knit over knit and purl over purl – remember CASTING-OFF TIP! Work the other sleeve-edge in the same way. |
|||||||
Diagram explanations |
|||||||
|
|||||||
 |
|||||||
Have you finished this pattern?Tag your pictures with #dropspattern #decemberskiesvest or submit them to the #dropsfan gallery. Do you need help with this pattern?You'll find 26 tutorial videos, a Comments/Questions area and more by visiting the pattern on garnstudio.com. © 1982-2026 DROPS Design A/S. We reserve all rights. This document, including all its sub-sections, has copyrights. Read more about what you can do with our patterns at the bottom of each pattern on our site. |
|||||||


With over 40 years in knitting and crochet design, DROPS Design offers one of the most extensive collections of free patterns on the internet - translated to 17 languages. As of today we count 324 catalogues and 12290 patterns translated into English (UK/cm). 12290
We work hard to bring you the best knitting and crochet have to offer, inspiration and advice as well as great quality yarns at incredible prices! Would you like to use our patterns for other than personal use? You can read what you are allowed to do in the Copyright text at the bottom of all our patterns. Happy crafting!
Post a comment to pattern DROPS 228-32
We would love to hear what you have to say about this pattern!
If you want to leave a question, please make sure you select the correct category in the form below, to speed up the answering process. Required fields are marked *.