
Popular categories
Looking for a yarn?


Comments / Questions (26)
![]() Sylke wrote:
Sylke wrote:
Guten Tag, Könnte ich an diese Jacke auch eine doppelte Blende stricken? Liebe Grüße
04.08.2025 - 22:26DROPS Design answered:
Liebe Sylke, ja wahrscheinlich, die Blende dann so anpassen. Viel Spaß beim Stricken!
05.08.2025 - 08:47
![]() Geisweid wrote:
Geisweid wrote:
Hallo, ich habe mit karisma gestrickt. Ich finde die Anleitung und Wolle super, bin aber mit der Farbe total unglücklich und würde den fertigen Pullover gerne färben. Geht das ?
28.06.2025 - 16:36DROPS Design answered:
Liebe Frau Geisweid, damit haben wir leider keine Erfahrung, fragen Sie mal Ihr DROPS Händler - auch per E-Mail oder Telefon - gerne kann mann dort Ihnen weiterhelfen. Viel Spaß beim Stricken!
30.06.2025 - 08:21
![]() Thea wrote:
Thea wrote:
Hi, size XL, could you tell me what size that is in cm and what is the wearing ease in the pattern please. Thank you.
11.06.2025 - 06:27DROPS Design answered:
Dear Thea, to find the best appropriate size measure a similar garment you have and like the shape, then compare these measurements with the ones in the chart to find out the matching size as well as the required ease. Read more here. Happy knitting!
11.06.2025 - 13:19
![]() Sylke wrote:
Sylke wrote:
Guten Tag, könnte man diese Anleitung auch für eine Herrenjacke nehmen? Liebe Grüße
04.05.2025 - 15:27DROPS Design answered:
Liebe Sylke, ja sicher, hier finden Sie Tipps um eine Anleitung für eine Herren-Modell anzupassen. Viel Spaß beim Stricken!
05.05.2025 - 08:08
![]() Connie wrote:
Connie wrote:
Ich finde den Fehler nicht......sie schreiben, an den Vorderteilen und am Rückenteil in jeder 2. Reihe zunehmen. das wären für mich also 6 Maschen zugenommen. In der Anleitung werden allerdings für diese Abnahmereihe 8 Abnahmen gezählt. Wo liegt mein Denkfehler ?
08.04.2025 - 19:14DROPS Design answered:
Liebe Connie, es wird jeweils 1 Masche beim jeden Vorderteil + 2 Maschen beim Rückenteil + 2 Maschen bei jedem Ärmel zugenommen = 8 Maschen für den Raglan, dazu kommen auch die V-Halsausschnitt-Zunahmen = 1 Zunahme bei jedem Vorderteil. Aber für Raglan nehmen Sie zuerst 8 Maschen, dann abwechslungsweise 4 Maschen (nur Vorder- + Rückenteil) und 8 Maschen (wie zuvor). Viel Spaß beim Stricken!
09.04.2025 - 08:23
![]() Carlotta wrote:
Carlotta wrote:
Salve, si il mio campione corrisponde a quello indicato. Quello che chiedevo io è quanto misura il lavoro alla fine degli aumenti per il raglan (prima degli aumenti per il collo a V). Il procedimento che ho seguito per gli aumenti è corretto?
10.03.2025 - 19:50
![]() Carlotta wrote:
Carlotta wrote:
Salve, sto realizzando la taglia M ma dopo gli aumenti per il raglan il lavoro è più grande di 24 cm (circa 35 cm mentre sto avviando il collo a V). Gli aumenti per il raglan sono stati fatti così: ogni due ferri x9 volte; poi 1°f= 2m davanti e dietro+ 2°f+ 3°f =2m davanti+ 2m dietro+ 2m manica dx+ 2m manica sx+4°f. Tot: 102 m dietro+70 m davanti+ 66 manica dx+66manica sx+4m marcapunto= 308m. Quando deve essere lungo il lavoro dopo gli aumenti per il raglan? Dove ho sbagliato?
05.03.2025 - 09:35DROPS Design answered:
Buongiorno Carlotta, le misure del lavoro sono indicate alla fine di tutti gli aumenti. Il suo campione corrispondeva a quello indicato? Buon lavoro!
08.03.2025 - 11:44
![]() Melissa wrote:
Melissa wrote:
Warum sollen in der ersten Reihe vom Rippenmuster noch Maschen zugenommen werden? Und haben Sie Tipps für schöne, möglichst wenig sichtbare Zunahmen (d.h. ohne Löcher) im Rippenmuster?
13.02.2025 - 12:11DROPS Design answered:
Liebe Melissa, für die gleiche Breite braucht man mehr Maschen für Rippenmuster mit den kleineren Nadeln als fürs Glattrechts mit den grösseren Nadeln, deshalb wird man vor Bündchen zunehmen. Meistens nehmen wir mit 1 Umschlag zu (der wird dann verschränkt bei der nächsten Reihe gestrickt); aber hier finden Sie Videos, die andere Techniken zeigen, davon finden Sie sicher Inspiration. Viel Spaß beim Stricken!
13.02.2025 - 15:21
![]() Uli wrote:
Uli wrote:
Hallo, wenn ich in Größe L die Zunahmen für den V-Ausschnitt erst nach den beiden ersten Raglan-Zunahme beginne, habe ich nach der letzten (35.) Raglan-Zunahme erst 17 statt 18 Zunahmen für den V-Ausschnitt. Wann mache ich dann die letzte Zunahme für den V-Ausschnitt? Denn sonst würden auch in der Gesamtanzahl 2 Maschen fehlen.
08.01.2025 - 17:18DROPS Design answered:
Liebe Uli, Sie brauchen ja 70 Reihen für die Raglanzunahmen (ca 25 cm), für den Halsausschnitt sind es: 4 Reihen ohne Zunamen (die 2 ersten Raglanzunahmen) + 17 Mal in jeder 4. Reihe = 68 Reihe + die letzte Zunahme: 4+68+1=73 Reihen (ca 26 cm) dann wird man die Passe verteilen. Viel Spaß beim Stricken!
09.01.2025 - 10:03
![]() Jackie wrote:
Jackie wrote:
I’m slightly confused, do I do all the increases for the raglan first then start the increase for the v neck. Or do I work two increases for the raglan then also do the increases for the v neck at the same time?
30.11.2024 - 13:16DROPS Design answered:
Hi Jackie, You increase for raglan and the neck at the same time. Happy knitting!
03.12.2024 - 07:04
|
|
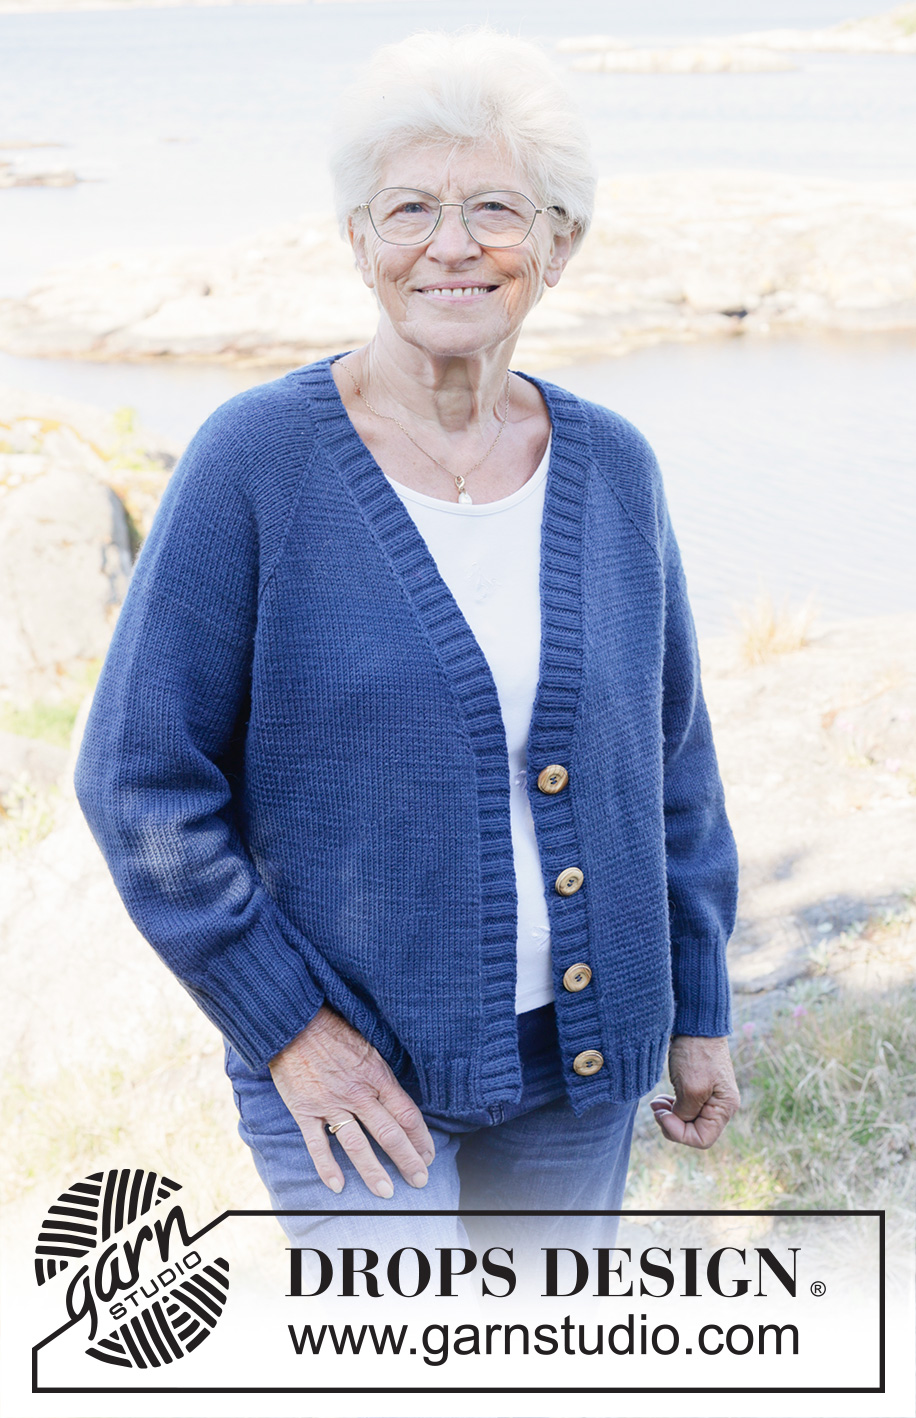
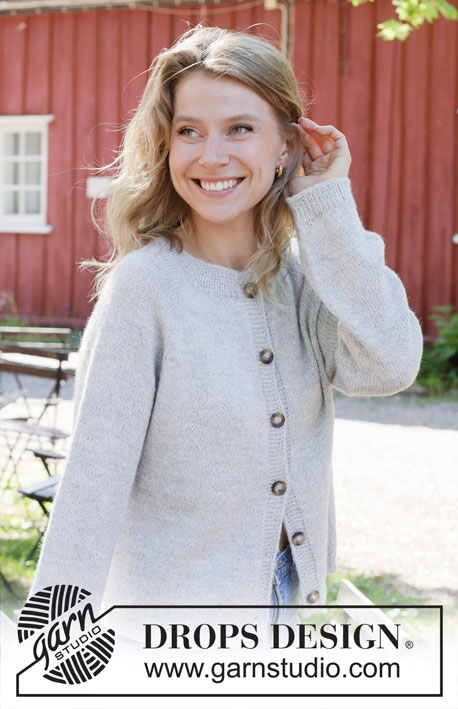
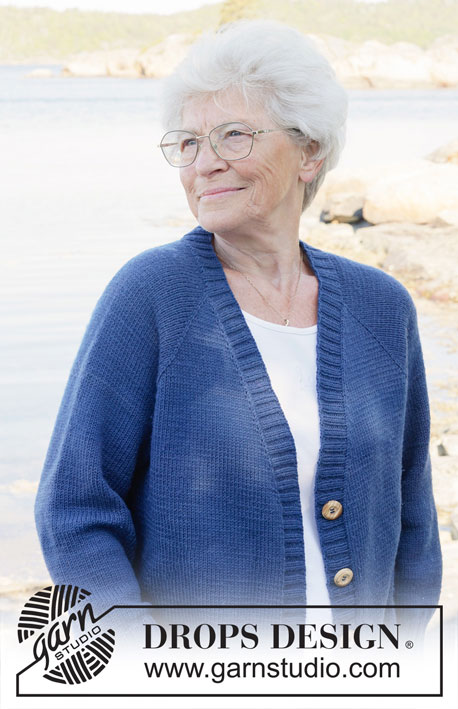
Deep River Cardigan#deeprivercardigan |
|
 |
 |
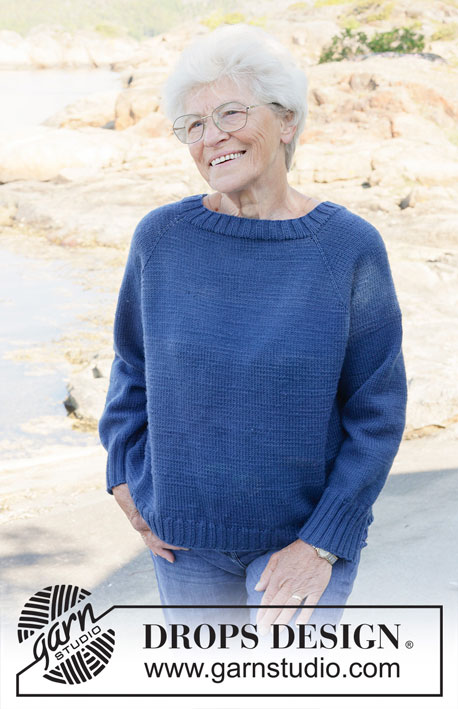
Knitted jacket in DROPS Daisy or DROPS Karisma. The piece is worked top down with raglan. Sizes S - XXXL.
DROPS 254-11 |
|
|
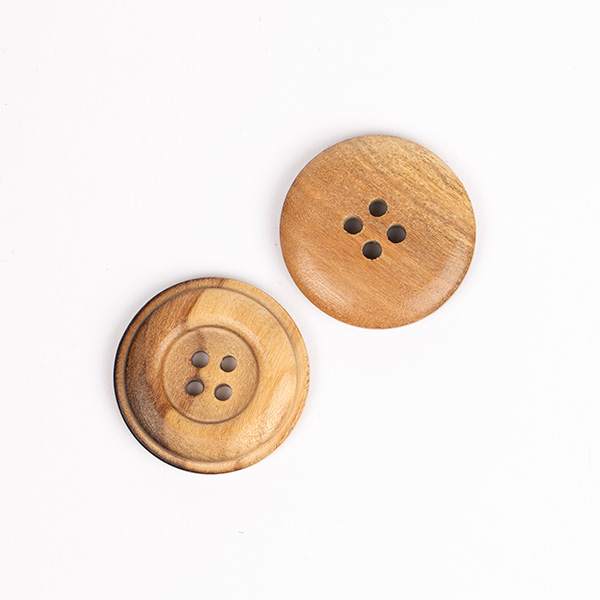
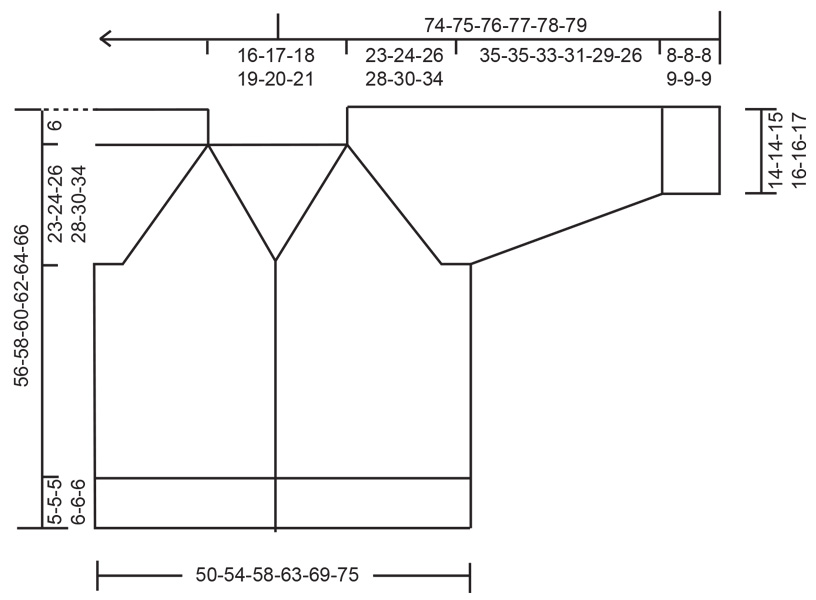
------------------------------------------------------- EXPLANATIONS FOR THE PATTERN: ------------------------------------------------------- GARTER STITCH (worked back and forth): Knit all rows, from both the right and wrong side. 1 ridge in height = knit 2 rows. RAGLAN: Increase 1 stitch by making 1 yarn over, which is worked as follows on the next row: BEFORE MARKER: Purl through the back loop to avoid a hole. Then work the new stitch in stocking stitch. AFTER MARKER: Slip the yarn over off the left needle and replace it twisted (insert the left needle through the back when replacing it). Purl the front loop to avoid a hole. Then work the new stitch in stocking stitch. KNITTING TIP: When knitting up stitches under the sleeve, a small hole can be left in the transition between the stitches on the body and sleeve. This hole can be closed by picking up the strand between 2 stitches and working it twisted together with the first stitch between the body and sleeve. DECREASE TIP (for sleeves): Decrease 1 stitch on each side of the marker-thread as follows: Work until there are 3 stitches left before the marker-thread, knit 2 together, knit 2 (marker-thread sits between these 2 stitches), slip 1 stitch knit-wise, knit 1 and pass the slipped stitch over the knitted stitch (2 stitches decreased). BUTTONHOLES: Work 4 buttonholes on the right band. 1 buttonhole = knit 2 together and make 1 yarn over– NOTE: It is neatest if you purl 2 together in a section with 2 purled stitches (seen from the right side). On the next row knit the yarn over to leave a hole. The top buttonhole is worked just below the V-neck, the bottom buttonhole in the transition between the stocking stitch and rib. The other 2 buttonholes are worked evenly between. ------------------------------------------------------ START THE PIECE HERE: ------------------------------------------------------- JACKET – SHORT OVERVIEW OF THE PIECE. The pattern uses both long and short needles; start with the length which fits the number of stitches and change when necessary. The yoke is worked back and forth with circular needle, from mid front and top down. When the yoke is finished, it is divided for body and sleeves and the body continued back and forth with circular needle, while the sleeves wait. The sleeves are worked in the round. Stitches are knitted up along both front pieces and neckline and the bands are worked to finish. NECKLINE: Cast on 90-92-94-96-98-100 stitches with circular needle size 4 mm and DROPS Daisy or DROPS Karisma. Insert 4 markers without working the stitches as follows: Count 2 stitches (= front piece), insert 1 marker in the next stitch, count 24 stitches (= sleeve), insert 1 marker in the next stitch, count 34-36-38-40-42-44 stitches (= back piece), insert 1 marker in the next stitch, count 24 stitches (= sleeve), insert 1 marker in the next stitch, there are 2 stitches left on the row (= front piece). Work stocking stitch back and forth with 1 GARTER STITCH on each side – read description above, increasing for raglan and V-neck. Read RAGLAN and V-NECK before continuing. Remember to maintain the knitting tension. RAGLAN: Increase for raglan before and after each marker-stitch (8 increased stitches), every 2nd row a total of 9-9-13-16-14-11 times. Then increase for raglan every 2nd row on the front and back pieces and every 4th round on the sleeves (alternately 4 and 8 increased stitches). Increase like this a total of 22-24-22-22-28-36 times on the front and back pieces (11-12-11-11-14-18 times on the sleeves). You have increased a total of 31-33-35-38-42-47 times for raglan on the front and back pieces and 20-21-24-27-28-29 times on the sleeves. V-NECK: After you have increased 2 times for raglan, begin increasing from the right side for the V-neck: Increase 1 stitch both at the beginning and end of the row, inside 2 stitches (i.e., 1 garter stitch + 1 stocking stitch). Increase every 4th row 16-17-18-19-20-21 times. Insert 1 marker in the stocking stitch and increase by making 1 yarn over in the same way as described under RAGLAN – increasing after the marker-stitch at the beginning of the row and before the marker-stitch at the end of the row. After the last increase there are 326-342-366-394-418-446 stitches. Continue working without further increases until the yoke measures 23-24-26-28-30-34 cm, measured straight down (not along the V-neck), from the beginning of the raglan-line on the front piece. DIVIDE FOR BODY AND SLEEVES: Work the next row as follows: Work 50-53-56-60-65-71 stitches as before (= front piece), place the next 64-66-72-78-80-82 stitches on a thread for the sleeve, cast on 8-10-12-14-16-18 stitches (in side mid-under sleeve), work 98-104-110-118-128-140 stitches (= back piece), place the next 64-66-72-78-80-82 stitches on a thread for the sleeve, cast on 8-10-12-14-16-18 stitches (in side mid-under sleeve), work the last 50-53-56-60-65-71 stitches as before (= front piece). The body and sleeves are finished separately. BODY: = 214-230-246-266-290-318 stitches. Continue with stocking stitch and 1 garter stitch on each side until the piece measures 45-47-49-50-52-54 cm from the cast-on edge mid-front. Now work rib and increase 22-26-26-26-30-34 stitches evenly on the row = 236-256-272-292-320-352 stitches, as follows: Change to circular needle size 3 mm. Work 1 garter stitch, rib (knit 2, purl 2 – remember to increase) until there are 3 stitches left, knit 2 and 1 garter stitch. When the rib measures 5-5-5-6-6-6 cm, cast off. The jacket measures approx. 50-52-54-56-58-60 cm from the cast-on edge mid-front and 56-58-60-62-64-66 cm from the shoulder. SLEEVES: Place the 64-66-72-78-80-82 sleeve-stitches from one thread on circular needle size 4 mm and knit up 1 stitch in each of the 8-10-12-14-16-18 stitches cast on under the sleeve – read KNITTING TIP = 72-76-84-92-96-100 stitches. Insert a marker-thread in the middle of the 8-10-12-14-16-18 stitches under the sleeve. Start at the marker-thread and work stocking stitch in the round. When the sleeve measures 4 cm, decrease 2 stitches under the sleeve – read DECREASE TIP. Decrease like this every 4-3½-3-2-1½-1½ cm a total of 7-8-10-13-14-15 times = 58-60-64-66-68-70 stitches. Continue working until the sleeve measures 35-35-33-31-29-26 cm from the division. Change to double pointed needles size 3 mm. Work rib (knit 2, purl 2), AT THE SAME TIME increase 6-8-8-6-8-8 stitches evenly on the first round = 64-68-72-72-76-78 stitches. When the rib measures 8-8-8-9-9-9 cm, cast off. The sleeve measures approx. 43-43-41-40-38-35 cm from the division. BANDS: Use circular needle size 3 mm. Start from the right side at the bottom of the right front piece and knit up 296-304-316-328-340-352 stitches inside 1 edge stitch (stitch count must be divisible by 4), up the right front piece, around the neckline and down the left front piece. Work rib back and forth as follows (first row from the wrong side): 1 garter stitch, * purl 2, knit 2 *, work from *-* until there are 3 stitches left, purl 2 and 1 garter stitch. Continue this rib for 1½ cm. Now work 4 BUTTONHOLES evenly spaced – read explanation above. Cast off when the rib measures 3 cm. Sew the buttons onto the left band. |
|
 |
|
Have you finished this pattern?Tag your pictures with #dropspattern #deeprivercardigan or submit them to the #dropsfan gallery. Do you need help with this pattern?You'll find 32 tutorial videos, a Comments/Questions area and more by visiting the pattern on garnstudio.com. © 1982-2026 DROPS Design A/S. We reserve all rights. This document, including all its sub-sections, has copyrights. Read more about what you can do with our patterns at the bottom of each pattern on our site. |
|


With over 40 years in knitting and crochet design, DROPS Design offers one of the most extensive collections of free patterns on the internet - translated to 17 languages. As of today we count 324 catalogues and 12290 patterns translated into English (UK/cm). 12290
We work hard to bring you the best knitting and crochet have to offer, inspiration and advice as well as great quality yarns at incredible prices! Would you like to use our patterns for other than personal use? You can read what you are allowed to do in the Copyright text at the bottom of all our patterns. Happy crafting!
Post a comment to pattern DROPS 254-11
We would love to hear what you have to say about this pattern!
If you want to leave a question, please make sure you select the correct category in the form below, to speed up the answering process. Required fields are marked *.