
Popular categories
Looking for a yarn?


Comments / Questions (11)
![]() Adri wrote:
Adri wrote:
Is it possible to leave out the cables?
18.07.2024 - 12:54DROPS Design answered:
Hi Adri, you can leave out cables. Happy knitting!
18.07.2024 - 16:22
![]() Marie Anne Toyre wrote:
Marie Anne Toyre wrote:
Bonjour\\r\\nconcernant le modele 227-21 Snow Patches\\r\\nil est noté 500 g de laine Drops Alpaca bouclé en 2 fils pour la taille .\\r\\nest ce que je commande 500g au total ou faut il que je double la quantité du fait que l on double le fil?\\r\\nMerci
26.10.2023 - 21:16DROPS Design answered:
Bonjour Mme Toyre, en taille M, il faut 500 g en DROPS Alpaca Bouclé et vous tricotez ensuite avec 2 fils, ne doublez pas la quantité de fils, c'est déjà pris en compte que l'on tricote en double. Bon tricot!
27.10.2023 - 09:39
![]() Juliana wrote:
Juliana wrote:
What is the meaning of band stitches? I dont't know how to do it...
02.12.2022 - 12:41DROPS Design answered:
Dear Juliana, are you talking about the Incrase tip? Then mayb this lesson might help you - you have to take the total number of stitches on needle but remove the stitches for the front band since you shouldn't incrase over these stitches. Happy knitting!
02.12.2022 - 15:08
![]() Phyllis Gulliver wrote:
Phyllis Gulliver wrote:
Im doing snow patches 227-21 and tryinh to figure out which yarn is best for he price if i use drops alaska its from group C so if i got 12 balls would i just use one strand to knit the size large
12.11.2022 - 19:35DROPS Design answered:
Dear Phyllis, Alaska is a group C yarn, like Air, so you will still need to work with 2 strands of yarn. Also, the texture will be different if you use a thread different from the original garment, so that's something else to take into account. Happy knitting!
13.11.2022 - 23:53
![]() Phyllis Gulliver wrote:
Phyllis Gulliver wrote:
Sorry i find this confusing but if i was to knit Snow Patches size Large how many balls of DROPS wish would i need and also when i order wool is there a way to see the amount in Canadian currency
10.11.2022 - 05:04DROPS Design answered:
Hi Phyllis, If you are working with Drops Wish, this is from yarn group E. You will still need 550 g (11 skeins) but will work with a single strand rather than 2 strands. As regards buying the yarn, there are outlets for Drops Yarns in Canada which will give you the Canadian prices. Happy crafting!
10.11.2022 - 06:56
![]() Phyllis Gulliver wrote:
Phyllis Gulliver wrote:
I am planning on knitting Snow Patches 227 21 in size large how many balls of the Boucle do i need and also if i did it with Drops Air do i still use 2 strands and how much yarn
08.11.2022 - 01:55DROPS Design answered:
Dear Mrs Gulliver, you will find the required amount of yarn in each size under header - in L you will need 550 g DROPS Alpaca Bouclé / 50 g a ball = 11 balls - and you should work with 2 strands - if you like to use Air you can use our yarn converter to let the new amount of yarn calculating and you should also work with 2 strands. Happy knitting!
08.11.2022 - 09:06
![]() Marijke Dreesen wrote:
Marijke Dreesen wrote:
Kan ik ook het patroon Snow Patches by DROPS Design van onder naar boven breien? Marijke,
04.01.2022 - 20:44DROPS Design answered:
Dag Marijke,
Helaas is dit patroon alleen beschikbaar om van boven naar beneden te breien.
06.01.2022 - 09:40
![]() Anna wrote:
Anna wrote:
Hello! Thank you for your amazing patterns! I have a question though. For the decrease at the end of the yoke, where specifically do I have to decrease in each A1/A2? Also, is there a specific place the cables should be after dividing fronts/sleeves/back pieces?
23.12.2021 - 17:19DROPS Design answered:
Dear Anna, you decrease in the sections in stocking stitch. The cables are only worked in the raglan so there is no specific place they should be in the body later on. Happy knitting!
31.12.2021 - 19:26
![]() Sylviane wrote:
Sylviane wrote:
Juste encore une petite question Pourquoi faut il séparer le dos et les devants à la fin de l’ouvrage , Est ce que cela apporte quelque chose de plus ?
08.11.2021 - 19:17DROPS Design answered:
Bonjour Sylviane, je ne comprends pas l'idee, j'ai envoye cette question a design team et j'attends la reponse. Verifiez la page du modele s'il y a une correction. Bon tricot!
09.11.2021 - 08:13
![]() Sylviane wrote:
Sylviane wrote:
Bonjour , J’aimerais savoir si ce modèle est ouvert sur les côtés , car au niveau des photos on ne le distingue Pas bien et au niveau de l’assemblage , il n’est pas indiqué d’assembler les côtés .
08.11.2021 - 09:57DROPS Design answered:
Bonjour Sylviane, ce modèle n'est pas ouvert sur les côtés. Vous devez coudre les côtés ensemble. On doit ajouter cette precision dans les explications. Merci. Bon tricot!
08.11.2021 - 10:12
|
|||||||||||||
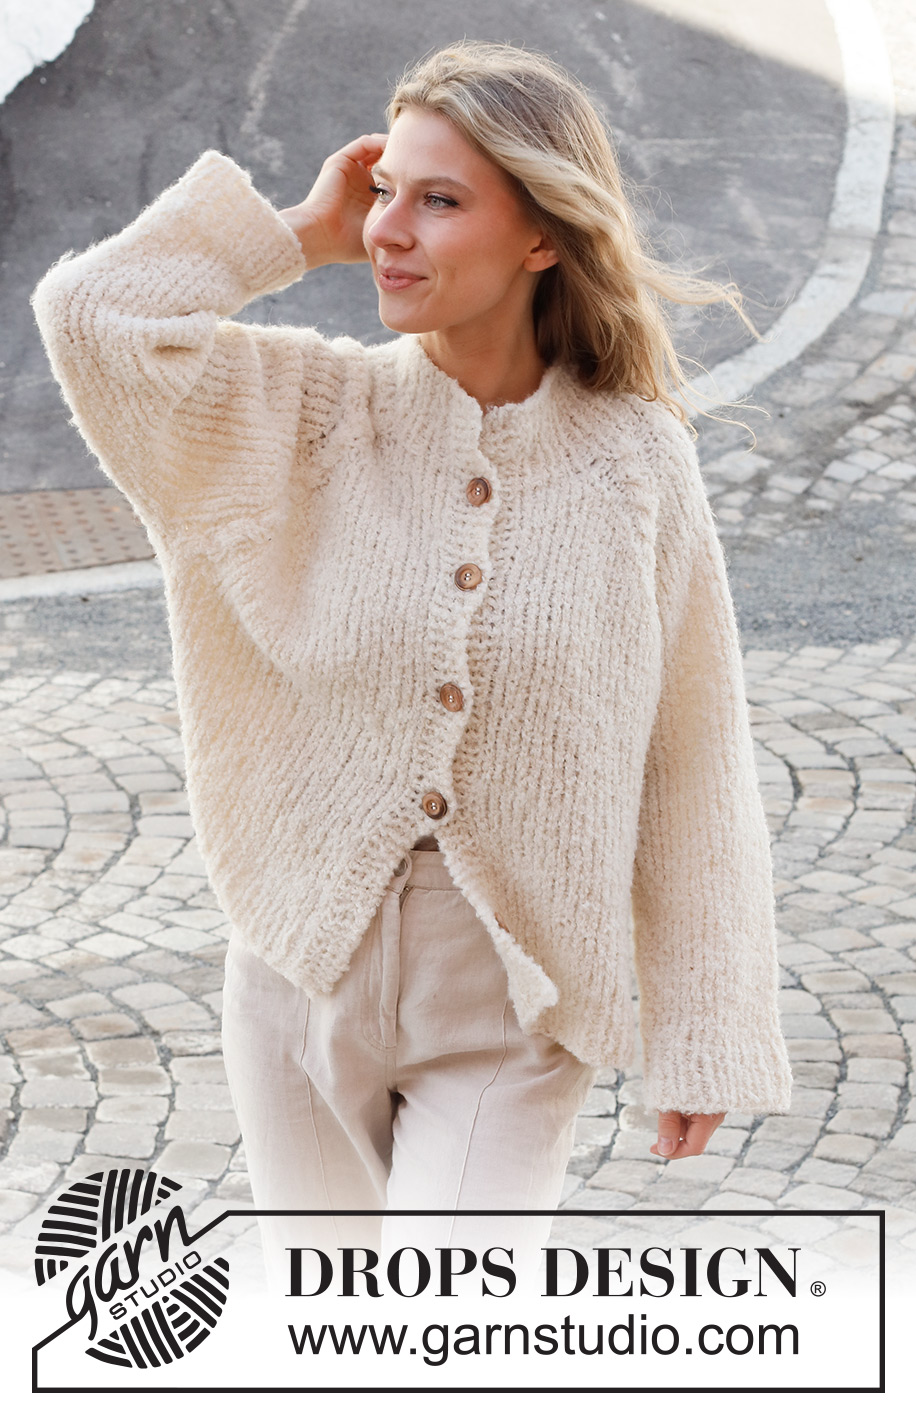
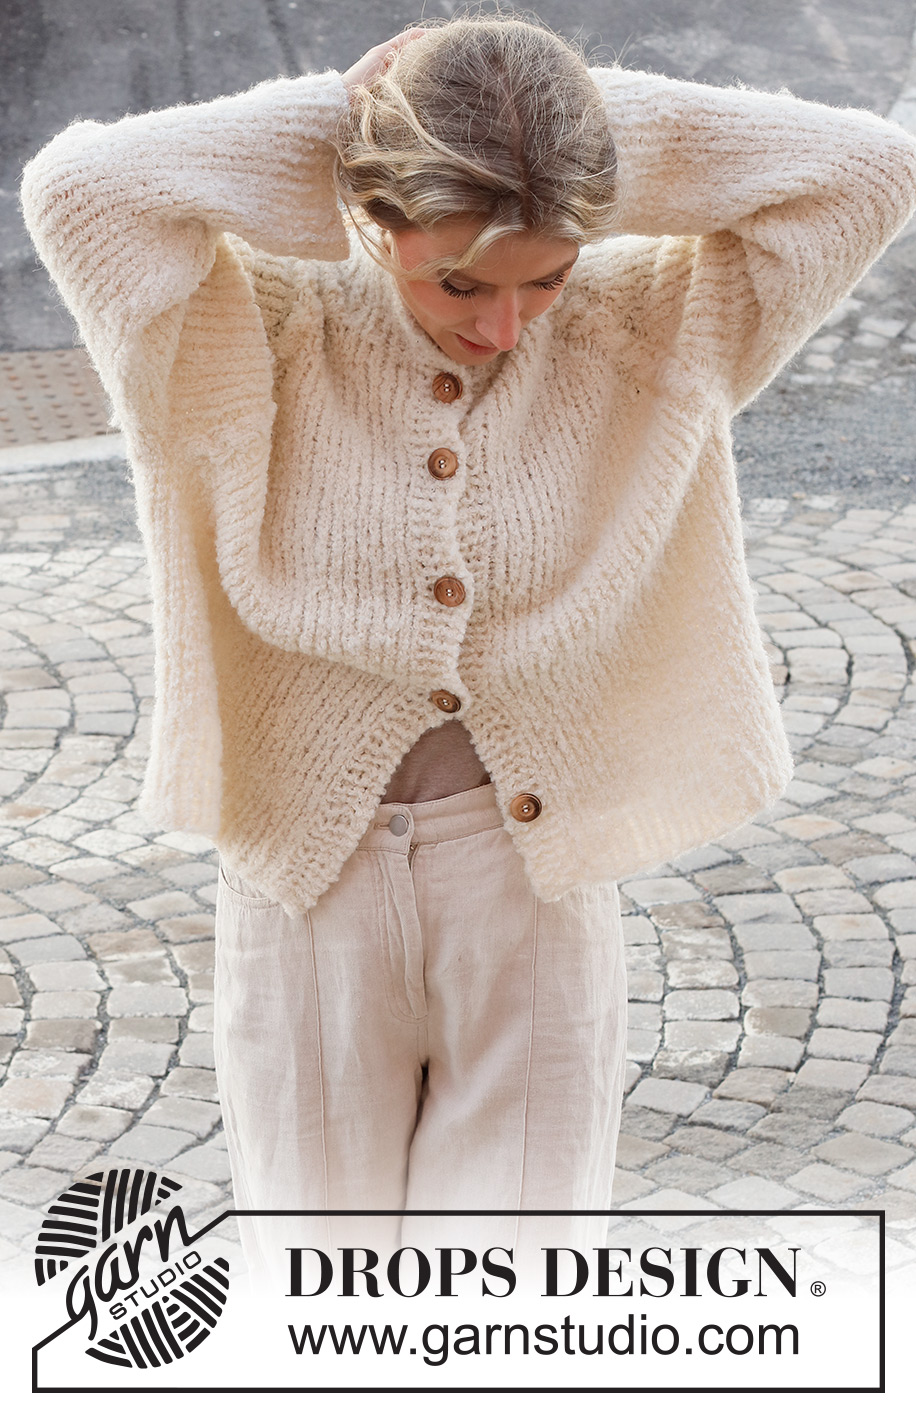
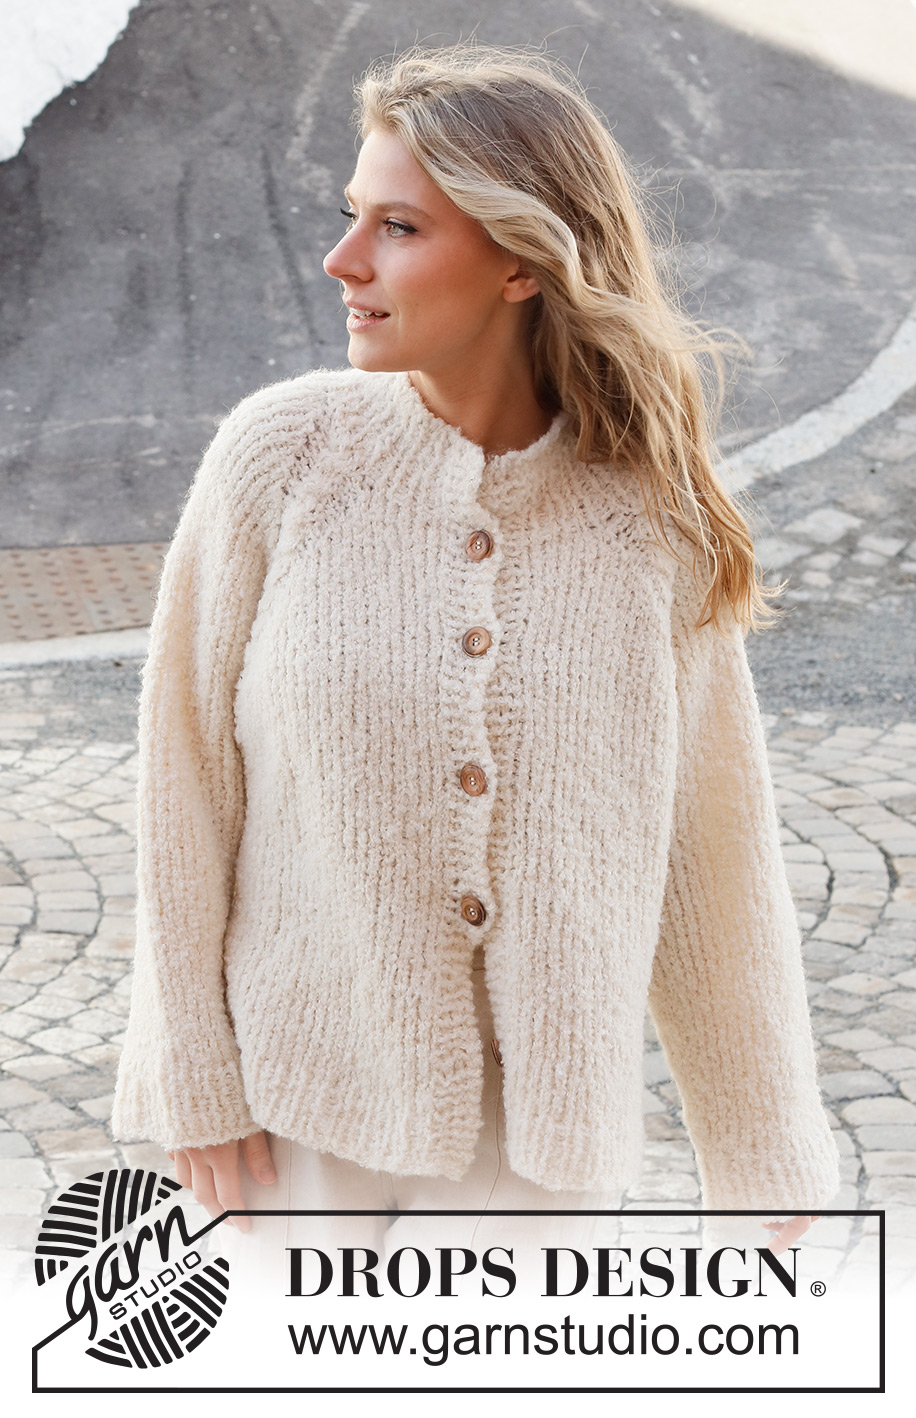
Snow Patches#snowpatchescardigan |
|||||||||||||
 |
 |
||||||||||||
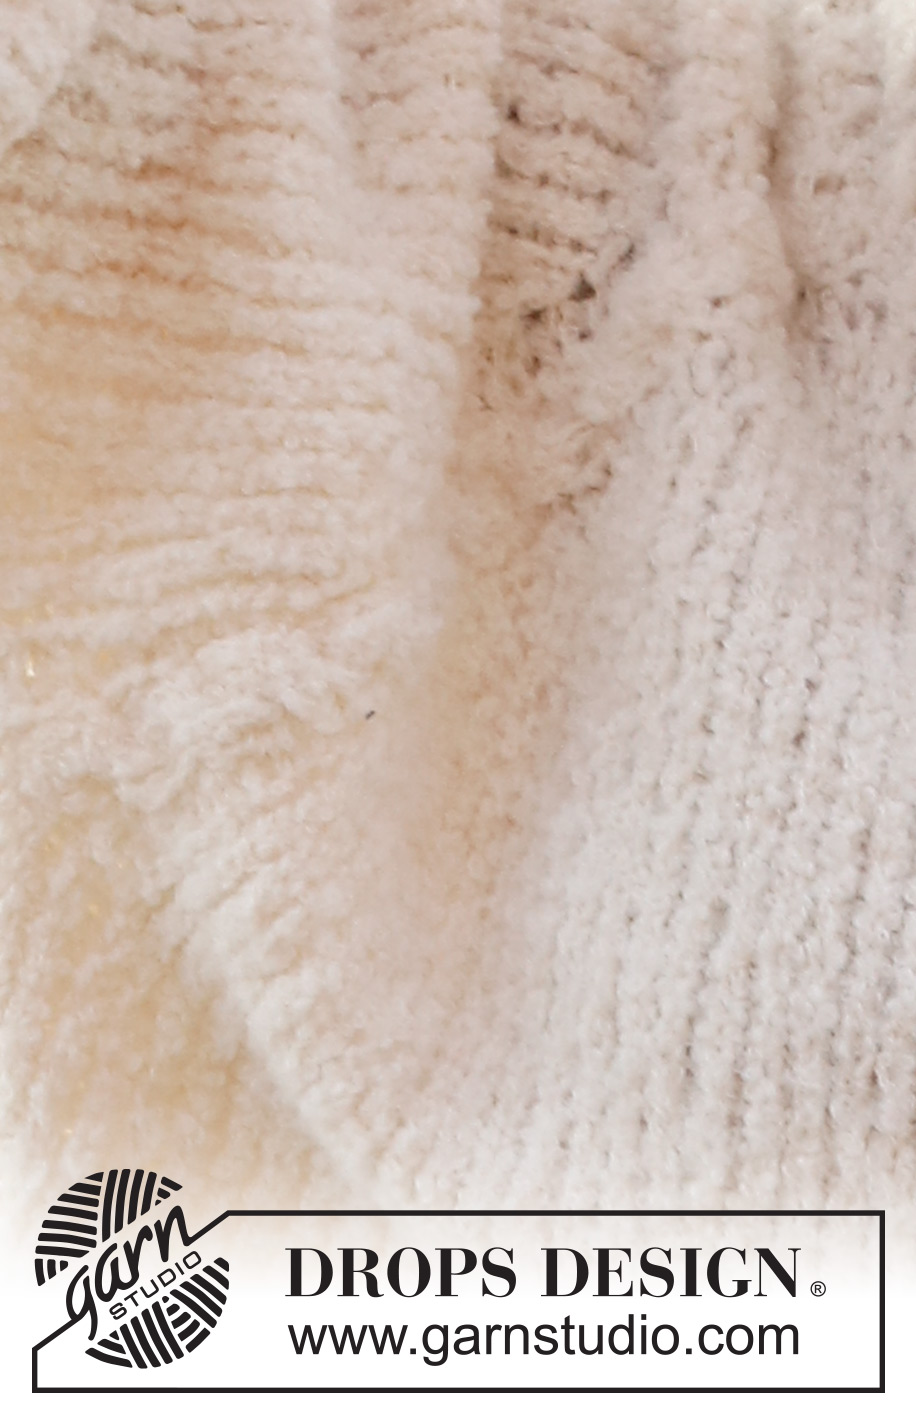
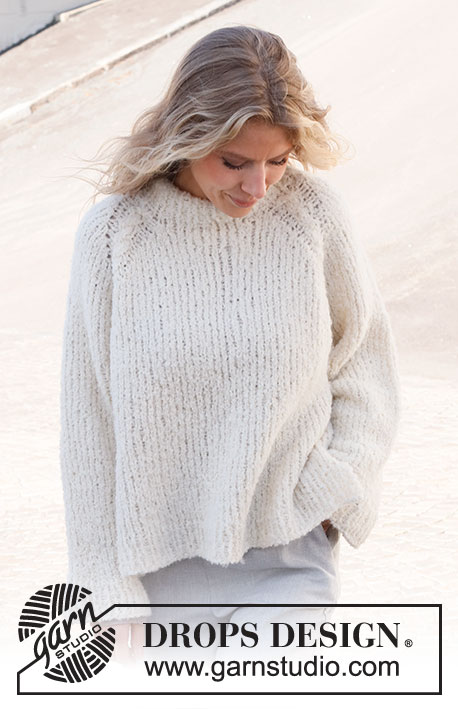
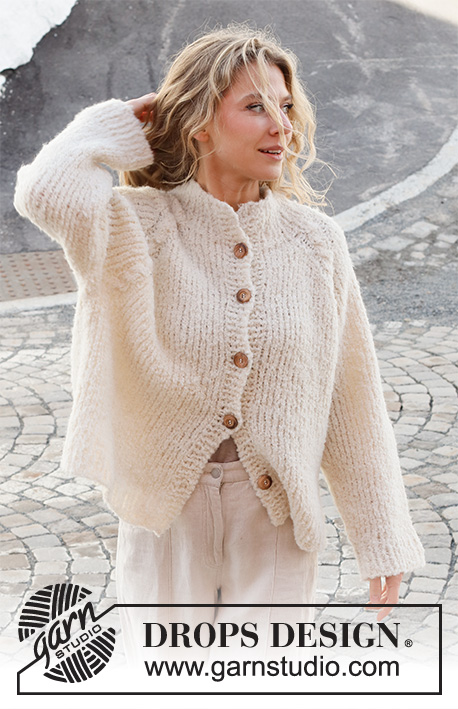
Knitted jacket in 2 strands DROPS Alpaca Bouclé. The piece is worked top down with raglan, cables and vents in the sides. Sizes S - XXXL
DROPS 227-21 |
|||||||||||||
|
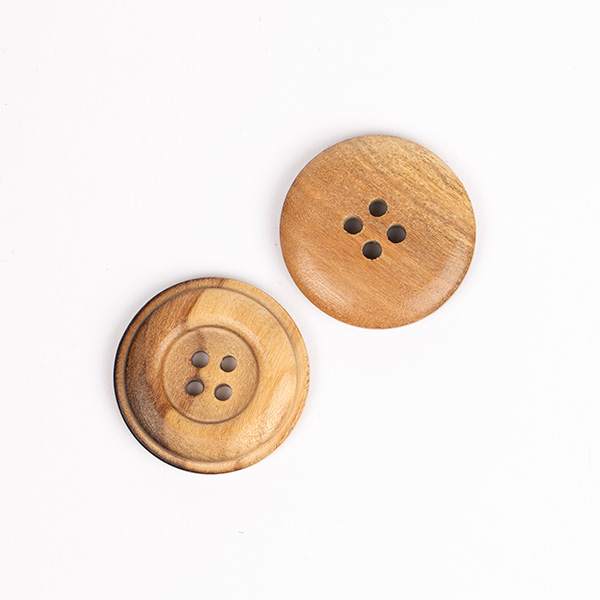
------------------------------------------------------- EXPLANATIONS FOR THE PATTERN: ------------------------------------------------------- RIDGE/GARTER STITCH (worked back and forth): Knit all rows. 1 ridge = knit 2 rows. RAGLAN: Increase 1 stitch on each side of A.1/A.2 in each transition between the body and sleeves (= 8 stitches increased on the round). Increase by making 1 yarn over. On the next row purl the yarn overs twisted to avoid holes. Then work the new stitches in stocking stitch. PATTERN: See diagrams A.1 and A.2. The diagrams show all rows in the pattern from the right side. BUTTONHOLES (top down): Work buttonholes on the right band. 1 BUTTONHOLE = Work from the right side until there are 3 stitches left, make 1 yarn over, knit 2 together and knit 1. On the next row (wrong side) knit the yarn over to leave a hole. The first buttonhole is worked straight after the neck, the other 4-4-4-5-5-5 buttonholes with approx. 9 cm between each one. INCREASE TIP (evenly spaced): To work out how to increase evenly, count the total number of stitches on the needle (e.g. 59 stitches) minus the bands (e.g. 8 stitches) and divide the remaining stitches by the number of increases to be made (e.g. 5) = 10.2. In this example, increase by making 1 yarn over after approx. each 10th stitch. Do not increase on the bands. On the next row work the yarn overs twisted to avoid holes. CASTING-OFF TIP: To avoid the cast-off edge being tight you can cast off with a larger size needle. If the edge is still tight, make 1 yarn over after approx. each 4th stitch at the same time as casting off; the yarn overs are cast off as normal stitches. DECREASE TIP (for sleeves): Decrease 1 stitch on either side of the marker thread as follows: Work until there are 3 stitches left before the marker thread, knit 2 together, knit 2 (marker thread sits between these 2 stitches), slip 1 stitch as if to knit, knit 1 and pass the slipped stitch over the knitted stitch. ------------------------------------------------------- START THE PIECE HERE: ------------------------------------------------------- JACKET – SHORT OVERVIEW OF THE PIECE. The neck, yoke and body are worked back and forth with circular needle, from mid front and top down. The sleeves are worked in the round with double pointed needles/short circular needle, top down. The whole piece is worked with 2 strands. NECK: Cast on 59-61-63-63-69-73 stitches (including 4 band stitches on each side towards mid-front) with circular needle size 7 mm and 2 strands DROPS Alpaca Bouclé. Purl 1 row from the wrong side, then work as follows from the right side: 4 band stitches in GARTER STITCH – read description above, * knit 1, purl 1 *, repeat *-* until there are 5 stitches left, knit 1 and 4 band stitches in garter stitch. Work this rib for 8 cm. Purl 1 row from the wrong side where you increase 5-7-9-9-11-7 stitches evenly spaced (do not increase on the bands) – read INCREASE TIP = 64-68-72-72-80-80 stitches. Insert 1 marker at the beginning of the row; the yoke is measured from this marker. YOKE: Change to circular needle size 8 mm. The first row is worked as follows from the right side: 4 band stitches in garter stitch, 5-6-7-7-9-9 stitches in stocking stitch (= front piece), 1 yarn over, work A.1 ( = 6 stitches), 1 yarn over, 6 stitches in stocking stitch (= sleeve), 1 yarn over, work A.2 (= 6 stitches), 1 yarn over, 10-12-14-14-18-18 stitches in stocking stitch (= back piece), 1 yarn over, work A.1, 1 yarn over, 6 stitches in stocking stitch (= sleeve), 1 yarn over, work A.2, 1 yarn over, 5-6-7-7-9-9 stitches in stocking stitch and 4 band stitches in garter stitch (= front piece). The first increase to RAGLAN – read description above, is now finished. Work the BUTTONHOLE on the right band – read description above. Continue with stocking stitch, 4 band stitches in garter stitch on each side, A.1/A.2 and continue to increase to raglan in each transition between the body and sleeves. Increase every 2nd row (each row from the right side) a total of 14-16-17-19-19-21 times on both sides of each cable – REMEMBER THE KNITTING TENSION! After the last increase there are 176-196-208-224-232-248 stitches. Continue working without further increases until the piece measures 22-24-25-27-29-31 cm from the marker. On the last row from the wrong side decrease 1 stitch in each A.1/A.2 = 172-192-204-220-228-244 stitches. Now divide the piece for the body and sleeves on the next row from the right side as follows: Knit 27-30-32-35-37-40 (= front piece), place the next 36-40-42-44-44-46 stitches on 1 thread for the sleeve, cast on 6-6-6-6-8-8 stitches (= in side under sleeve), knit 46-52-56-62-66-72 (= back piece), place the next 36-40-42-44-44-46 stitches on 1 thread for the sleeve, cast on 6-6-6-6-8-8 stitches (= in side under sleeve), knit 27-30-32-35-37-40 (= front piece). THE PIECE IS NOW MEASURED FROM HERE! BODY: = 112-124-132-144-156-168 stitches. Continue with stocking stitch and 4 band stitches in garter stitch on each side (first row from the wrong side). When the piece measures 18-18-19-19-19-19 cm from the division, place the first and last 30-33-35-38-41-44 stitches on a thread (= front pieces), keep the middle 52-58-62-68-74-80 stitches on the needle (= back piece). Continue the back piece back and forth as follows: Work stocking stitch with 2 stitches in garter stitch on each side. When the piece measures 22-22-23-23-23-23 cm work 1 row from the right side where you increase 5-5-5-5-5-5 stitches evenly spaced = 57-63-67-73-79-85 stitches. Change to circular needle size 7 mm and work the next row from the wrong side as follows: 2 stitches in garter stitch, * purl 1, knit 1 *, work from *-* until there are 3 stitches left, purl 1 and 2 stitches in garter stitch. Continue this rib for 4 cm. Loosely cast off with garter stitch over garter stitch, knit over knit and purl over purl – read CASTING-OFF TIP. Place the first 30-33-35-38-41-44 stitches from the thread back on circular needle size 8 mm and work stocking stitch with 4 band stitches in garter stitch as before and 2 stitches in garter stitch towards the side. When the piece measures 22-22-23-23-23-23 cm work 1 row from the right side where you increase 1-2-2-1-2-1 stitches evenly spaced = 31-35-37-39-43-45 stitches. Change to circular needle size 7 mm and work the next row from the wrong side as follows: 2 stitches in garter stitch, * purl 1, knit 1 *, work from *-* until there are 5 stitches left, purl 1 and 4 band stitches in garter stitch. Continue this rib for 4 cm. Loosely cast off with garter stitch over garter stitch, knit over knit and purl over purl - remember CASTING-OFF TIP. Place the last 30-33-35-38-41-44 stitches from the thread back on circular needle size 8 mm and work stocking stitch with 4 band stitches in garter stitch towards mid-front and 2 stitches in garter stitch towards the side. When the piece measures 22-22-23-23-23-23 cm work 1 row from the right side where you increase 1-2-2-1-2-1 stitches evenly spaced = 31-35-37-39-43-45 stitches. Change to circular needle size 7 mm and work the next row from the wrong side as follows: 4 band stitches in garter stitch, * purl 1, knit 1 *, work from *-* until there are 3 stitches left, purl 1 and 2 stitches in garter stitch. Continue this rib for 4 cm. Loosely cast off with garter stitch over garter stitch, knit over knit and purl over purl. The jacket measures approx. 52-54-56-58-60-62 cm from the shoulder down. SLEEVE: Place the 36-40-42-44-44-46 stitches from the thread on the one side of the piece on short circular needle size 8 mm and knit up 1 stitch in each of the 6-6-6-6-8-8 stitches cast on under the sleeve = 42-46-48-50-52-54 stitches. Insert a marker thread in the middle of the 6-6-6-6-8-8 stitches under the sleeve and start the round here. Work stocking stitch in the round. When the sleeve measures 2 cm decrease 2 stitches mid-under the sleeve – read DECREASE TIP. Decrease like this every 7-4½-4½-3½-3½-3½ cm a total of 5-7-7-8-8-8 times = 32-32-34-34-36-38 stitches. Continue working until the sleeve measures 36-34-34-32-30-29 cm from the division (or to desired length; there is approx. 4 cm left to finished length – NOTE: Shorter measurements in larger sizes due to wider neck and longer yoke. Change to double pointed needles size 7 mm and work rib (knit 1, purl 1) for 4 cm. Cast off with knit over knit and purl over purl.– remember CASTING-OFF TIP. The sleeve measures 40-38-38-36-34-33 cm. Work the other sleeve in the same way. ASSEMBLY: You can either fold the neck double or have a high neck. If you want a double neck, fold the neck to the wrong side and sew down. To avoid the neck being tight and rolling outwards, it is important that the seam is elastic. Sew the buttons onto the left band. |
|||||||||||||
Diagram explanations |
|||||||||||||
|
|||||||||||||
 |
|||||||||||||
Have you finished this pattern?Tag your pictures with #dropspattern #snowpatchescardigan or submit them to the #dropsfan gallery. Do you need help with this pattern?You'll find 34 tutorial videos, a Comments/Questions area and more by visiting the pattern on garnstudio.com. © 1982-2026 DROPS Design A/S. We reserve all rights. This document, including all its sub-sections, has copyrights. Read more about what you can do with our patterns at the bottom of each pattern on our site. |
|||||||||||||


With over 40 years in knitting and crochet design, DROPS Design offers one of the most extensive collections of free patterns on the internet - translated to 17 languages. As of today we count 325 catalogues and 12298 patterns translated into English (UK/cm). 12298
We work hard to bring you the best knitting and crochet have to offer, inspiration and advice as well as great quality yarns at incredible prices! Would you like to use our patterns for other than personal use? You can read what you are allowed to do in the Copyright text at the bottom of all our patterns. Happy crafting!
Post a comment to pattern DROPS 227-21
We would love to hear what you have to say about this pattern!
If you want to leave a question, please make sure you select the correct category in the form below, to speed up the answering process. Required fields are marked *.