
Popular categories
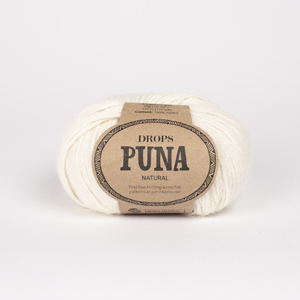
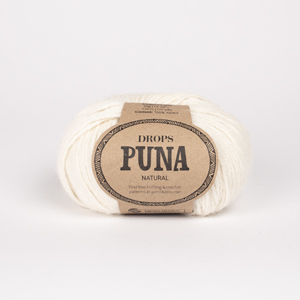
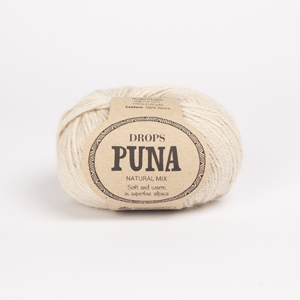
Looking for a yarn?





























Comments / Questions (143)
 Deb wrote:
Omg. I googled the twisted knit…it means to knit one through the back.
30.10.2026 - 23:47
Deb wrote:
Thank you so much for detailed instruction. I have never done a twisted stitch. Not sure what that means.
30.10.2026 - 23:18DROPS Design answered:
Dear Deb, in this video we show how to work a rib K1 twisted, P2 - make sure to work exactly as written in the pattern, ie K1 twisted as in video but P1 only (from RS). Happy knitting!
02.11.2026 - 07:35
Deb wrote:
Thank you. So the first row is purled? And the next row knit 1, purl 1? And the row after that purl 1, knit 1?
30.10.2026 - 16:02DROPS Design answered:
Dear Deb, in this pattern the very first row is purled, then you will work from RS; K1 (edge st in garter stitch), A.1 (= K1 twisted, P1) until 2 sts remain, K1 twisted, K1 (edge st in garter stitch), and from WS work: K1 (edge stitch in garter stitch), (P1 twisted, K1) until 2 sts remain, P1 twisted, K1 (edge stitch in garter stitch). Happy knitting!
30.10.2026 - 16:37
Deb wrote:
What is an edge stitch? For example in size large, I cast on 121. But then it says “including 1 edge stitch on each side”. Does this mean I cast on 123? Or is an edge stitch something different? Please advise.
29.10.2026 - 23:07DROPS Design answered:
Hi Deb, The edge-stitches are included in the cast-on stitches, so you will have 1 edge stitch on each side and 119 stitches of pattern. The edge stitches are worked in garter stitch (knitted on all rows) and are used when sewing the pieces together. Regards, Drops Team.
30.10.2026 - 05:16
 Katia wrote:
E’ possibile utilizzare i ferri normali e non circolari? Grazie
26.10.2026 - 21:33DROPS Design answered:
Buonasera Katia, il gilet è lavorato in parti separate in piano, quindi può utilizzare anche i ferri lineari. Buon lavoro!
26.10.2026 - 23:37
 Heidrun wrote:
Es verwundert mich, dass man nach dem Bund am Anfang so viele Maschen abnehmen soll. Normalerweise nimmt man nach dem Bund doch Maschen auf.
23.10.2026 - 18:01DROPS Design answered:
Liebe Heidrun, das hängt immer davon ab, wie das Bündchen werden soll. Hier soll es locker fallen und den Pullunder nicht zusammenziehen, daher müssen Sie Maschen abnehmen. Das Bündchen an sich erhält durch die kleinere Nadelstärke eine höhere Stabilität. Viel Spaß beim Stricken!
24.10.2026 - 09:09
 Anja wrote:
Kann man das Ganze auch mit 2 einzelnen Nadeln stricken? Ich habe eine Wolle von Lang (Malou light) mit 72 Alpaka, 16 Polyamid und 12. Woll). Geht das auch mit dieser Wolle?
18.10.2026 - 17:26DROPS Design answered:
Liebe Anja, hier wird man jedes Teil separat in Hin- und Rückreihen stricken, nur die Halsblende wird in der Runde gestrickt, dann nähen Sie die 1. Schulter, stricken Sie die Halsblende und endlich nähen Sie die 2. Schulter + Halsblende - hier lesen Sie mehr; diese Wolle kennen wir nicht, Ihr Wollladen kann Ihnen damit helfen, auch per Mail oder Telefon. Viel Spaß beim Stricken!
19.10.2026 - 11:26
Manuela wrote:
Bitte schicken Sie mir die Anleitung
14.10.2026 - 11:02DROPS Design answered:
Liebe Manuela, hier finden Sie die deutsche Anleitung, klicken Sie auf dem kleinen Drucker in der rechten Ecke oben, um die Anleitung aufzudrucken. Viel Spaß beim Stricken!
15.10.2026 - 16:18
 Monique wrote:
Je reviens vers vous ,je ne voudrai pas faire avec des aiguilles circulaire , comment procéder ? Merci
05.10.2026 - 18:09DROPS Design answered:
Bonjour Monique, ce modèle se tricote en 2 parties (dos et devant), en allers et retours sur aiguille circulaire, vous pouvez ainsi juste le tricoter tel quel avec des aiguilles droites, pour le col, faites la couture d'une seule épaule, relevez les mailles du col + 1 m lisière de chaque côté et, après le col, faites la couture du col et de la dernière épaule - découvrez ici quelques astuces pour adapter un modèle sur aiguilles droites. Bon tricot!
06.10.2026 - 08:35
Monique wrote:
Bonjour ,pouvez vous me dire comment calculer le nombre de mailles part rapport a un modele Merci
05.10.2026 - 15:11DROPS Design answered:
Bonjour Monique, vous pouvez choisir la tension que vous souhaitez utiliser pour votre ouvrage et vous référer à un modèle similaire à ce que vous souhaitez de cette même tension en faisant vos ajustements personnalisés. Bon tricot!
06.10.2026 - 08:17
|
|||||||
Visit Vienna#visitviennaslipover |
|||||||
 |
 |
||||||
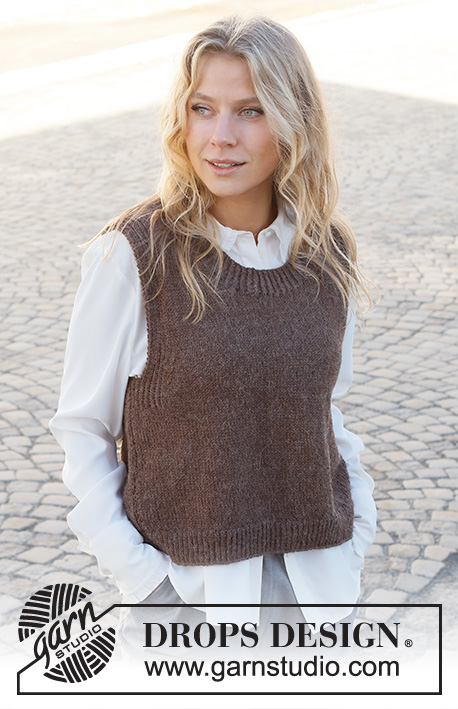
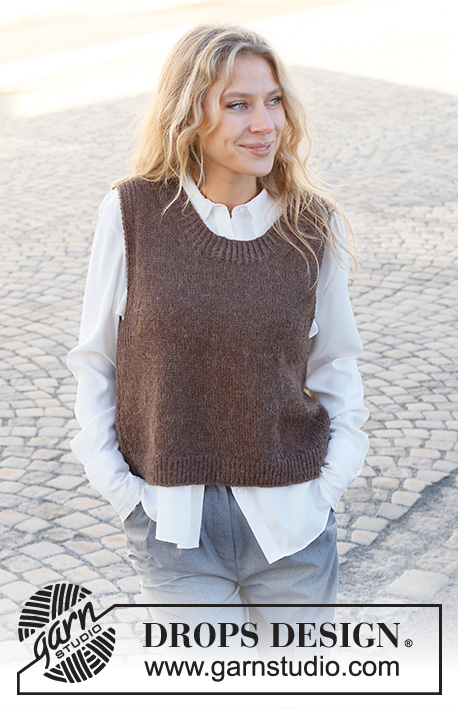
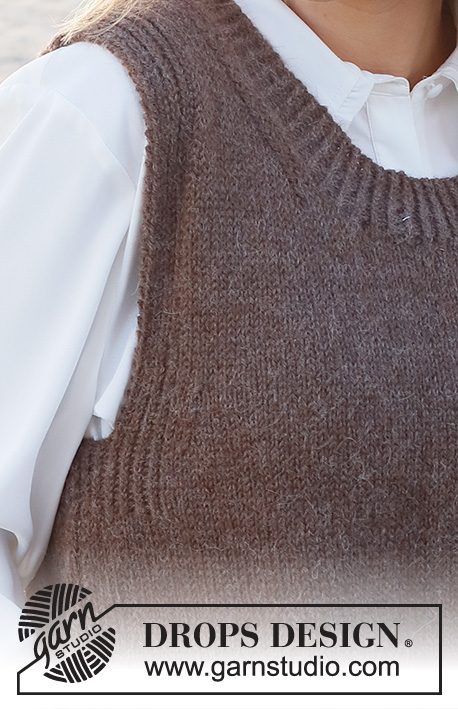
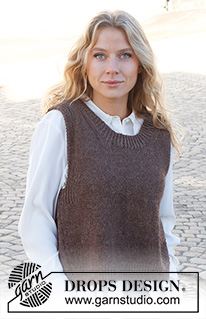
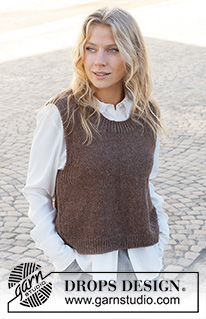
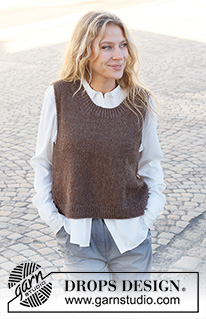
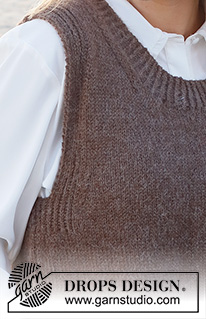
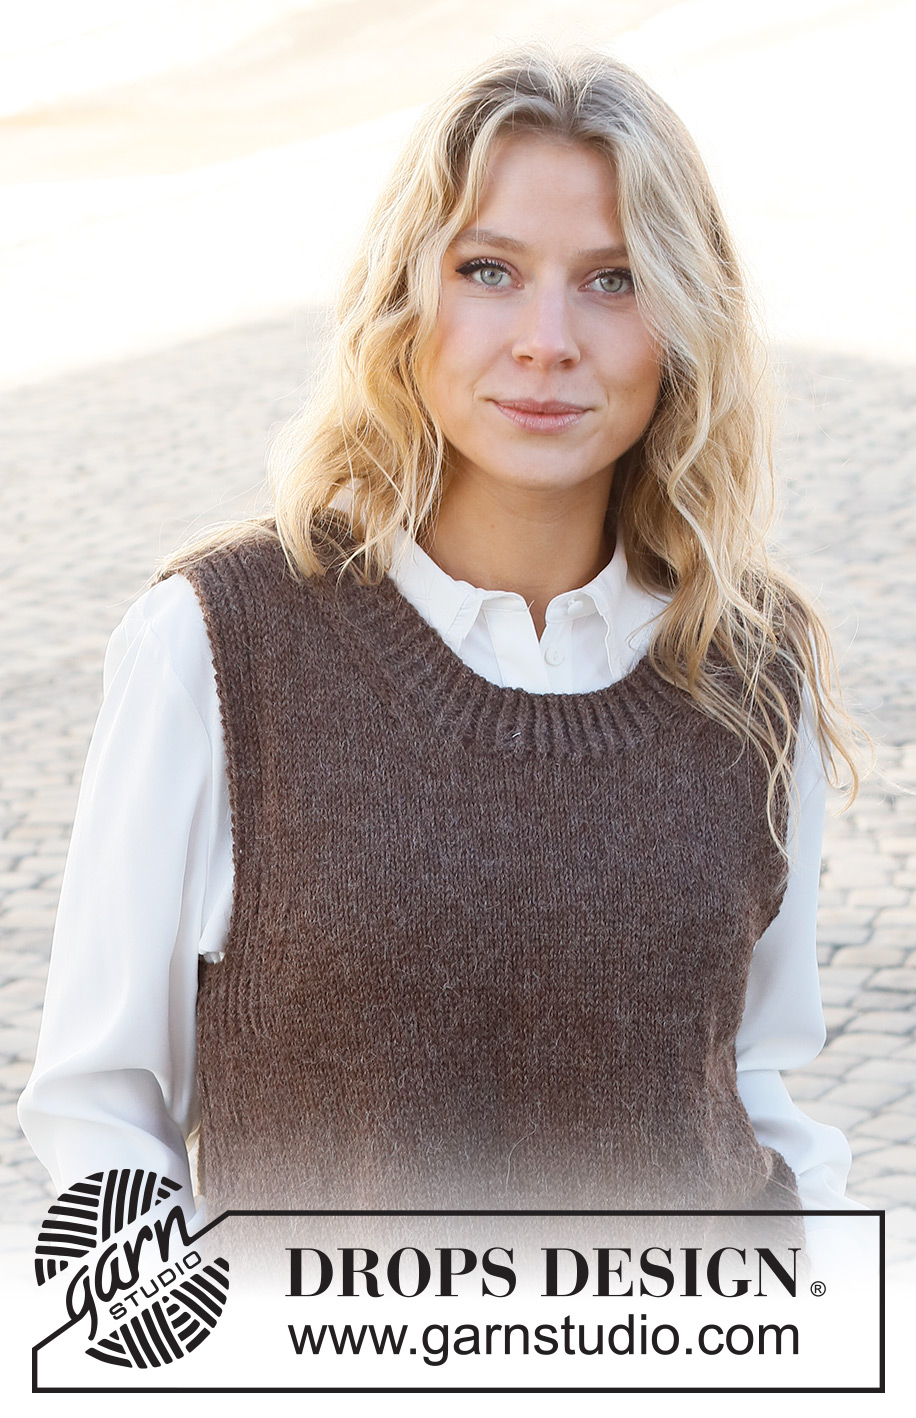
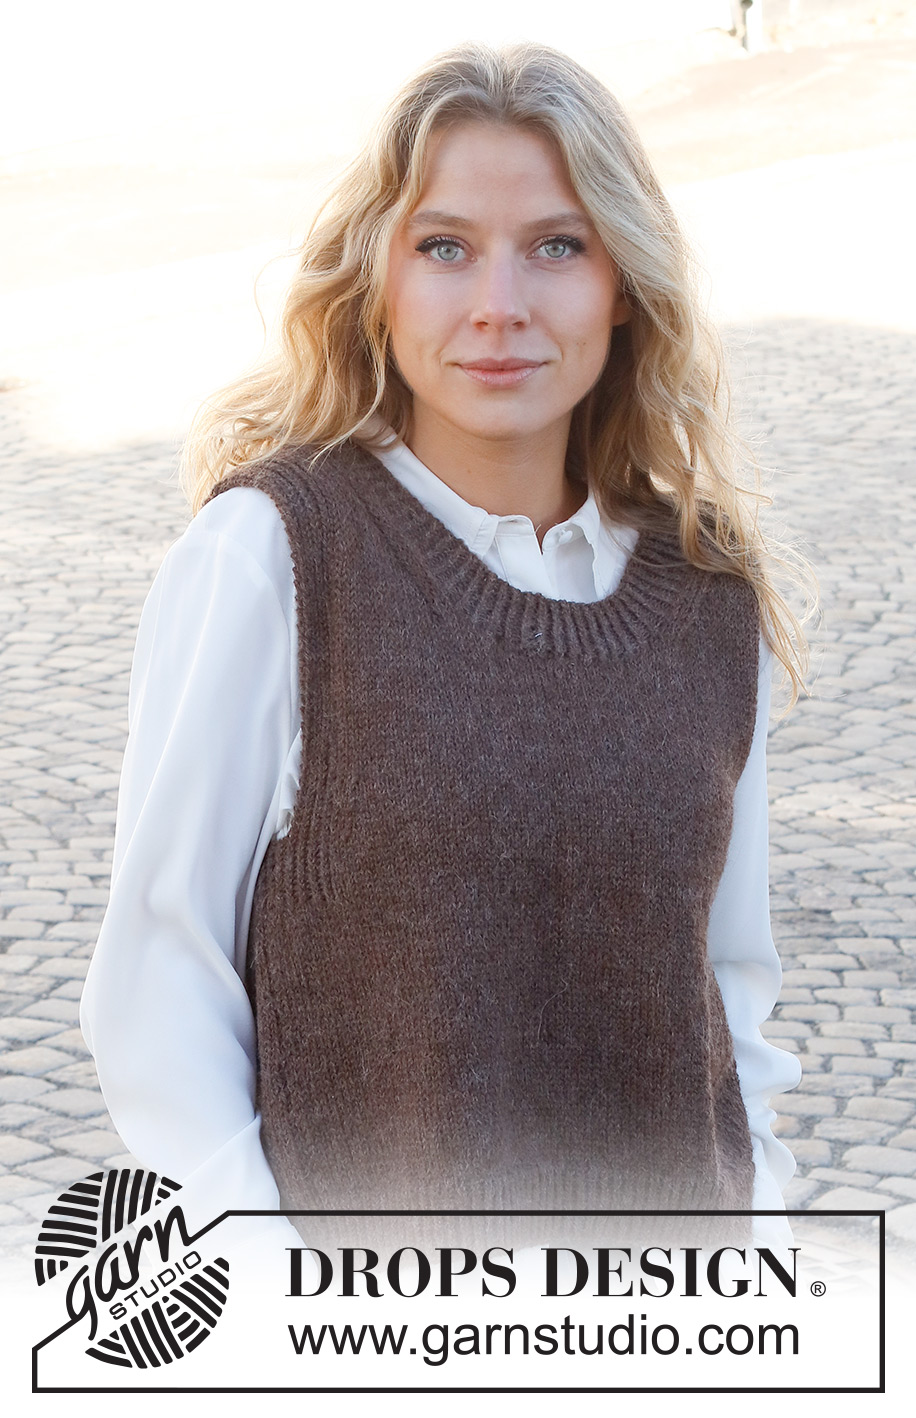
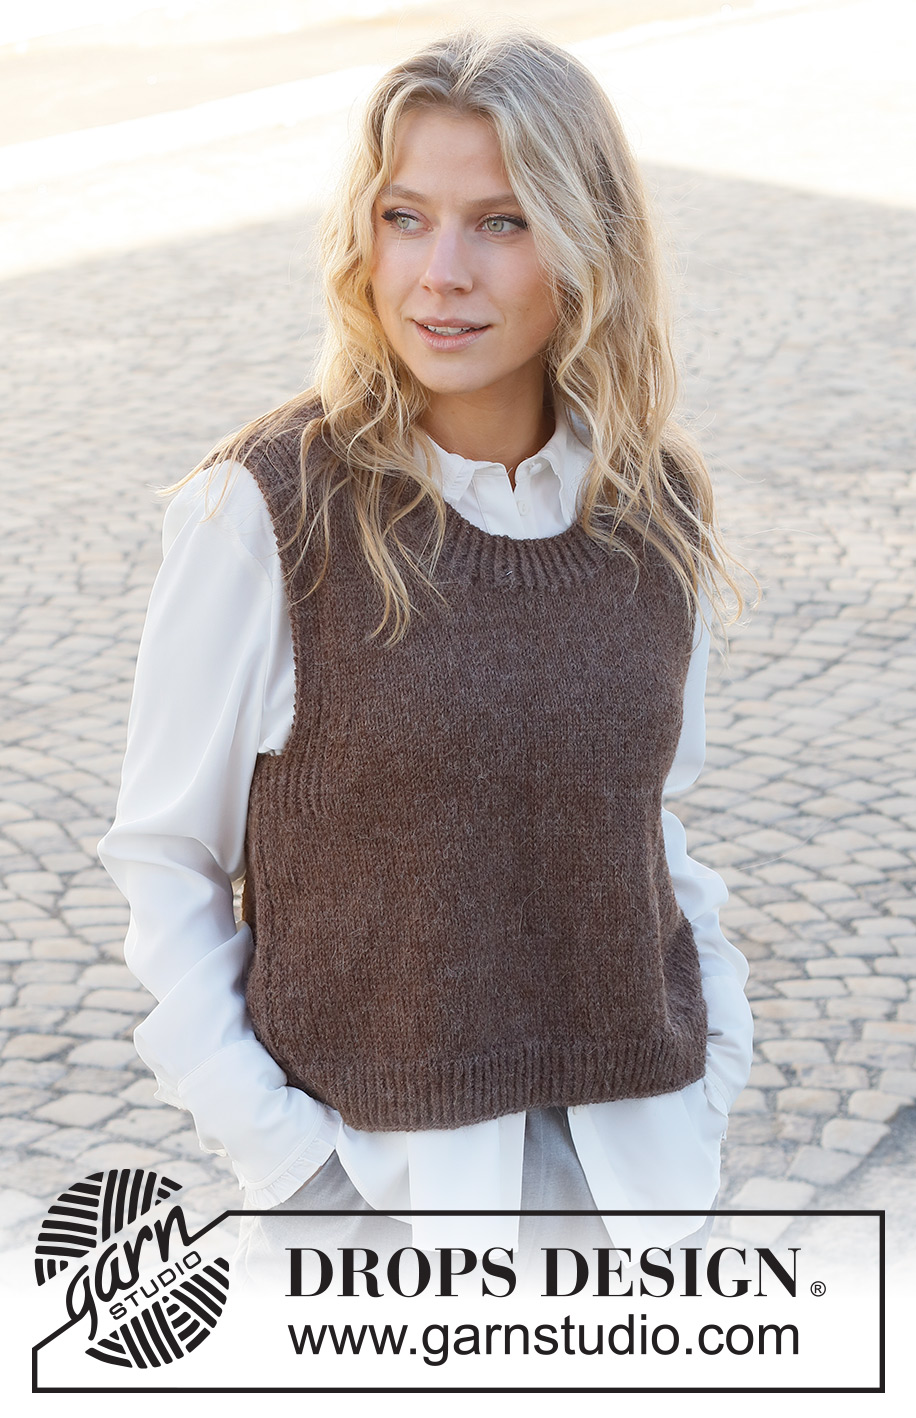
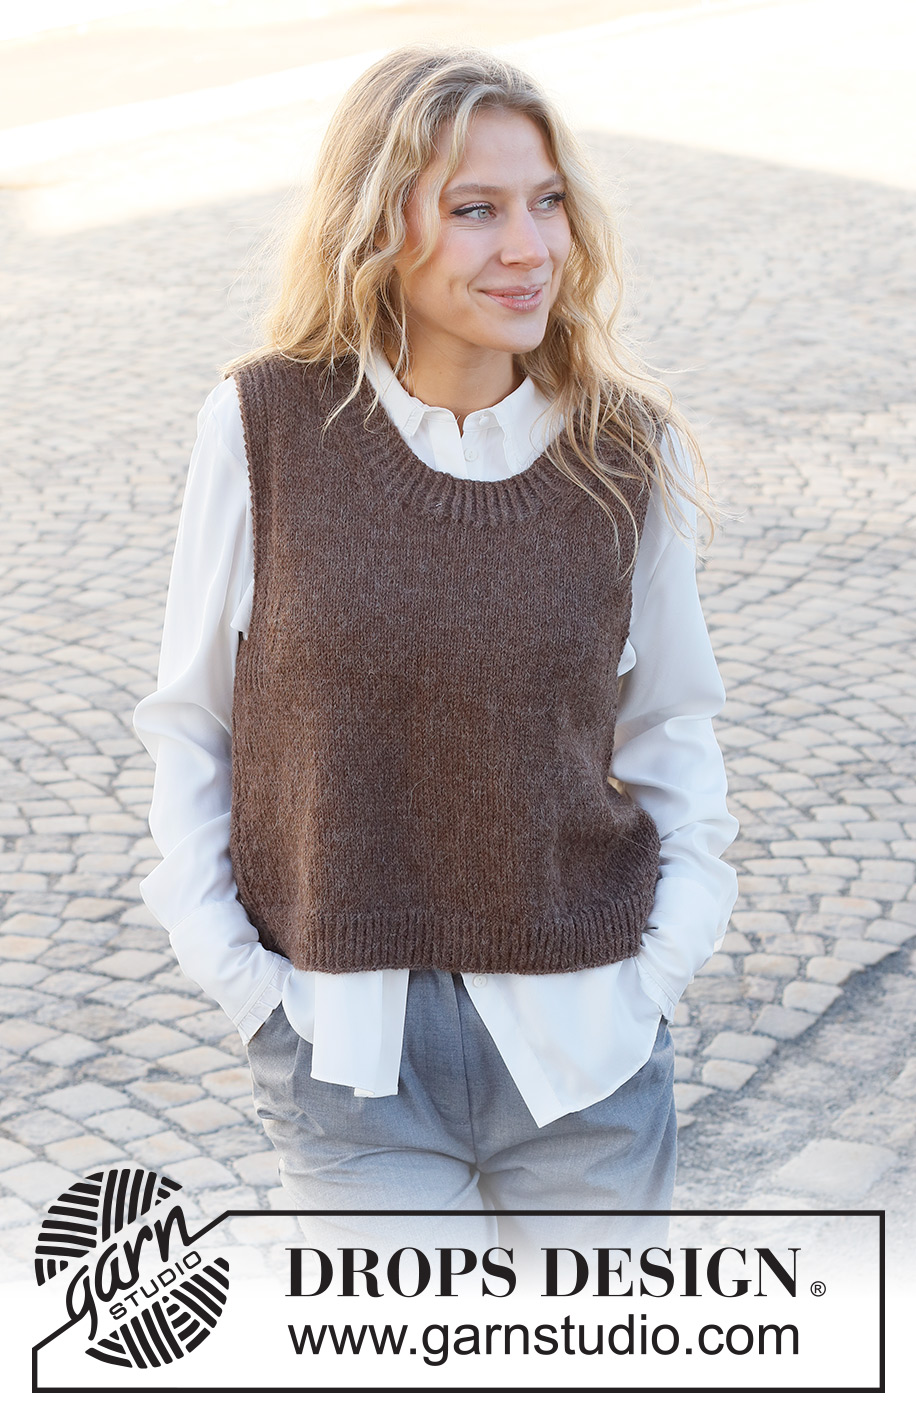
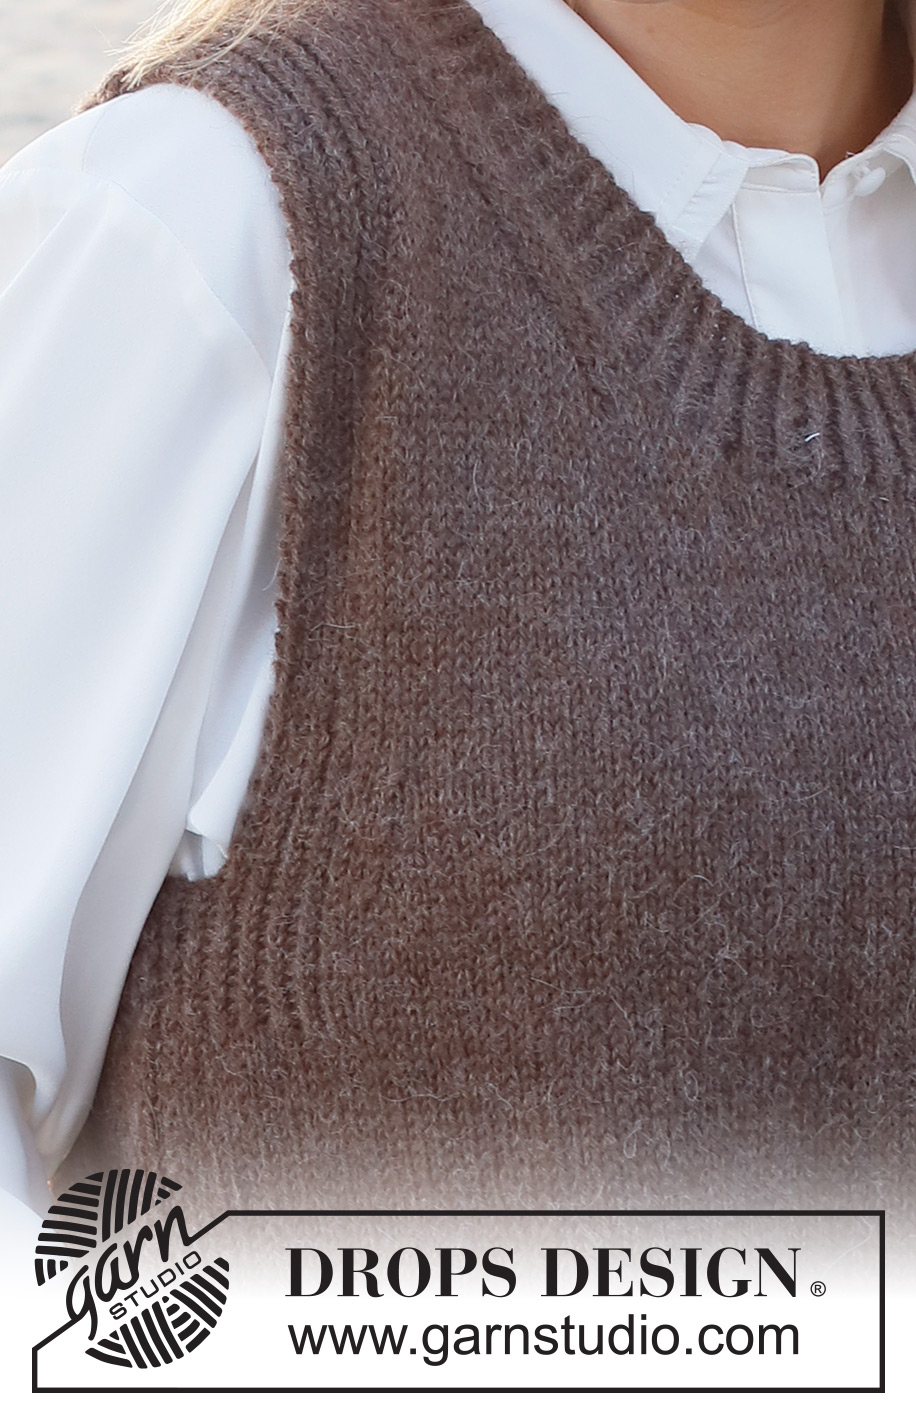
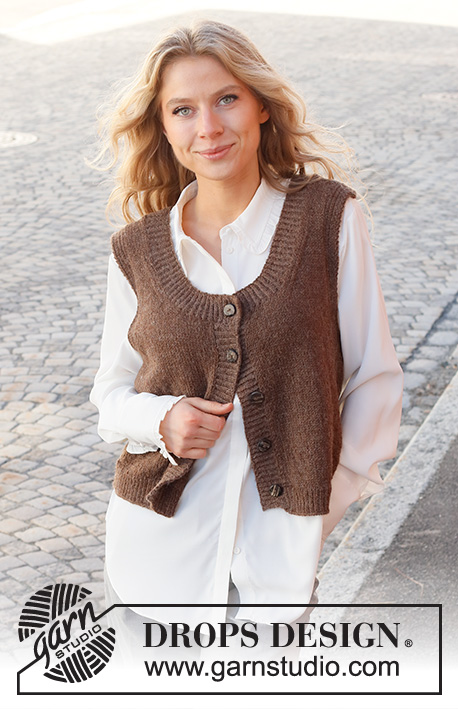
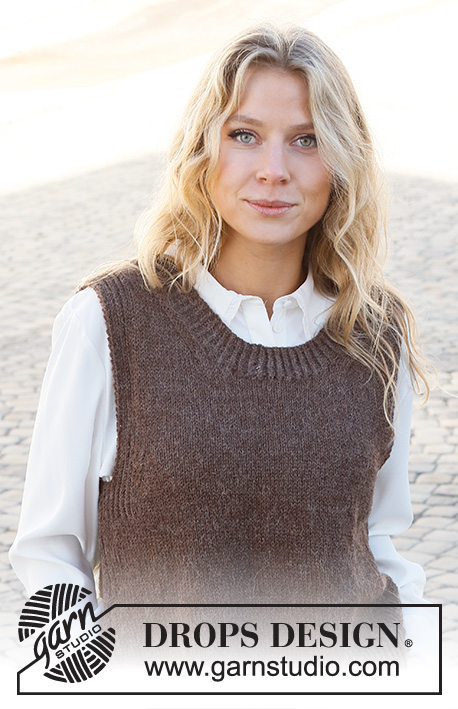
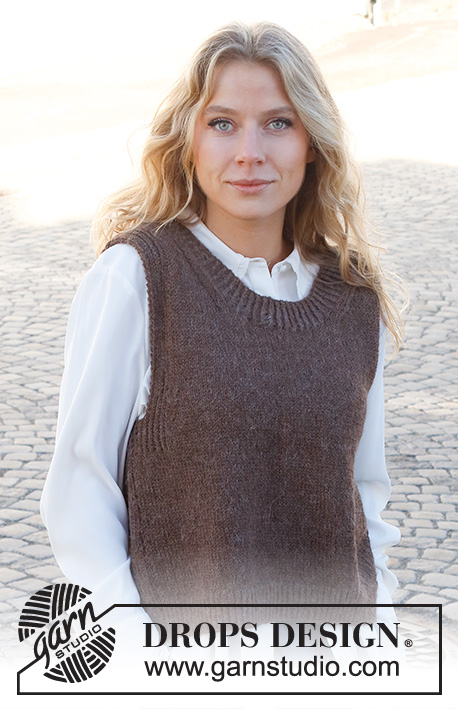
Knitted vest / slipover in DROPS Puna. The piece is worked with ribbed edges. Sizes S - XXXL.
DROPS 227-9 |
|||||||
|
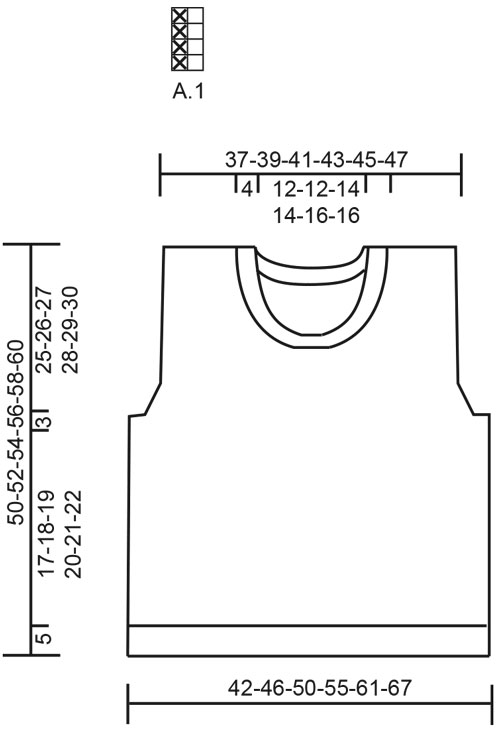
------------------------------------------------------- EXPLANATIONS FOR THE PATTERN: ------------------------------------------------------- RIDGE/GARTER STITCH (worked back and forth): Knit all rows. 1 ridge = knit 2 rows PATTERN: See diagram A.1. The diagram shows all rows in the pattern from the right side. DECREASE TIP-1 (evenly spaced): To work out how to decrease evenly, count the total number of stitches on needle (e.g. 103 stitches) minus the edge stitches (e.g. 2 stitches) and divide the remaining stitches by the number of decreases to be made (e.g. 17) = 5.9. In this example decrease by knitting together approx. each 5th and 6th stitch. Do not decrease the edge stitches. DECREASE TIP-2 (armholes): All decreases are worked from the right side! Decrease at the beginning of row: Work the first 11 stitches as before, slip 1 stitch as if to knit, knit 1 and pass the slipped stitch over the knitted stitch (= 1 stitch decreased). Decrease at the end of row: Work until there are 13 stitches left, knit 2 together and work to end of row (= 1 stitch decreased). DECREASE TIP-3 (neck): All decreases are worked from the right side! After the neck: Work 1 edge stitch in garter stitch, 2 stitches in stocking stitch, slip 1 stitch as if to knit, knit 1 and pass the slipped stitch over the knitted stitch (= 1 stitch decreased). Before the neck: Work until there are 5 stitches left, knit 2 together and work to end of row (= 1 stitch decreased). CASTING-OFF TIP: To avoid the cast-off edge being tight you can cast off with a larger size needle. If the edge is still tight, make 1 yarn over after approx. each 4th stitch at the same time as casting off; the yarn overs are cast off as normal stitches. ------------------------------------------------------- START THE PIECE HERE: ------------------------------------------------------- VEST – SHORT OVERVIEW OF THE PIECE: The piece is worked in sections, back and forth on the needle and then sewn together. The neck is worked to finish. BACK PIECE: Cast on 103-113-121-133-149-163 stitches (including 1 edge stitch on each side) with circular needle size 3.5 mm and DROPS Puna. Purl 1 row from the wrong side, then work rib from the right side as follows: 1 edge stitch in GARTER STITCH – read description above, work A.1 until there are 2 stitches left, work the first stitch in A.1 (so the pattern is symmetrical) and 1 edge stitch in garter stitch. Continue this rib back and forth for 5 cm – adjust so the next row is from the right side. Knit 1 row where you decrease 17-19-19-21-25-27 stitches evenly spaced – read DECREASE TIP-1 = 86-94-102-112-124-136 stitches. Change to circular needle size 4.5 mm. Purl 1 row from the wrong side. Continue with stocking stitch and 1 edge stitch in garter stitch on each side. REMEMBER THE KNITTING TENSION! When the piece measures 22-23-24-25-26-27 cm, work pattern as follows from the right side: 1 edge stitch in garter stitch, A.1 over the next 12-12-12-14-16-18 stitches, stocking stitch until there are 13-13-13-15-17-19 stitches left, purl 1, A.1 over the next 11-11-11-13-15-17 stitches and 1 edge stitch in garter stitch. Continue this pattern. When the piece measures 25-26-27-28-29-30 cm (the rib on each side measures 3 cm – adjust to work next row from the right side), work as follows: Cast off the first 4-4-4-6-8-10 stitches for the armholes at the beginning of the next 2 rows (cast off with knit) = 78-86-94-100-108-116 stitches. The next row from the right side is worked as follows: 1 edge stitch in garter stitch, pattern as before over the next 8 stitches, work stocking stitch until there are 9 stitches left, pattern over the next 8 stitches and 1 edge stitch in garter stitch. Continue this pattern. On the next row from the right side, decrease 1 stitch on each side for the armholes – read DECREASE TIP-2! Decrease like this each row from the right side a total of 1-3-5-6-8-10 times = 76-80-84-88-92-96 stitches. When the piece measures 46-48-50-52-54-56 cm, cast off the middle 36-36-40-40-44-44 stitches for the neck and each shoulder (= 20-22-22-24-24-26 stitches) is finished separately. On the next row from the right side, decrease 1 stitch for the neck – read DECREASE TIP-3! Decrease like this each row from the right side a total of 2 times = 18-20-20-22-22-24 stitches. Continue with pattern and stocking stitch until the piece measures 50-52-54-56-58-60 cm. Cast off with knit over knit and purl over purl. Work the other shoulder in the same way. FRONT PIECE: Cast on and work as for the back piece. When the piece measures 35-37-37-39-39-41 cm (there are 76-80-84-88-92-96 stitches on the needle), place the middle 18-18-20-20-24-24 stitches on a thread for the neck and each shoulder (= 29-31-32-34-34-36 stitches) is finished separately On the next row from the right side, decrease 1 stitch for the neck – remember DECREASE TIP-3! Decrease like this each row from the right side a total of 11-11-12-12-12-12 times = 18-20-20-22-22-24 stitches. Continue with pattern and stocking stitch until the piece measures 50-52-54-56-58-60 cm. Cast off with knit over knit and purl over purl. Work the other shoulder in the same way. ASSEMBLY: Sew the shoulder seams inside the cast-off edge. Sew the side seams inside the 1 edge stitch. NECK: Start from the right side at one shoulder seam and knit up 120 to 148 stitches (including the stitches from the thread) inside the 1 edge stitch, with short circular needle size 3.5 mm and DROPS Puna. The number of stitches must be divisible by 2; make sure the neck is neither too loose nor too tight. Work A.1 in the round over all stitches for 4½ cm. Cast off with knit-twisted over knit-twisted and purl over purl – read CASTING-OFF TIP. |
|||||||
Diagram explanations |
|||||||
|
|||||||
 |
|||||||
Have you finished this pattern?Tag your pictures with #dropspattern #visitviennaslipover or submit them to the #dropsfan gallery. Do you need help with this pattern?You'll find 18 tutorial videos, a Comments/Questions area and more by visiting the pattern on garnstudio.com. © 1982-2026 DROPS Design A/S. We reserve all rights. This document, including all its sub-sections, has copyrights. Read more about what you can do with our patterns at the bottom of each pattern on our site. |
|||||||






With over 40 years in knitting and crochet design, DROPS Design offers one of the most extensive collections of free patterns on the internet - translated to 17 languages. As of today we count 333 catalogues and 12525 patterns translated into English (UK/cm). 12525
We work hard to bring you the best knitting and crochet have to offer, inspiration and advice as well as great quality yarns at incredible prices! Would you like to use our patterns for other than personal use? You can read what you are allowed to do in the Copyright text at the bottom of all our patterns. Happy crafting!
Post a comment to pattern DROPS 227-9
We would love to hear what you have to say about this pattern!
If you want to leave a question, please make sure you select the correct category in the form below, to speed up the answering process. Required fields are marked *.