
Popular categories
Looking for a yarn?


Comments / Questions (31)
![]() Ali wrote:
Ali wrote:
I am knitting this pattern in size S. I have just finished the ribbing for the back, and am unable to work out a sequence for decreasing the number of stitches (32) evenly., to be left with 64. I am anticipating similar difficulty when it comes to the sleeves. Please can you give me a formular for both the back and the sleeves, as I am unable to do the maths!! Thank you.
24.04.2026 - 15:40DROPS Design answered:
Dear Ali, click on the "tool" icon at the bottom corner on the right side of the pattern page to use the decrease calculator, you shoul decrease 32 sts after edge stitch and cast on 1 stitch at the end of the row so that you get: 96-32+1=65 sts, turn and work next row from WS increasing 1 st at the end of the row = 65+1=66 sts. Happy knitting!
24.04.2026 - 16:48
![]() Gabriele wrote:
Gabriele wrote:
Hallo liebes drops-Team, in der Anleitung wird Nadelstärke 8 angegeben. Das wird dann seehr locker. Ich habe in anderen Anleitungen verglichen, dort wird höchstens Stärke 6 angegeben. Wie kann das sein? Danke!
12.01.2026 - 22:48DROPS Design answered:
Liebe Gabriele, das ist immer auch eine Frage dessen, wie fest oder locker das Maschenbild werden soll und welches Garn verstrickt wird. Brushed Alpaca Silk wird eher locker verstrickt, damit der Flauscheffekt schön zur Geltung kommt. Beachten Sie auf jeden Fall, dass Sie die Nadelstärke verwenden, mit der Sie die angegebene Maschenprobe einhalten, je nachdem, wie locker Sie selbst stricken, brauchen Sie z.B. vielleicht nur Nadel 7. Viel Spaß beim Stricken!
13.01.2026 - 09:36
![]() Elisa wrote:
Elisa wrote:
¿La muestra para la tensión se hace con la aguja de 8 o de 5 mm?
08.01.2026 - 17:55DROPS Design answered:
Hola Elisa, la muestra para la tensión se hace con la aguja de 8 mm. Saludos!
12.01.2026 - 11:30
![]() Hannelore wrote:
Hannelore wrote:
Ich möchte diesen Pullover mit nur einer Sorte Garn stricken. Welches Garn käme da in Frage?
21.12.2025 - 20:07
![]() Neff wrote:
Neff wrote:
Je ne comprend pas les explication suivantes :Tricoter maintenant un rang ajouré ainsi: 1 maille lisière au point mousse, 1-1-2-2-1-1 mailles jersey, répéter A.2 jusqu'à ce qu'il reste 2-2-1-1-2-2 mailles, terminer par 1-1-2-2-1-1 mailles jersey et 1 maille lisière au point mousse. Merci
19.11.2025 - 08:41DROPS Design answered:
Bonjour Mme Neff, vous devez tricoter ainsi: 1 m lis au point mousse, puis 1 ou 2 m jersey (cf taille - soit 1m end sur l'endroit/envers sur l'envers au rang suivant); puis vous répétez les 5 mailles de A.2 (lisez le diagramme de bas en haut et de droite à gauche sur l'endroit ) et terminez votre rang sur l'endroit par 1 ou 2 m jersey et 1 m lisière au point mousse. Au rang suivant sur l'envers = 2ème rang de A.2, tricotez 1 m lis au point mousse de chaque côté et toutes les mailles à l'endroit sur l'envers. Bon tricot!
19.11.2025 - 16:19
![]() Marianne Andersen wrote:
Marianne Andersen wrote:
Kan jeg bruge Baby Merion til denne opskrift
29.07.2025 - 08:42
![]() Marina wrote:
Marina wrote:
Esiste un video tutorial
19.07.2025 - 22:58DROPS Design answered:
Buonasera Marina, non esiste un tutorial per l'interno modello, ma esistono dei video delle tecniche utilizzate che può trovare in alto di fianco alla foto. Buon lavoro!
20.07.2025 - 17:03
![]() Izabela wrote:
Izabela wrote:
Dzień dobry. Mam pytanie, w tym wzorze używa się zwrotu: przerabiać oczko brzegowe ściegiem francuskim. Czyli po prostu na prawo, dobrze rozumiem? I kolejne, czy gdzieś w projekcie używa się ściegu francuskiego w całości okrążeń? Bo nie widzę,a z jakiegoś powodu jest przecież podany opis tego ściegu. Bo gdyby to miało służyć do tych oczek brzegowych, to przecież napisane by było: przerobić oczko brzegowe na prawo. Dziękuję i pozdrawiam serdecznie
18.07.2025 - 13:01DROPS Design answered:
Witaj Izo, w tym wzorze tylko oczka brzegowe są przerabiane ściegiem francuskim. To oznacza, że pierwsze i ostatnie oczko w rzędzie jest zawsze przerabiane na prawo, zarówno na prawej jak i na lewej stronie robótki. Pozdrawiamy!
18.07.2025 - 13:49
![]() Catarina Skoglund wrote:
Catarina Skoglund wrote:
Undrar om antal maskor i halsringningen på mönster 231-11. Ska det bara tas upp 10 maskor på var sida mellan de maskor som är avsatta på tråd fram och bak? Sammanlagda antal maskor runt hela halsen 68 maskor?
14.04.2025 - 22:27DROPS Design answered:
Hei Catarina. Det stemmer. Det plukkes opp 8 masker på hver side av maskene på tråden foran og 2 masker i hver side av maskene på tråden på bakstykket = 10+10. mvh DROPS Design
28.04.2025 - 10:22
![]() Petra Marquardt wrote:
Petra Marquardt wrote:
Wenn ich es richtig lese wird Vordertei und Rückenteil immer rechts gestrickt auf dem Bild sieht es so aus als ob Hinteihe rechts und Rückreise links gestrickt wurde
03.03.2025 - 20:23DROPS Design answered:
Liebe Frau Marquardt, Sie sind ja recht, am Anfang erklären wir nur, wie man krausrechts strickt, aber nach Bündchen wird man Glattrechts stricken, siehe unter Rückenteil: Glatt rechts hin- und zurückstricken, mit je 1 Rand-Masche kraus rechts beidseitig.. Viel Spaß beim Stricken!
04.03.2025 - 09:33
|
||||||||||||||||
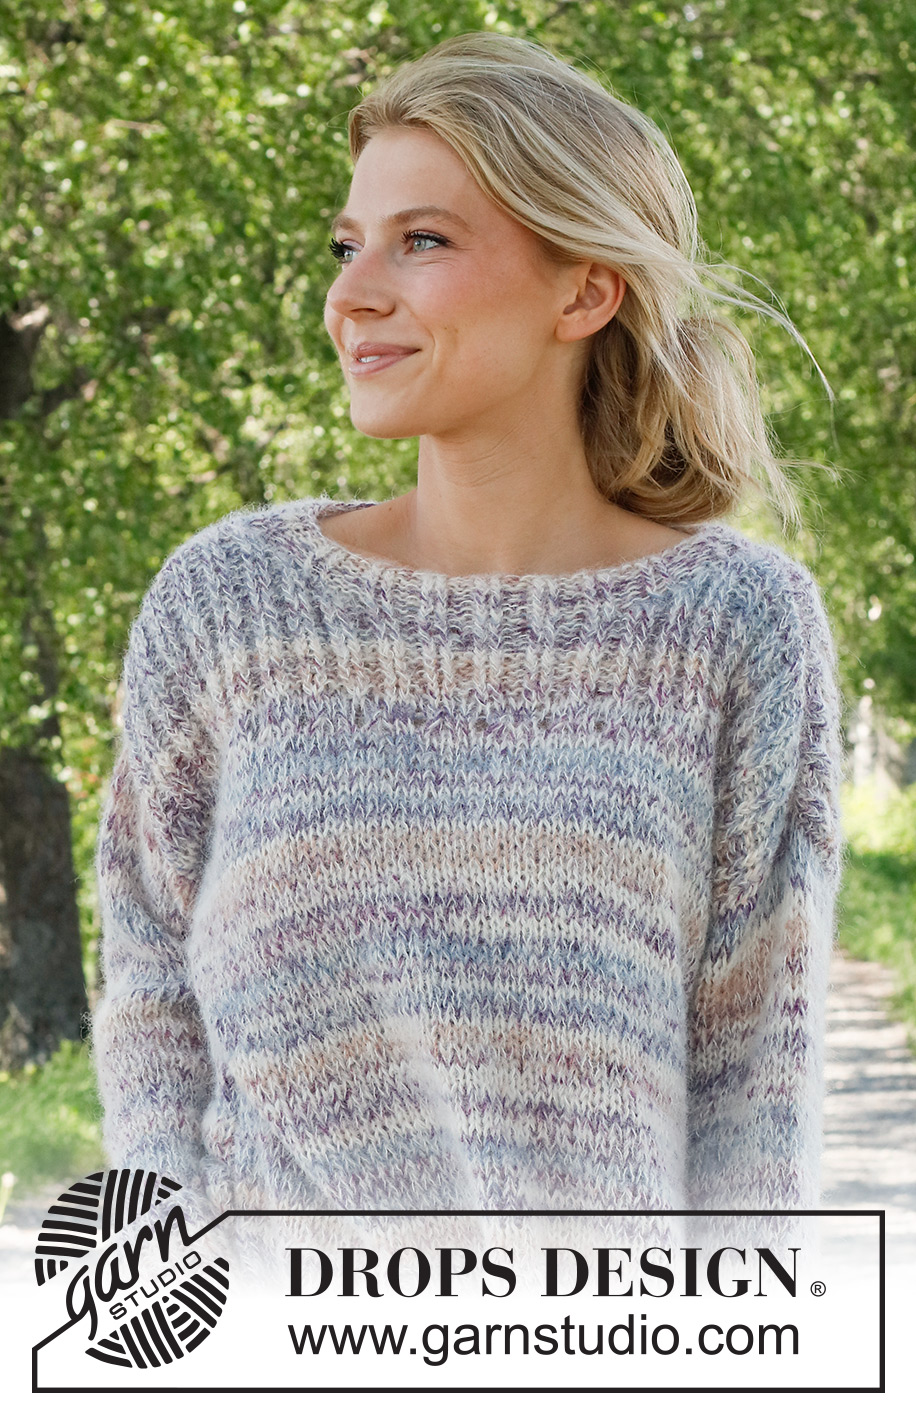
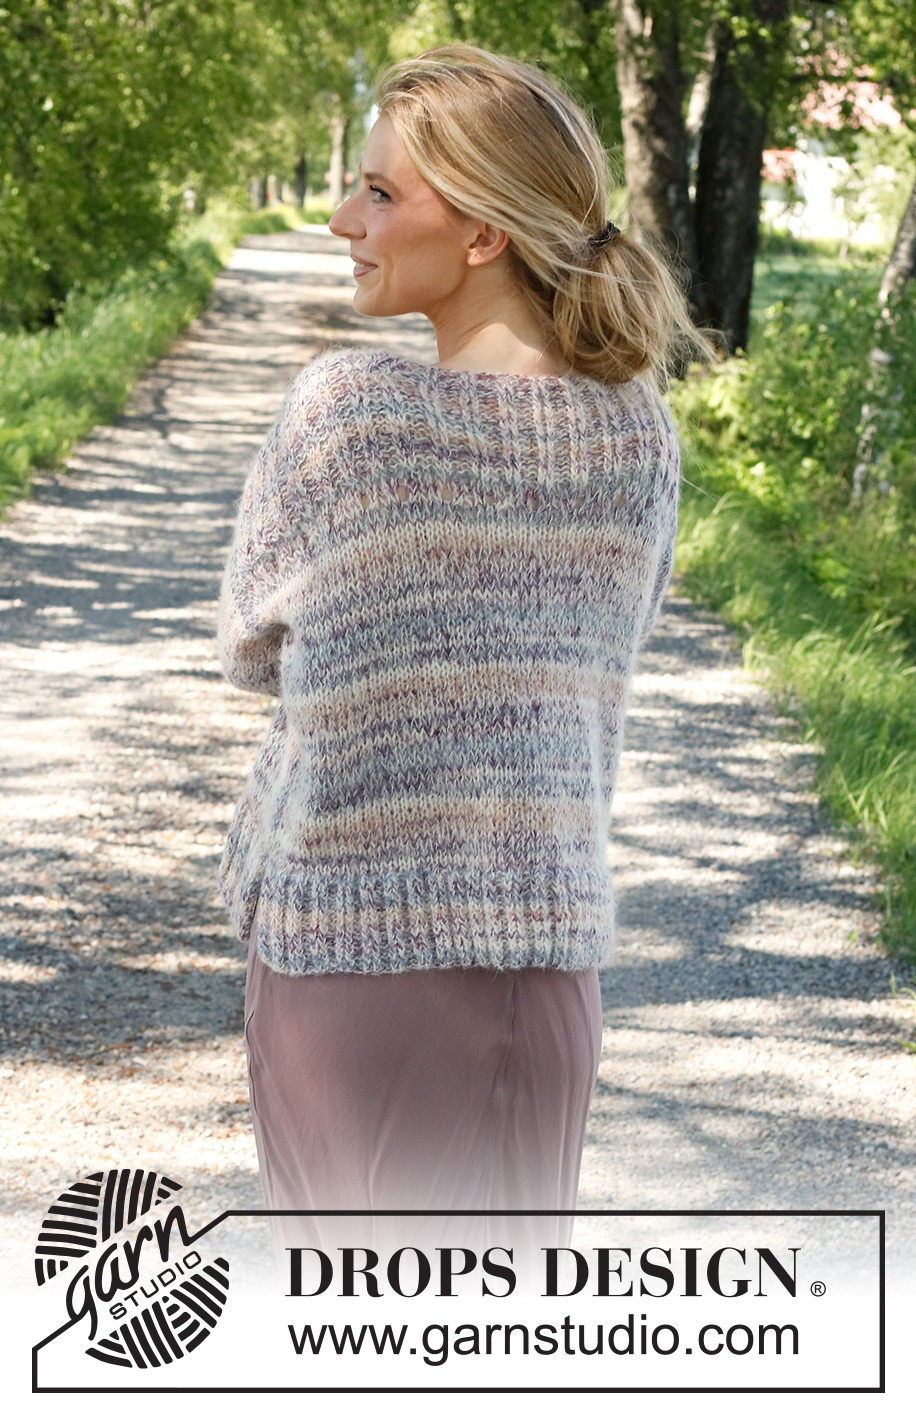
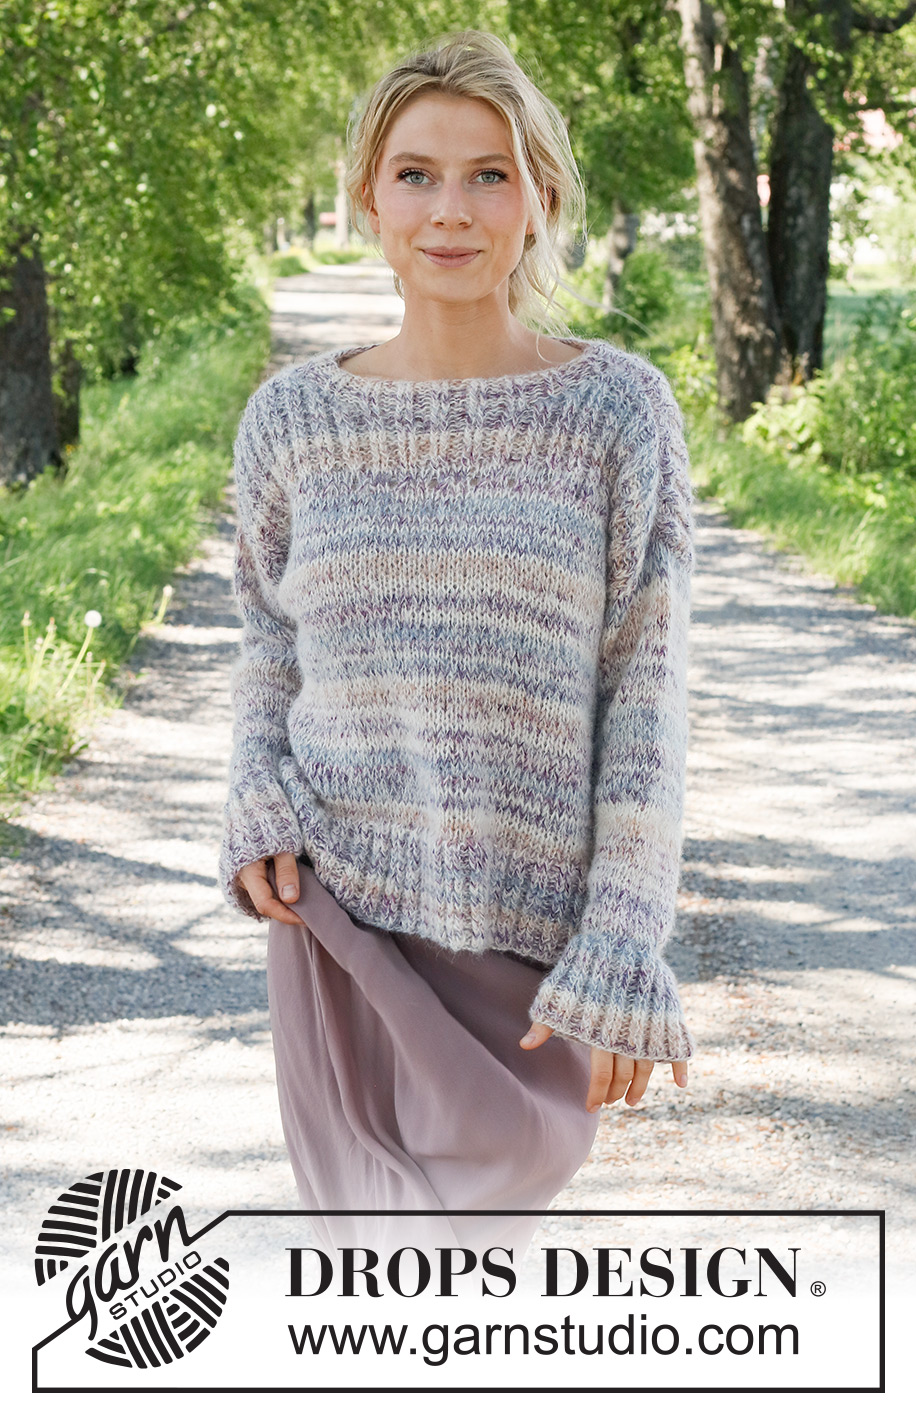
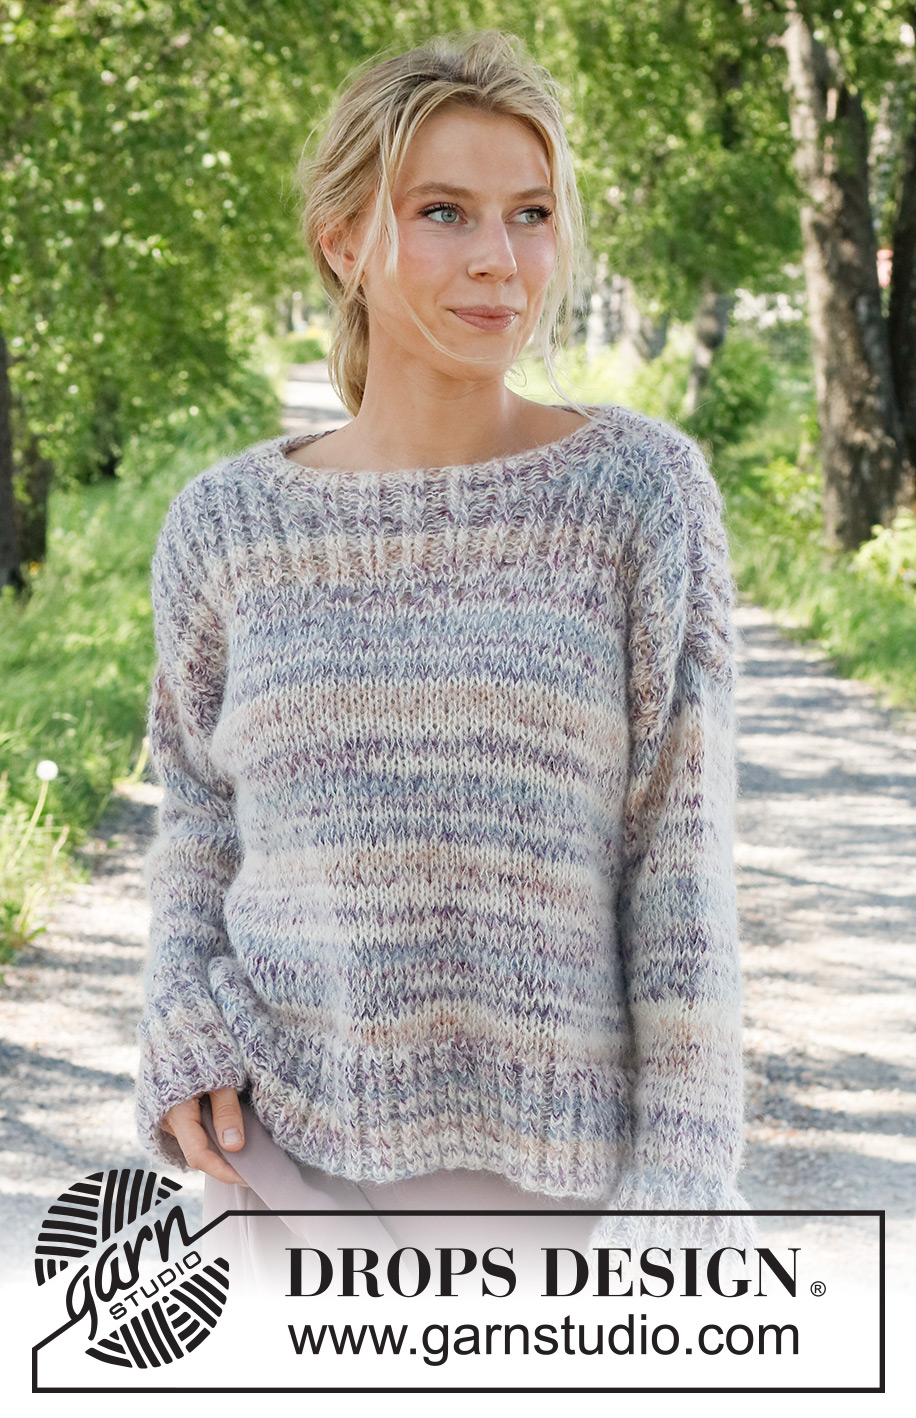
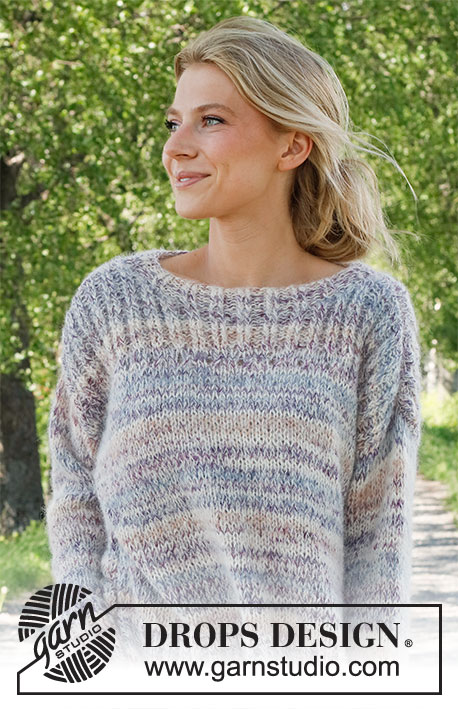
Colorful Walk#colorfulwalksweater |
||||||||||||||||
 |
 |
|||||||||||||||
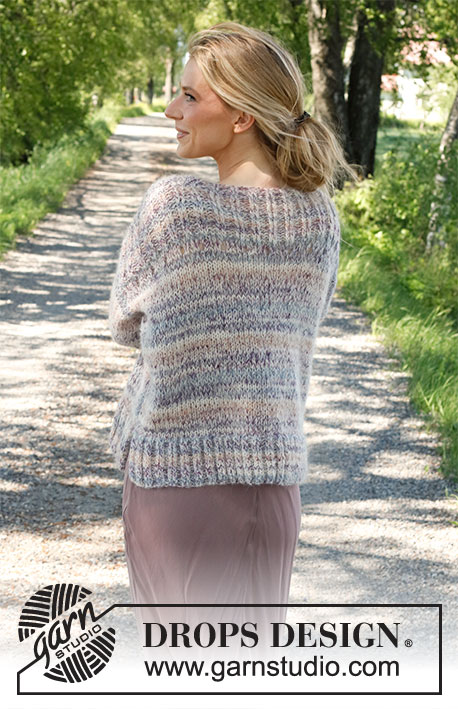
Knitted jumper in DROPS Fabel and DROPS Brushed Alpaca Silk. The piece is worked bottom up with ribbed edges. Sizes XS - XXL.
DROPS 231-11 |
||||||||||||||||
|
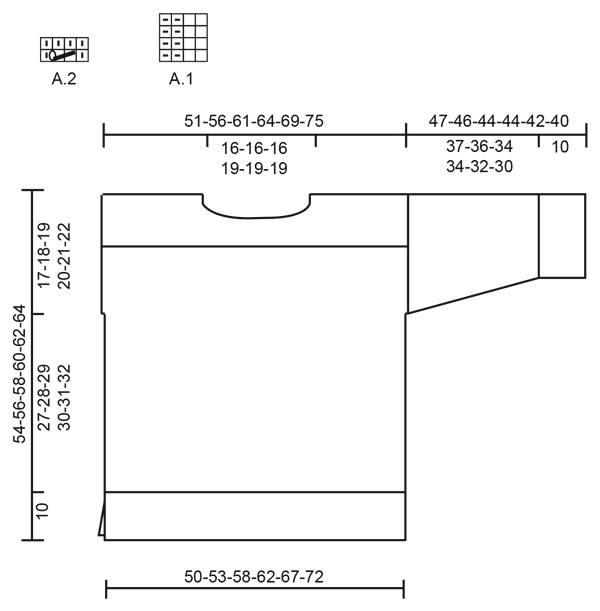
------------------------------------------------------- EXPLANATIONS FOR THE PATTERN: ------------------------------------------------------- RIDGE/GARTER STITCH (worked back and forth): Knit all rows. 1 ridge = knit 2 rows. PATTERN: See diagrams A.1 and A.2. The diagrams show all rows in the pattern from the right side. DECREASE/INCREASE TIP (evenly spaced): To work out how to decrease/increase evenly, count the number of stitches to be decreased/increased over (e.g. 96 stitches), and divide by the number of decreases/increases to be made (e.g. 36) = 2.6. In this example, decrease by alternately knitting together each 1st and 2nd stitch and each 2nd and 3rd stitch. When increasing, make 1 yarn over after alternately each 2nd and 3rd stitch. On the next row work the yarn overs twisted to avoid holes. INCREASE TIP (for sleeves): Work until there are 2 stitches left before the marker, 1 yarn over, knit 4 (marker sits between these 4 stitches), 1 yarn over. On the next round knit the yarn overs twisted to avoid holes. Then work the new stitches in stocking stitch. ------------------------------------------------------- START THE PIECE HERE: ------------------------------------------------------- JUMPER – SHORT OVERVIEW OF THE PIECE: The back and front pieces are worked separately, back and forth. The sleeves are worked in the round with double pointed needles/short circular needle. The pieces are sewn together and the neck worked in the round to finish. BACK PIECE: Cast on 92-96-108-116-124-136 stitches with circular needle size 5 mm and 1 strand of each quality (= 2 strands). Work rib as follows: 1 edge stitch in GARTER STITCH – read description above, work A.1 until there are 3 stitches left, work the first 2 stitches in A.1, 1 edge stitch in garter stitch. Continue this rib back and forth for 10 cm. Work the next row from the right side as follows: Knit all stitches and decrease 32-32-38-42-44-48 stitches evenly spaced – read DECREASE/INCREASE TIP, cast on 1 new stitch at the end of the row (= edge stitch). Change to circular needle size 8 mm. Work back from the wrong side as follows: 1 edge stitch in garter stitch, purl to the end of the row and cast on 1 stitch (= edge stitch) = 62-66-72-76-82-90 stitches. Continue with stocking stitch and 1 edge stitch in garter stitch on each side. REMEMBER THE KNITTING TENSION! When the piece measures 37-38-39-40-41-42 cm, cast on 1 stitch at the end of the next 2 rows = 64-68-74-78-84-92 stitches. Continue with stocking stitch and 1 edge stitch in garter stitch on each side until the piece measures 40-42-44-46-48-50 cm. Now work a row of holes as follows: 1 edge stitch in garter stitch, 1-1-2-2-1-1 stitches in stocking stitch, A.2 until there are 2-2-1-1-2-2 stitches left, 1-1-2-2-1-1 stitches in stocking stitch, 1 edge stitch in garter stitch. When A.2 is finished, increase 12-16-18-18-20-20 stitches evenly on the next row from the wrong side – remember DECREASE/INCREASE TIP = 76-84-92-96-104-112 stitches. Change to circular needle size 5 mm. Work rib as follows: 1 edge stitch in garter stitch, work A.1 until there are 3 stitches left, work the first 2 stitches in A.1, 1 edge stitch in garter stitch. Continue this rib for 9 cm. Now place the middle 30-30-30-34-34-34 stitches on a thread for the neck and finish each shoulder separately. On the next row from the neck cast off the first 2 stitches. On the next row from the neck, work the 2 outermost stitches from neck together (1 stitch decreased) = 20-24-28-28-32-36 stitches on the shoulder. Continue the rib with 1 edge stitch in garter stitch on each side until rib measure 12 cm in total. Knit 1 row from the right side where you decrease 4-5-6-6-7-8 stitches evenly spaced = 16-19-22-22-25-28 stitches on the shoulder. Change to circular needle size 8 mm. Cast off with purl from the wrong side. The piece measures approx. 54-56-58-60-62-64 cm from the shoulder down. Work the other shoulder in the same way. FRONT PIECE: Cast on and work in the same way as the back piece until the front piece measures 40-42-44-46-48-50 cm. Now work a row of holes in the same way as on the back piece. When A.2 is finished, increase 12-16-18-18-20-20 stitches on the next row from the wrong side = 76-84-92-96-104-112 stitches. Change to circular needle size 5 mm. Work rib as follows: 1 edge stitch in garter stitch, work A.1 until there are 3 stitches left, work the first 2 stitches in A.1, 1 edge stitch in garter stitch. Continue this rib for 6 cm. Now place the middle 18-18-18-22-22-22 stitches on a thread for the neck and finish each shoulder separately. Then cast off on each row from the neck as follows: 4 stitches 1 time and 2 stitches 2 times. On the next row from the neck, work the 2 outermost stitches from neck together (1 stitch decreased) = 20-24-28-28-32-36 stitches on the shoulder. Continue the rib with 1 edge stitch in garter stitch on each side until rib measure 12 cm in total. Knit 1 row from the right side where you decrease 4-5-6-6-7-8 stitches evenly spaced = 16-19-22-22-25-28 stitches on the shoulder. Change to circular needle size 8 mm. Cast off with purl from the wrong side. The piece measures approx. 54-56-58-60-62-64 cm from the shoulder down. Work the other shoulder in the same way. SLEEVES: Cast on 52-52-52-56-56-56 stitches with double pointed needles size 5 mm and 1 strand of each quality (= 2 strands). Work A.1 in the round for 10 cm, knit 1 round where you decrease 22-21-20-22-21-20 stitches evenly spaced = 30-31-32-34-35-36 stitches. Change to double pointed needles size 8 mm. Insert 1 marker at the beginning of the round (= mid-under sleeve). Work 2 rounds of stocking stitch. Now work a round of holes as follows: Knit 1-1-2-1-1-2, work A.2 until there are 1-2-2-1-2-2 stitches left, knit 1-2-2-1-2-2. When A.2 is finished continue with stocking stitch until the sleeve measures 13 cm. Now increase 1 stitch on each side of the marker – read INCREASE TIP. Increase like this every 7½-6-4½-4½-3½-3½ cm a total of 5-6-7-7-8-8 times = 40-43-46-48-51-52 stitches. Continue with stocking stitch until the sleeve measures 47-46-44-44-42-40 cm. Cast off. Work the other sleeve in the same way. ASSEMBLY: Sew the shoulder seams inside the cast-off edge. Sew in the sleeves. Sew the side seams, leaving a 10 cm split at the bottom. NECK: Start on the top of one shoulder with short circular needle size 5 mm and 1 strand of each quality (= 2 strands). Knit up from the right side as follows: 8 stitches between the shoulder seam and the stitches on the thread in front, work the 18-18-18-22-22-22 stitches from the thread in rib as before, knit up 8 stitches as far as the other shoulder seam, knit up 2 stitches after the seam, work the 30-30-30-34-34-34 stitches from the thread in rib as before, knit up 2 stitches back to the seam = 68-68-68-76-76-76 stitches. Work A.1 in the round for 4 to 5 cm (or desired length) – make sure the rib matches over the stitches from the threads. Cast off with knit over knit and purl over purl. |
||||||||||||||||
Diagram explanations |
||||||||||||||||
|
||||||||||||||||
 |
||||||||||||||||
Have you finished this pattern?Tag your pictures with #dropspattern #colorfulwalksweater or submit them to the #dropsfan gallery. Do you need help with this pattern?You'll find 32 tutorial videos, a Comments/Questions area and more by visiting the pattern on garnstudio.com. © 1982-2026 DROPS Design A/S. We reserve all rights. This document, including all its sub-sections, has copyrights. Read more about what you can do with our patterns at the bottom of each pattern on our site. |
||||||||||||||||


With over 40 years in knitting and crochet design, DROPS Design offers one of the most extensive collections of free patterns on the internet - translated to 17 languages. As of today we count 325 catalogues and 12298 patterns translated into English (UK/cm).
We work hard to bring you the best knitting and crochet have to offer, inspiration and advice as well as great quality yarns at incredible prices! Would you like to use our patterns for other than personal use? You can read what you are allowed to do in the Copyright text at the bottom of all our patterns. Happy crafting!
Post a comment to pattern DROPS 231-11
We would love to hear what you have to say about this pattern!
If you want to leave a question, please make sure you select the correct category in the form below, to speed up the answering process. Required fields are marked *.