
Popular categories
Looking for a yarn?


Comments / Questions (48)
![]() Deborah Gibson wrote:
Deborah Gibson wrote:
I am confused regarding the decreases for the sleeves. “AT THE SAME TIME cast off at the beginning of each row 2 stitches 2 times and 1 stitch 5 times [size L] on each side”. Does this mean: decrease 2 stitches on the purl side, 2 stitches on the knit side, then 1 stitch at the beginning only or 1 stitch at each end of the row x 5 times? Am I decreasing 9 stitches or 14?
07.03.2026 - 22:47DROPS Design answered:
Dear Mrs Gibson, you will decrease as explained under DECREASE TIP-2: decrease 2 sts in each side (back piece) by wokring: 1 edge st, 2 sts stocking st, A.1 (= at the beg of the row) and ending the row with A.1, 2 sts in stocking st and 1 edge stitch = you have decreased 2 sts on each side, work this decrease row every 4th row (= every other row from RS) a total of 4 times = you have decreased 4 sts x 4 = 16 sts in total, there were 82 sts - 16 = 66 sts remain. Happy knitting!
09.03.2026 - 09:04
![]() Ellis wrote:
Ellis wrote:
Ik snap het al. Ik brei niet met rondbrei naalden. Dat was het probleem. Dank je.
07.03.2026 - 17:05DROPS Design answered:
Dag Ellis,
👍Veel breiplezier.
09.03.2026 - 14:11
![]() Ellis wrote:
Ellis wrote:
Waarom staat er dat ik bij aanvang mindering mouw in achterpand twee keer moet minderen en de steken blijven gelijk. Of staat het et per ongeluk dubbel?
06.03.2026 - 22:42DROPS Design answered:
Dag Ellis,
Bij aanvang van het achterpand heb je 70-76-82-90-96-104 steken en na het minderen heb je 62-64-66-68-70-72 steken. Er staat niet iets dubbel in.
07.03.2026 - 10:44
![]() Beate wrote:
Beate wrote:
Hallo, ich habe eine Frage: ich verstehe nicht genau, wie das Abnehmen A1, A2, A3 funktioniert. In der Hinreihe (rechts) werden drei Maschen LINKS zusammengestrickt ? Wieso nicht 2x2 Maschen (rechts) zusammenstricken? Und warum (in A2, 3) erst zwei Maschen abnehmen (3 Maschen LINKS zusammenstricken) und dann wieder eine zunehmen ? Kann mir jemand das erklären ? Vielen Dank im Voraus !!
16.02.2026 - 00:11
![]() Ann Dahl wrote:
Ann Dahl wrote:
Hej Jag har stickat tröjan Walk with nature och älskar garnkombinationen. Nu vill jag sticka en liknande baströja i herrmodell i slätstickning och helst med dubbel halskant med en tråd soft tweed och en tråd kid mohair. Önskar förslag på beskrivning. Tack på förhand.
09.01.2026 - 18:08
![]() Mo wrote:
Mo wrote:
Hallo, an welcher Stelle benötigt man denn das zweite Garn (Kid Silk)? Habe dazu in der Anleitung nichts gefunden. Viele Grüße
30.12.2025 - 19:10DROPS Design answered:
Hallo Mo, Kid-Silk wird die ganze Zeit mit verstrickt, d.h. Sie stricken mit 2 Fäden, also 1 Faden Soft-Tweed und 1 Faden Kid-Silk. Viel Spaß beim Stricken!
24.02.2026 - 21:31
![]() Sandra wrote:
Sandra wrote:
Me podrían explicar detalladamente cómo hacer la disminución para las sisas cuántos puntos antes comenzar y cuántos después y de qué manera realizarlas gracias
01.08.2025 - 03:21DROPS Design answered:
Hola Sandra, las disminuciones para las sisas se trabajan en los extremos de la fila y se trabajan según TIP-2 PARA LAS DISMINUCIONES (sisas y cuello). Trabajar 1 punto orillo en punto musgo, 2 puntos en punto jersey, A.1 sobre los siguientes 3 puntos (este diagrama es la disminución de la sisa), trabajas el resto de la fila hasta que queden 6 puntos, A.1 sobre los siguientes 3 puntos (= 2 puntos disminuidos), 2 puntos en punto jersey, 1 punto orillo en punto musgo. Esta disminución se trabaja cada 4ª fila y se trabaja en total el número de veces indicado para tu talla. Después se pasa a disminuir solo 1 punto en las tallas S, XL y XXL, trabajando A.2 en vez de A.1.
05.08.2025 - 13:17
![]() Venus wrote:
Venus wrote:
Hola, mi pregunta es si la labor se tejer en redondo de abajo arriba como se cuando llegó a la sisas, cual es la parte de atrás y la de adelante. Espero que me respondan gracias.
16.02.2025 - 00:07DROPS Design answered:
Hola Venus, si las dos son iguales da igual cuál elijas como delantero y como espalda; puedes ver cuál ha quedado mejor trabajada (cuál se ven más bonitos los puntos) y elegir ese como delantero.
17.02.2025 - 01:33
![]() Martine Malbranque wrote:
Martine Malbranque wrote:
Bonjour seraist'il possible d'obtenir se modéle avec des aiguilles droites n'étant pas adepte de circulaires merçi !!
03.01.2025 - 14:58
![]() Romi wrote:
Romi wrote:
How many stitches are there in the sleeves at the end?
27.11.2024 - 00:35DROPS Design answered:
Dear Romi, the number of stitches depends on your tension in height, just make sure to cast off the number of stitches requested for your size, make sure to cast off the same number of stitches on each side (especially when casting off 2 sts on each side until sleeve measures 54, 55 or 56 cm); the measurements is here more important than the remaining number of stitches. Happy knitting!
27.11.2024 - 07:21
|
||||||||||
Walk with Nature#walkwithnaturesweater |
||||||||||
 |
 |
|||||||||
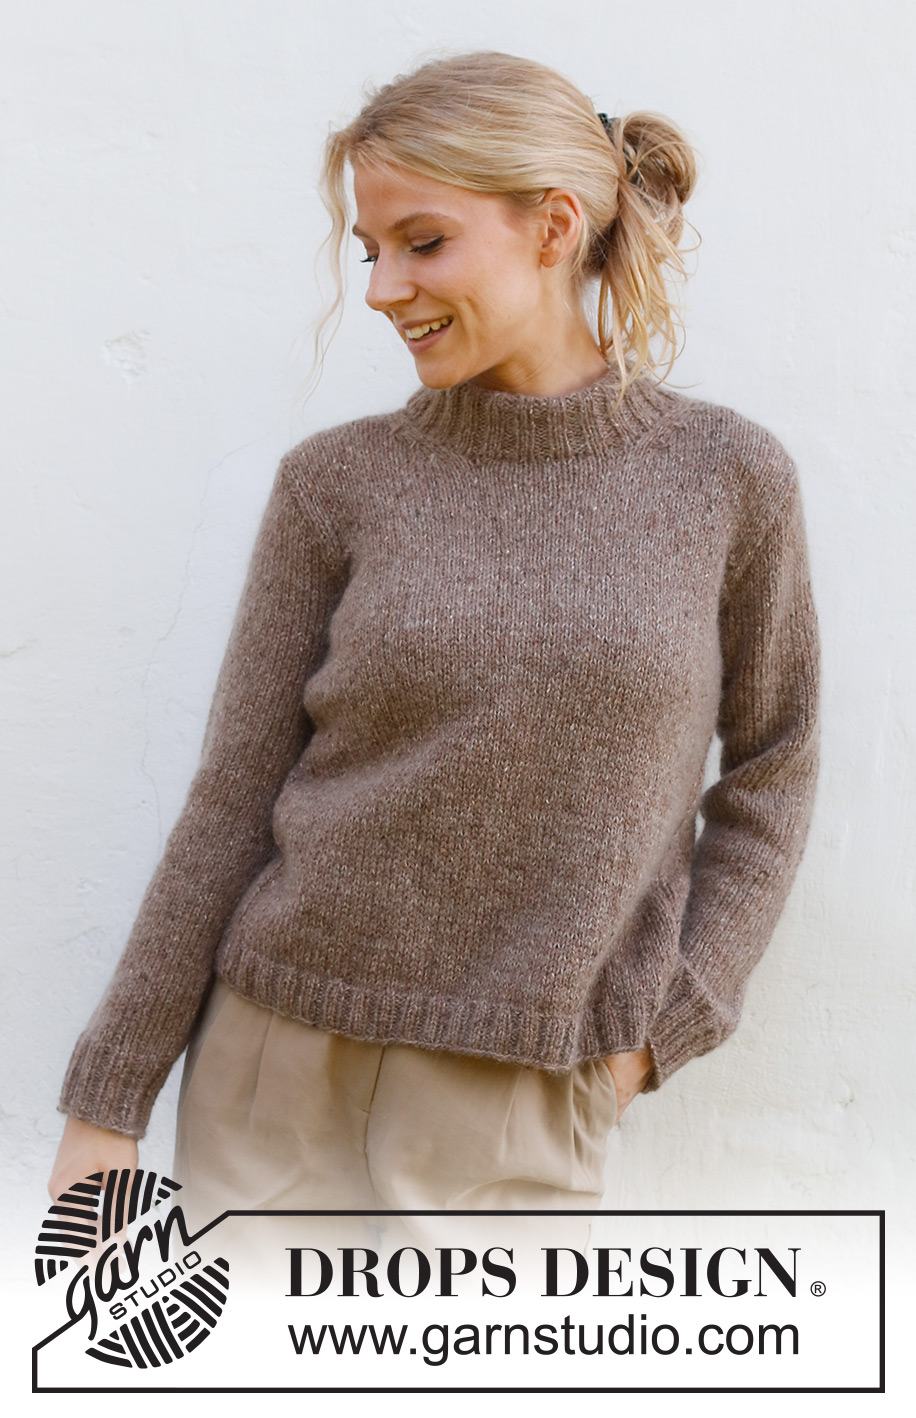
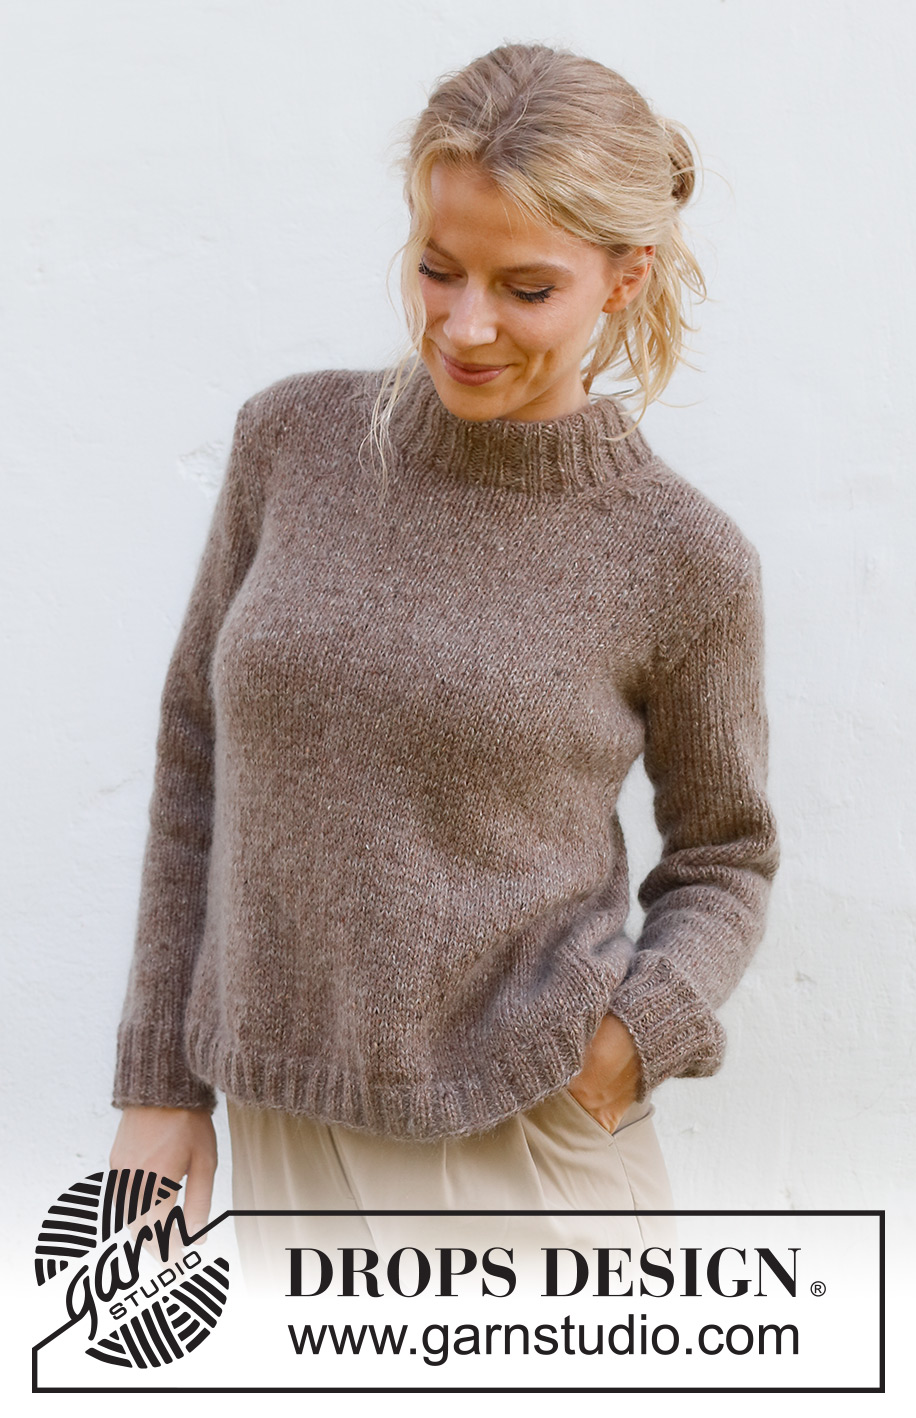
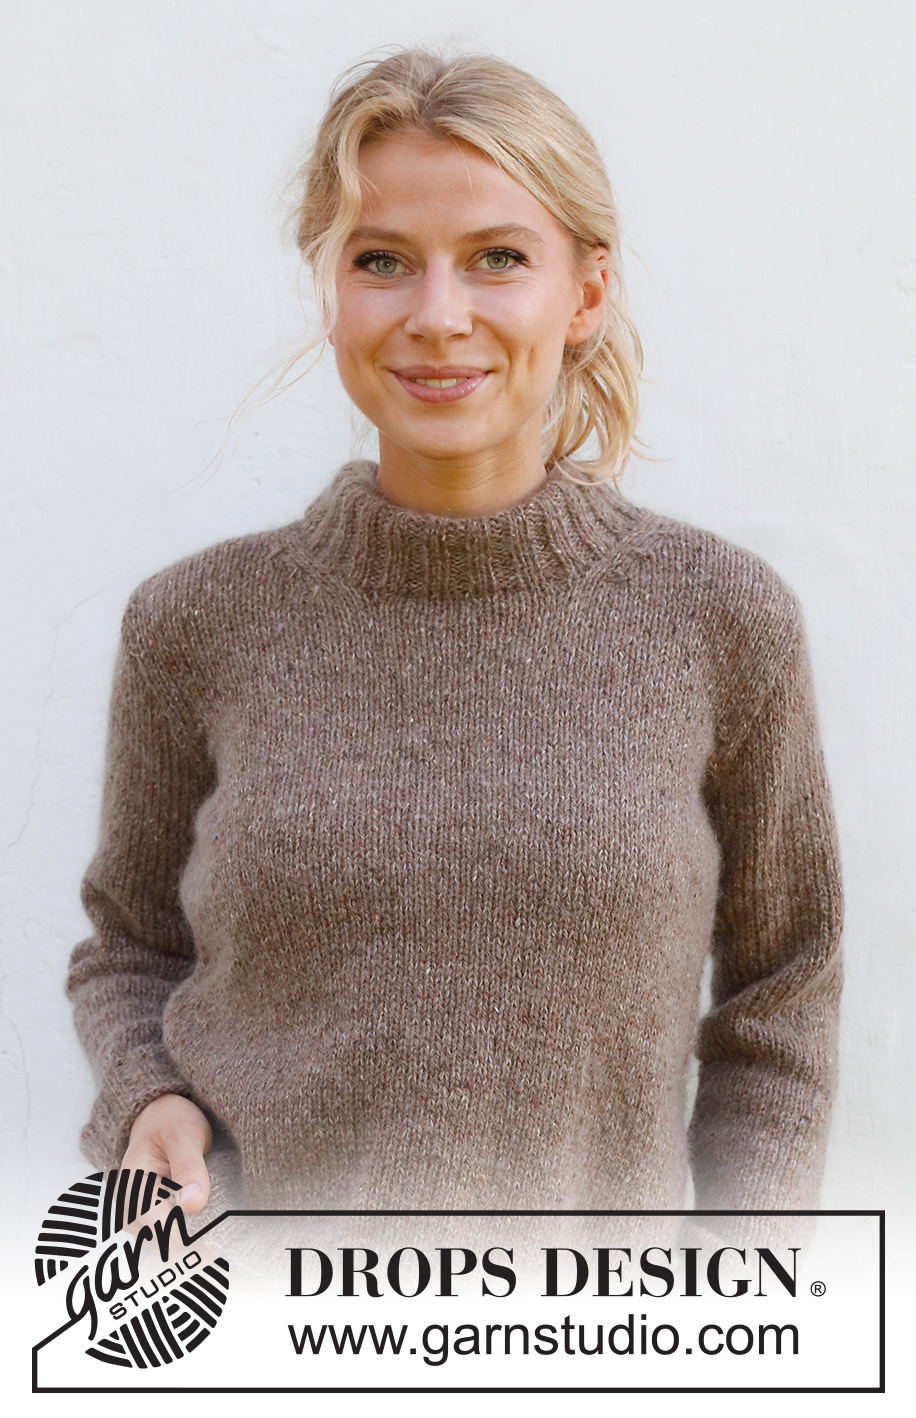
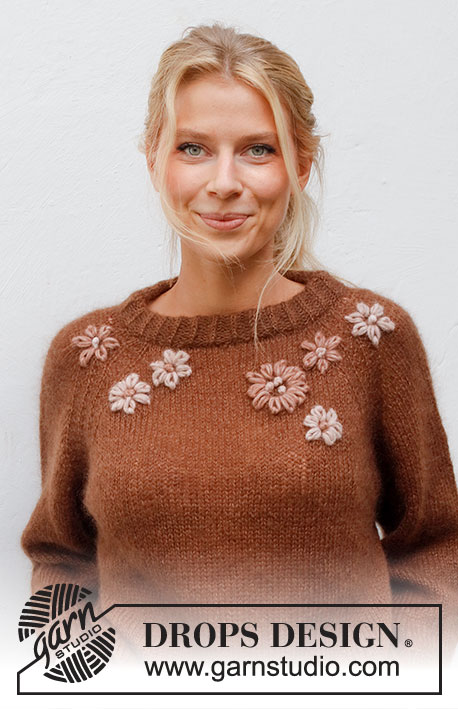
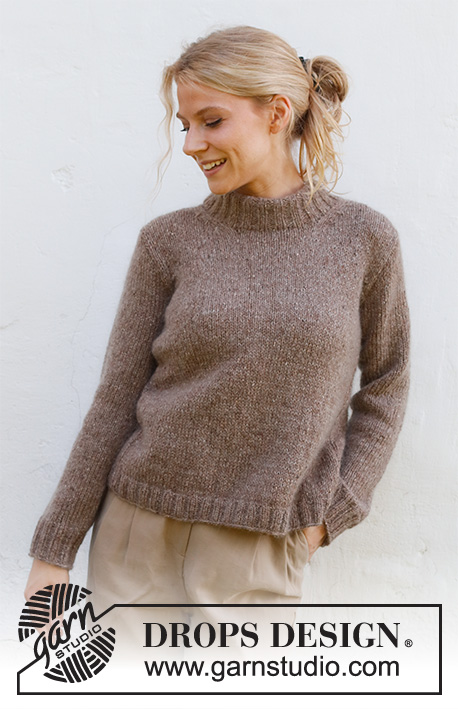
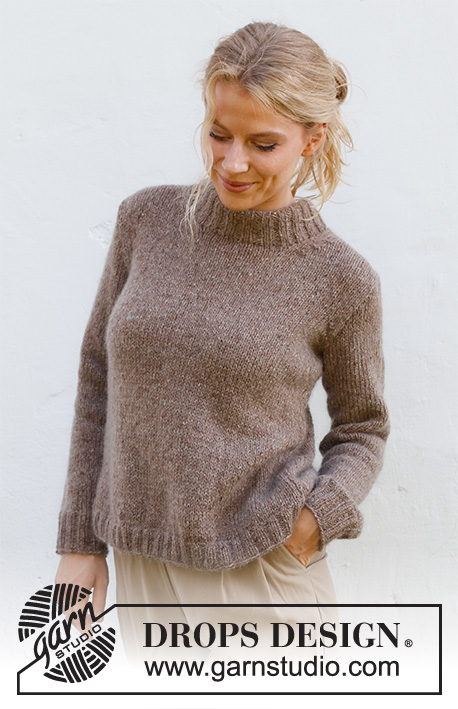
Knitted jumper in DROPS Soft Tweed and DROPS Kid-Silk. The piece is worked with double neck and ribbed edges. Sizes S - XXXL.
DROPS 227-46 |
||||||||||
|
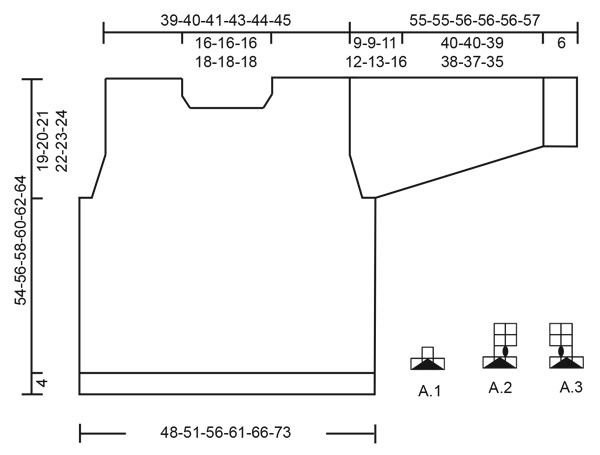
------------------------------------------------------- EXPLANATIONS FOR THE PATTERN: ------------------------------------------------------- RIDGE/GARTER STITCH (worked back and forth): Knit all rows. 1 ridge = knit 2 rows PATTERN (for decreases to armholes and neck – read DECREASE TIP-2): See diagrams A.1 to A.3. The diagrams show all rows in the pattern from the right side. DECREASE TIP-1 (evenly spaced): To work out how to decrease evenly, count the total number of stitches on needle (e.g. 184 stitches) and divide by number of decreases to be made (e.g. 32) = 5.8. In this example decrease by knitting together approx. each 5th and 6th stitch. DECREASE TIP-2 (armholes and neck): All decreases are worked from the right side! DECREASE 2 STITCHES AT THE BEGINNING OF THE ROW: Work 1 edge stitch in garter stitch, 2 stitches in stocking stitch, A.1 over the next 3 stitches (= 2 stitches decreased). DECREASE 2 STITCHES AT THE END OF THE ROW: Work until there are 6 stitches left, A.1 over the next 3 stitches (= 2 stitches decreased), 2 stitches in stocking stitch,1 edge stitch in garter stitch. DECREASE 1 STITCH AT THE BEGINNING OF THE ROW: Work 1 edge stitch in garter stitch, 2 stitches in stocking stitch, A.2 over the next 3 stitches (= 1 stitch decreased). DECREASE 1 STITCH AT THE END OF THE ROW: Work until there are 6 stitches left, A.3 over the next 3 stitches (= 1 stitch decreased), 2 stitches in stocking stitch,1 edge stitch in garter stitch. INCREASE TIP (sleeves): Work until there are 2 stitches left before the marker thread, 1 yarn over, knit 4 (marker thread sits between these 4 stitches), 1 yarn over (2 stitches increased). On the next round knit the yarn overs twisted to avoid holes. Then work the new stitches in stocking stitch. CASTING-OFF TIP: To avoid the cast-off edge being tight you can cast off with a larger size needle. If the edge is still tight, make 1 yarn over after approx. each 5th stitch at the same time as casting off; the yarn overs are cast off as normal stitches. ------------------------------------------------------- START THE PIECE HERE: ------------------------------------------------------- JUMPER – SHORT OVERVIEW OF THE PIECE: The piece is worked in the round with circular needle bottom up as far as the armholes, then the front and back pieces are finished separately, back and forth. The sleeves are worked in the round with double pointed needles/short circular needle, bottom up as far as the sleeve cap, then finished back and forth. The piece is sewn together and the neck is worked to finish. BODY: Cast on 184-196-216-236-256-280 stitches with circular needle size 4 mm and 1 strand of each quality (= 2 strands). Knit 1 round, then work rib in the round (knit 2, purl 2) for 4 cm. Knit 1 round where you decrease 32-32-36-40-44-48 stitches evenly spaced – read DECREASE TIP-1 = 152-164-180-196-212-232 stitches. Insert 1 marker at the beginning of the round and 1 marker after 76-82-90-98-106-116 stitches (= sides). Allow the markers to follow your work onwards – they are used when casting off for the armholes. Change to circular needle size 5 mm and continue with stocking stitch. REMEMBER THE KNITTING TENSION! When the piece measures 35-36-37-38-39-40 cm, cast off for the armholes as follows: Start 3-3-4-4-5-6 stitches before the marker, cast off 6-6-8-8-10-12 stitches, work 70-76-82-90-96-104 stitches, cast off 6-6-8-8-10-12 stitches (3-3-4-4-5-6 stitches on each side of the marker) and work the remaining 70-76-82-90-96-104 stitches. Back and front pieces are finished separately. BACK PIECE: = 70-76-82-90-96-104 stitches. Start from the wrong side and work stocking stitch back and forth with 1 edge stitch in GARTER STITCH on each side – read description above. AT THE SAME TIME on the next row from the right side decrease for the armholes as described below – read DECREASE TIP-2: Decrease 2 stitches on each side every 4th row a total of 1-3-4-5-6-8 times. Then decrease 1 stitch on each side every 4th row 2-0-0-1-1-0 times = 62-64-66-68-70-72 stitches. When the piece measures 52-54-56-58-60-62 cm, cast off the middle 22-22-22-24-24-24 stitches for the neck and each shoulder is finished separately. On the next row from the right side decrease 2 stitches by the neck – remember DECREASE TIP-2 = 18-19-20-20-21-22 stitches on the shoulder. Continue working until the piece measures 54-56-58-60-62-64 cm (19-20-21-22-23-24 cm from the bottom of the armholes). Cast off with knit. Work the other shoulder in the same way. FRONT PIECE: = 70-76-82-90-96-104 stitches. Start from the wrong side and work stocking stitch back and forth with 1 edge stitch in garter stitch on each side. AT THE SAME TIME on the next row from the right side decrease for the armholes as described below – remember DECREASE TIP-2: Decrease 2 stitches on each side every 4th row a total of 1-3-4-5-6-8 times. Then decrease 1 stitch on each side every 4th row 2-0-0-1-1-0 times = 62-64-66-68-70-72 stitches. When the piece measures 46-48-49-51-52-54 cm, place the middle 14-14-14-16-16-16 stitches on a thread for the neck and each shoulder is finished separately. On the next row from the right side decrease 2 stitches by the neck – remember DECREASE TIP-2. Decrease like this every 4th row a total of 3 times = 18-19-20-20-21-22 stitches on the shoulder. Continue working until the piece measures 54-56-58-60-62-64 cm (19-20-21-22-23-24 cm from the bottom of the armholes). Cast off with knit. Work the other shoulder in the same way. SLEEVES: Cast on 44-48-48-52-52-56 stitches with double pointed needles size 4 mm and 1 strand of each quality (= 2 strands). Knit 1 round, then work rib in the round (knit 2, purl 2) for 6 cm. Knit 1 round where you decrease 6-8-6-8-8-10 stitches evenly spaced = 38-40-42-44-44-46 stitches. Insert 1 marker thread at the beginning of the round (= mid-under sleeve). Allow the thread to follow your work onwards – it is used when increasing. Change to double pointed needles size 5 mm and work stocking stitch in the round until sleeve measures 9-8-10-10-10-7 cm. Now increase 1 stitch on each side of the marker thread – read INCREASE TIP. Increase like this every 5-4½-3½-3-2½-2½ cm a total of 8-9-10-11-13-14 times = 54-58-62-66-70-74 stitches. When the sleeve measures 46-46-45-44-43-41 cm, work as follows: Start 3-3-4-4-5-6 stitches before the marker thread, cast off 6-6-8-8-10-12 stitches and work to the end of the round = 48-52-54-58-60-62 stitches. Starting from the wrong side, work stocking stitch back and forth for the sleeve cap. AT THE SAME TIME cast off at the beginning of each row as follows: 2 stitches 1-1-2-2-2-3 times and 1 stitch 4-4-5-5-6-7 times on each side. Then 2 stitches at the beginning of each row on each side until the piece measures 54-54-55-55-55-56 cm. Then 3 stitches at the beginning of the next 2 rows. Cast off the remaining stitches. The sleeve measures approx. 55-55-56-56-56-57 cm. Work the other sleeve in the same way. ASSEMBLY: Sew the shoulder seams inside the cast-off edge. Sew in the sleeves, inside the 1 edge stitch on the armholes. DOUBLE NECK: Start at one shoulder seam and knit up 76 to 88 stitches around the neck (including the stitches from the thread) with short circular needle size 4 mm and 1 strand of each quality – the number of stitches should be divisible by 4. Work rib in the round (knit 2, purl 2) for 7-7-7-8-8-8 cm. Now increase all purl-2 to purl-3 = 95 to 110 stitches. Continue the new rib until the neck measures 10-10-10-11-11-11 cm. Cast off with knit over knit and purl over purl – read CASTING-OFF TIP! Fold the neck double to the inside and sew down. To avoid the neck being tight and rolling outwards, it is important that the seam is elastic. |
||||||||||
Diagram explanations |
||||||||||
|
||||||||||
 |
||||||||||
Have you finished this pattern?Tag your pictures with #dropspattern #walkwithnaturesweater or submit them to the #dropsfan gallery. Do you need help with this pattern?You'll find 30 tutorial videos, a Comments/Questions area and more by visiting the pattern on garnstudio.com. © 1982-2026 DROPS Design A/S. We reserve all rights. This document, including all its sub-sections, has copyrights. Read more about what you can do with our patterns at the bottom of each pattern on our site. |
||||||||||


With over 40 years in knitting and crochet design, DROPS Design offers one of the most extensive collections of free patterns on the internet - translated to 17 languages. As of today we count 324 catalogues and 12290 patterns translated into English (UK/cm).
We work hard to bring you the best knitting and crochet have to offer, inspiration and advice as well as great quality yarns at incredible prices! Would you like to use our patterns for other than personal use? You can read what you are allowed to do in the Copyright text at the bottom of all our patterns. Happy crafting!
Post a comment to pattern DROPS 227-46
We would love to hear what you have to say about this pattern!
If you want to leave a question, please make sure you select the correct category in the form below, to speed up the answering process. Required fields are marked *.