
Popular categories
Looking for a yarn?


Comments / Questions (36)
![]() Geke wrote:
Geke wrote:
Ik ben nu aan het linker voorpand toe. Moet het niet zo zijn dat je eerst de rechter kant breit? Lijkt me logischer, anders gebukt geen begindraad. Ik hoop dat u begrijpt wat ik bedoel
02.02.2024 - 22:07DROPS Design answered:
Dag Geke,
Als de laatste naald, voordat het werk gescheiden werd, aan de verkeerde kant was, kun je verder met de breidraad gaan wanneer je het linker voorpand breit, beginnend aan de goede kant. Met het linker voorpand wordt bedoeld wanneer je het kledingstuk draagt en het pand wat dan voor jezelf aan de linker kant zit.
04.02.2024 - 19:10
![]() Geke wrote:
Geke wrote:
Ik heb nu patroon A1 gebreid, klopt het dat het patroon de pennen op de goede kant aangeeft en dat ik op de verkeerde kant brei zoals de steek voorkomt of heb ik nu het dubbele gebreid? Het heeft nu namelijk al een hoogte van 20 cm. Volgens mij ziet het er op de foto veel kleiner uit.
28.01.2024 - 15:58DROPS Design answered:
Dag Geke,
In de telpatronen worden altijd alle naalden aangegeven, dus zowel de heengaande als de teruggaande naald. De oneven naalden zijn de heengaande naald, dus aan de goede kant en de even naalden zijn de teruggaande naalden, dus aan de verkeerde kant. Bij de symboolverklaring staat ook aangegeven hoe je de betreffende steken aan de goede of de verkeerde kant breit.
28.01.2024 - 18:29
![]() Valerie O'Donovan wrote:
Valerie O'Donovan wrote:
Can you confirm if the back in this pattern is 5cms shorter than the front please?
27.08.2023 - 17:00DROPS Design answered:
Hi Valerie, back and front pieces should be the same length. Happy knitting!
27.08.2023 - 18:11
![]() Nettan wrote:
Nettan wrote:
Hej undrar om ni inte kan börja visa även baksidan på era mönster!? Ni tar bara bilder från framsidan eller sidan Jag är ingen van stickare så detta hade hjälpt mig mycket. Bra att veta även hur bakstycket kommer att se ut när den är färdig stickad. Tack på förhand
15.08.2023 - 22:40DROPS Design answered:
Hej Nettan, det har vi noteret - tak for input :)
16.08.2023 - 12:04
![]() Patricia wrote:
Patricia wrote:
Bonjour, Pouvez me donner plus d’explication au sujet des 13 mailles de chaque côté et des 6 mailles centrales (je les tricote en point de riz ?) et les autres mailles comme avant ? (Je les tricote en jersey?) En vous remerciant par avance Cordialement Patricia Quand l'ouvrage mesure 24-25-26-27-28-29 cm, tricoter 4 rangs point de riz (A.2) au-dessus des 11-11-13-13-15-17 mailles de chaque côté et des 6 mailles centrales (tricoter les autres mailles comme avant).
02.08.2023 - 15:25DROPS Design answered:
Bonjour Patricia, effectivement, vous tricotez 11-11-13-13-15-17 mailles de chaque côté du top + les 6 mailles au milieu du devant (sous la pointe de l'encolure V) au point de riz (= comme dans le diagramme A.2) et vous tricotez les autres mailles comme avant, et tout ça pendant 4 rangs. Bon tricot!
02.08.2023 - 16:36
![]() Zuzana wrote:
Zuzana wrote:
Ďakujem za pekne do detailu vypracovaný návod. Radosť pliesť.
28.07.2023 - 16:07
![]() ROSIER Francoise wrote:
ROSIER Francoise wrote:
Simplement MERCI
19.07.2023 - 18:14
![]() Giovanna wrote:
Giovanna wrote:
Buongiorno. Vorrei sapere fino a che punto del lavoro vanno lavorate le due maglie iniziali e finali a legaccio.
12.07.2023 - 10:52DROPS Design answered:
Buongiorno Giovanna, se non diversamente indicato, le maglie a maglia legaccio rimangono per tutto il lavoro: servono per la cucitura. Buon lavoro!
16.07.2023 - 13:37
![]() Mdev wrote:
Mdev wrote:
Bonjour, je n ai pas compris le diagramme 1 et 2 sont pas séparés ,comment y voir plus clair, merci de votre réponse , Cordialement
02.07.2023 - 12:04DROPS Design answered:
Bonjour Mme Mdev, je ne suis pas sûre de bien comprendre votre question, le diagramme A.2 correspond au point de riz et le diagramme A.1 au point fantaisie (avec point mousse, point de riz, point ajouré, etc...). Peut-être pouvez-vous préciser votre question? Désolée d'avance.
03.07.2023 - 10:32
![]() Helle Pedersen wrote:
Helle Pedersen wrote:
Hej! Jeg vil gerne strikke blusen på rundpind. Hvordan skal jeg så forholde mig til opskriften? Helle
24.06.2023 - 14:29DROPS Design answered:
Hei Helle. Du kan fint strikket toppen rundt på rundpinne. Men husk at diagrammet er skrevet/ forklart frem og tilbake, men du må da tenke på at den kun strikkes fra retten. Skal du ha splitt, må det strikkes frem og tilbake et stykke i begynnelsen. Hvordan skal sidesømmen monteres, trenger du da et par færre masker i den str. du skal strikke? mvh DROPS Design
26.06.2023 - 11:25
|
||||||||||||||||
Walking on Air Top#walkingonairtop |
||||||||||||||||
 |
 |
|||||||||||||||
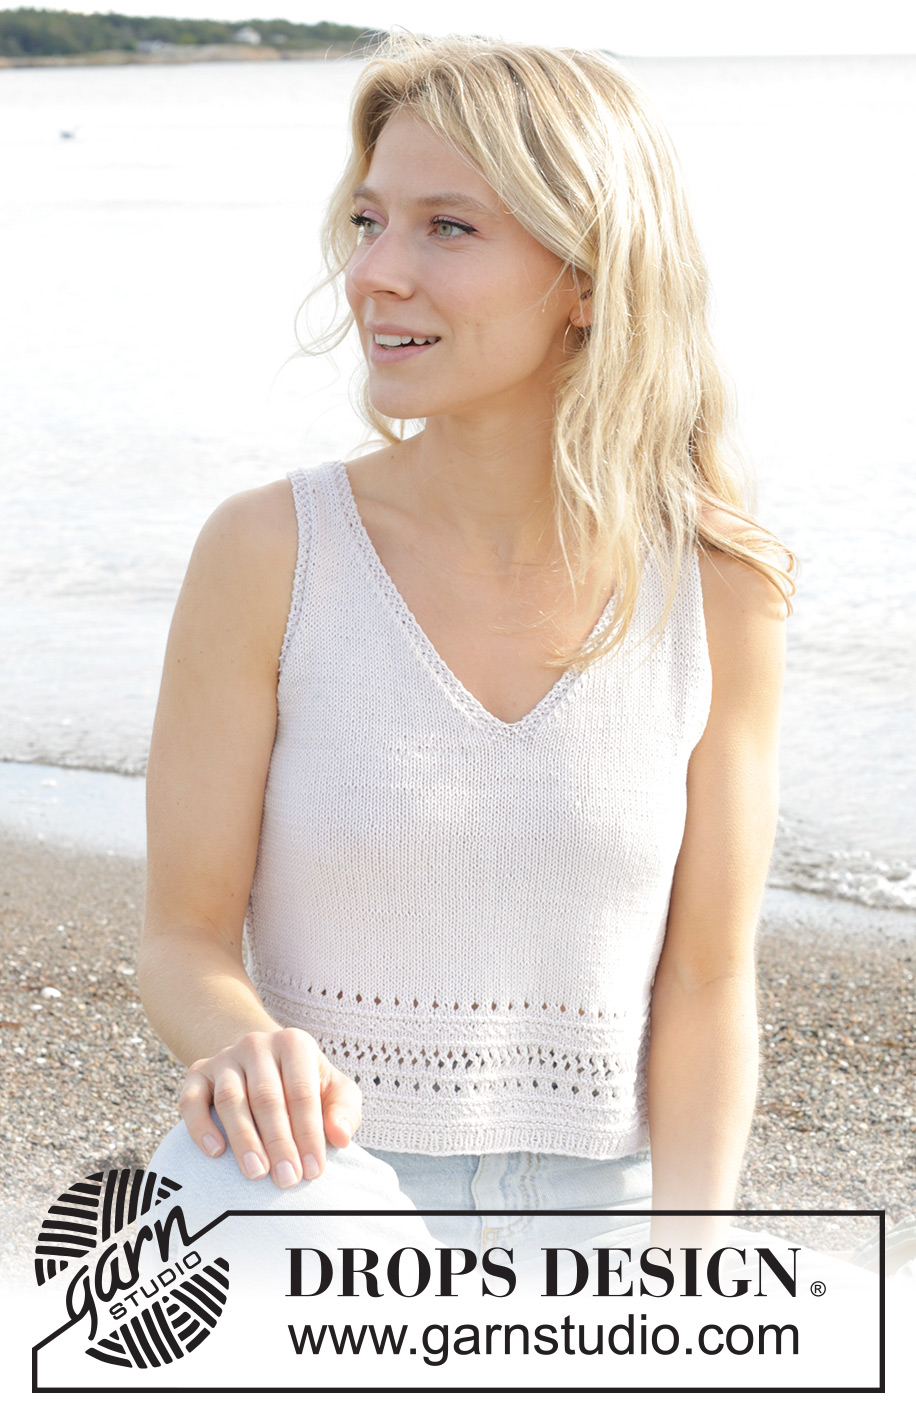
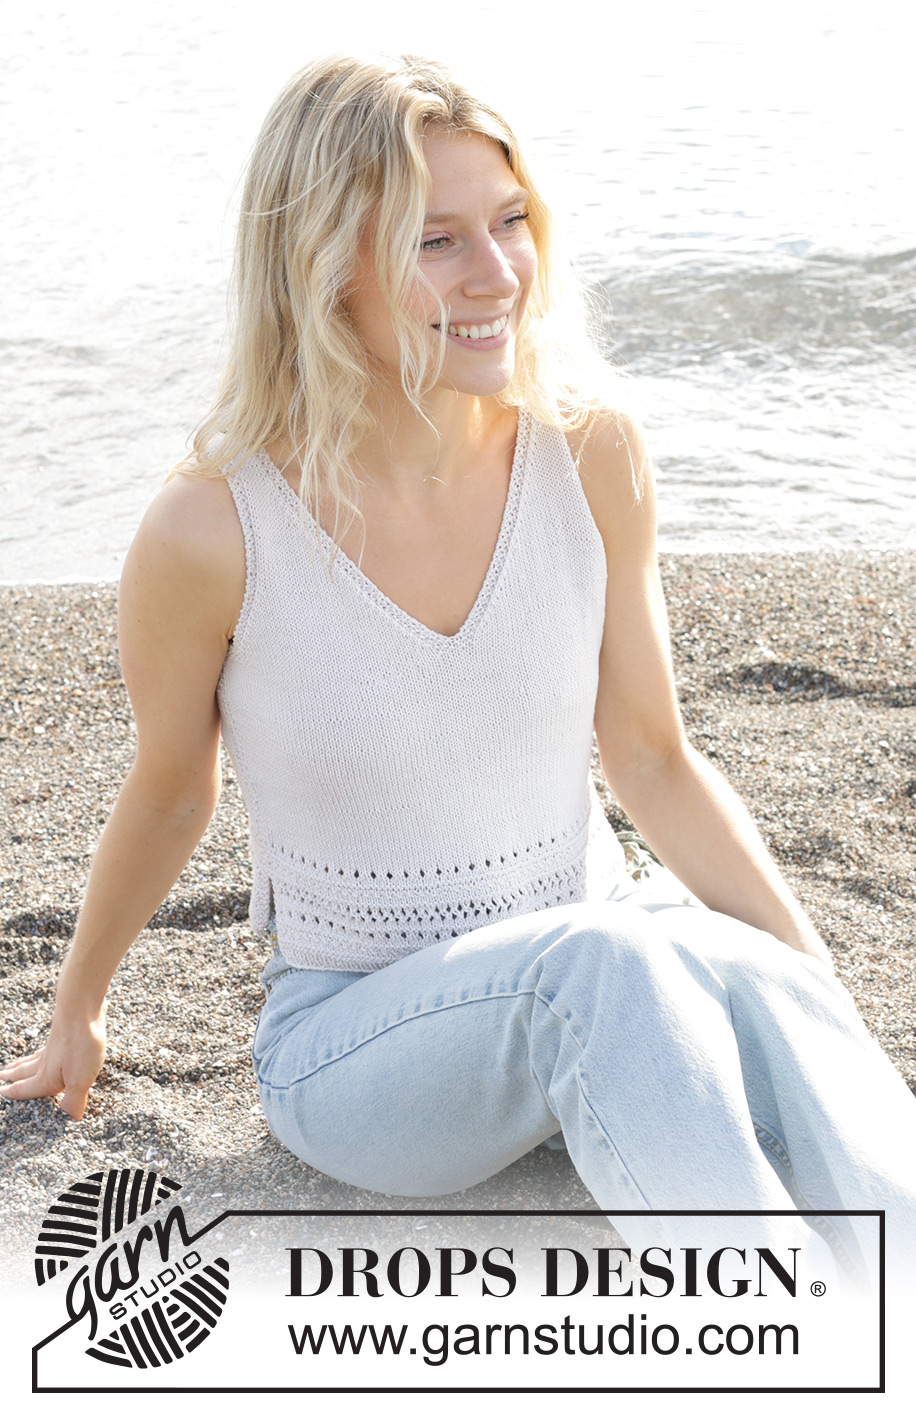
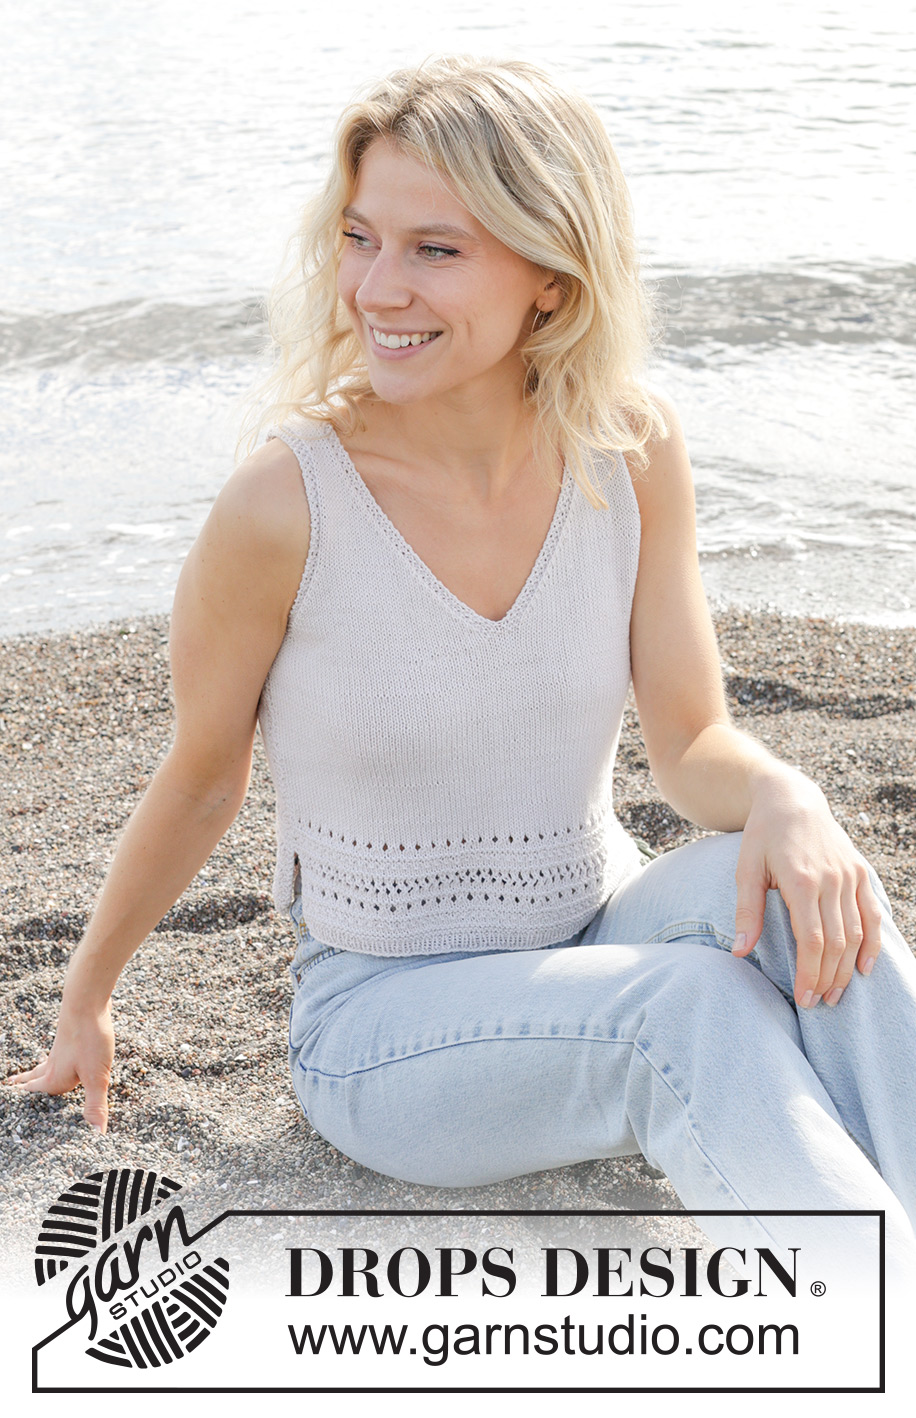
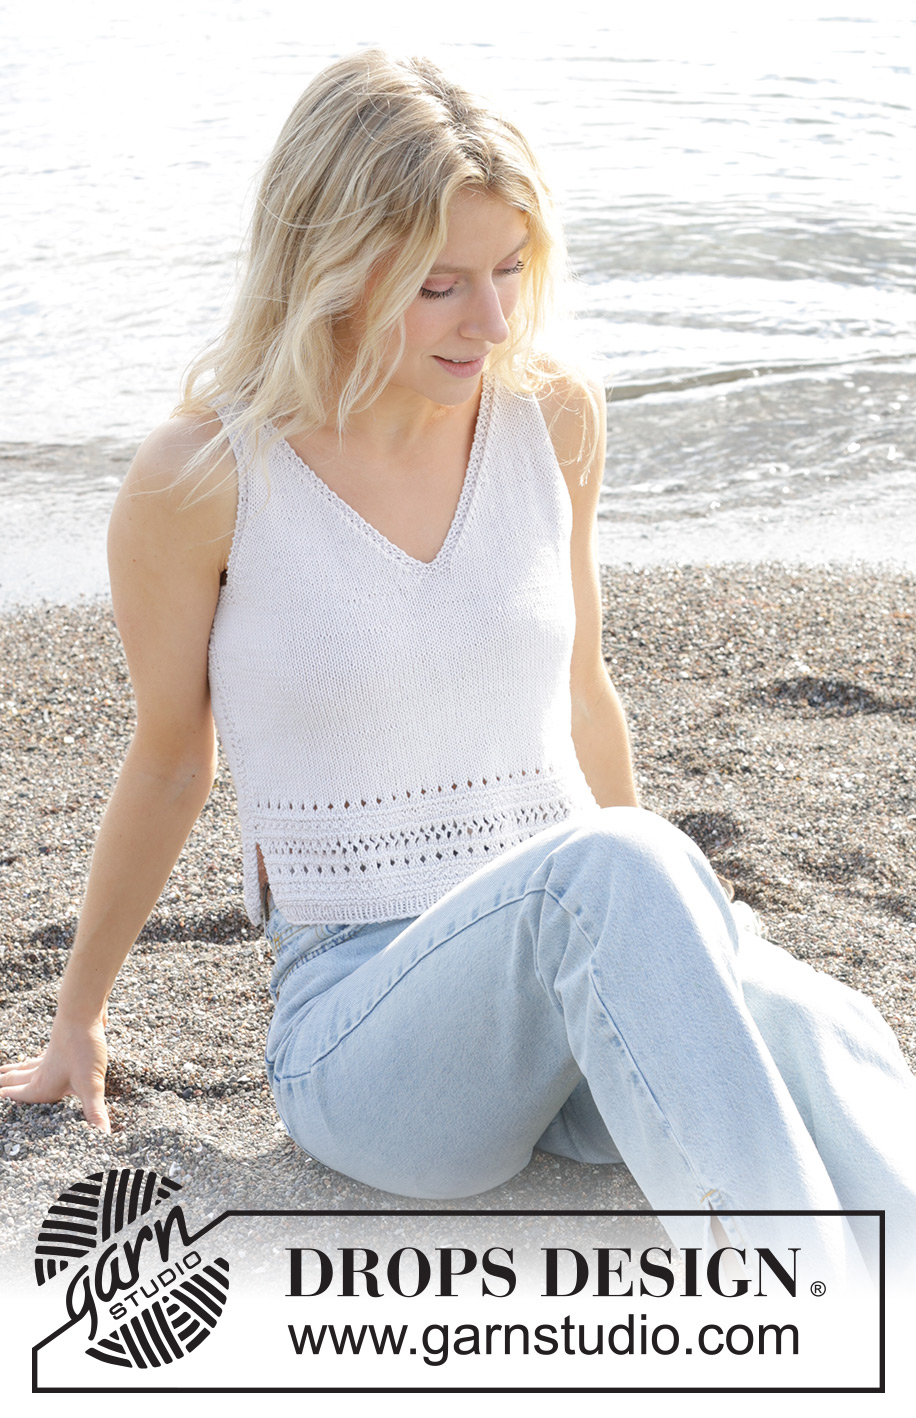
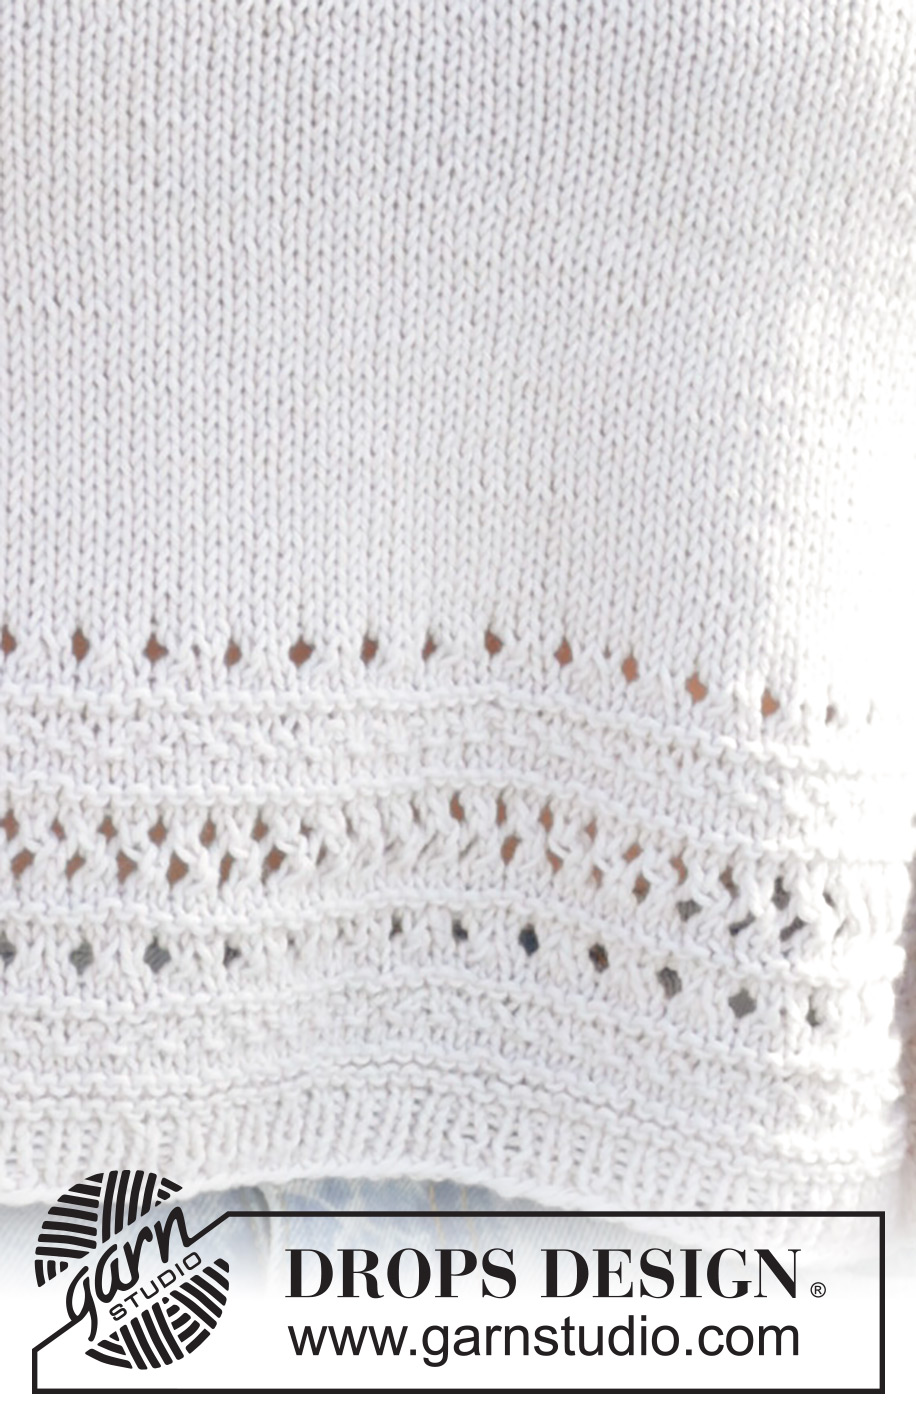
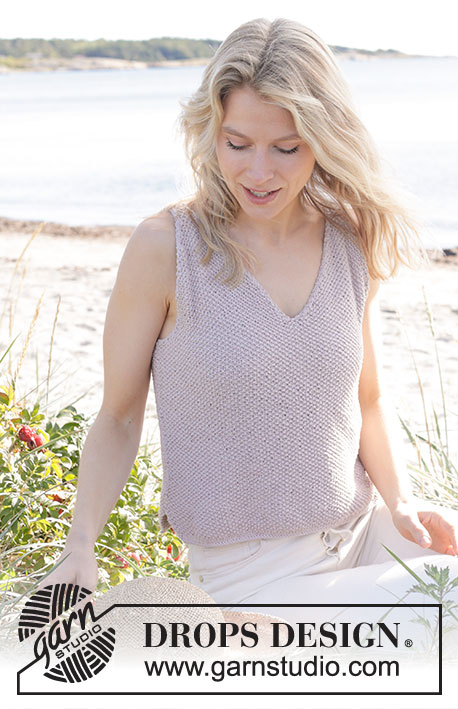
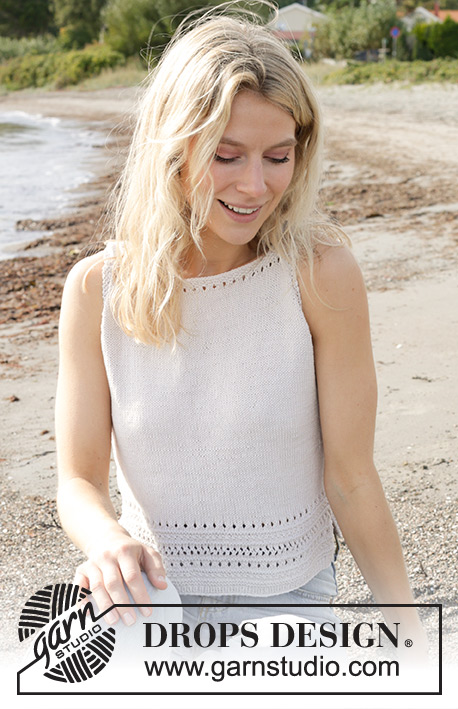
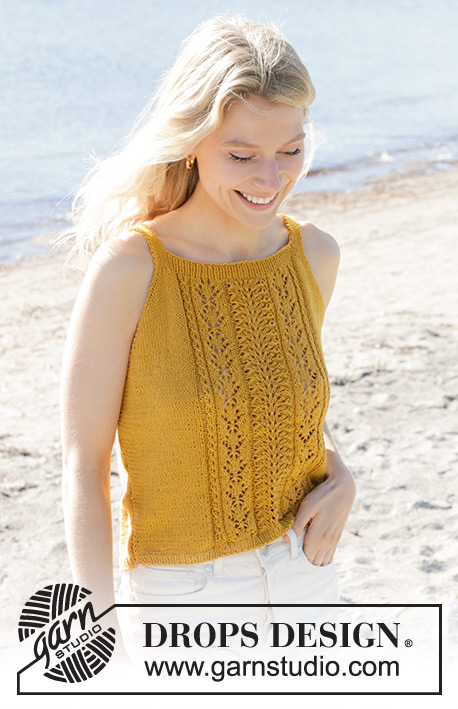
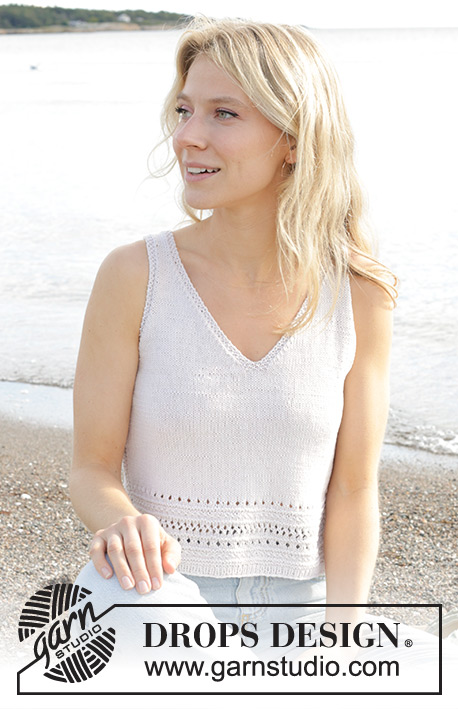
Knitted top top/singlet in DROPS Safran. Piece is knitted bottom up with lace pattern and stocking stitch with V-neck. Size: S - XXXL
DROPS 241-20 |
||||||||||||||||
|
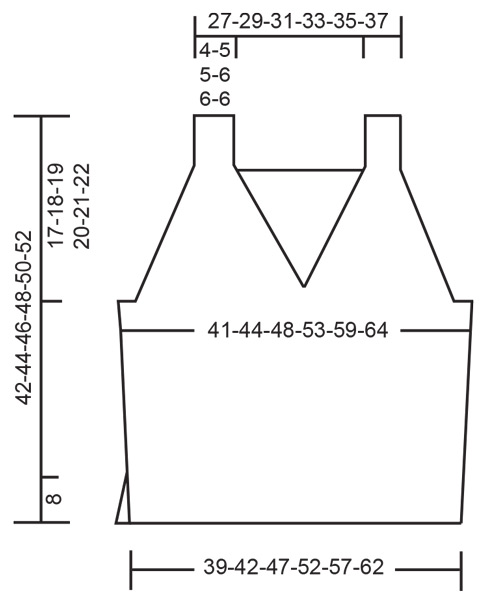
---------------------------------------------------------- EXPLANATION FOR THE PATTERN: ---------------------------------------------------------- GARTER STITCH (back and forth): Knit all rows. 1 ridge vertically = knit 2 rows. PATTERN: See diagrams A.1 and A.2. Diagrams show all rows in pattern seen from the right side. INCREASE TIP (applies in the sides on front and back piece): All increases are done from right side. Increase 1 stitch inside the outermost 4 stitches from the side by making 1 yarn over. On next row purl yarn over twisted to avoid hole. Then work the new stitches in stocking stitch. DECREASE TIP (applies to armholes and V-neck): All increases are done from right side. DECREASE AS FOLLOWS AFTER 3 STITCHES IN MOSS STITCH: Knit 2 together. DECREASE AS FOLLOWS BEFORE 3 STITCHES IN MOSS STITCH: Work until 5 stitches remain on row, slip 1 stitch knitwise, knit 1, pass slipped stitch over stitch worked (1 stitch decreased). ---------------------------------------------------------- START THE PIECE HERE: ---------------------------------------------------------- TOP - SHORT OVERVIEW OF THE PIECE: Work front piece and back piece back and forth on single pointed needle separately, bottom up. Work strap on front piece and sew to back piece. Sew the side seams. FRONT PIECE: Cast on 101-109-123-135-149-161 stitches on single pointed needles size 3 mm with DROPS Safran. Purl 1 row from wrong side. Then work 4 rows rib (knit 1/purl 1) with 2 stitches in GARTER STITCH in each side - read explanation above Switch to single pointed needle size 3.5 mm. Work next row as follows from right side: 2 stitches in garter stitch, A.1 until 2 stitches remain on needle and decrease at the same time 7-9-11-11-13-13 stitches evenly on first row, finish with 2 stitches in garter stitch = 94-100-112-124-136-148 stitches. Continue pattern like this. REMEMBER THE KNITTING TENSION! When A.1 has been worked, work in stocking with 2 stitches in garter stitch in each side. When piece measures 11 cm, increase 1 stitch in each side - read INCREASE TIP. Increase like this every 5 cm 2-3-2-2-3-3 times in total = 98-106-116-128-142-154 stitches. When piece measures 24-25-26-27-28-29 cm, work 4 rows in moss stitch (A.2) over the outermost 11-11-13-13-15-17 stitches in each side and over the middle 6 stitches on needle (work the other stitches as before). After the 4 rows in moss stitch (A.2) divide the piece in the middle of row, and finish each part separately. Begin to work first half seen from right side as explained below. LEFT FRONT PIECE: = 49-53-58-64-71-77 stitches. Cast off the first 8-8-10-10-12-14 stitches on needle for armhole, work 3 stitches in moss stitch, work 35-39-42-48-53-57 stitches in stocking stitch, finish with 3 stitches in moss stitch = 41-45-48-54-59-63 stitches. Work in stocking stitch back and forth with 3 stitches in moss stitch in each side. AT THE SAME TIME on next row from right side, decrease for armholes and V-neck as explained below. Read therefore section ARMHOLE and V-NECK before continuing. ARMHOLES: On first row from right side, decrease 1 stitch for armhole after 3 edge stitches in moss stitches - read DECREASE TIP. Decrease like this every other row (every row from right side) 4-4-4-12-13-17 times in total, then every 4th row (every other row from right side) 5-6-7-3-4-2 times in total. V-NECK: On first row from right side, decrease 1 stitch for V-NECK before 3 edge stitches in moss stitch towards mid front - remember DECREASE TIP. Decrease like this every other row (every row from right side) 22-23-25-25-28-30 times in total. After all decreases for armholes and V-neck, 10-12-12-14-14-14 stitches remain on shoulder. Work in stocking stitch with 3 stitches in moss stitch in each side until piece measures 42-44-46-48-50-52 cm from cast-on edge. Insert 1 marker on row (marks shoulder). Work until piece measures approx. 5-5-5-6-6-6 cm from marker inserted on shoulder. Cast off. RIGHT FRONT PIECE: = 49-53-58-64-71-77 stitches. Begin from wrong side, cast off the first 8-8-10-10-12-14 stitches on needle for armhole, work 3 stitches in moss stitch, work 35-39-42-48-53-57 stitches in stocking stitch, finish with 3 stitches in moss stitch towards mid front = 41-45-48-54-59-63 stitches. Work in stocking stitch back and forth with 3 stitches in moss stitch in each side. AT THE SAME TIME on first row from right side, decrease for V-neck and armhole as explained below. Read therefore section ARMHOLE and V-NECK before continuing. ARMHOLES: On first row from right side, decrease 1 stitch for armhole before 3 edge stitches in moss stitch towards the side - remember DECREASE TIP. Decrease like this every other row (every row from right side) 4-4-4-12-13-17 times in total, then every 4th row (every other row from right side) 5-6-7-3-4-2 times in total. V-NECK: On first row from right side, decrease 1 stitch for V-NECK after 3 edge stitches in moss stitch towards mid front - remember DECREASE TIP. Decrease like this every other row (every row from right side) 22-23-25-25-28-30 times in total. After all decreases for armholes and V-neck, 10-12-12-14-14-14 stitches remain on shoulder. Work in stocking stitch with 3 stitches in moss stitch in each side until piece measures 42-44-46-48-50-52 cm from cast-on edge. Insert 1 marker on row (marks shoulder). Work until piece measures approx. 5-5-5-6-6-6 cm from marker inserted on shoulder. Cast off. BACK PIECE: Cast on 101-109-123-135-149-161 stitches on single pointed needle size 3 mm with DROPS Safran. Purl 1 row from wrong side. Then work 4 rows rib (knit 1/purl 1) with 2 stitches in GARTER STITCH in each side - read explanation above Switch to single pointed needle size 3.5 mm. Work next row as follows from right side: 2 stitches in garter stitch, A.1 until 2 stitches remain on needle and decrease at the same time 7-9-11-11-13-13 stitches evenly, finish with 2 stitches in garter stitch = 94-100-112-124-136-148 stitches. Continue pattern like this. REMEMBER THE KNITTING TENSION! When A.1 has been worked, work in stocking with 2 stitches in garter stitch in each side. When piece measures 11 cm, increase 1 stitch in each side - remember INCREASE TIP. Increase like this every 5 cm 2-3-2-2-3-3 times in total = 98-106-116-128-142-154 stitches. When piece measures 24-25-26-27-28-29 cm, work 4 rows in moss stitch over the outermost 11-11-13-13-15-17 stitches in each side (work the other stitches as before). After the 4 rows in moss stitch cast off 8-8-10-10-12-14 stitches for armholes at the beginning of the next 2 rows = 82-90-96-108-118-126 stitches. Work in stocking stitch with 3 stitches in moss stitch in each side. When 2 rows in stocking stitch have been worked after cast off for armholes, decrease 1 stitch for armholes in each side on next row from right side - remember DECREASE TIP. Decrease like this every other row (every row from right side) 4-4-4-12-13-17 times in total in each side, then every 4th row (every other row from right side) 5-6-7-3-4-2 times in total in each side = 64-70-74-78-84-88 stitches. Work in stocking stitch with 3 stitches in moss stitch in each side until piece measures 35-37-39-40-42-44 cm. Switch to single pointed needle size 3 mm. Work 4 rows in moss stitch back and forth over all stitches. Cast off knitting from right side. ASSEMBLY: Sew straps to back piece - at the edge in each side. Sew the side seams edge to edge in outer loops of edge stitches to get a flat seam - leave an opening of approx. 8 cm at bottom in each side for vents. |
||||||||||||||||
Diagram explanations |
||||||||||||||||
|
||||||||||||||||
 |
||||||||||||||||
 |
||||||||||||||||
Have you finished this pattern?Tag your pictures with #dropspattern #walkingonairtop or submit them to the #dropsfan gallery. Do you need help with this pattern?You'll find 23 tutorial videos, a Comments/Questions area and more by visiting the pattern on garnstudio.com. © 1982-2026 DROPS Design A/S. We reserve all rights. This document, including all its sub-sections, has copyrights. Read more about what you can do with our patterns at the bottom of each pattern on our site. |
||||||||||||||||


With over 40 years in knitting and crochet design, DROPS Design offers one of the most extensive collections of free patterns on the internet - translated to 17 languages. As of today we count 325 catalogues and 12298 patterns translated into English (UK/cm). 12298
We work hard to bring you the best knitting and crochet have to offer, inspiration and advice as well as great quality yarns at incredible prices! Would you like to use our patterns for other than personal use? You can read what you are allowed to do in the Copyright text at the bottom of all our patterns. Happy crafting!
Post a comment to pattern DROPS 241-20
We would love to hear what you have to say about this pattern!
If you want to leave a question, please make sure you select the correct category in the form below, to speed up the answering process. Required fields are marked *.