
Popular categories
Looking for a yarn?


Comments / Questions (82)
![]() Lenka wrote:
Lenka wrote:
Dobrý den, chtěla bych uplést deku pro miminko o velikosti 50 x 75 cm. Kolik mám objednat vlny DROPS BabyMerino. Děkuji. Lenka
04.04.2023 - 15:46DROPS Design answered:
Dobrý den, Lenko, pro tuto velikost deky platí vždy ten druhý údaj - potřebujete tedy 150 + 100 g příze DROPS BabyMerino. Hodně zdaru! Hana
05.04.2023 - 14:59
![]() Stáňa wrote:
Stáňa wrote:
Dobrý den, dečku dle návodu návod DROPS Baby 25-1 mám upletenou a mám ještě jeden dotaz. Není někde video na háčkovaný lem? Děkuji
19.02.2023 - 09:15DROPS Design answered:
Dobrý den, Stáňo, to je skvělá zpráva! Video k tomuto lemu bohuže nemáme, ale je opravdu snadný a určitě jej zvládnete i podle popisu a fotky :-) Hezký den! Hana
19.02.2023 - 10:09
![]() Stáňa wrote:
Stáňa wrote:
Dobrý den, vybrala jsem si návod DROPS Baby 25-1 - v něm je, že se má použít jehlice 4,5 a na etiketě vlny je, že se má použít jehlice 3. Je tedy velikost jehlice v návodu správně? Děkuji
23.01.2023 - 19:33DROPS Design answered:
Dobý den, Stáňo, se sílou jehlic je to ošemetné - každý úplet má jiný charakter a taky každý z nás při práci jinak utahuje. Dečka je pletená na silnějších jehlicích, aby byla volnější a měkčí, protože vroubkový vzor patří k těm hutnějším. Každopádně velmi doporučuju věnovat pozornost údajům o zkušebním vzorku (zde 20 ok x 39 řad vroubkovým vzorem jehlice č.4,5 = 10 x 10 cm). Pokud si nejste jistá, opravdu věnujte čas, ten vzorek upleťte, přeměřte a podle toho sílu jehlic upravte. U deky to není tak zlé, ale např. u svetru už by vás pozdější nesrovnalost dost mrzela... Hodně zdaru! Hana
24.01.2023 - 15:30
![]() Marta wrote:
Marta wrote:
Witam. Co może być przyczyną tego, że zamiast prostokąta powstaje nam romb (kąt ostry przy dodawaniu oczek)? Próbki wykonywałam bardzo skrupulatnie, na pewno wszystkie miejsca dodawania i zamykania oczek się zgadzają
02.06.2022 - 00:10DROPS Design answered:
Witaj Marto, jeżeli wszystkie dodania/zamykania oczek zgadzają się, a próbka była zgodna, to pozostaje zblokować robótkę po wykonaniu. Wszystko powinno się wyrównać. Pozdrawiamy!
02.06.2022 - 08:39
![]() Kathrine wrote:
Kathrine wrote:
Hej😊 tak for denne flotte opskrift på et babytæppe. Forleden fandt jeg en video hvor jeg kunne se opskriften gennemgået skridt for skridt. Men nu kan jeg ikke finde den. Kan I hjælpe mig? På forhånd tak og god dag😊 Dbh Kathrine
31.01.2022 - 07:35DROPS Design answered:
Hej Kathrine, jo det er den som ligger under videoer nederst i selve opskriften :)
03.02.2022 - 14:42
![]() Annika wrote:
Annika wrote:
Ska virka runt kanten, vad menas med hoppa över en rätstickad RAND?
20.01.2022 - 07:32DROPS Design answered:
Hej Annika, hela filten är stickat i rätstickade ränder, (2 varv = 1 rand) hoppa över en sådan :)
20.01.2022 - 15:39
![]() Annika Schygge wrote:
Annika Schygge wrote:
Hur/var ska man mäta 75 cm,? Det står den längsta sidan men båda sidor är väl lika långa?
14.01.2022 - 09:50DROPS Design answered:
Hej Annika, første mål er når arbejdet måler 50 cm langs med begge sider. Når du begynder at tage ind i den ene side og ud i den anden, vil den ene side blive længere end den anden. Det ser du når du er kommet et stykke :)
17.01.2022 - 14:08
![]() Morag Eadie wrote:
Morag Eadie wrote:
Strong suggestion:- Photo should show a close- up of the pattern design — not the baby ( we will supply our own later!) It should be made clear that the stripes vary through the work ( people could then chooses to follow that, or change according to their particular taste. Even a description would help. The finished garment is lovely — but knitters would appreciate maximum information before they start their work.
04.01.2021 - 09:39
![]() Morag Eadie wrote:
Morag Eadie wrote:
Wondering why the stripes have to change when I reach the second (mid) section -- where I decrease and increase on every second row. ie why have a Stripes 1 and a Stripes 2? Because of this it appears that between section 1 and section 2 there are two different coloured ridges together -- where there are two rows (one ridge)with no increases, then start of Stripes 2
23.12.2020 - 17:44DROPS Design answered:
Dear Mrs Eadie, you work stripes-1 until piece measures the desired length (= 34-50 cm) adjusting after 2 ridges green/pink (increase as before) then work 1 ridge with off white (without increasing) and now work stripes-2 (and start to decrease/increase). Happy knitting!
04.01.2021 - 07:37
![]() Emanuela wrote:
Emanuela wrote:
Buonasera, ho lavorato la copertina con i ferri n. 4 ma probabilmente ho la mano troppo larga perché il lavoro risulta troppo “molle”. E avevo fatto pure il campione!!! Era meglio se usavo il 3,5 ma é bella lo stesso. Ora ho il problema con il bordo : non è bello teso come nella foto, ho provato con uncinetti n.3,5 e n.4 ma viene sempre ondulato, perché ? Grazie
12.12.2020 - 19:25DROPS Design answered:
Buonasera Emanuela, ha lavato il campione come farebbe con la copertina? Anche per il bordo, se il lavoro è diverso da quello indicato nella foto, anche il bordo non combacerà. Buon lavoro!
12.12.2020 - 22:33
|
|
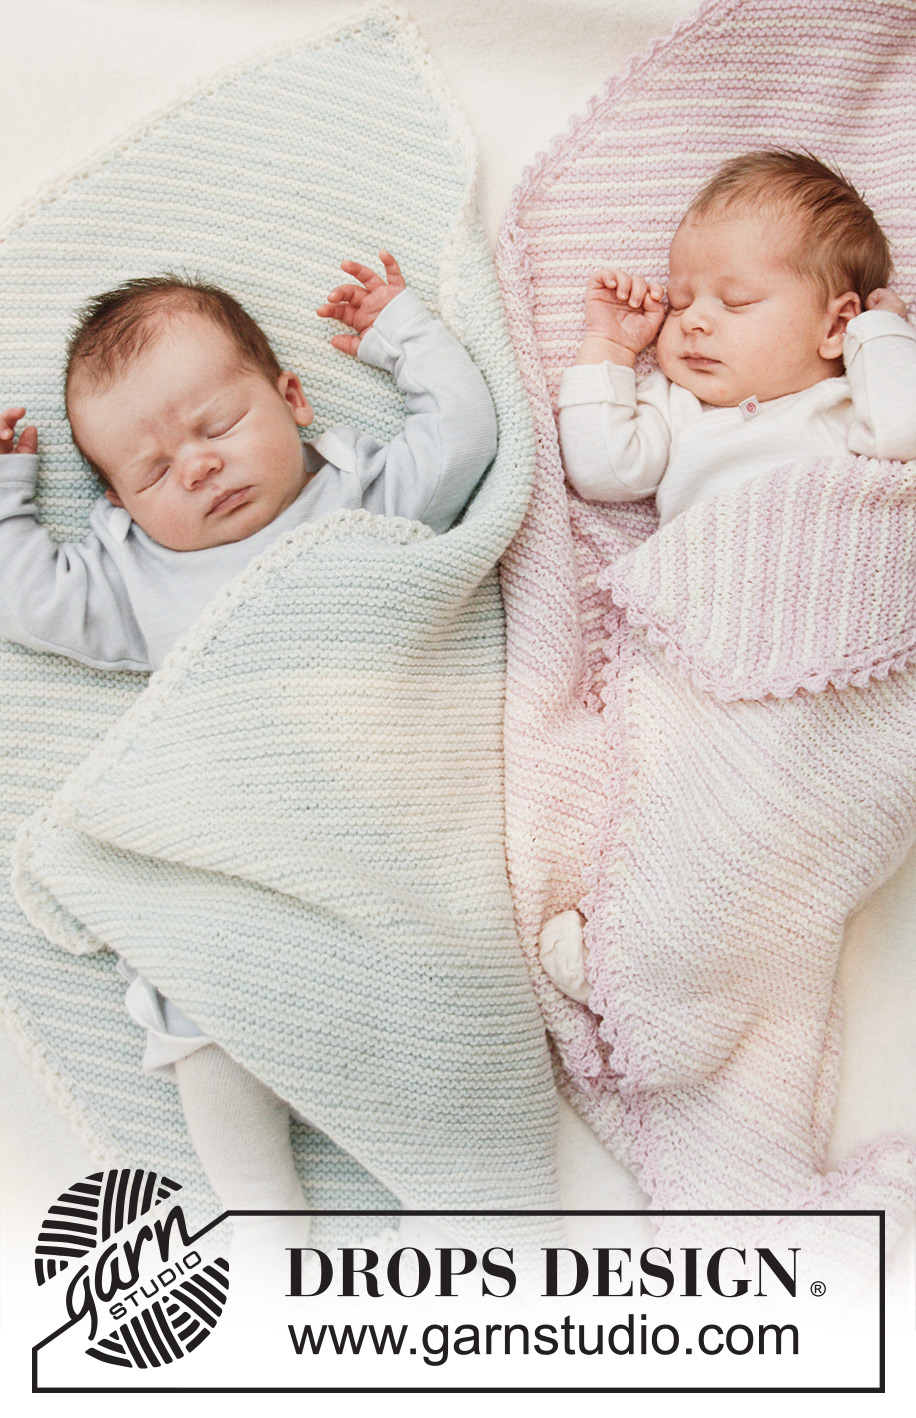
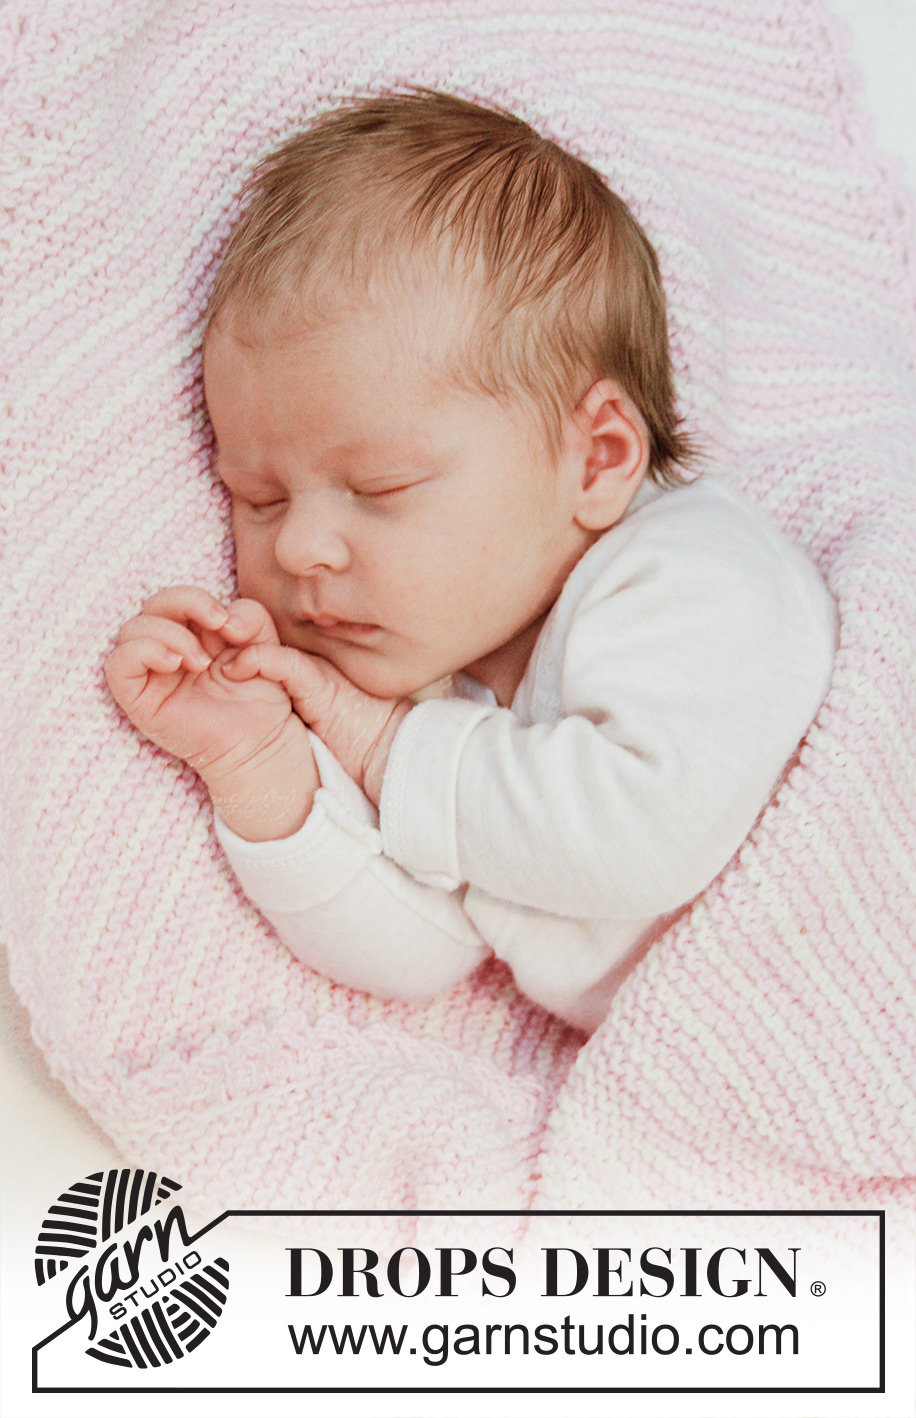
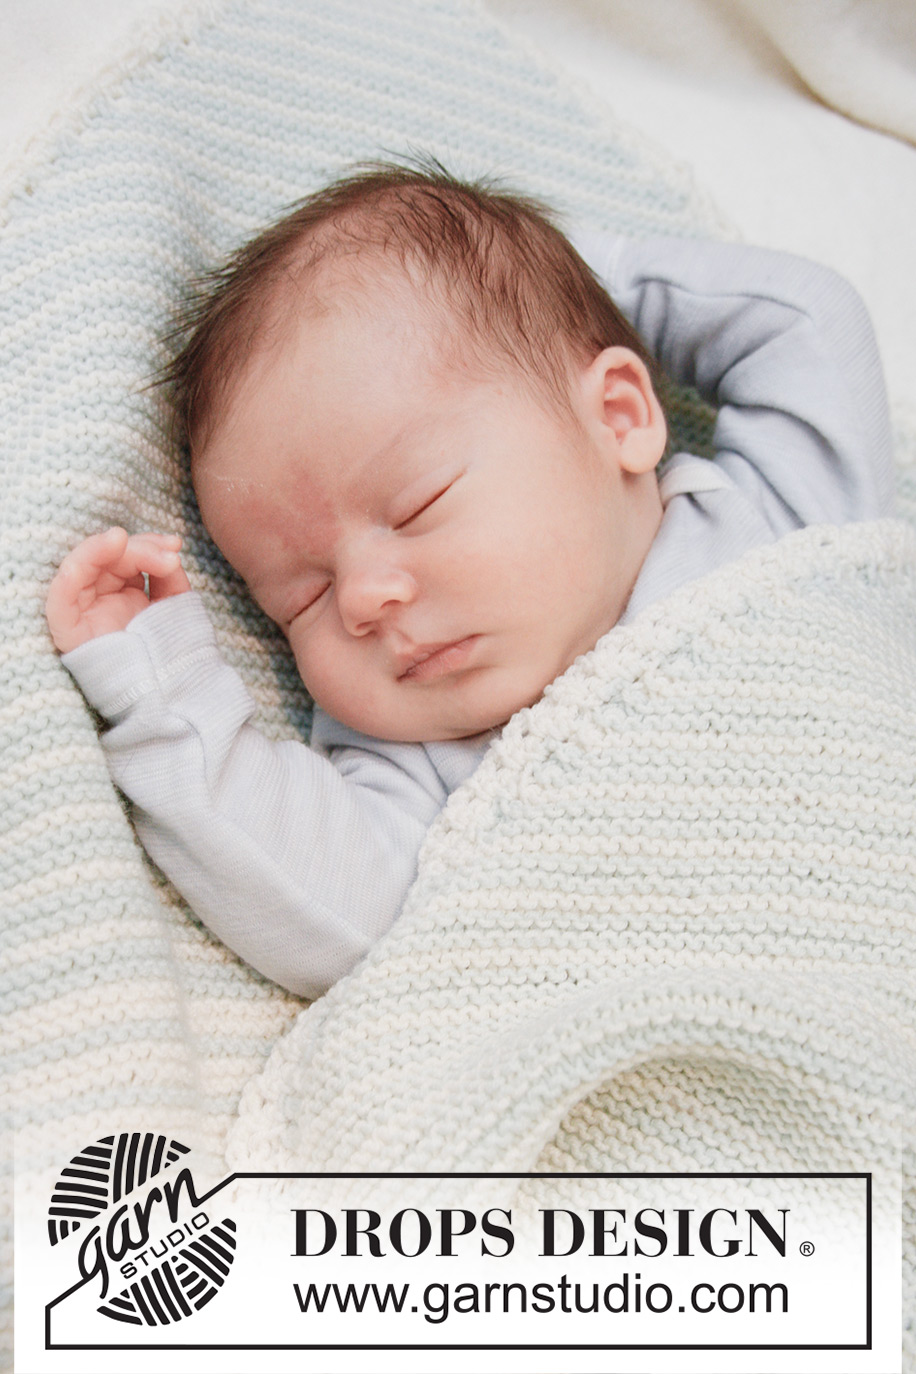
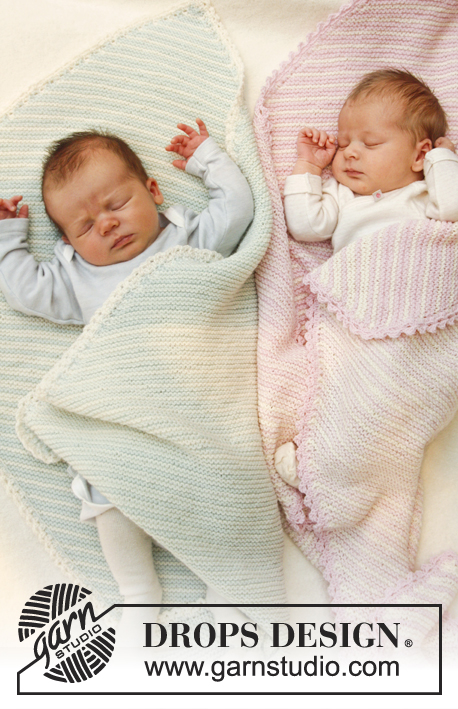
Dream Date#dreamdateblanket |
|
 |
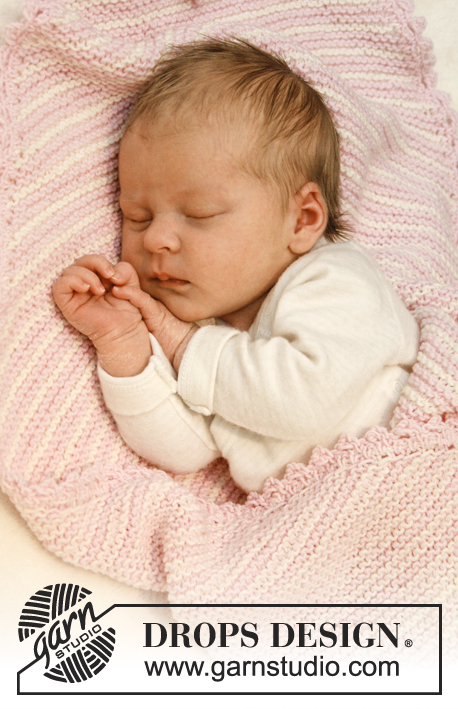 |
Knitted baby blanket in garter st with stripes – worked from corner to corner in DROPS BabyMerino
DROPS Baby 25-1 |
|
|
GARTER ST (back and forth on circular needle): K all rows. 1 ridge = K2 rows. STRIPES 1: * K 4 rows (= 2 ridges) with light mint or light pink, K 2 rows (= 1 ridge) with off white *, repeat from *-* (make sure not to tighten yarn when changing color). STRIPES 2: * K 2 rows (= 1 ridge) with light mint, K 4 rows (= 2 ridges) with off white or light pink *, repeat from *-* (make sure not to tighten yarn when changing color). ---------------------------------------------------------- BLANKET: Work entire blanket in garter st from corner to corner. Cast on 3 sts on circular needle size 4.5 mm / US 7 with light mint and K 2 rows. Then continue in garter st and STRIPES 1 – see explanation above, AT THE SAME TIME inc 1 st at beg of every row by making 1 YO inside 1 edge st. On next row K YO twisted to avoid holes. Repeat inc at beg of every row (both from RS and WS) until piece measures approx. 34-50 cm / 13½"-20" along both sides - finish after 2 ridges with light mint or light pink. K 2 rows with off white without inc. Then work STRIPES 2 – see explanation above, while AT THE SAME TIME dec 1 st at beg of row from RS by K twisted tog the 2 outermost sts inside 1 edge st. AT THE SAME TIME at the end of same row (i.e. at the end of row from RS) inc 1 new st by making 1 YO inside 1 edge st, turn and K back without dec/inc (K YOs twisted). Repeat dec at beg of row and inc at the end of row every other row upwards (i.e. on every row from RS - no of sts is constant), until piece measures approx. 51-75 cm / 20"-29½" along the longest side on blanket – finish after 2 ridges with off white. Then work STRIPES 1 again while AT THE SAME TIME dec 1 st at beg of every row by K 2 tog inside 1 edge st. Repeat dec at beg of every row (both from RS and WS) until 5 sts remain on row. Work next row from RS as follows: K 1, slip 1 st as if to K, K 2 tog, psso, K 1. Turn piece, K back and then bind off the last 3 sts. CROCHET EDGE: Crochet on hook size 4 mm / G/6 with off white or light pink around the entire blanket as follows: ROUND 1: 1 sc in first st in garter st, * ch 1, skip 1 ridge, 1 sc in next ridge *, repeat from *-* the entire round (make sure that 1 ch is in every corner on blanket), finish round with 1 sl st in first sc at beg of round. ROUND 2: 1 sc in first ch, * ch 3, 1 sc in next ch *, repeat from *-* the entire round and finish with 1 sl st in first sc at beg of round. Fasten off. |
|
Have you finished this pattern?Tag your pictures with #dropspattern #dreamdateblanket or submit them to the #dropsfan gallery. Do you need help with this pattern?You'll find 16 tutorial videos, a Comments/Questions area and more by visiting the pattern on garnstudio.com. © 1982-2026 DROPS Design A/S. We reserve all rights. This document, including all its sub-sections, has copyrights. Read more about what you can do with our patterns at the bottom of each pattern on our site. |
|


With over 40 years in knitting and crochet design, DROPS Design offers one of the most extensive collections of free patterns on the internet - translated to 17 languages. As of today we count 325 catalogs and 12291 patterns - 12281 of which are translated into English (US/in).
We work hard to bring you the best knitting and crochet have to offer, inspiration and advice as well as great quality yarns at incredible prices! Would you like to use our patterns for other than personal use? You can read what you are allowed to do in the Copyright text at the bottom of all our patterns. Happy crafting!
Post a comment to pattern DROPS Baby 25-1
We would love to hear what you have to say about this pattern!
If you want to leave a question, please make sure you select the correct category in the form below, to speed up the answering process. Required fields are marked *.