
Popular categories
Looking for a yarn?


Comments / Questions (69)
![]() Amy Spitzer wrote:
Amy Spitzer wrote:
For the Drops Dreamy Bluebell Baby Bunting Bag, how many balls of DROPS Baby Merino Superwash treated extra fine merino wool do I need.
10.08.2023 - 23:01DROPS Design answered:
Hi Amy, As Drops Alpaca and Drops Baby Merino both belong to the same yarn group A, you can interchange these yarns in this pattern. You therefore need the same weights for the bag as if you were using Alpaca (each ball of Baby Merino is 50 g). Happy knitting!
11.08.2023 - 06:45
![]() Christine Lauber wrote:
Christine Lauber wrote:
Vielen Dank für die Antwort 😁
08.08.2023 - 09:30
![]() Christine wrote:
Christine wrote:
Anleitung: „Schlafsack: Die Arbeit wird in 2 Teilen gestrickt und an der Seite und an den Schultern zusammengenäht. Die Arbeit wird auf einer Rundstr. Ndl. hin und zurück gestrickt“ Ich verstehe nicht, was mit der unteren Anschlagkante gemacht werden soll?
15.07.2023 - 22:17DROPS Design answered:
Liebe Christine, die Anschlagskante wird danach zusammengenäht. Viel Spaß beim stricken!
27.07.2023 - 11:01
![]() Nancy Daems wrote:
Nancy Daems wrote:
Hallo , ik vind niet wanneer ik de mouw moet afkanten? Mvg Nancy
13.05.2023 - 08:59DROPS Design answered:
Dag Nancy,
De mouwen zitten aan de panden, dus je zet steken op voor de mouwen aan beide kanten van het achterpand en aan een kant van beide voorpanden. De steken worden op de schouder, waarin de mouw doorloopt, afgekant.
13.05.2023 - 15:25
![]() Vourn wrote:
Vourn wrote:
I do not understand what I need to do when increasing for the sleeves in Dreamy Bluebell. Do I make 3 stitches 3 times on the edge where I haven\'t purled only?
04.03.2023 - 20:43DROPS Design answered:
Dear Vourn, you can see here how to increase for the sleeve: https://www.garnstudio.com/video.php?id=94&lang=en. Increase on one side for each front (where the sleeves are supposed to be) and on each side of the back. Happy knitting!
05.03.2023 - 19:46
![]() Denise Miles wrote:
Denise Miles wrote:
The pattern regarding assembly states : sew shoulder/upper sleeve seams (stitches from holder). Is there a method to create a seam from stitches on stitch holder or should I castoff then make a seam?
08.12.2022 - 22:55DROPS Design answered:
Hi Denise, You can use masking stitch to work a seam from stitches: link https://www.garnstudio.com/video.php?d=1473&lang=en Happy crafting!
09.12.2022 - 06:52
![]() Sofie wrote:
Sofie wrote:
Hallo, een vraagje: brei je heel het stuk met twee draden of zet je enkel op met twee draden?
08.02.2022 - 20:19DROPS Design answered:
Dag Sofie,
Klopt, je breit het hele werk in 2 draden Alpaca.
11.02.2022 - 14:42
![]() Ute wrote:
Ute wrote:
Danke für die Antwort. Irgendwie leuchtet mir das mit 8 Maschen auf beiden Seiten nicht ein. Da ich auf einer Seite 3 Maschen für das Bird zugenommen habe und dann beide Seiten gleich abnehmen soll, ist eine Schulterpartie um diese 3 Maschen zu schmal. Ich probiere es aber aus.
19.07.2021 - 09:35DROPS Design answered:
Liebe Ute, ich misverstehe vielleicht Ihre Frage, für die Ärmel schlagen Sie neue Maschen an der Seite (= am Ende der Rückreihen beim linken Vorderteil = rechte Seite, von der Vorderseite gesehen) und für den Halsausschnitt ketten Sie auf die rechte Seite (von der Vorderseite gesehen): 8 M x 1 Mal und 1 Masche 3 Mal. Hoffentlich kann es Ihnen helfen.
19.07.2021 - 10:03
![]() Ute wrote:
Ute wrote:
Hallo. Bei dem Vorderteil mit dem Bord sollen für den Halsausschnitt 8M abgekettet werden. Wieviel Maschen sind es für die andere Seite? Danke für eine kurze Rückmeldung.
18.07.2021 - 12:34DROPS Design answered:
Liebe Ute, beim Linken Vorderteil werden für den Halsausschnitt zuerst 8 Maschen (am Anfang einer Rückreihe) abgekettet werden, dann 1 Masche 3 Mal abgenommen. Beim rechten Vorderteil werden die ersten 8 Maschen am Anfang einer Hinreihe abgekettet, dann genauso 1 Masche 3 Mal abgenommen. Viel Spaß beim stricken!
19.07.2021 - 08:57
![]() Maiken wrote:
Maiken wrote:
Det står at det er en kjørepose, skal det ikke da være en åpning til beltet?
03.04.2021 - 04:51DROPS Design answered:
Hej Maiken, det er der ikke i denne opskrift, således har vi beskrevet det i en anden opskrift: HULL FOR SETEBELTET I BILESETET: Du kan lage et hull foran og bak til beltet til bilstolen. Lag det første hullet på bakstk når arb måler ca 16-20-23 (28-33) cm (eller etter nødvendige mål) ved å felle av de midterste 4 m på p. På neste p legges det opp 4 nye m over de felte m og fortsett som før.
06.04.2021 - 13:34
|
|
Dreamy Bluebell#dreamybluebellbuntingbag |
|
 |
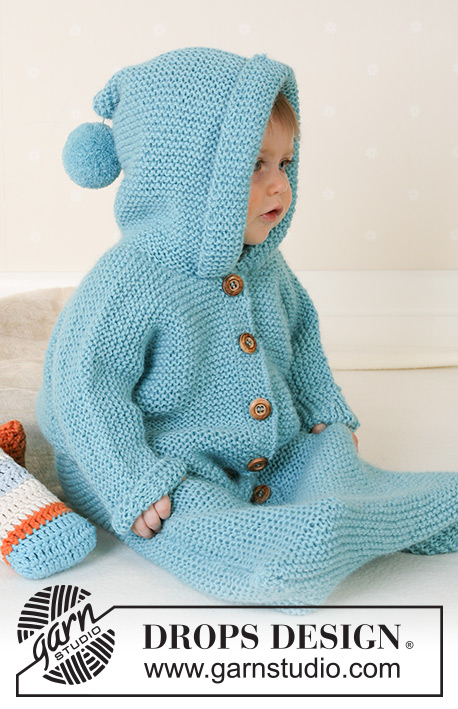 |
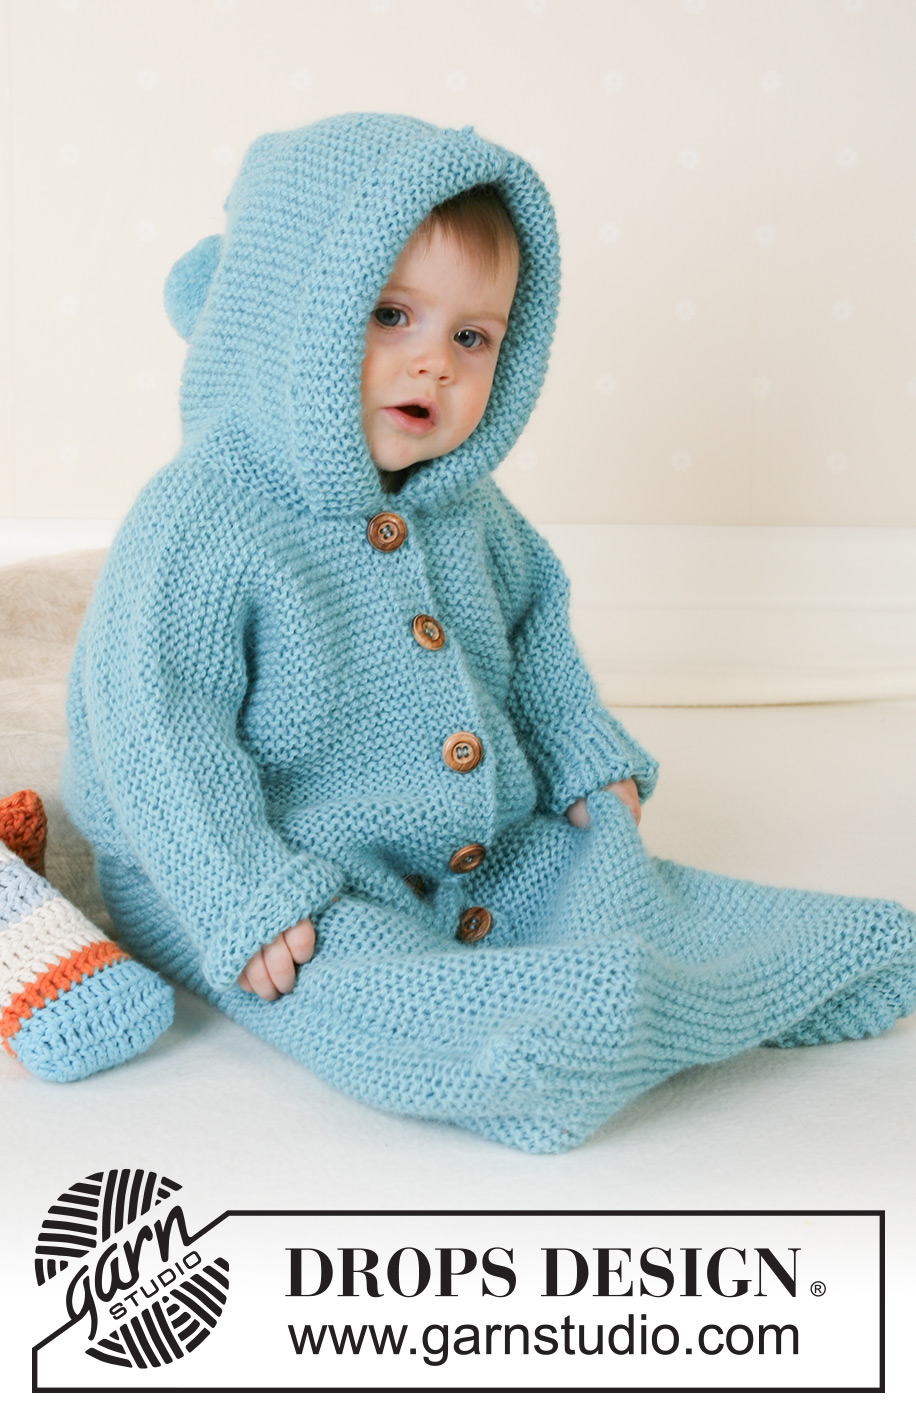
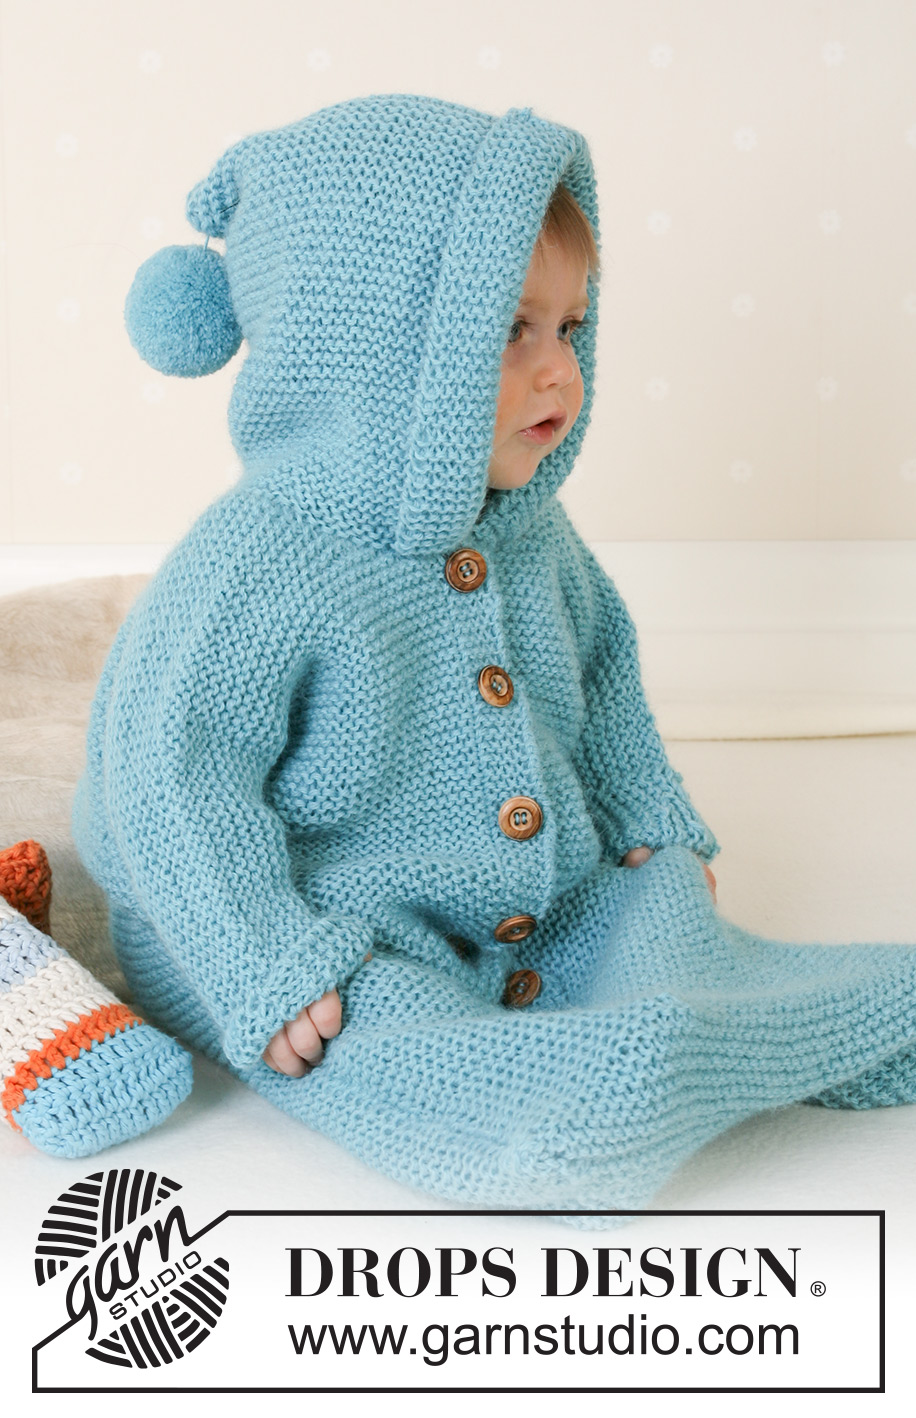
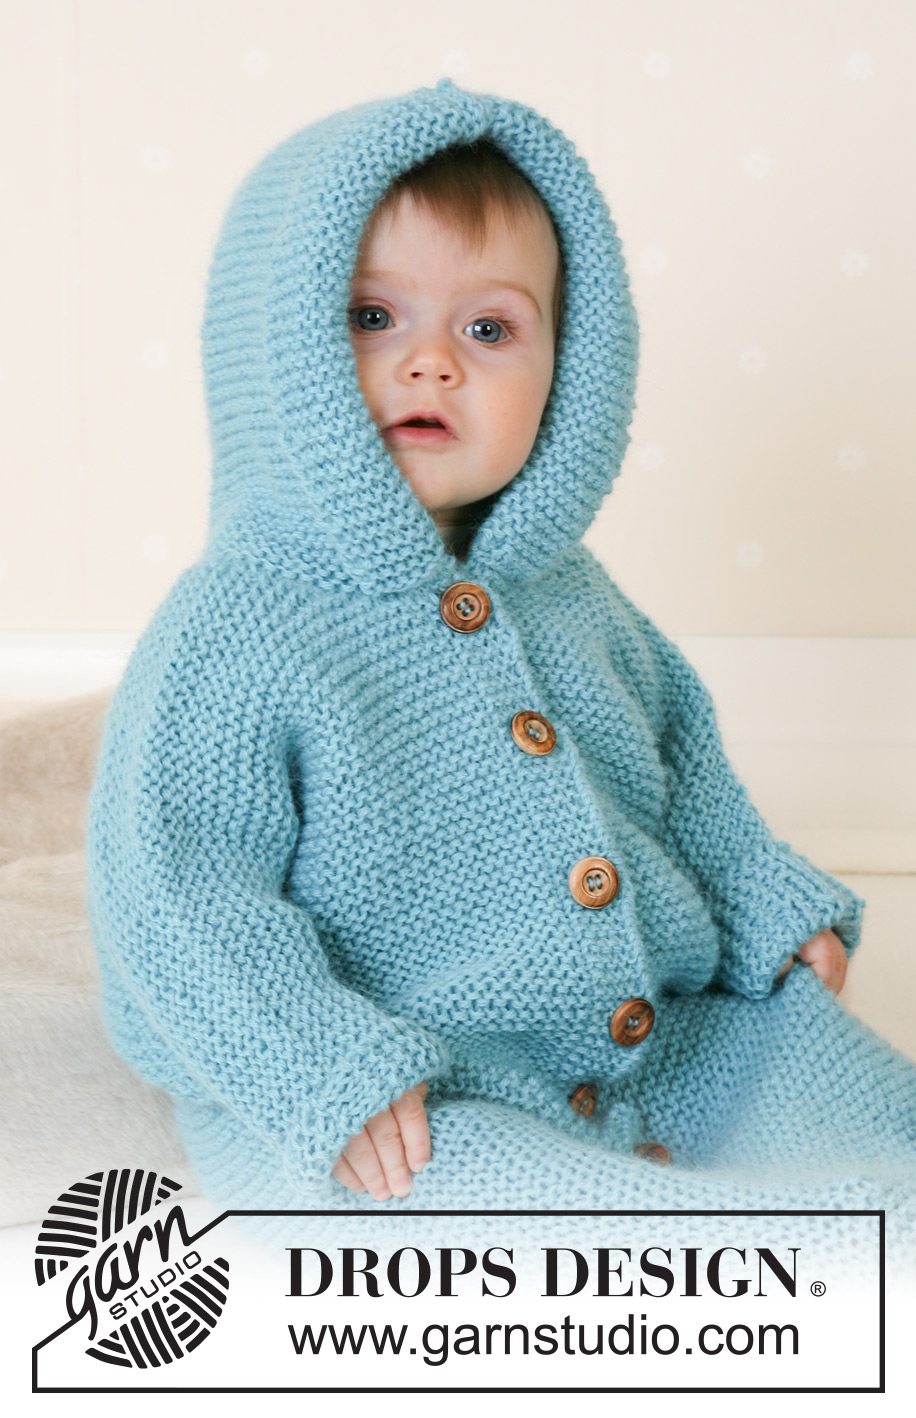
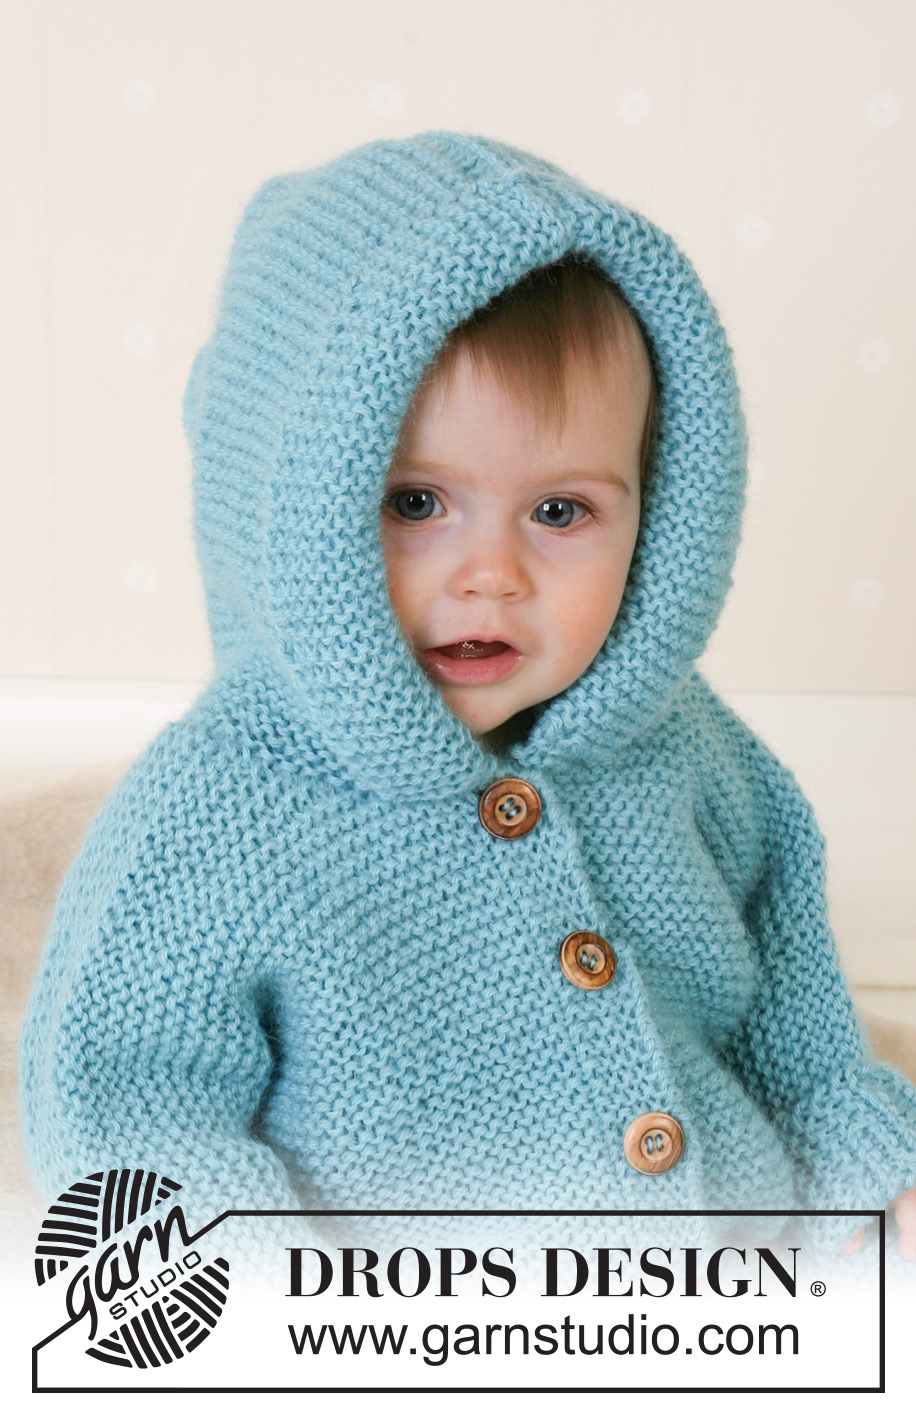
Bunting bag with hood in garter st, knitted in DROPS Alpaca. Sizes baby and children from 1 month to 4 years.
DROPS Baby 14-14 |
|
|
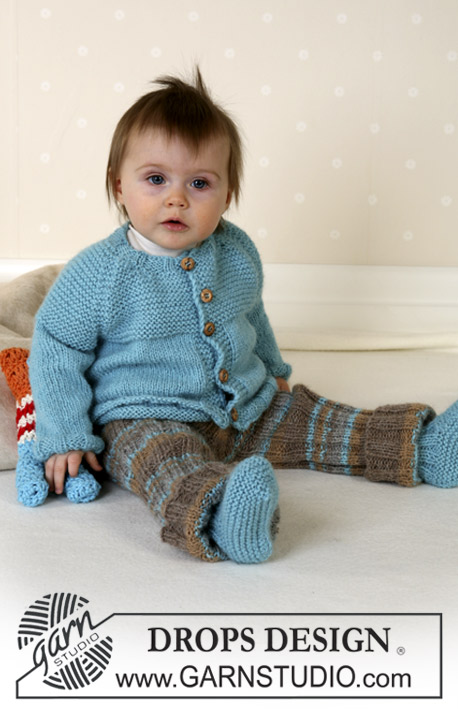
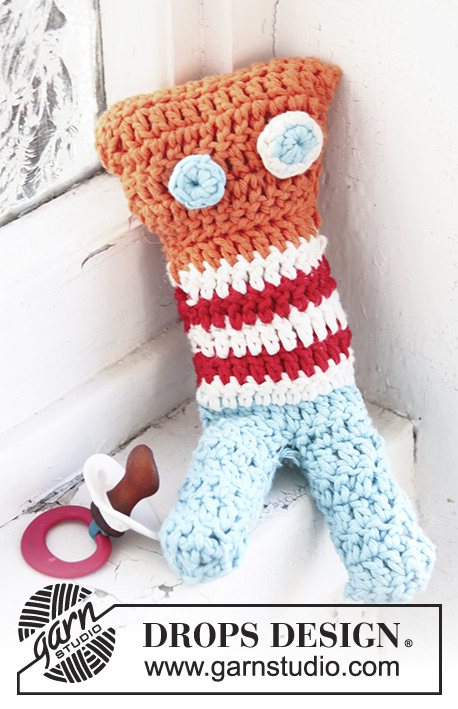
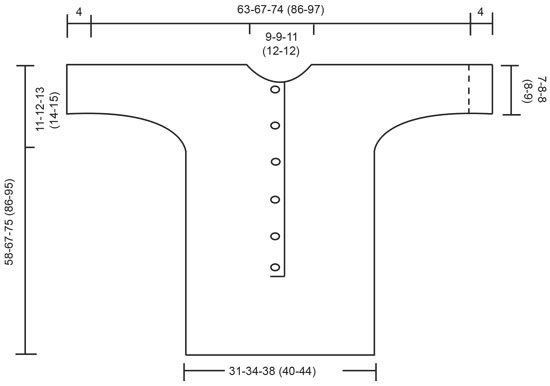
Garter sts: Knit all rows Measurement tips: Because of the weight of the wool, all measurements should be made whilst piece is hanging. Buttonhole: Make buttonholes on right front edge from the right side as follows: knit 2nd and 3rd st from edge tog and make a yo. Make buttonholes as follows: Size 1/3 months: 27, 32, 37, 42, 47 and 52 cm / 10⅝",12½",14½",16½",18½",20½" Size 6/9 months: 28, 34, 41, 47, 54 and 61 cm / 11",13⅜",16⅛",18½",21¼",24" Size 12/18 months: 29, 36, 42, 49, 55, 62 and 69 cm / 11⅜",14¼",16½", 19¼",21⅝",24⅜",27⅛" Size 2 years: 30, 37, 44, 51, 58, 65, 72 and 80 cm / 11¾",14½",17¼",20",22¾",25½",28⅜",31½" Size 3/4 years: 31, 39, 47, 55, 63, 71, 80 and 89 cm / 12¼",15¼",18½",21⅝",24¾",28",31½",35" ______________________________________________________________ BUNTING BAG: Front piece: See Measurement tips. The piece is worked back and forth on a circular needle. Loosely cast on 54-60-66 (70-76) sts (includes 1 edge st each side) with 2 strands of Alpaca on circular needle size 5 mm / US 8. Knit garter sts back and forth. When piece measures 24-25-26 (27-28) cm / 9½"-9¾"-10¼" (10⅝"-11") divide the work in two and put half the sts on right front on a holder = 27-30-33 (35-38) sts left on needle. Left front: = 27-30-33 (35-38) sts. Cast on 3 new sts towards mid front for front band = 30-33-36 (38-41) sts. Continue in garter sts but purl the 5 sts towards mid front (= front edge) on all rows until finished measurements (to mark the front edge). When piece measures 47-55-62 (72-80) cm / 18½"-21⅝"-24⅜" (28⅜"-31½") – remember measuring tips – cast on new sts for sleeve at the end of each row towards the side as follows: 3 sts 3-2-3 (3-1) times, 4 sts 2-3-3 (5-5) times, 6 sts 1-1-1 (1-3) times and 10 sts 1 times = 63-67-73 (83-92) sts. When piece measures 53-62-70 (81-90) cm / 21"-24⅜"-27½" (32"-35½") cast of the 8-8-9 (10-10) sts towards mid front for neck and then dec to shape the neckline on every 4th row: 1 st 3 times = 52-56-61 (70-79) sts (= shoulder + sleeve). When piece measures 58-67-75 (88-95) cm / 22¾"-26⅜"-29½" (34⅝"-37⅜") – stop after 1 row from wrong side - put sts on a holder. Right front: Put sts from first holder back on needle and work as left front, but mirrored. Make buttonholes on front band as described above. Back piece: The piece is worked back and forth on a circular needle. Cast on 54-60-66 (70-76) sts (includes 1 edge st each side) with 2 strands of Alpaca on circular needle size 5 mm / US 8. Knit garter sts back and forth until piece measures 47-55-62 (72-80) cm / 18½"-21⅝"-24⅜" (28⅜"-31½") – remember measuring tips. Now cast on new sts for sleeves at the end of each row, each side: 3 sts 3-2-3 (3-1) times, 4 sts 2-3-3 (5-5) times, 6 sts 1-1-1 (1-3) times and 10 sts 1 times = 120-128-140 (160-178) sts. When piece measures 56-65-73 (84-93) cm / 22"-25½"-28⅜" (33"-36⅝") cast of the middle 14-14-16 (18-18) sts for neck and work each side separately. Then dec 1 st in beg of next row from neck to shape the neckline = 52-56-61 (70-79) sts (= shoulder + sleeve). When piece measures 58-67-75 (88-95) cm / 22¾"-26⅜"-29½" (34⅝"-37⅜") – stop after 1 row from wrong side - put sts on a holder. Assembly: Sew shoulder/upper sleeve seams (sts from holders). Sew under-sleeve, side seams and bottom seams within 1 edge st. Sew the edges at the bottom of front bands and fold approx 4 cm / 1½" on both sleeves towards right side and attach with a couple of neat sts. Hood: Pick up approx 45 to 55 sts from the right side with 2 strands Alpaca and needle size 5 mm / US 8 round the neckline. Knit 3 rows garter sts, at the same time inc to 72-74-76 (78-82) sts evenly on the 2nd row. On next row cast on 7 new sts each side for folding edge = 86-88-90 (92-96) sts. Knit garter sts until hood measures 21-23-25 (27-28) cm / 8¼"-9"-9¾" (10⅝"-11") and bind off. Fold hood double and sew seam at top of hood. Fold 4 cm / 1½" at front edge towards right side and attach with neat sts to neckline. Make a pompom with a diameter of approx 6-7 cm / 2½" and attach to the top of hood. Sew on buttons. SOFT TOY: see pattern 14-30 |
|
 |
|
Have you finished this pattern?Tag your pictures with #dropspattern #dreamybluebellbuntingbag or submit them to the #dropsfan gallery. Do you need help with this pattern?You'll find 17 tutorial videos, a Comments/Questions area and more by visiting the pattern on garnstudio.com. © 1982-2026 DROPS Design A/S. We reserve all rights. This document, including all its sub-sections, has copyrights. Read more about what you can do with our patterns at the bottom of each pattern on our site. |
|


With over 40 years in knitting and crochet design, DROPS Design offers one of the most extensive collections of free patterns on the internet - translated to 17 languages. As of today we count 325 catalogs and 12291 patterns - 12281 of which are translated into English (US/in).
We work hard to bring you the best knitting and crochet have to offer, inspiration and advice as well as great quality yarns at incredible prices! Would you like to use our patterns for other than personal use? You can read what you are allowed to do in the Copyright text at the bottom of all our patterns. Happy crafting!
Post a comment to pattern DROPS Baby 14-14
We would love to hear what you have to say about this pattern!
If you want to leave a question, please make sure you select the correct category in the form below, to speed up the answering process. Required fields are marked *.