
Popular categories
Looking for a yarn?


Comments / Questions (24)
![]() Meg wrote:
Meg wrote:
Veldig fin oppskrift
17.01.2026 - 14:51
![]() Marian Hagdal wrote:
Marian Hagdal wrote:
Har lest oppskriften feil . Flott veske.
11.11.2025 - 11:26
![]() Marian Hagdal wrote:
Marian Hagdal wrote:
Hvordan hekle hanken ? Får ikke maskene til å stemme med å hekle sammen 2 og 2 staver og 1 stav. Det blir ikke 8 rader og 14 staver da?
11.11.2025 - 10:40
![]() Loes wrote:
Loes wrote:
Is er ook een beschreven patroon van de Granny en de tas in zijn geheel?
06.10.2025 - 17:02DROPS Design answered:
Dag Loes,
Helaas hebben we alleen een telpatroon van de oma-vierkantjes. Bij veel gestelde vragen (FAQ bovenaan het patroon) kun je informatie vinden over hoe je een telpatroon voor haken leest.
08.10.2025 - 19:44
![]() Avery wrote:
Avery wrote:
Hi! So I’ve connected all the squares so now I’m trying to figure out the next part. I’m confused about the whole, folding, crocheting in the direction the arrows are pointing, and what does the fold A, B, and C thing mean? Thanks 😊
29.09.2025 - 21:19
![]() Bhamini wrote:
Bhamini wrote:
Where is the actual pattern? I can only find the colors
08.06.2025 - 19:00DROPS Design answered:
Dear Bhamini, in the pattern you should have the colours for each square and then "START THE PIECE HERE:" down below, where the actual pattern instructions start. Happy crochetting!
08.06.2025 - 22:28
![]() Carolina wrote:
Carolina wrote:
El patrón está mal traducido al español la parte del asa. En inglés se entiende mejor que en español. Porque en español repiten dos 2 veces el asa pero no el inicio del asa. Por eso no sé entiende
18.04.2025 - 17:34
![]() Victoria wrote:
Victoria wrote:
Hi! I don’t understand how to work strap. Where exactly do I insert marker-thread? What does “working 21 stitches before marker-thread” mean? Where do I start “work 1 tremble crochet in each of the next 42 tremble crochets”? Which next 42 crochets are those?
03.09.2024 - 15:35DROPS Design answered:
Dear Victoria, fold the bag along one of the short side then insert a marker at the fold = in the middle of a square at the side of bag; then count 21 stitches towards the right from the marker, the strap will start here: 21 sts before marker + 21 sts after marker = 42 stitches. Happy crocheting!
04.09.2024 - 08:28
![]() Birgitta Kempe wrote:
Birgitta Kempe wrote:
Skulle önska en instruktionsvideo på denna hur man virkar ihop, finns det en sådan? Hur hittar jag den isåfall?
17.07.2024 - 13:31DROPS Design answered:
Hej Birgitta. I denna video kan du se hur du vikar ihop rutorna. Mvh DROPS Design
18.07.2024 - 08:07
![]() Ginette Aucoin wrote:
Ginette Aucoin wrote:
Hi. I have completed my squares for the tuscan tote but cannot understand the instructions for assembling them together. I have them laid out but do not understand the stitching. Is there a video gor the assembly? Thanks
01.07.2024 - 23:54DROPS Design answered:
Dear Mrs Aucoin, you will now just have to crochet them together with 1 dc (UK-English)/sc (Us-English) between every treble crochets/double crochets groups, and 4 chains between each dc/sc; in this video we show a similar technique joining different squares together, this might help you. Happy crocheting!
02.07.2024 - 10:17
|
||||||||||||||||
Tuscan Tiles Tote#tuscantilestote |
||||||||||||||||
 |
 |
|||||||||||||||
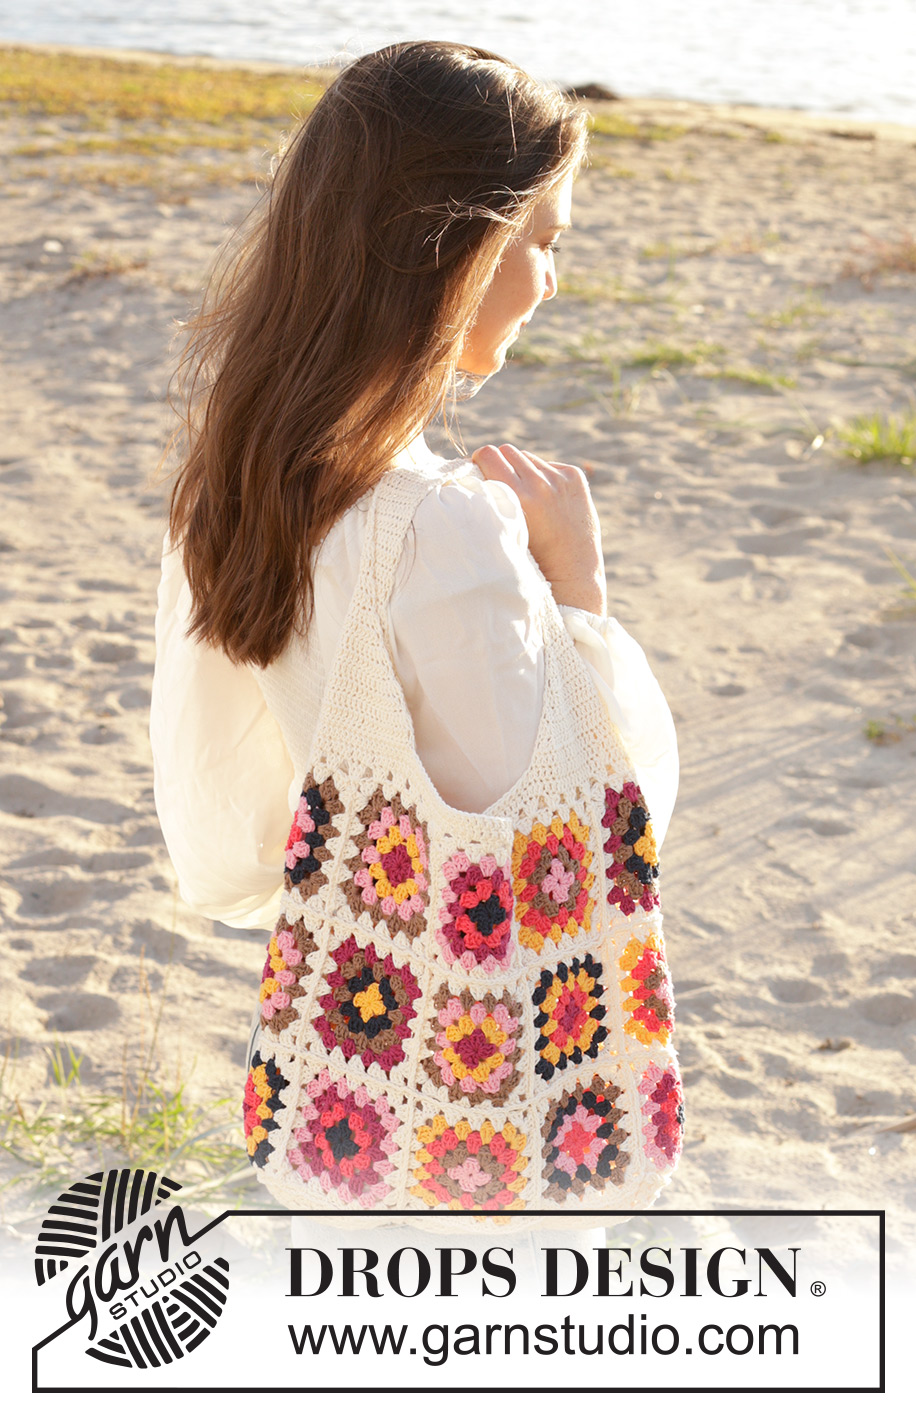
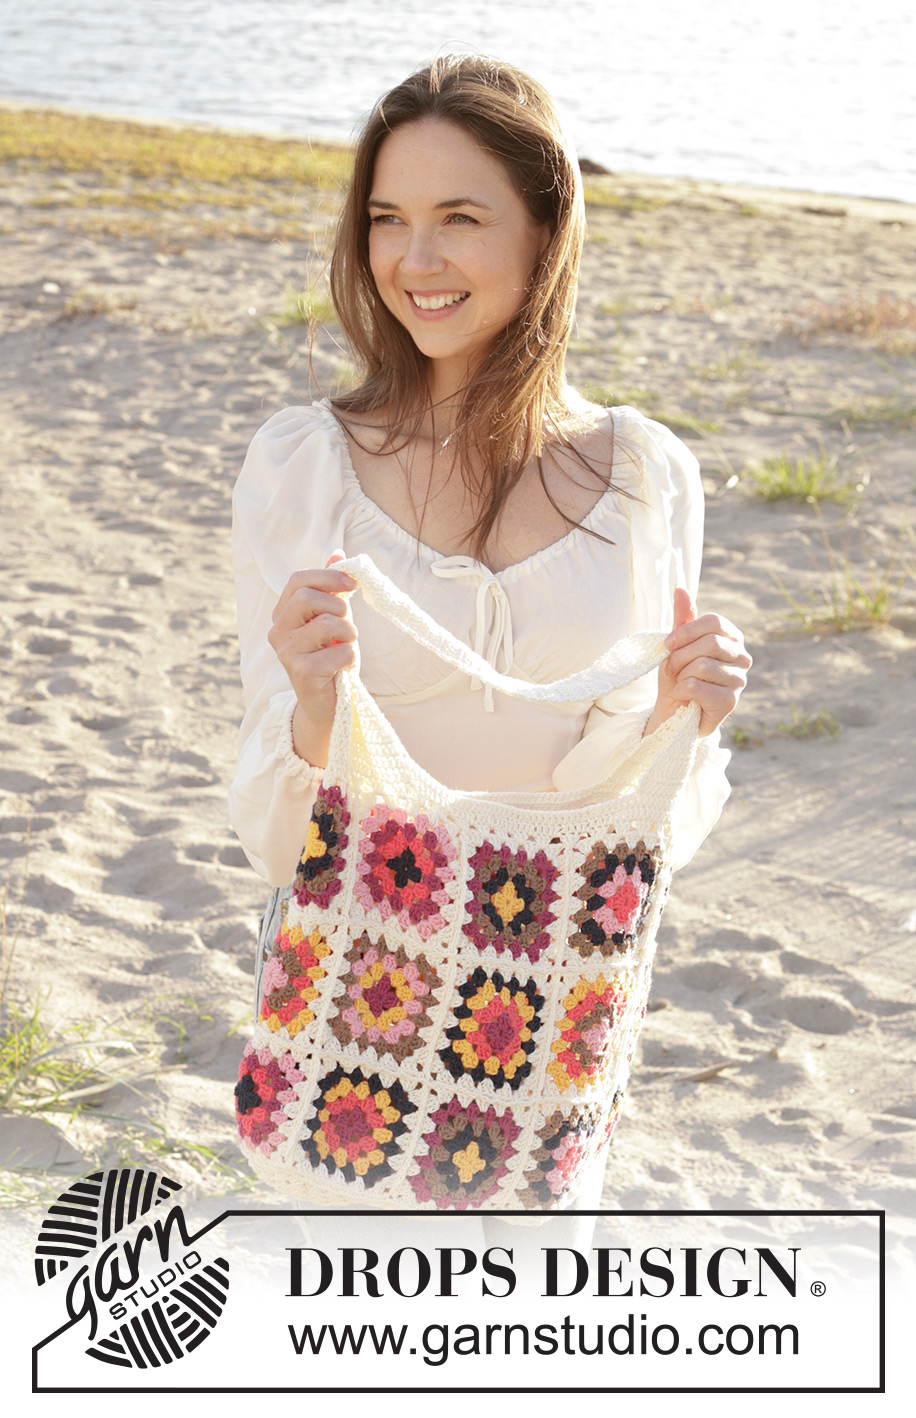
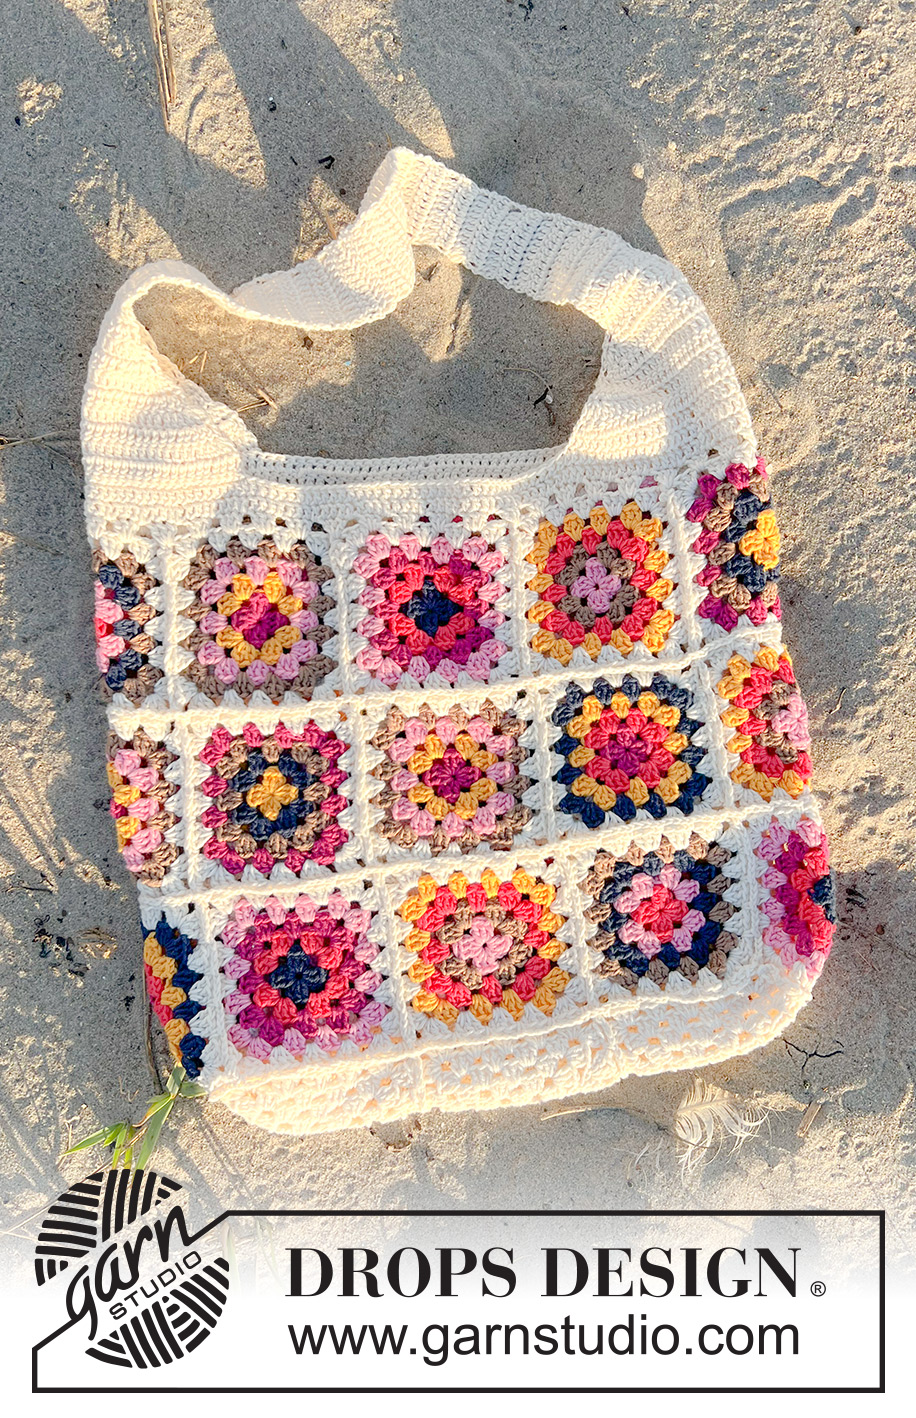
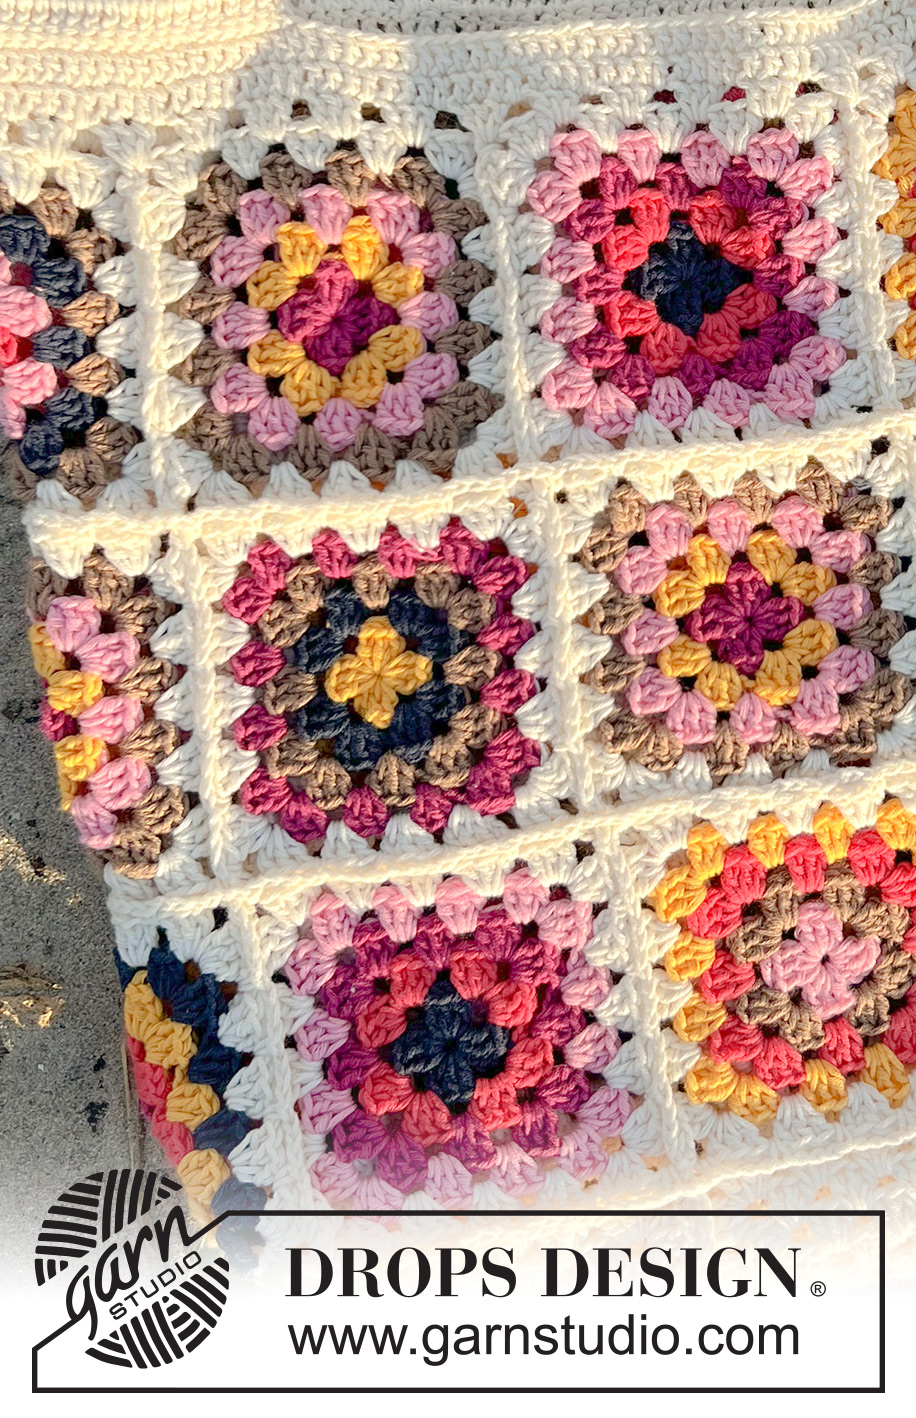
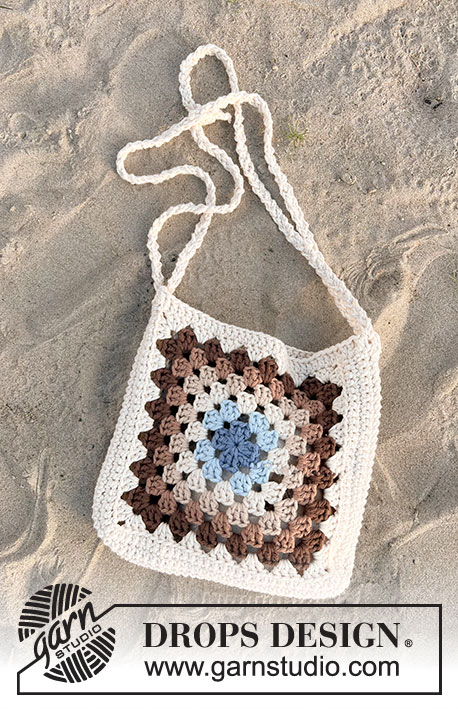
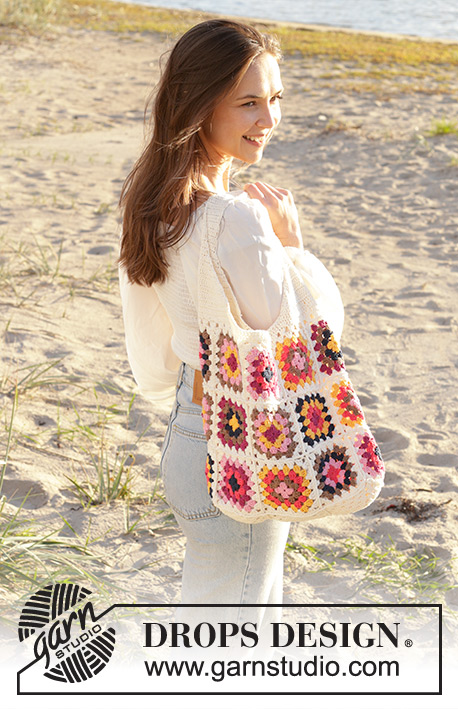
Crocheted bag in DROPS Safran. The piece is worked with granny squares.
DROPS 238-4 |
||||||||||||||||
|
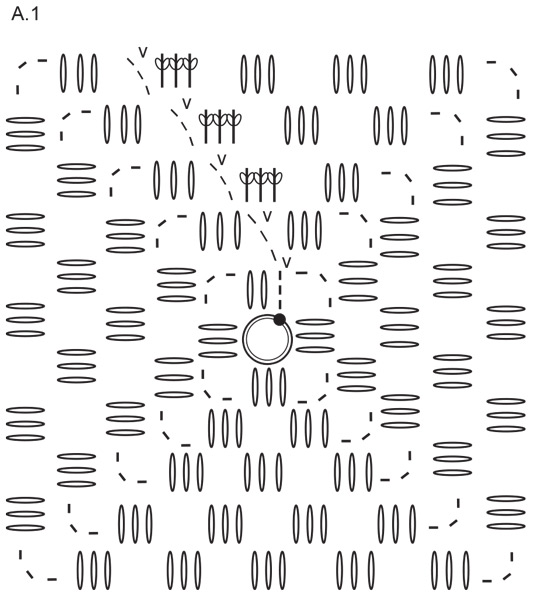
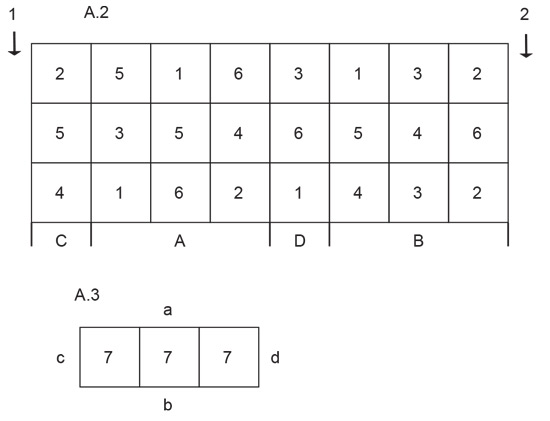
------------------------------------------------------- EXPLANATIONS FOR THE PATTERN: ------------------------------------------------------- PATTERN: See diagrams A.1 to A.3. Diagrams A.2 and A.3 show the positions when assembling the squares. COLORS: SQUARE 1: CAST-ON AND ROUND 1: navy blue ROUND 2: raspberry ROUND 3: plum ROUND 4: pink ROUND 5: off white SQUARE 2: CAST-ON AND ROUND 1: raspberry ROUND 2: pink ROUND 3: navy blue ROUND 4: light brown ROUND 5: off white SQUARE 3: CAST-ON AND ROUND 1: sunshine ROUND 2: navy blue ROUND 3: light brown ROUND 4: plum ROUND 5: off white SQUARE 4: CAST-ON AND ROUND 1: plum ROUND 2: raspberry ROUND 3: sunshine ROUND 4: navy blue ROUND 5: off white SQUARE 5: CAST-ON AND ROUND 1: plum ROUND 2: sunshine ROUND 3: pink ROUND 4: light brown ROUND 5: off white SQUARE 6: CAST-ON AND ROUND 1: pink ROUND 2: light brown ROUND 3: raspberry ROUND 4: sunshine ROUND 5: off white SQUARE 7: All rounds worked with color off white. COLOR-CHANGE: To give a neat transition when changing colors, work the last slip stitch on the round with the new color. CROCHET INFORMATION: At the beginning of each round/row of double crochets, work 3 chain stitches which replace the first double crochet, i.e. skip the first stitch from the previous round/row. The round finishes with 1 slip stitch in the 3rd chain stitch at the beginning of the round. ------------------------------------------------------- START THE PIECE HERE: ------------------------------------------------------- BAG – SHORT OVERVIEW OF THE PIECE: The bag consists of 27 squares which are crocheted together. An edge is worked around the opening. The strap is worked to finish. SQUARES: Use crochet hook size 3.5 MM = US E/4 and work squares according to diagram A.1. Read COLORS and COLOR-CHANGE above. Work 4 of each square 1 to 6. Work 3 of square 7. A total of 27 squares. REMEMBER THE CROCHET GAUGE! ASSEMBLY: Lay squares 1 to 6 out as shown in diagram A.2. Work them together first lengthwise, then in width. Use crochet hook size 3.5 MM = US E/4 and color off white and work as follows: Lay 2 squares together, wrong side to wrong side, and work through both layers: Work 1 single crochet around the chain stitches in the corner, * 4 chain stitches, skip 3 double crochets and crochet 1 single crochet, *, work from *-* up to and including the next corner (5 chain-spaces), work 1 chain stitch (transition to the next 2 squares), work 1 single crochet around the corner on the next squares. Work from *-* until the row has been worked together. Cut the strand and work the other rows together in the same way. Then work the bag together in width in the same way. The sides of the bag are now finished. Work the 3 off white squares together in the same way - as shown in diagram A.3. This is the bottom of the bag. Use crochet hook size 3.5 MM = US E/4, color off white and work the sides and bottom together: Fold the sides of the bag so the sides marked with 1 and 2 meet. Start at the top and work the squares together in the same way as earlier, working in the direction shown by the arrows. Do not cut the strand but continue working the bottom to the sides. Lay the piece so the side marked with C meets the side marked with c and work them together. Lay the piece so the side marked with A meets the side marked with a and work them together. Lay the piece so the side marked with D meets the side marked with d and work them together. Lay the piece so the side marked with B meets the side marked with b and work them together. Cut and fasten the strand. EDGE: Work an edge around the opening. Use crochet hook size 3.5 MM = US E/4 and color off white. Start on one side. ROUND 1: Read CROCHET INFORMATION and work 3 double crochets between each double-crochet group. In the transitions between squares work 3 double crochets around the 2 chain-spaces worked together during assembly. ROUND 2: Work 1 double crochet in each double crochet and 1 double crochet between each double-crochet group. ROUND 3: Work 1 double crochet in each double crochet. Cut and fasten the strand. STRAP: The strap is worked from one side of the bag then sewn onto the other side. Fold the bag on one short side, insert a marker-thread between the stitches here. Start working 21 stitches before the marker-thread. ROW 1: Work 1 double crochet in each of the next 42 double crochets. Turn. ROWS 2-8: Work 1 double crochet, work 2 double crochets together 2 times, work 1 double crochet in each double crochet until there are 5 double crochets left, work 2 double crochets together 2 times and 1 double crochet. Turn. After row 8 there are 14 double crochets. ROW 9: Work 1 double crochet, then 2 double crochets together, work 1 double crochet in each double crochet until there are 3 double crochets left, work 2 double crochets together and work 1 double crochet. There are 12 double crochets and the strap measures approx. 9 cm = 3½". Work 1 double crochet in each double crochet until the strap measures 49 cm = 19¼". Now continue as follows: ROW 1: Work 1 double crochet, work 2 double crochets in the next double crochet, work 1 double crochet in each double crochet until there are 2 stitches left, 2 double crochets in the next double crochet and 1 double crochet in the next double crochet. There are 14 double crochets. ROWS 2-8: Work 1 double crochet, work 2 double crochets in the next 2 double crochets, work 1 double crochet in each double crochet until there are 3 double crochets left, work 2 double crochets in the next 2 double crochets and 1 double crochet in the last double crochet. After row 8 there are 42 double crochets. ROW 9: Work 1 double crochet in each double crochet. The strap measures approx. 58 cm = 22¾". Cut the strand, leaving and end of approx. 20 cm = 8". Use the strand-end to sew the strap to the other side of the bag. Cut and fasten the strand. |
||||||||||||||||
Diagram explanations |
||||||||||||||||
|
||||||||||||||||
 |
||||||||||||||||
 |
||||||||||||||||
Have you finished this pattern?Tag your pictures with #dropspattern #tuscantilestote or submit them to the #dropsfan gallery. Do you need help with this pattern?You'll find 14 tutorial videos, a Comments/Questions area and more by visiting the pattern on garnstudio.com. © 1982-2026 DROPS Design A/S. We reserve all rights. This document, including all its sub-sections, has copyrights. Read more about what you can do with our patterns at the bottom of each pattern on our site. |
||||||||||||||||


With over 40 years in knitting and crochet design, DROPS Design offers one of the most extensive collections of free patterns on the internet - translated to 17 languages. As of today we count 324 catalogs and 12290 patterns - 12280 of which are translated into English (US/in).
We work hard to bring you the best knitting and crochet have to offer, inspiration and advice as well as great quality yarns at incredible prices! Would you like to use our patterns for other than personal use? You can read what you are allowed to do in the Copyright text at the bottom of all our patterns. Happy crafting!
Post a comment to pattern DROPS 238-4
We would love to hear what you have to say about this pattern!
If you want to leave a question, please make sure you select the correct category in the form below, to speed up the answering process. Required fields are marked *.