
Popular categories
Looking for a yarn?


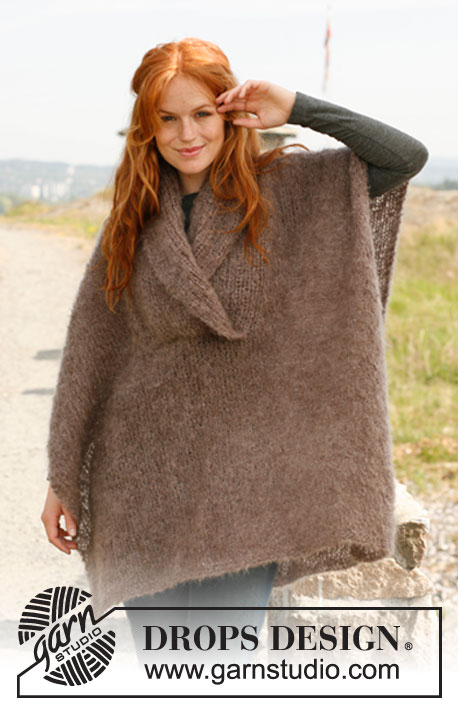
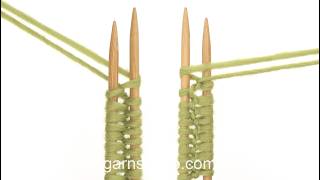
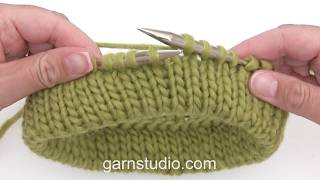
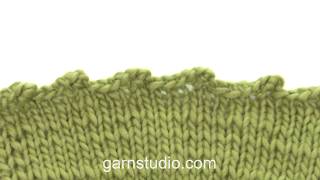
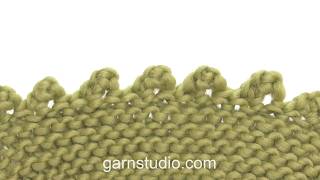
Wrap collar or front bands

If you want the collar/front band to be 14 sts wide you beg 7 sts before marker mid front..
Work 14 sts in desired stitch pattern and stockinette st on the remaining sts.
At the end of the round pick up 14 new sts behind the front band and then turn.
Next row from WS: work first 14 sts in stitch pattern and stockinette st on the remaining sts until you reach the 14 sts on right front, work these in pattern, turn.
Continue back and forth on needle with 14 front band sts in stitch pattern each side.
It's a good idea to use markers to seperate the sts for collar/front band from the other sts.
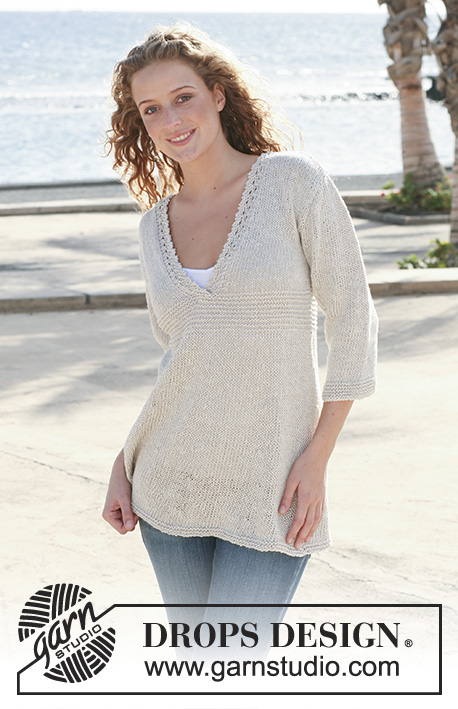
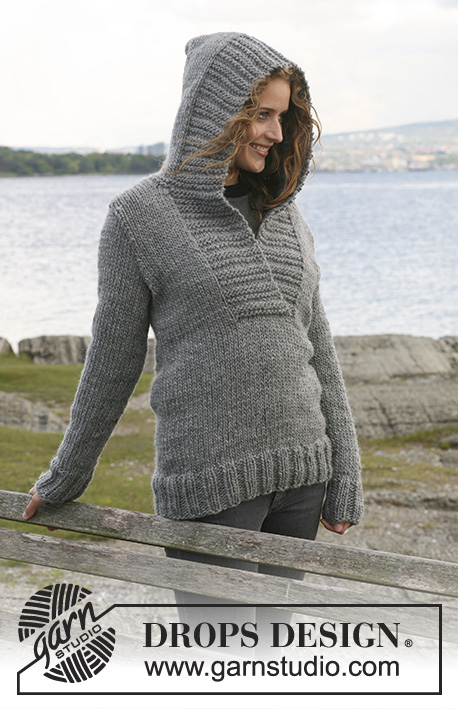
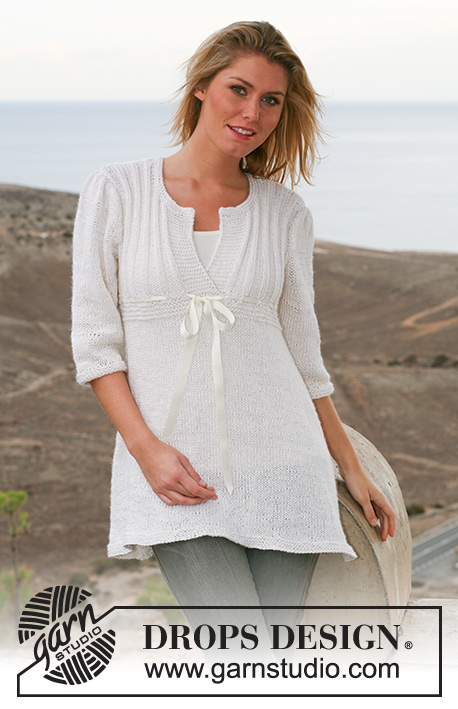
Patterns using this technique


Video #109, listed in: Learn to knit, Knitting tips & tricks, Necklines, Other knitting tips & tricks
Our videos do not have sound. We are a worldwide company and our videos are watched by people speaking endless of different languages and many do not understand English. So since there is not a given language for us to use, we instead have written instructions to accompany the video, and then there is no sound to disturb while watching.
You can adjust the speed of this video by clicking on the icon, on the play bar.
Leave a comment or question to this video
Your email address will not be published. Required fields are marked *.
You might also like


With over 40 years in knitting and crochet design, DROPS Design offers one of the most extensive collections of free patterns on the internet - translated to 17 languages. As of today we count 324 catalogs and 12291 patterns - 12281 of which are translated into English (US/in).
We work hard to bring you the best knitting and crochet have to offer, inspiration and advice as well as great quality yarns at incredible prices! Would you like to use our patterns for other than personal use? You can read what you are allowed to do in the Copyright text at the bottom of all our patterns. Happy crafting!
Hallo,\r\ik snap het niet precies met de hals voor. Als je 5 steken opneemt aan de achterkant van het patroon, dan moet je deze toch ook ergens weer minderen? Anders houd je uiteindelijk 33st. over bij de schouder? Wat doe ik fout? Hoe moet ik verder? Mvg Annie Heida
07.04.2019 - 21:38DROPS Design :
Dag Annie,
In deze video wordt in het algemeen uitgelegd hoe je een overslag breit. In het patroon waar een dergelijke techniek toegepast wordt, wordt beschreven hoeveel steken je op moet nemen en minderen etc, zodat je goed uitkomt voor de schouder.
16.04.2019 - 17:14Hallo, Ik snap het niet precies met de hals voor. Als je 5 steken opneemt aan de achterkant van het patroon, dan moet je deze toch ook ergens weer minderen? Anders houd je uiteindelijk 33st. over bij de schouder? Wat doe ik fout? Hoe moet ik verder? Mvg Annie Heida
07.04.2019 - 21:33Sinceramente non ho capito nulla,nè nella spiegazione e tanto meno nel video
20.02.2015 - 00:49Maritza wrote:
Genial, parecia complicado. Gracias
09.08.2013 - 18:15María Rita Cerruti wrote:
Desde argentina! Que quiere decir "traslape" y para que sirve esto? Todo me parece genial, pero esto me desconcierta. Mil gracias!
30.07.2013 - 15:10Hoi Zahide. De beschrijving van de werkwijze staat hierboven.
26.06.2013 - 16:48I'm not sure if my comment got through...hope this isn't a duplicate. Just to say I love the technique; one more thing I don't have to hand finish! :-)
12.06.2013 - 04:23One more thing I don't have to finish by hand. I love it, I love it, I love it! :-)
12.06.2013 - 04:00Ik zie niet zo goed. De instructievideo gaat voor mij te snel. Zou u voor mij via tekst het hele handelen naar mij kunnen mailen? Alvast bedankt!
10.06.2013 - 14:34Roza wrote:
Bonjour, j'ai du mal à assembler mon col chale sur mon ouvrage fini, je ne sais trop comment m'y prendre, s y vous pouviez m'aider svp c'est la seule partie du pull qui me reste à faire :(
11.05.2013 - 16:33DROPS Design :
Bonjour Roza, quand vous avez besoin d'aide, pensez à contacter votre magasin DROPS ou à vous adresser au forum DROPS. Bon tricot!
17.10.2014 - 16:35