Comments / Questions (3)
![]() Andrea wrote:
Andrea wrote:
Wo benutze ich den 1ten und wann den 2 ten Zunnahmetipp?
01.01.2026 - 00:14
![]() Judy wrote:
Judy wrote:
Does this sweater have to use i-cord?
17.08.2025 - 00:28DROPS Design answered:
Hi Judy, you may knit bands without I-cord, if you wish. Happy knitting!
17.08.2025 - 20:58
![]() Christiane Delesalle wrote:
Christiane Delesalle wrote:
Tip om te meerderen 2 dat wil niet lukken graag tonen
12.03.2025 - 18:23DROPS Design answered:
Dag Christiane,
Bij de video's (link bovenaan naast de foto) die bij het patroon staan vind je ook een video waarin uitgelegd wordt hoe je symmetrisch meerdert.
18.03.2025 - 20:20
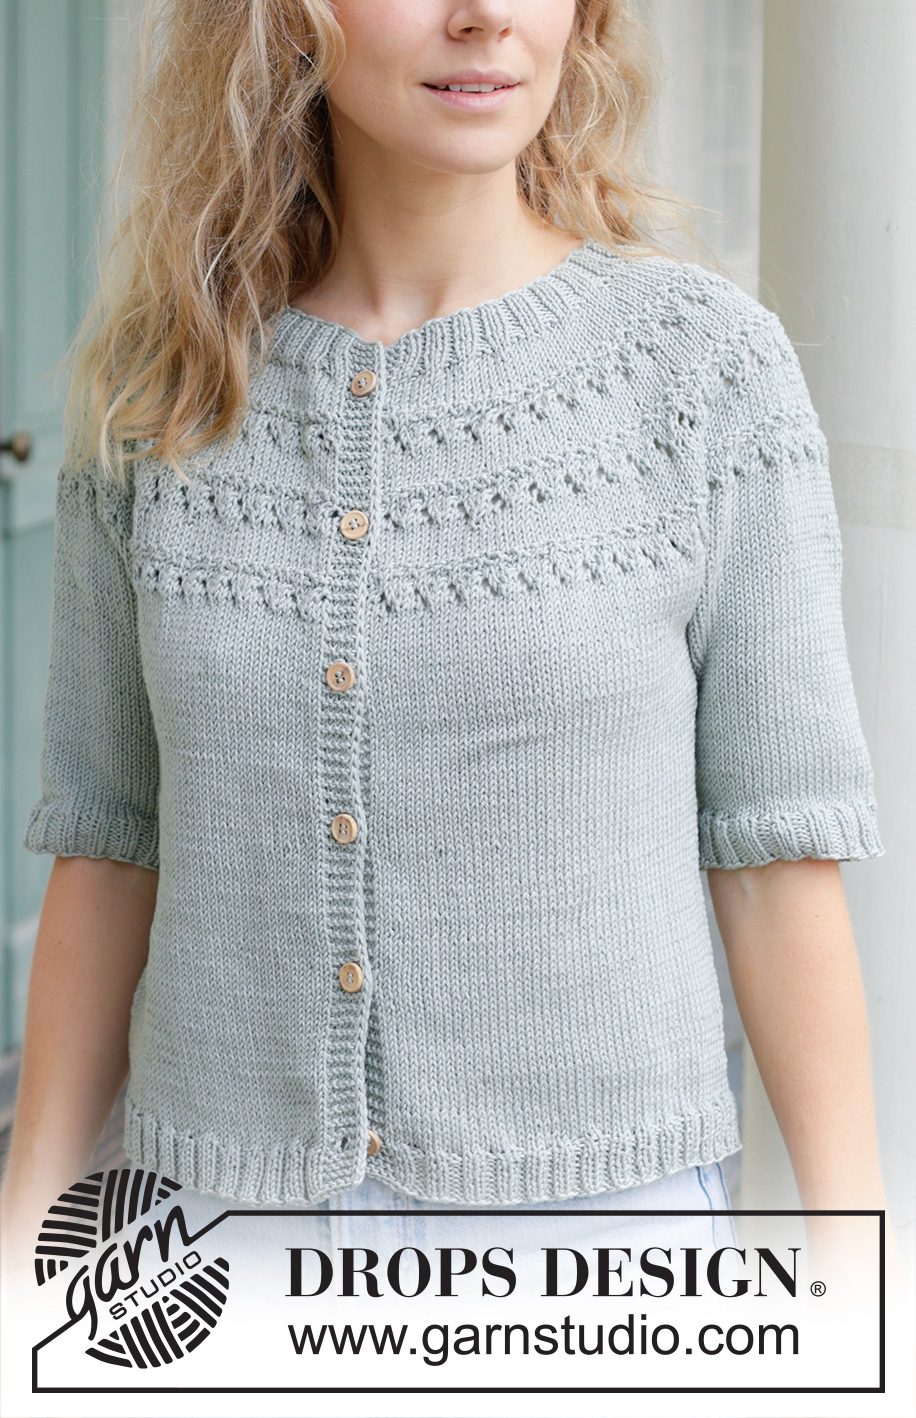
Dewy Dream Cardigan#dewydreamcardigan |
|||||||||||||||||||
 |
 |
||||||||||||||||||
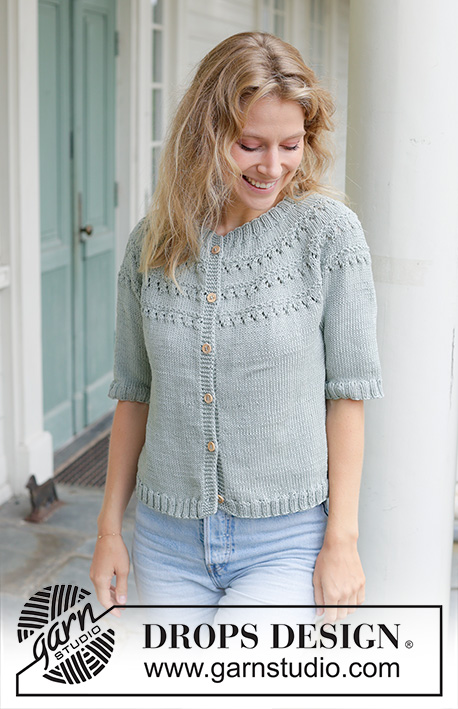
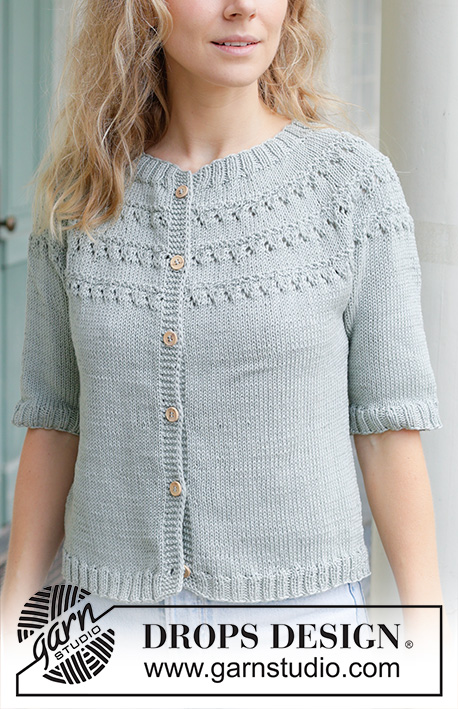
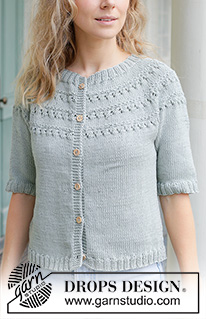
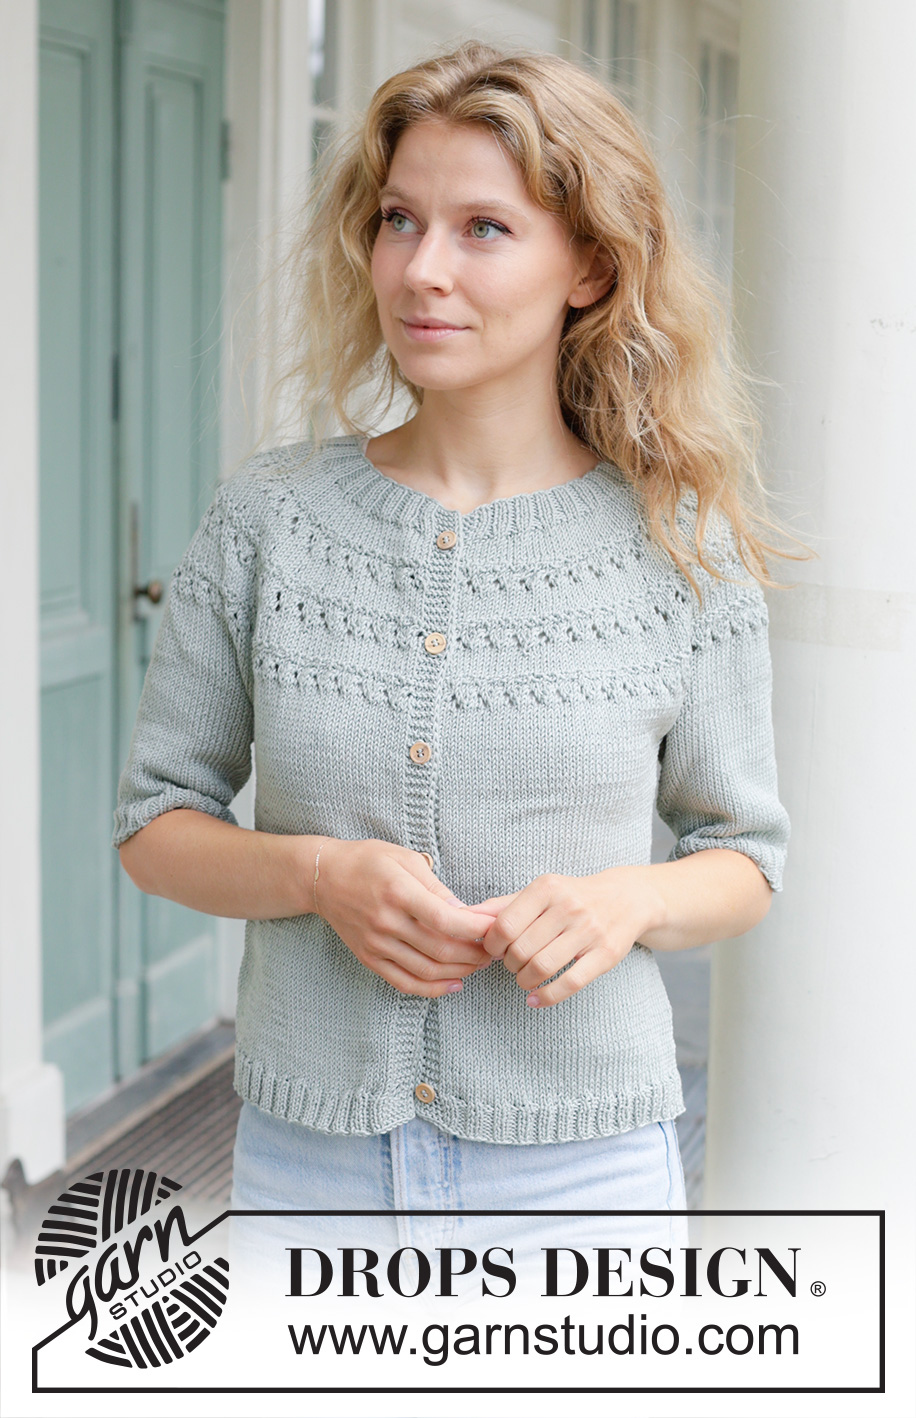
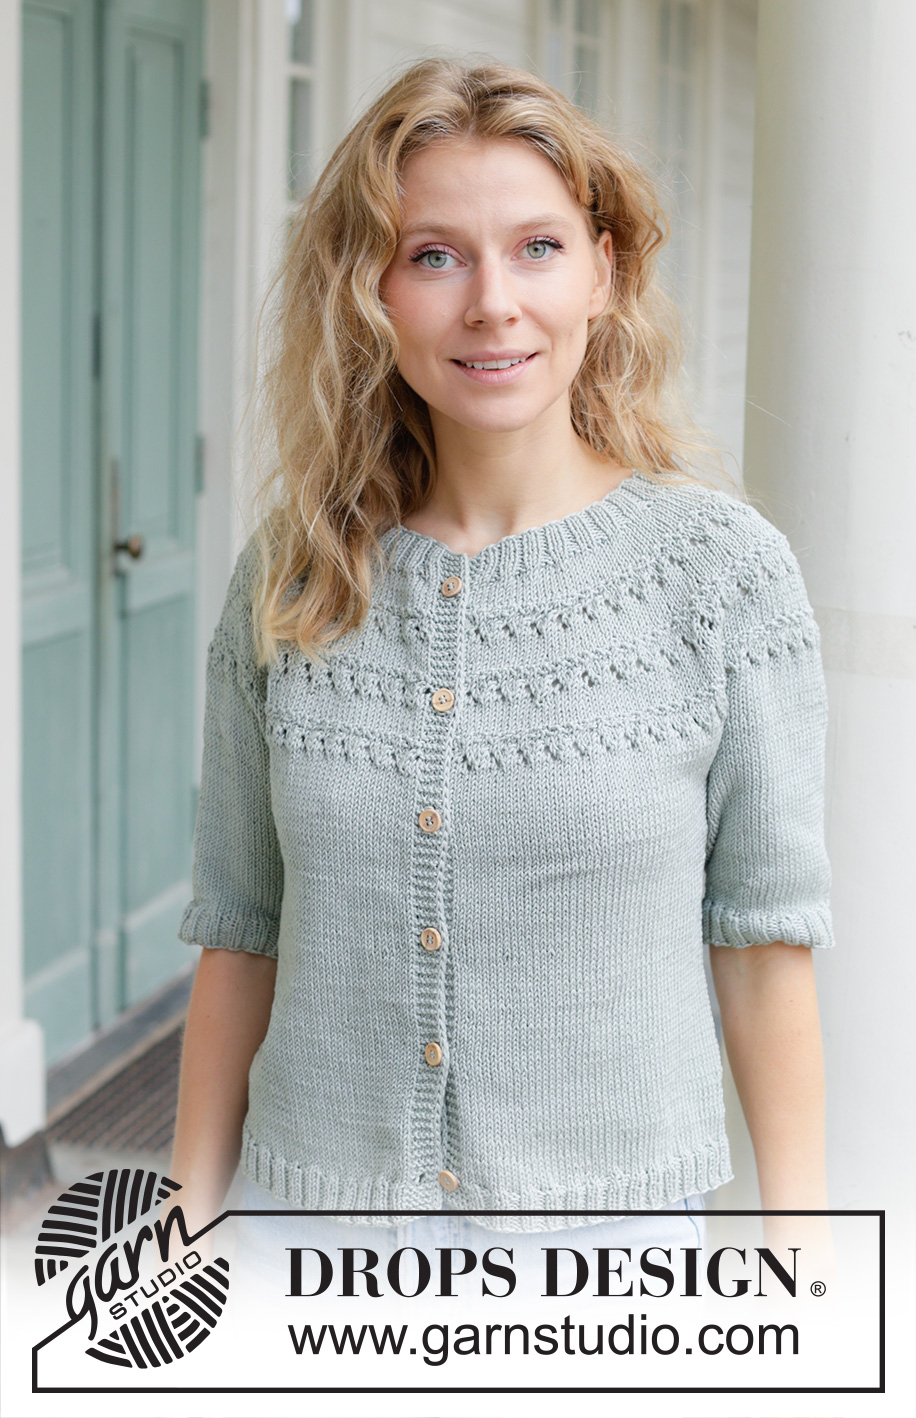
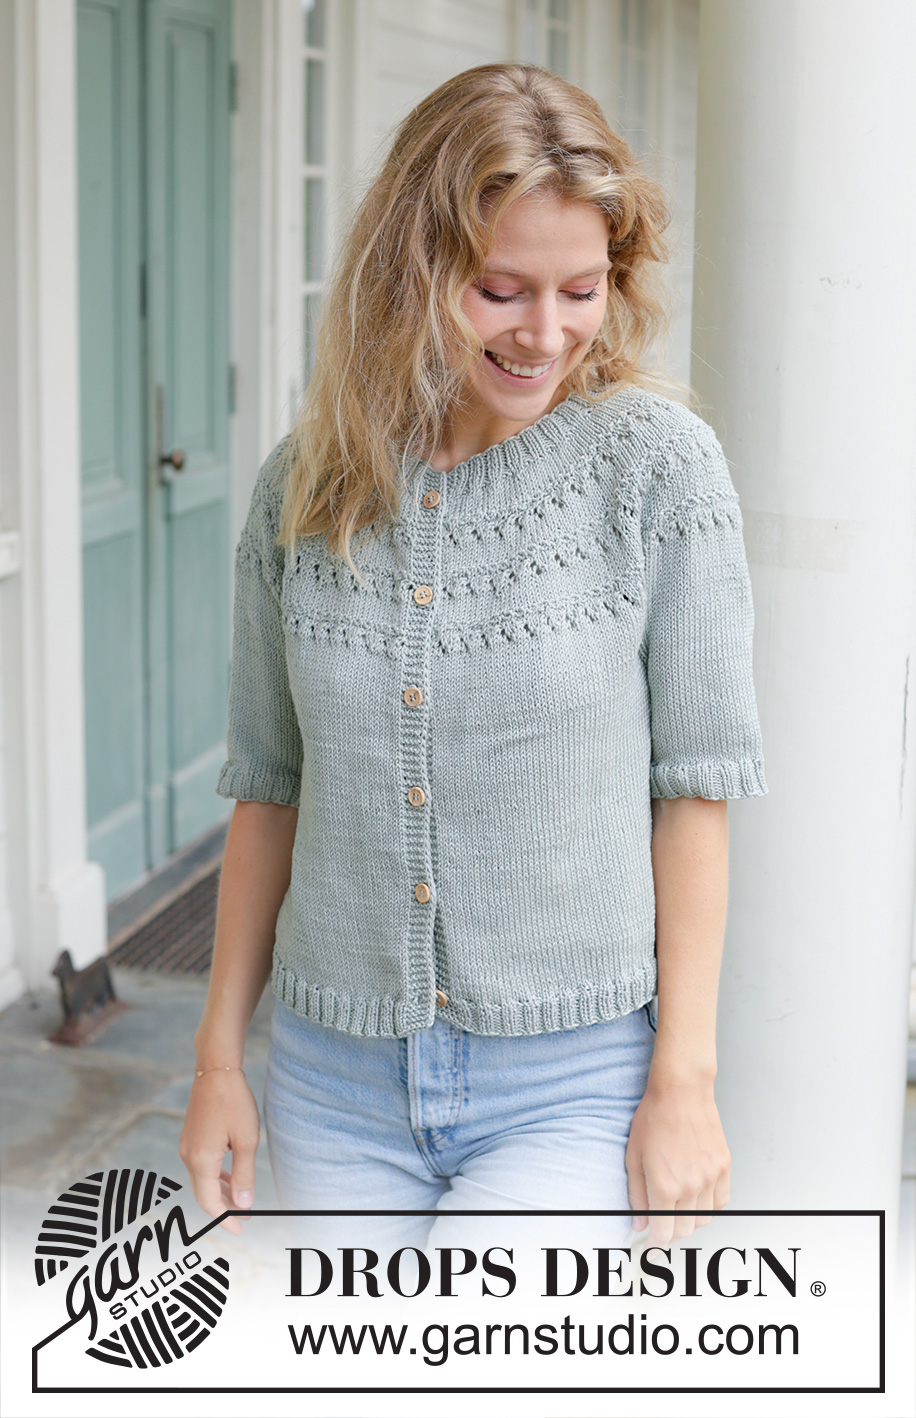
Knitted jacket in DROPS Muskat. Piece is knitted top down with round yoke, lace pattern, short sleeves and i-cord. Size: S - XXXL.
DROPS 258-25 |
|||||||||||||||||||
|
---------------------------------------------------------- EXPLANATION FOR THE PATTERN: ---------------------------------------------------------- BAND WITH I-CORD: BEGINNING OF ROW: Work band as follows: Slip 1 stitch purlwise with strand in front of piece, knit 1 and work 4 stitches in garter stitch. END OF ROW: Work band as follows: Work until 6 stitches remain on row, work 4 stitches in garter stitch, slip 1 stitch purlwise with strand in front of piece, knit 1. Work the same way both from right side and wrong side. GARTER STITCH (when working back and forth): Knit on all rows, i.e. knit from right side and knit from wrong side. 1 ridge vertically = knit 2 rows. INCREASE TIP-1 (evenly): To calculate how to increase evenly, use the total number of stitches on row (e.g. 138 stitches), minus the bands and the outermost 10 stitches inside band in each side (e.g. 12+20 = 32 stitches) and divide the remaining stitches by number of increases to be done (e.g. 22) = 4.8. In this example increase by making 1 yarn over after approx. every 5th stitch (do not increase over bands and the first/last 10 stitches). On next row work yarn overs twisted to avoid holes. BUTTONHOLES: Decrease for buttonholes on right band (when garment is worn). Decrease from right side when 5 stitches remain on row as follows: ROW 1 (= right side): Knit 2 together, make 1 yarn over, knit 1, slip 1 stitch purlwise with strand in front of piece, knit 1. ROW 2 (= wrong side): Work band as before and knit yarn over to make a buttonhole. Decrease for first buttonhole on first row from right side after neck edge has been worked. Then decrease the next 5-5-5-5-6-6 buttonholes, approx. 7½-8-8½-8½-7½-7½ cm apart. PATTERN: See diagram A.1. Choose diagram for correct size. Diagrams show all rows in pattern seen from the right side. INCREASE TIP-2: This symmetrical increase gives 1 new stitch. Follow point 1-4 below: 1. Pass the first stitch on left needle loosely on to right needle purlwise. Hold the yarn behind the piece. 2. Insert left needle behind the slipped stitch and in between the slipped stitch and the first stitch on right needle. 3. Make a yarn over with yarn around right needle and pull yarn over through stitch to get 1 new stitch on right needle. 4. Pass the outermost part of stitch off left needle and then knit the other strand of stitch through front loop. 1 stitch has been increased. SLEEVE TIP: When picking up stitches mid under sleeve, there will be a small hole in the transition between stitches on body and sleeves. The holes can be closed by picking up the strand between two stitches - work this strand twisted together with the first stitch between body and sleeve so that the holes closes. DECREASE TIP: Decrease 1 stitch on each side of marker thread as follows: Work until 3 stitches remain before marker thread and knit 2 together, knit 2 (marker thread is in the middle of these 2 stitches), slip 1 stitch knitwise, knit 1, pass slipped stitch over stitch worked (= 2 stitches decreased). ---------------------------------------------------------- START THE PIECE HERE: ---------------------------------------------------------- JACKET - SHORT OVERVIEW OF THE PIECE: In this pattern needles of different length have been used, begin with fitting length for number of stitches and switch as needed. Work neck edge and yoke back and forth on circular needle from mid front, work top down. When yoke is done, divide piece for body and sleeves. Work body downwards back and forth on circular needle while putting the sleeves aside. Then work sleeves downwards in the round on needle. NECK EDGE: Cast on 130-134-138-146-150-158 stitches on circular needle size 3 mm with DROPS Muskat. Work first row as follows from wrong side: Work BAND WITH I-CORD - read explanation above, work rib (= knit 2/purl 2) until 8 stitches remain, knit 2 and band with I-cord. Continue with rib like this for 3-3-3-4-4-4 cm, finish with a row from wrong side. Insert 1 marker on the inside of band in one side of piece (= mid front), measure piece from this marker. YOKE: Switch to circular needle size 4 mm and work first row from the right side and from mid front as follows: Work band as before, work 118-122-126-134-138-146 stitches in stocking stitch while AT THE SAME TIME increasing 22-22-26-26-30-30 stitches evenly over these stitches – read INCREASE TIP-1 (do not increase over band + 10 stitches in each side) and INCREASE TIP-2, work band as before = 152-156-164-172-180-188 stitches on needle - decrease for BUTTONHOLES - read explanation above. Work stocking stitch and bands as before until yoke measures 2-2-3-3-4-4 cm from marker. Remember to follow the knitting tension! Now work PATTERN – see explanation above, i.e. work next row as follows from right side: Work band as before, work A.1 35-36-38-40-42-44 times in total along yoke, work band as before. AT THE SAME TIME on every row marked with arrow in A.1 increase stitches evenly as explained below - remember INCREASE TIP-1 and INCREASE TIP-2 (do not increase over bands and 10 stitches after/before bands): Arrow-1: Increase 44-48-56-60-64-68 stitches evenly = 196-204-220-232-244-256 stitches. Arrow-2: Increase 36-40-44-48-56-60 stitches evenly = 232-244-264-280-300-316 stitches. Arrow-3: Increase 32-36-36-44-44-48 stitches evenly = 264-280-300-324-344-364 stitches. Arrow-4: Increase 32-32-32-40-40-44 stitches evenly = 296-312-332-364-384-408 stitches. Arrow-5: Increase 4-6-10-8-12-14 stitches evenly = 300-318-342-372-396-422 stitches. Work in stocking stitch with bands as before until yoke measures 20-21-22-23-24-25 cm from marker mid front. Now divide piece for body and sleeves. DIVIDING FOR BODY AND SLEEVES: AT THE SAME TIME as next row is worked divide yoke for body and sleeves as follows: Work 48-51-54-59-64-69 stitches as before (= front piece), slip the next 60-62-68-74-76-78 stitches on a stitch holder for sleeve, cast on 8-10-12-14-16-18 new stitches on row (= in the side mid under sleeve), work 84-92-98-106-116-128 stitches as before (= back piece), slip the next 60-62-68-74-76-78 stitches on a stitch holder for sleeve, cast on 8-10-12-14-16-18 new stitches on row (= in the side mid under sleeve) and work the last 48-51-54-59-64-69 stitches as before (= front piece). Finish body and sleeves separately. BODY: = 196-214-230-252-276-302 stitches. Work in stocking stitch with bands as before until piece measures 39-41-43-44-45-47 cm from marker mid front. On next row from right side begin rib while AT THE SAME TIME increasing 26-32-32-34-38-44 stitches evenly on needle = 222-246-262-286-314-346 stitches, work as follows: Switch to circular needle size 3 mm, work band as before, work rib (= knit 2/purl 2 - remember increase) until 8 stitches remain, knit 2 and band as before. When rib measures 3-3-3-4-4-4 cm, cast off with knit over knit and purl over purl. Jacket measures 42-44-46-48-49-51 cm from marker mid front and approx. 48-50-52-54-56-58 cm from the top of shoulder. SLEEVES: Slip 60-62-68-74-76-78 sleeve stitches from one thread on to circular needle size 4 mm and pick in addition up 1 stitches in each of the 8-10-12-14-16-18 stitches cast on under sleeve = 68-72-80-88-92-96 stitches. Read SLEEVE TIP in explanation above. Insert 1 marker thread in the middle of the 8-10-12-14-16-18 new stitches under sleeve - round begins at the marker thread. Work in stocking stitch in the round on needle - AT THE SAME TIME when sleeve measures 2-2-3-3-3-3 cm from division, decrease mid under sleeve – read DECREASE TIP and decrease as follows: Decrease 2 stitches every 2-2-2-2-2½-5 cm 7-7-6-6-4-2 times in total = 54-58-68-76-84-92 stitches. Work until sleeve measures 17-17-16-14-15-14 cm from division. On next round begin rib while AT THE SAME TIME increasing 6-6-8-8-12-12 stitches evenly on 1st round = 60-64-76-84-96-104 stitches, work as follows: Switch to double pointed needle size 3 mm and work rib (= knit 2/purl 2 - remember increase). When rib measures 3-3-3-4-4-4 cm, cast off with knit over knit and purl over purl. Sleeve measures approx. 20-20-19-18-19-18 cm from division. ASSEMBLY: Sew the buttons on to left band. |
|||||||||||||||||||
Diagram explanations |
|||||||||||||||||||
|
|||||||||||||||||||
 |
|||||||||||||||||||
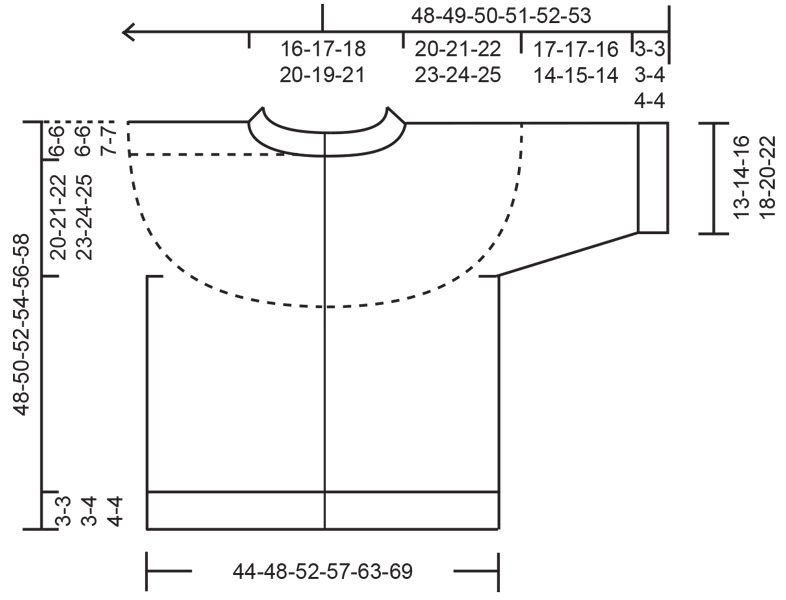 |
|||||||||||||||||||
Have you finished this pattern?Tag your pictures with #dropspattern #dewydreamcardigan or submit them to the #dropsfan gallery. Do you need help with this pattern?You'll find 32 tutorial videos, a Comments/Questions area and more by visiting the pattern on garnstudio.com. © 1982-2026 DROPS Design A/S. We reserve all rights. This document, including all its sub-sections, has copyrights. Read more about what you can do with our patterns at the bottom of each pattern on our site. |
|||||||||||||||||||









Post a comment to pattern DROPS 258-25
We would love to hear what you have to say about this pattern!
If you want to leave a question, please make sure you select the correct category in the form below, to speed up the answering process. Required fields are marked *.