Komentarze / Pytania (429)
![]() Laura Tesse napisała::
Laura Tesse napisała::
Non riesco a trovare on line nei siti con traduzione in italiano questo materiale con questa descrizione - in particolare i ferri per i calzini: Ferri a doppia punta e ferri circolari piccoli DROPS n° 3 Ferri circolari DROPS n° 4 (40 cm - ferri per calzini, per la taglia più piccola)
17.09.2025 - 15:00Odpowiedź DROPS Design :
Buongiorno Laura, dai rivenditori DROPS può trovare i ferri a doppia punta e i ferri circolari da 40 cm. Buon lavoro!
19.09.2025 - 15:59
![]() Jenny napisała::
Jenny napisała::
Bonjour et merci pour vos super modèles ! L'échantillon se fait-il sur des aiguilles 3 ou 4, et avec quel point ? J'ai deux fils de couleurs différentes : un motif à tresses permet-il judiceusement une alternance de couleur à chaque tour ? Ou chaque deux tours ? Merci d'avance pour vos réponses
27.08.2025 - 16:11Odpowiedź DROPS Design :
Bonjour Jenny, l'échantillon se tricote ici avec les aiguilles 4 - si vous souhaitez des rayures, vous pouvez choisir à quel niveau les faire notez que toutes les torsades ne se répètent pas au même rythme, par ex tous les 4 rang dans M.2 tout comme celle au milieu de M.1 mais celles des côtes se répètent sur davantage de rangs et celles de M.3 + les petites de M.1 (de chaque côté + après la grande du milieu) se tricotent tous les 2 rangs. Tricotez un échantillon et choisissez la fréquence des rayures qui vous convient. Bon tricot!
28.08.2025 - 18:49
![]() Boust Ghislaine napisała::
Boust Ghislaine napisała::
Peut on réaliser ce modèle avec des aiguilles droites et coudre sous le ventre ?
26.08.2025 - 21:20Odpowiedź DROPS Design :
Bonjour Mme Boust, probablement, cette leçon vous donnera quelques astuces; celle-ci pourra éventuellement vous aider également car on y montre comment on tricote ce pull. Bon tricot!
27.08.2025 - 07:50
![]() Natashia napisała::
Natashia napisała::
Jeg er i gang med str. M. Og ja jeg har set videoen. Men der mangler et *.
04.07.2025 - 06:30
![]() Natashia napisała::
Natashia napisała::
Jeg er gået igang. Men i opskriften står der til sidst i diagrammet, M1 (= midt på rygge M3 *, gentag fra *-* 3 gange. Men der mangler en *. Og hvis jeg regner det sammen får jeg 142.
01.07.2025 - 18:09Odpowiedź DROPS Design :
Hej Natashia, hvilken størrelse strikker du? Har du set vores video hvor vi strikker hele hundeblusen? 102-43
03.07.2025 - 12:17
![]() Sara Murray napisała::
Sara Murray napisała::
I'm just starting this pattern, and it reads in a very confusing way. I see there are other knitters who have commented the same. Might I suggest that you add a diagram to show the overall shape of the coat, as well as putting the cable pattern in the instructions rather than just the diagram. Most cable patterns I have seen have both options so knitters can choose whether they follow the diagram or pattern. I'm not used to following a diagram personally.
25.06.2025 - 06:24
![]() Claudine De Braekeleer napisała::
Claudine De Braekeleer napisała::
Hallo kan ik een iets duidelijker patroon krijgen AUB
20.04.2025 - 15:13
![]() Sue Evans napisała::
Sue Evans napisała::
So sorry but I've never followed such a confusing pattern before!! I have just put 22 stitches on a stitch holder and don't understand if I'm continuing on the round needle in pattern or changing to normal needles and knitting garter stitch or pattern? Please help
20.02.2025 - 15:35Odpowiedź DROPS Design :
Dear Mrs Evans, after you have slipped the middle 22 stitches for stomach you continue each part separately back and forth in pattern as before; when you have reached the desired height on back piece, slip these stitches on a thread then work the 22 sts to the same height then you will work these stitches in the round again to finish sweater. In this lesson we show how to work this jumper in the smaller size but the technique will be the same, this should be able to help you visualizing how to do. Happy knitting!
21.02.2025 - 08:10
![]() Nicole Chapdelaine napisała::
Nicole Chapdelaine napisała::
Aiguille circulaire DROPS n° 4 (40 cm – aiguille à chaussettes dans la plus petite taille) (+ ou – grosse pour obtenir l'échantillon) Je ne comprend pourquoi deux sortes d'aiguille pour l'échantillon Merci
16.02.2025 - 01:16Odpowiedź DROPS Design :
Bonjour Mme Chapdelaine, il faut juste des aiguilles 4 pour l'échantillon, mais soit une aiguille circulaire de 40 cm pour les grandes tailles soit juste des aiguilles doubles pointes pour la petite taille. Bon tricot!
17.02.2025 - 09:15
![]() Nea He napisała::
Nea He napisała::
Teen M kokoista villapaitaa ja päätin juuri mahakappaleen 28 silmukkaa. En ymmärrä kuinka seuraava vaihe tapahtuu. Tehdäänkö joka 2. krs kaikki nämä 1 x 3 s, 2-3-4 x 2 s, 2-3-4 x 1 s, 2-3-4 x 2 s ja 1 x 3 s päättämiset vai joka kierroksella vain yksi näistä? Mihin kohtaan päätökset tulevat?
15.01.2025 - 13:55Odpowiedź DROPS Design :
Hei, kummastakin reunasta päätetään aluksi 3 silmukkaa kerran, sitten kummastakin reunasta päätetään 2 silmukkaa 2-3-4 kertaa, tämän jälkeen kummastakin reunasta päätetään 1 silmukka 2-3-4 kertaa jne. Silmukat päätetään joka 2.kerros (eli päätä kerroksen alusta ensin 3 simukkaa, neulo kerros loppuun ja päätä sitten seuraavan kerroksen alusta 3 silmukkaa, neulo kerros loppuun, päätä seuraavan kerroksen alusta 2 silmukkaa jne).
17.01.2025 - 17:39
The Lookout |
|||||||||||||||||||
 |
 |
||||||||||||||||||
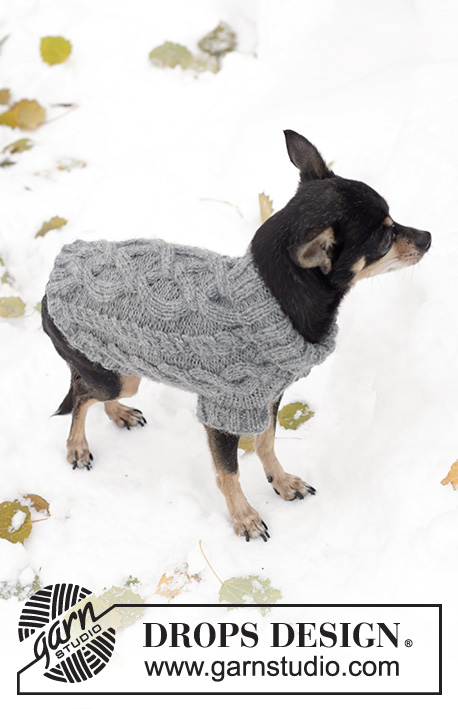
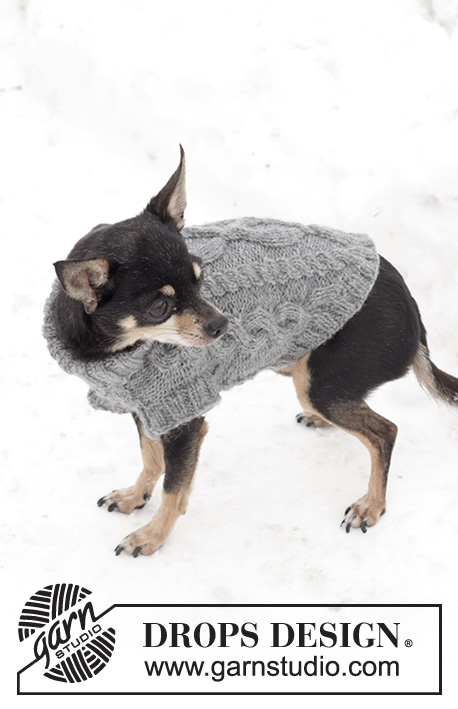
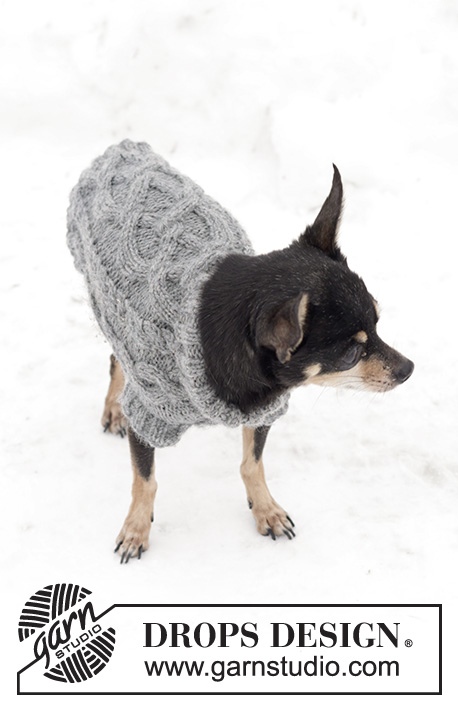
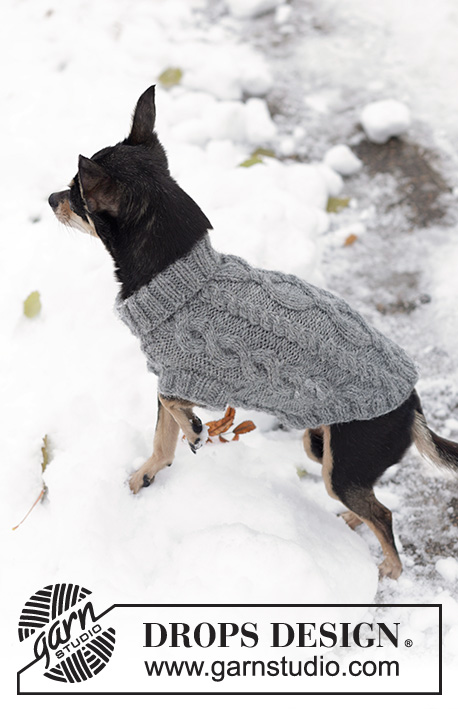
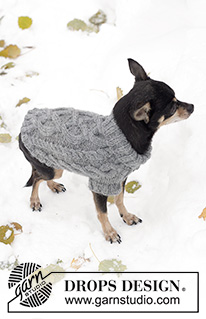
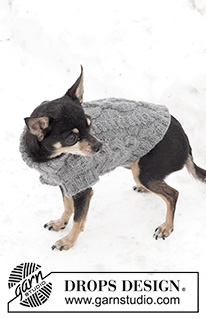
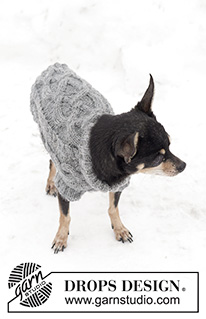
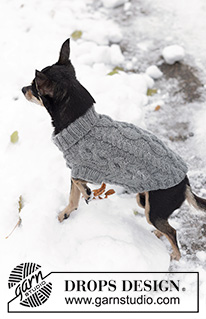
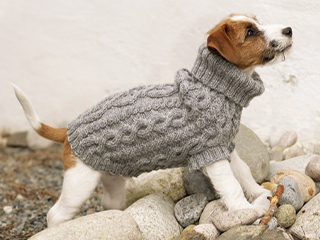
Płaszcz dla psa DROPS z włóczki „Karisma” ściegiem irlandzkim
DROPS 102-43 |
|||||||||||||||||||
|
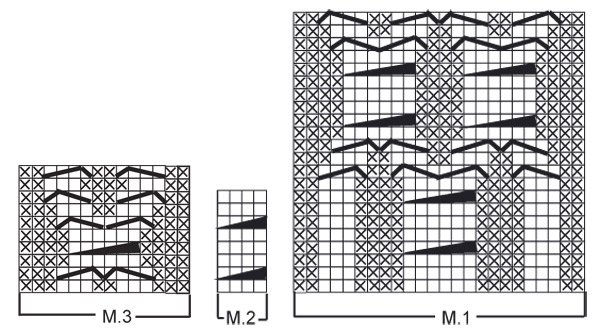
ŚCIEG FANTAZYJNY: patrz schematy od M1 do M3. Schematy przedstawiają ścieg fantazyjny na prawej stronie robótki. ŚCIĄGACZ: *2 o.p., 2 o.l. * powt. od * do * -------------------------------------------------------------------------------- WYKONANIE Przerabiany na okrągło od strony dekoltu. Nitką w kolorze średni szary na drutach pończoszniczych nr 3 nabrać 60-80-100 o. Przer. ściągaczem przez 8-10-12 cm (= kołnierz – wykładany). Dalej przer. na krótkich drutach z żyłką nr 4. Przer. 1 rz. na prawo równomiernie dodając 16-32-54 o. = 76-112-154 o. Dalej przer. następująco: ROZMIAR XS: M2, 2 o.l., M2, 3 o.l., M3, M2, M1 (= środek tyłu), M2, M3, 3 o.l. ROZMIAR S: *M2, 2 o.l. * powt. od * do * 2 razy, M2, *M3, M2 * powt. od * do * 2 razy, M1 (= środek tyłu), *M2, M3 * powt. od * do * 2 razy. ROZMIAR M: *M2, 2 o.l. * powt. od * do * 3 razy, M2, *M3, M2 * powt. od * do * 3 razy, M1 (= środek tyłu), *M2, M3 * powt. od * do * 3 razy. W TYM SAMYM CZASIE na wys. 12-16-20 cm od dołu robótki podzielić robótkę na przednie łapy w następujący sposób: przełożyć na drut pomocniczy lub nitkę 10-16-22 pierwszych o. (= brzuch), zamknąć 1 o.l., dalej przer. w tę i z powrotem przez pozostałe o. i zamknąć ost. oczko z drugiej strony = 64-94-130 o. (= tył). Dalej przer. w tę i z powrotem przez te oczka przez 6-8-10 cm (dł. robótki wynosi 18-24-30 cm). Umieścić te oczka na drucie pomocniczym i wziąć z powrotem oczka podbrzusza. Nabrać 1 o. z każdej strony = 12-18-24 o. Dalej przer. ściegiem fantazyjnym w tę i z powrotem z 1 o.l. z każdej strony. Po przerobieniu 6-8-10 cm podbrzusza, wziąć z powrotem wszystkie oczka na druty = 76-112-154 o. Na wys. 24-31-38 cm od dołu robótki zamknąć 12-20-28 o. na brzuch, dalej przer. w tę i z powrotem zamykając z każdej strony co 2 rz.: 1 raz 3 o., 2-3-4 razy 2 o, 2-3-4 razy 1 o., 2-3-4 razy 2 o. i 1 raz 3 o. = 32-50-74 o. Dł. robótki wynosi ok. 30-39-48 cm. WYKOŃCZENIE: zdjąć pozostałe o. na krótkie druty z żyłką nr 3 i nabrać wzdłuż zamkniętych o. brzegu ok. 84-108-140 o. Przer. ściągaczem przez 2-3-4 cm i luźno zakończyć. ŁAPY: na drutach pończoszniczych nr 3 nabrać ok. 36-44-52 o. wokół jednego z otworów. Przer. ściągaczem przez 2-3-4 cm i luźno zamknąć o. tak jak schodzą z drutu. Taki sam brzeg wykonać wokół drugiego otworu. |
|||||||||||||||||||
Objaśnienia do schematu |
|||||||||||||||||||
|
|||||||||||||||||||
 |
|||||||||||||||||||
Skończyłaś ten wzór?Otaguj swoje zdjęcia #dropspattern lub prześlij je do #dropsfan gallery. Potrzebujesz pomocy w związku z tym wzorem?Zobacz 24 instrukcje video, sekcję Komentarze/Pytania i jeszcze więcej, wchodząc na stronę wzoru na garnstudio.com © 1982-2026 DROPS Design A/S. Wszelkie prawa zastrzeżone. Ten dokument, w całości, jest chroniony prawem. Zobacz co możesz robić z naszymi wzorami na dole każdego wzoru na naszej stronie. |
|||||||||||||||||||







Dodaj komentarz do modelu DROPS 102-43
Chcielibyśmy się dowiedzieć co masz do powiedzenia o tym wzorze!
Jeśli chcesz zadać pytanie i szybko uzyskać odpowiedź, upewnij się, że została wybrana właściwa kategoria w formularzu poniżej. Pola obowiązkowe są oznaczone *.