
Popular categories
Looking for a yarn?


Comments / Questions (84)
![]() Vibeke wrote:
Vibeke wrote:
Jeg er også lidt udfordret af raglan forklaringen. For mig lyder det som om man strikker frem og tilbage på bagsiden 2 gange inden man strikker de forest med de sidste 2 er det korrekt? Hvis ja er det så rigtig forstået at de sidste 2 omgange er fulde omgange ret strik?
04.01.2026 - 19:55DROPS Design answered:
Hei Vibeke. Man strikker frem og tilbake når man strikker de forkortede pinnene. Først strikker man (fra midt bak) over merke 1 og 2, strikk 3 masker og deretter snur man. Så strikkes det frem og tilbake over alle 4 merkene, og dette gjør man 5 ganger og man strikker noen flere masker mer enn ved sist vending. Siste pinne med forkortede pinner stopper man ved midt bak (da er det kun strikket over merke 3. og 4. Se gjerne denne generelle hjelpevideoen: her. Mvh DROPS Design
12.01.2026 - 14:45
![]() Marta Jolanta wrote:
Marta Jolanta wrote:
Hei, raglanøkning: jeg forstår ikke forklaring om hvor mange masker skal strikkes etter merketrå før man snur. Er det 1. Merketrå, 1 maske, kast, 2 masker og snu? (Siden kast er ikke tellende maske når det kastes) Eller 2. Merketrå, 1 maske, kast, 1 maske og snu? (kast da telles som maske, men du skriver at det telles ikke som tellende maske når det lages kast)
04.11.2025 - 00:39DROPS Design answered:
Hei Marta. Det er et merke mellom 2 masker, og det skal økes 1 maske før merke og 1 maske etter merketråden. Så første gang det skal økes og snus, strikkes det frem til 1 maske før merke, gjøre ett kast. Strikk 2 masker (merket sitter mellom disse 2 maskene), gjør et kast og strikk 2 masker. Du har nå strikket 3 masker forbi merket, snu og strikk tilbake (det strikkes 3 masker og 1 kast før du kommer til merketråden). mvh DROPS Design
17.11.2025 - 14:11
![]() Marta Jolanta wrote:
Marta Jolanta wrote:
Hei, gjelder raglanøkningen. Det står"snu når du har strikket 3 masker forbi den siste merketrå" - jeg forstår det slik at jeg skal etter det siste merketrå strikke 1 maske og lage kast og strikke 1 maske og snu (3 masker), dvs kast regnes som 1 strikket maske. Eller skal jeg strikke 2 masker etter kast før jeg snur?
25.10.2025 - 10:52DROPS Design answered:
Hei Marta. Et kast er ikke en tellende maske på omgangen/raden den blir laget, men på neste omgang/rad blir kastet tellende som en maske (om ikke annet er forklart i oppskriften). Så da blir det slik du skriver først (kast regnes som 1 strikket maske). mvh DROPS Design
03.11.2025 - 09:25Anita wrote:
Hoe worden de omslagen gebreid in de volgende naald van de raglan aub er staat gedraaid, dus voor en na de markeerder in de achterste lus? Dank u bij voorbaat
02.10.2025 - 17:38DROPS Design answered:
Dag Anita,
In de nieuwere patronen wordt onderscheid gemaakt tussen een naar links draaiende meerdering en een naar rechts draaiende meerdering. Bij dit patroon is dit nog niet specifiek aan gegeven. Je kan vóór de raglan naar rechts meerderen en na de raglan naar links meerderen. (Klik op de linkjes voor een instructie video.
29.10.2025 - 18:35
![]() Lydia wrote:
Lydia wrote:
Fehler bei der Anzahl Maschen beim Halsausschnitt, nach den verkürzten Reihen. Es werden total 3 x 8 Maschen aufgenommen, das heisst 24 Maschen. Bei Grösse S ergibt das 112 Maschen auf der Nadel. Nicht 136 wie in der Anleitung.
30.09.2025 - 18:33DROPS Design answered:
Liebe Lydia, bei der 1. und bei der 7. Reihe nehmen Sie nur je 4 Machen und bei den anderen jeweils 8 Maschen, so werden Sie insgesamt: 4 M + (5 Mal 8 Maschen = 2. bis 6. Reihe) + 4 M (7. Reihe) = 48 Zunahmen + 88 Maschen = 136 Maschen nach den verkürzten Reihen. Viel Spaß beim Stricken!
01.10.2025 - 16:30
![]() Åsa wrote:
Åsa wrote:
Hej, Det är många frågor om raglanökningen men jag tyder svaren på olika sätt. När jag stickar de förkortade varven så ökas det ju 2 maskor vid varje markering genom omslag. På aviga varvet stickas omslagen. Ska jag öka även på detta aviga varvet med nya omslag?
07.06.2025 - 04:54DROPS Design answered:
Hej Åsa, ja du ökar på varje varv 1 till 7 i HALSRINGNINGEN :)
12.06.2025 - 08:35
![]() Leena wrote:
Leena wrote:
Hei. Neuloessani lyhytrivien lisäyksiä, lisäyskohtiin jää ammottavat aukot, kuin tikapuut. Neulon ohjeen mukaisesti seuraavalla kerroksella lisätyt silmukat kiertäen, mutta tästä huolimatta joka reunassa on lisäysten kohdalla "tikapuut". Ommellaanko ne lopuksi piiloon, vai tuleeko lisäyskohdan olla ilman aukkoa? Lisätäänkö silmukka myös nurjalla kierroksella langankierrolla samoin, kuin oikealla? Kiitos!
28.04.2025 - 17:46DROPS Design answered:
Hei, lisäysten kohdalle ei tulisi jäädä reikiä. Kiristä lankaa kunnolla, kun olet tehnyt langankierron. Lisäyskohta ei ole kääntymiskohdassa, vaan parin silmukan päässä reunasta. Myös nurjan puolen kerroksella lisätään tekemällä langankiertoja.
06.05.2025 - 16:41
![]() Maria Michela wrote:
Maria Michela wrote:
Sto lavorando i ferri accorciati con gli aumenti per il raglan sul ferro a diritto e sul ferro a rovescio. Mi puoi spiegare in quale posizione fare gli aumentisul ferro a rovescio rispettto al gettato del ferro a diritto precedente? Grazie Maria Michela Belmuso
06.04.2025 - 22:52DROPS Design answered:
Buonasera Maria Michela, gli aumenti sono sempre a ogni lato dei segnapunti. Buon lavoro!
12.04.2025 - 18:08
![]() Tatiana wrote:
Tatiana wrote:
Do I read it wrong, or there is a mistake in explanation of increase (one time it say to increase for raglan every second round, another time it say, that increase for raglan every fourth round.. Quote: "Increase for raglan every 2nd round, but every 2nd increase is only on the front and back pieces (i.e. every 2nd round on the body and every 4th round on the sleeves, with alternately 4 and 8 increased stitches)."
12.01.2025 - 20:17DROPS Design answered:
Dear Tatiana, the instructions are correct. The raglan increases are worked every 2nd round. However, you won't be increasing on all sides on each raglan round; one time you only increase for the body (4 increases on the round) and another time you increase for both the body and the sleeves (8 increases on the round). So, since you alternate between them, you will work as follows: 1 normal round, 1 increase round for the body only, 1 normal round, 1 increase round for the body and sleeves. That is, you increase for the body on every increase round (every 2nd round) but for the sleeves only every other increase round (every 4th round). Happy knitting!
12.01.2025 - 22:41
![]() Maie Hunger wrote:
Maie Hunger wrote:
Ich verstehen die " verkürzten Reihen" nicht. könnte man das etwas besser erklären?
06.01.2025 - 10:55DROPS Design answered:
Liebe Frau Hunger, die 1. Reihe beginnt bei der hinteren Mitte = Hinreihe und man wird 4 Maschen zunehmen (1 beidseitig von den 2 ersten Markierungen), dann wenden und die Rückreihe bis 3 Maschen nach der 4. Markierung stricken, gleichzeitig jeweils 1 Masche beidseitig jeder Markierung zunehmen (8 Zunahmen), wenden und so weiterstricken, dh immer 2 M am Ende der Reihe mehr stricken und gleichzeitig 1 M beidseitig jeder Markierung zunehmen (jeweils 8 Zunahmen), bei der letzten bzw 7. Reihe (Hinreihe) nehmen Sie nur bei der ersten 2 Markieurng der Reihe (4 Zunahmnen), so haben Sie jeweils 6 Mal bei jeder Markierung zugenommmen. Viel Spaß beim Stricken!
06.01.2025 - 14:52
|
|
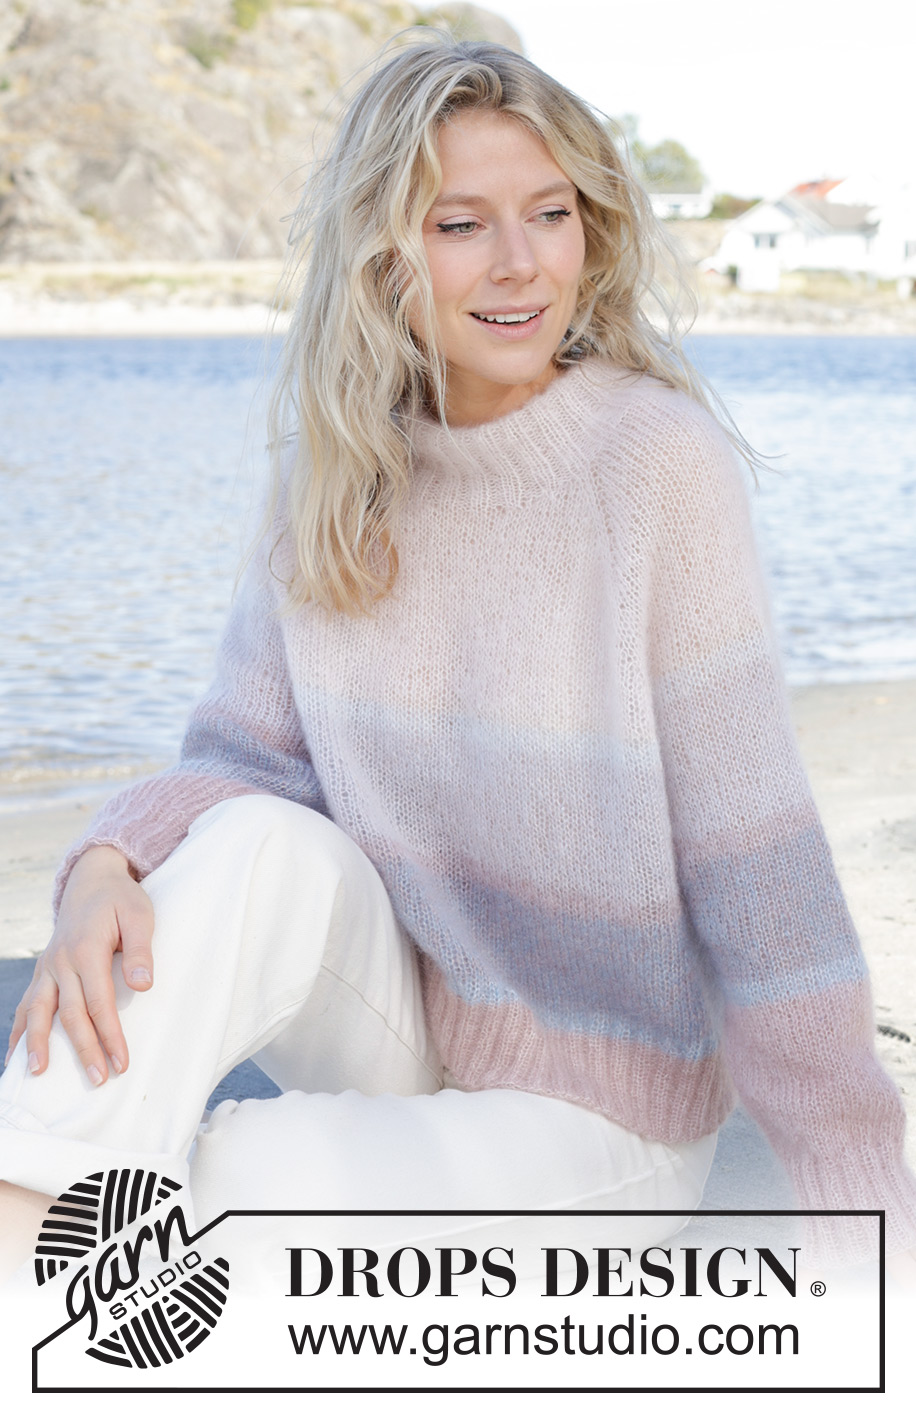
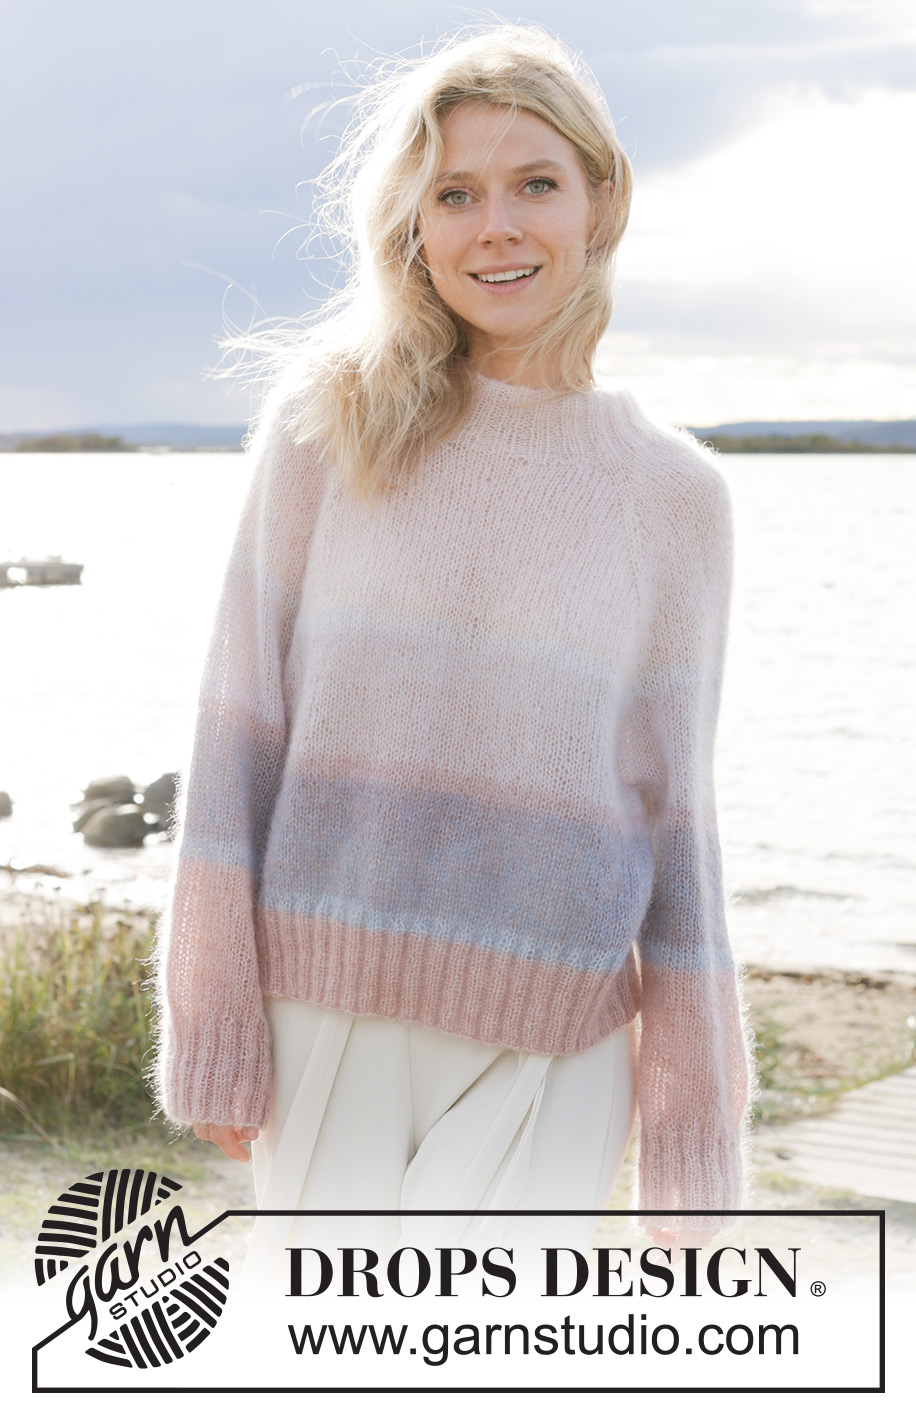
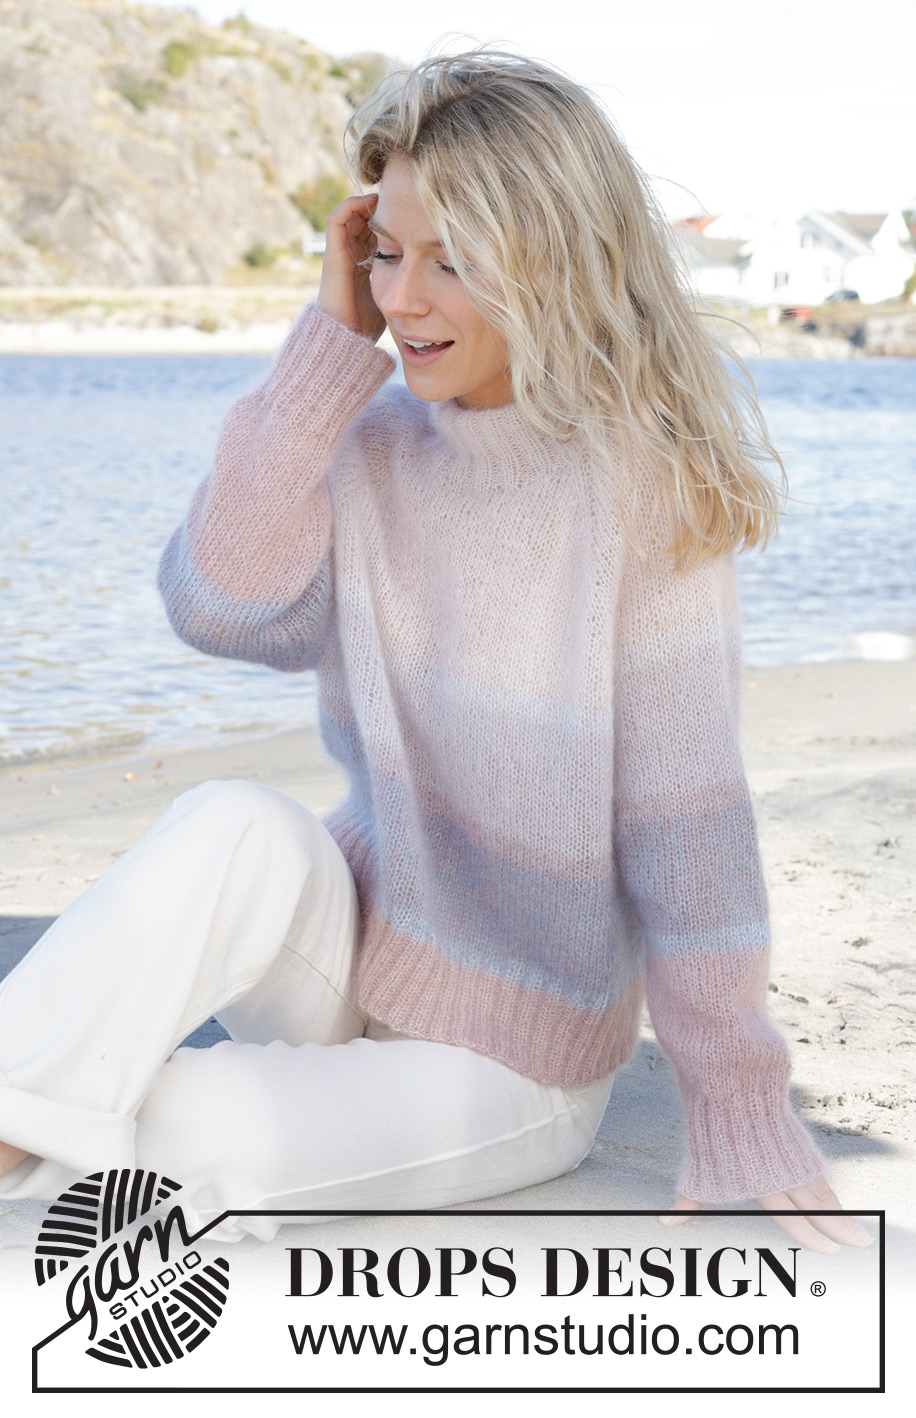
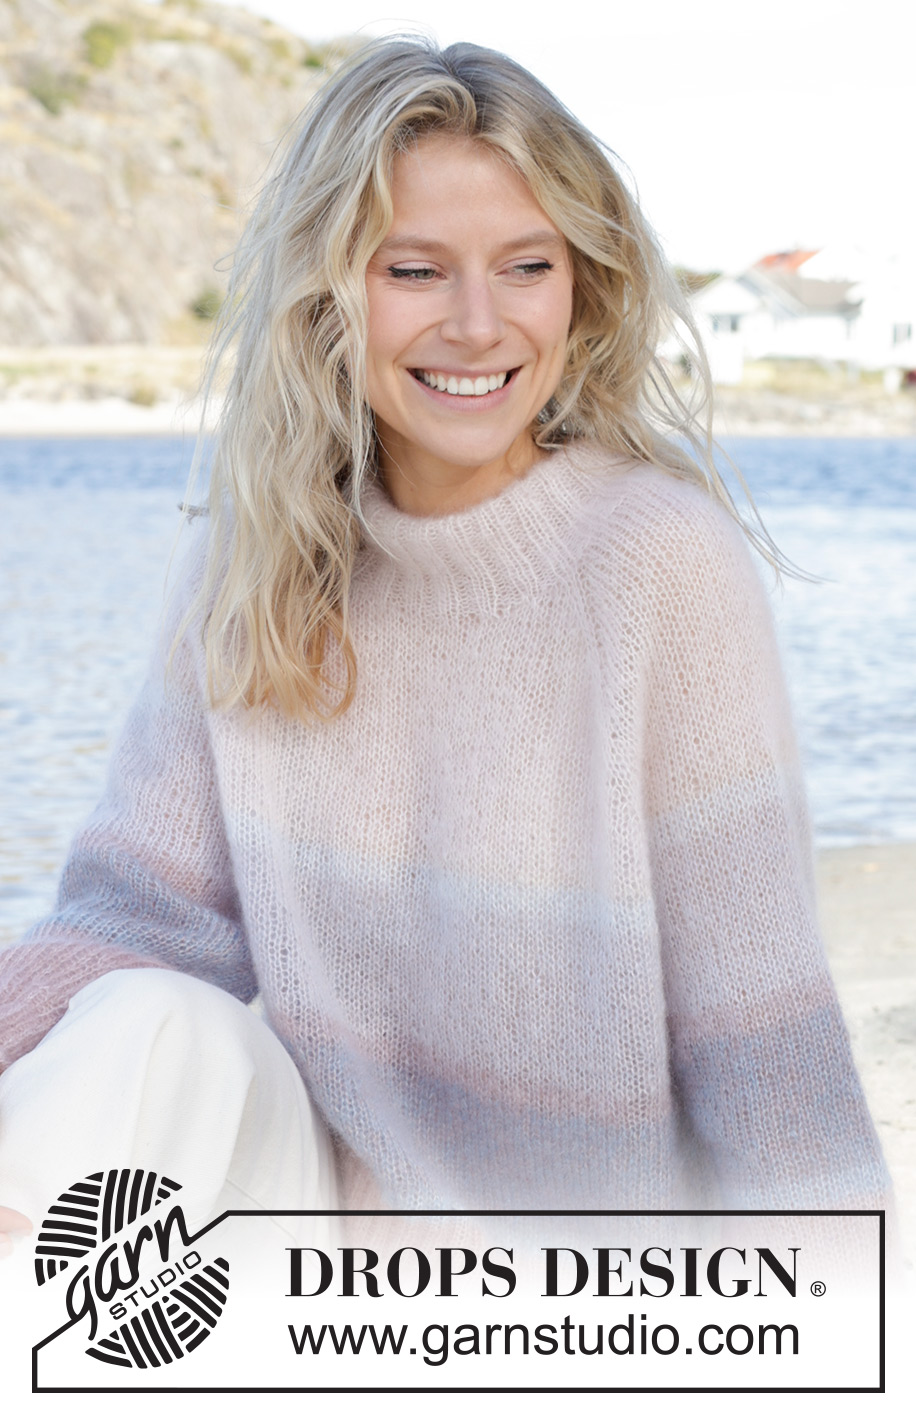
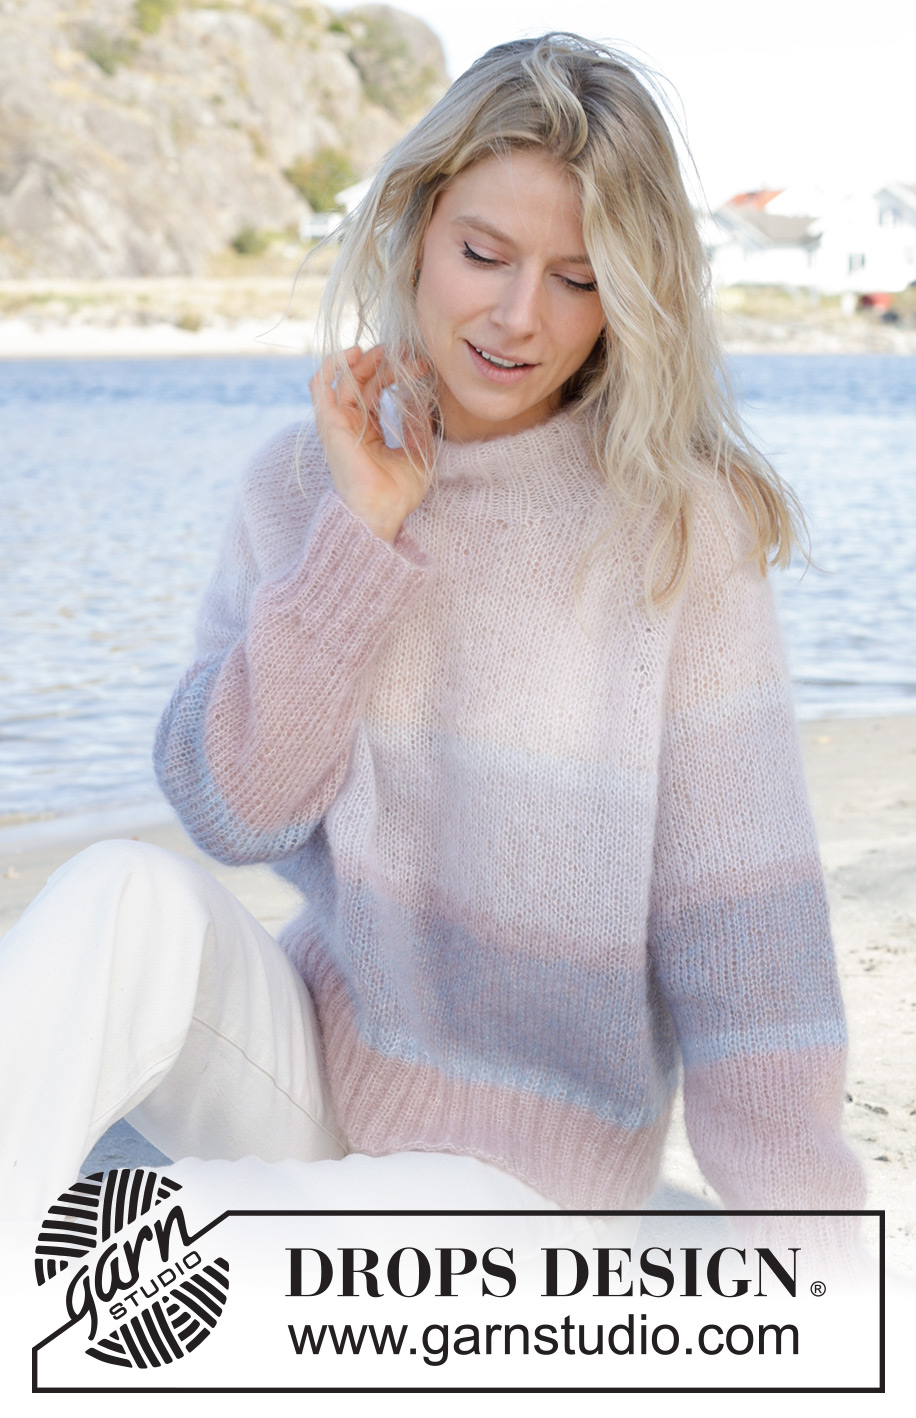
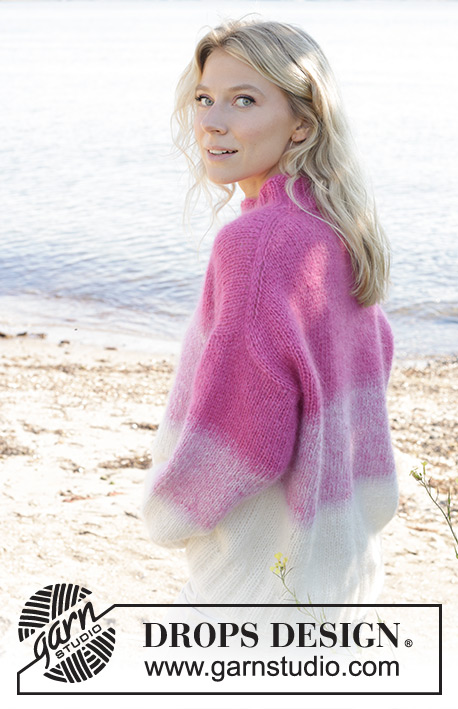
Watercolour Horizons Sweater#watercolourhorizonssweater |
|
 |
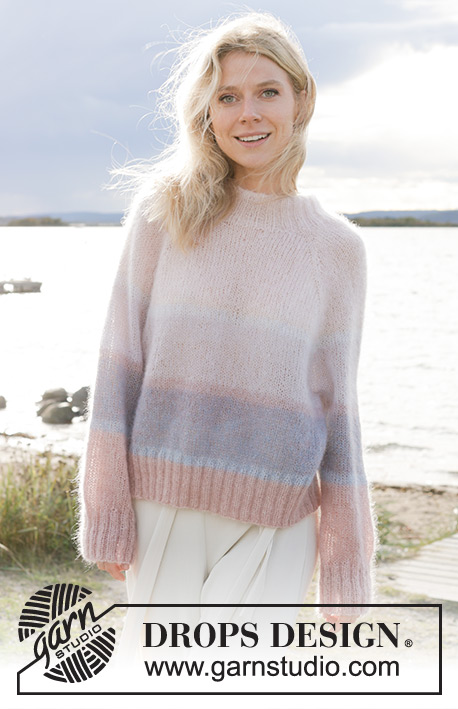 |
Knitted jumper in 2 strands DROPS Kid-Silk. The piece is worked top down with raglan, stocking stitch, stripes and double neck. Sizes S - XXXL.
DROPS 241-3 |
|
|
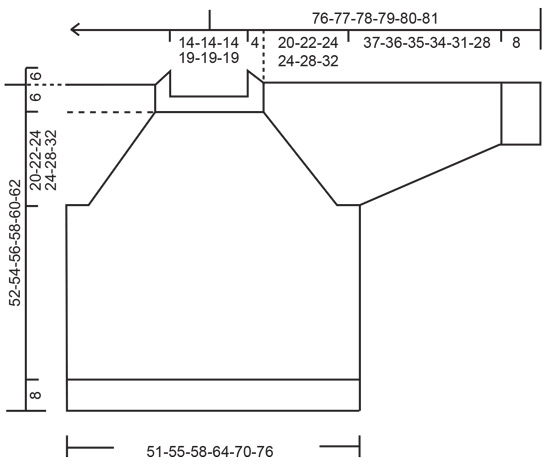
------------------------------------------------------- EXPLANATIONS FOR THE PATTERN: ------------------------------------------------------- RAGLAN: Increase 1 stitch before/after 2 stitches in each transition between body and sleeves, the marker-thread sits between these 2 stitches. Increase 1 stitch by making 1 yarn over which is worked twisted on the next row/round to avoid holes. Then work the new stitches in stocking stitch. DECREASE TIP (for sleeves): Start 3 stitches before the marker-thread, knit 2 together, knit 2 (marker-thread sits between these 2 stitches), slip 1 stitch as if to knit, knit 1 and pass the slipped stitch over the knitted stitch. STRIPES: Work stripes as follows: Cast on + neck + 15 cm yoke: colour 01 + colour 40 2 cm colour 01 + 07 10 cm colour 07 + colour 40 2 cm colour 07 + colour 41 10 cm colour 08 + colour 41 2 cm colour 08 + colour 40 Finish with colour 41 + colour 40 ------------------------------------------------------- START THE PIECE HERE: ------------------------------------------------------- JUMPER – SHORT OVERVIEW OF THE PIECE: The neck and yoke are worked in the round with circular needle, from mid back and top down. The yoke is divided for body and sleeves and the body is continued in the round with circular needle. The sleeves are worked with short circular needle/double pointed needles. DOUBLE NECK: Cast on 88-88-88-104-104-104 stitches with colour 01 and colour 40 DROPS Kid-Silk (2 strands), using short circular needles size 5 and 4 mm held together. Remove the needle size 5 mm keeping the stitches on the circular needle size 4 mm (this gives you an elastic cast-on edge). Knit 1 round, then work rib as follows: Knit 1, * purl 2, knit 2 *, work from *-* until there are 3 stitches left, purl 2 and knit 1. When the neck measures 12 cm, fold it double to the inside and work 1 more round of rib, working every 2nd stitch together with its corresponding stitch on the cast-on edge. You now have a double neck. Measure now piece from here. Insert 4 marker-threads in the piece as described below, without working the stitches; these are used when increasing for raglan. Each marker-thread is inserted between 2 stitches. Count 12-12-12-16-16-16 stitches (half back piece), insert 1 marker-thread, count 20 stitches (sleeve), insert 1 marker-thread, count 24-24-24-32-32-32 stitches (front piece), insert 1 marker-thread, count 20 stitches (sleeve), insert 1 marker-thread. There are 12-12-12-16-16-16 stitches left (half back piece). NECK-LINE: Now work short rows. Change to circular needle size 5 mm. Start mid-back: ROW 1 (right side): Knit and increase for RAGLAN – read description above, on each side of the first 2 marker-threads (4 stitches increased), turn after working 3 stitches past the 2nd marker-thread. ROW 2 (wrong side): Purl and increase to raglan on each side of all marker-threads (8 stitches increased), turn after working 3 stitches past the last marker-thread. ROW 3: Knit and increase for raglan on each side of all marker-threads (8 stitches increased), turn after working 2 stitches past where you last turned. ROW 4: Purl and increase to raglan on each side of all marker-threads (8 stitches increased), turn after working 2 stitches past where you last turned. ROW 5: Knit and increase for raglan on each side of all marker-threads (8 stitches increased), turn after working 2 stitches past where you last turned. ROW 6: Purl and increase to raglan on each side of all marker-threads (8 stitches increased), turn after working 2 stitches past where you last turned. ROW 7 (right side): Knit and increase for raglan on each side of the first 2 marker-threads (4 stitches increased), work to mid-back. The short rows are now finished and you have increased 6 times for raglan by each marker-thread = 136-136-136-152-152-152 stitches. Continue in the round over all stitches, from mid-back. YOKE: REMEMBER THE KNITTING TENSION and read STRIPES! Continue with stocking stitch and increase for raglan as follows: Increase for raglan every 2nd round, but every 2nd increase is only on the front and back pieces (i.e. every 2nd round on the body and every 4th round on the sleeves, with alternately 4 and 8 increased stitches). Increase 18-22-26-26-30-30 times on the body (9-11-13-13-15-15 times on the sleeves). SIZES S, M and XXXL: Continue to increase for raglan, but only on the body; the increases on the sleeves are finished. Increase every 2nd round 2-1-4 times. ALL SIZES: You have increased a total of 26-29-32-32-36-40 times on the body and 15-17-19-19-21-21 times on the sleeves (including increases on the short rows). There are 252-272-292-308-332-348 stitches. Continue with stocking stitch until the yoke measures 20-22-24-24-28-32 cm, measured after the neck and down mid-front. Divide for the body and sleeves as follows: Work the first 38-41-44-48-52-56 stitches (half back piece), place the next 50-54-58-58-62-62 stitches on a thread for the sleeve, cast on 10-10-10-12-14-16 stitches (in side under sleeve), work the next 76-82-88-96-104-112 stitches (front piece), place the next 50-54-58-58-62-62 stitches on a thread for the sleeve, cast on 10-10-10-12-14-16 stitches (in side under sleeve), work the last 38-41-44-48-52-56 stitches (half back piece). BODY: = 172-184-196-216-236-256 stitches. Continue with stocking stitch and stripes in the round for a further 18-18-18-20-18-16 cm. Knit 1 round and increase 36-40-44-48-52-56 stitches evenly spaced = 208-224-240-264-288-312 stitches. Change to circular needle size 4 mm. Work rib (knit 2, purl 2) for 8 cm. Cast off. The jumper measures approx. 52-54-56-58-60-62 cm from the shoulder down. SLEEVES: Place the 50-54-58-58-62-62 stitches from the thread on the one side of the piece on short circular needle/double pointed needles size 5 mm and knit up 1 stitch in each of the 10-10-10-12-14-16 stitches cast on under the sleeve = 60-64-68-70-76-78 stitches. Insert a marker thread in the middle of the new stitches under the sleeve. Continue with stocking stitch and stripes in the round. When the sleeve measures 4 cm decrease 2 stitches mid under sleeve – read DECREASE TIP. Decrease like this every 5-3½-2½-2½-2-1½ cm a total of 6-8-9-10-11-11 times = 48-48-50-50-54-56 stitches. Continue working until the sleeve measures 37-36-35-34-31-28 cm from the division. Knit 1 round and increase 8-8-10-10-10-12 stitches evenly spaced = 56-56-60-60-64-68 stitches. Change to double pointed needles size 4 mm and work rib (knit 2, purl 2) for 8 cm. Cast off. The sleeve measures approx. 45-44-43-42-39-36 cm from the division. Work the other sleeve in the same way. |
|
 |
|
Have you finished this pattern?Tag your pictures with #dropspattern #watercolourhorizonssweater or submit them to the #dropsfan gallery. Do you need help with this pattern?You'll find 33 tutorial videos, a Comments/Questions area and more by visiting the pattern on garnstudio.com. © 1982-2026 DROPS Design A/S. We reserve all rights. This document, including all its sub-sections, has copyrights. Read more about what you can do with our patterns at the bottom of each pattern on our site. |
|


With over 40 years in knitting and crochet design, DROPS Design offers one of the most extensive collections of free patterns on the internet - translated to 17 languages. As of today we count 325 catalogues and 12298 patterns translated into English (UK/cm). 12298
We work hard to bring you the best knitting and crochet have to offer, inspiration and advice as well as great quality yarns at incredible prices! Would you like to use our patterns for other than personal use? You can read what you are allowed to do in the Copyright text at the bottom of all our patterns. Happy crafting!
Post a comment to pattern DROPS 241-3
We would love to hear what you have to say about this pattern!
If you want to leave a question, please make sure you select the correct category in the form below, to speed up the answering process. Required fields are marked *.