
Popular categories
Looking for a yarn?


Comments / Questions (6)
![]() Kaisa wrote:
Kaisa wrote:
Kaksinkertainen pääntien reunus; montako uutta silmukkaa luodaan kerroksen alkuun/loppuun? Aloitussilmukat oli 92 ja uusien silmukoiden luomisten jälkeen 102, eli ero on 10 s ? Kaarokkeen aloitus; onko silmukkajako oikein?
10.10.2025 - 02:49DROPS Design answered:
Hei, ohje on nyt korjattu. Etureunoja varten luodaan 5 silmukkaa. Kaarrokkeen silmukkajako on oikein.
13.10.2025 - 17:33
![]() Tove wrote:
Tove wrote:
Hvor mye garn går med om man heller vil bruke Alaska eller Nepal garn?
19.09.2024 - 14:51DROPS Design answered:
Hei Tove. Denne jakken er strikket med 2 garn, DROPS Soft-Tweed og DROPS Kid-Silk, som tilsvarer garngruppe D. DROPS Alaska og DROPS Nepal tilhører garngruppe C. 17 masker x 22 pinner = 10 x 10 cm. I oppskriften 252-39 er strikkefastheten oppgitt til 16 masker x 21 pinner. Men om du allikevel vil teste det ut, vil det gå mellom 650-1100 gram Nepal eller Alaska, avhengig av hvilken str. du ønsker å strikke. mvh DROPS Design
23.09.2024 - 11:04
![]() Christa Harrison wrote:
Christa Harrison wrote:
Scarlett
11.08.2024 - 19:44
![]() Christa Harrison wrote:
Christa Harrison wrote:
Scarlett
11.08.2024 - 19:44
![]() Stefanie wrote:
Stefanie wrote:
Einfach schön und etwas verspielt. Die Jacke wirkt durch den wellenförmigen Ärmel sehr leicht
11.08.2024 - 09:04
![]() Régine wrote:
Régine wrote:
Noblesse
09.08.2024 - 07:57
|
||||||||||
Silver Petunia Cardigan#silverpetuniacardigan |
||||||||||
 |
 |
|||||||||
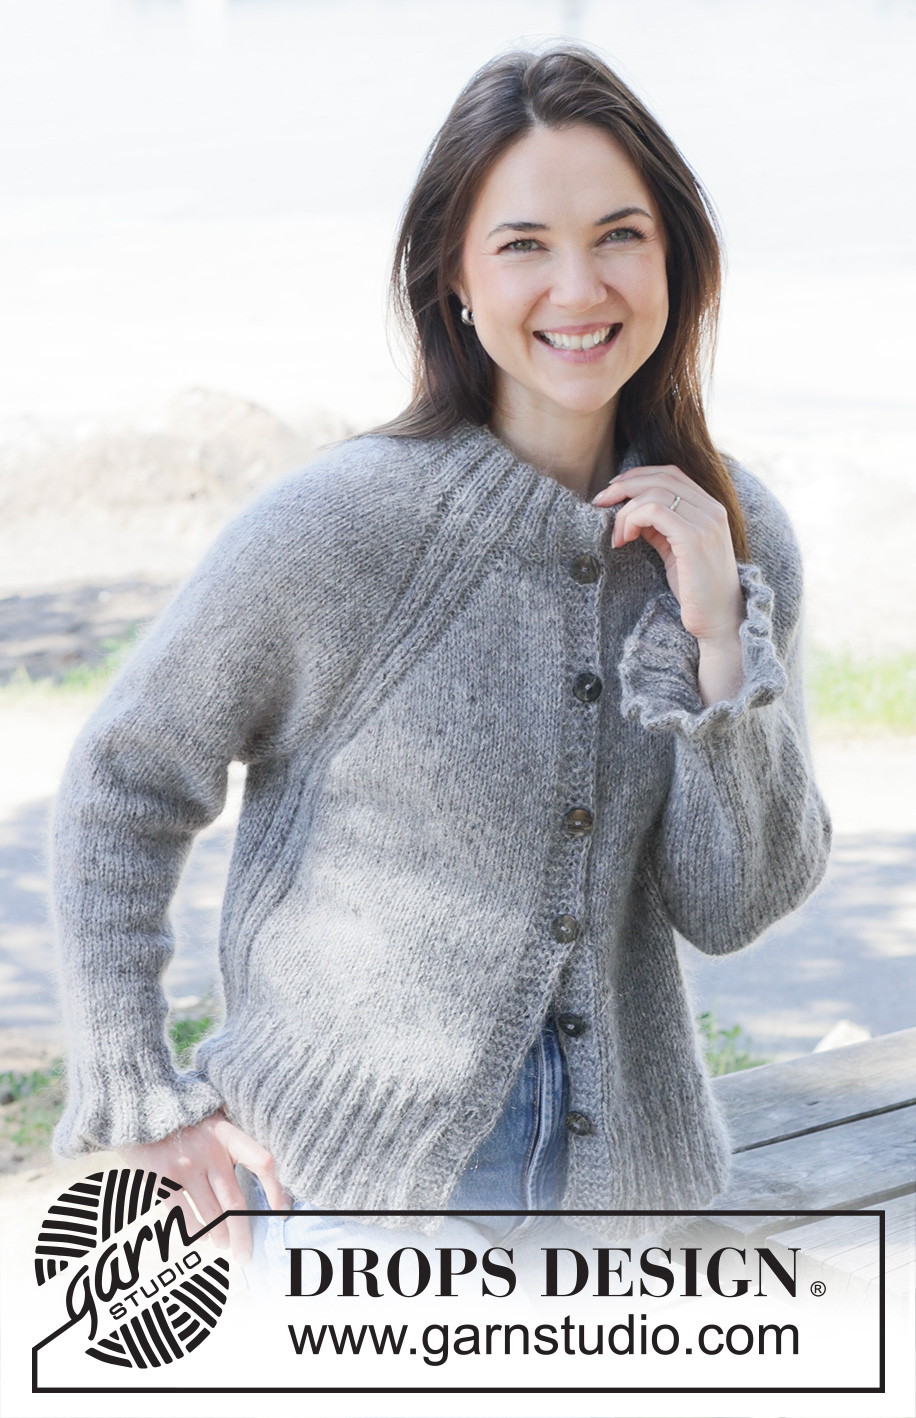
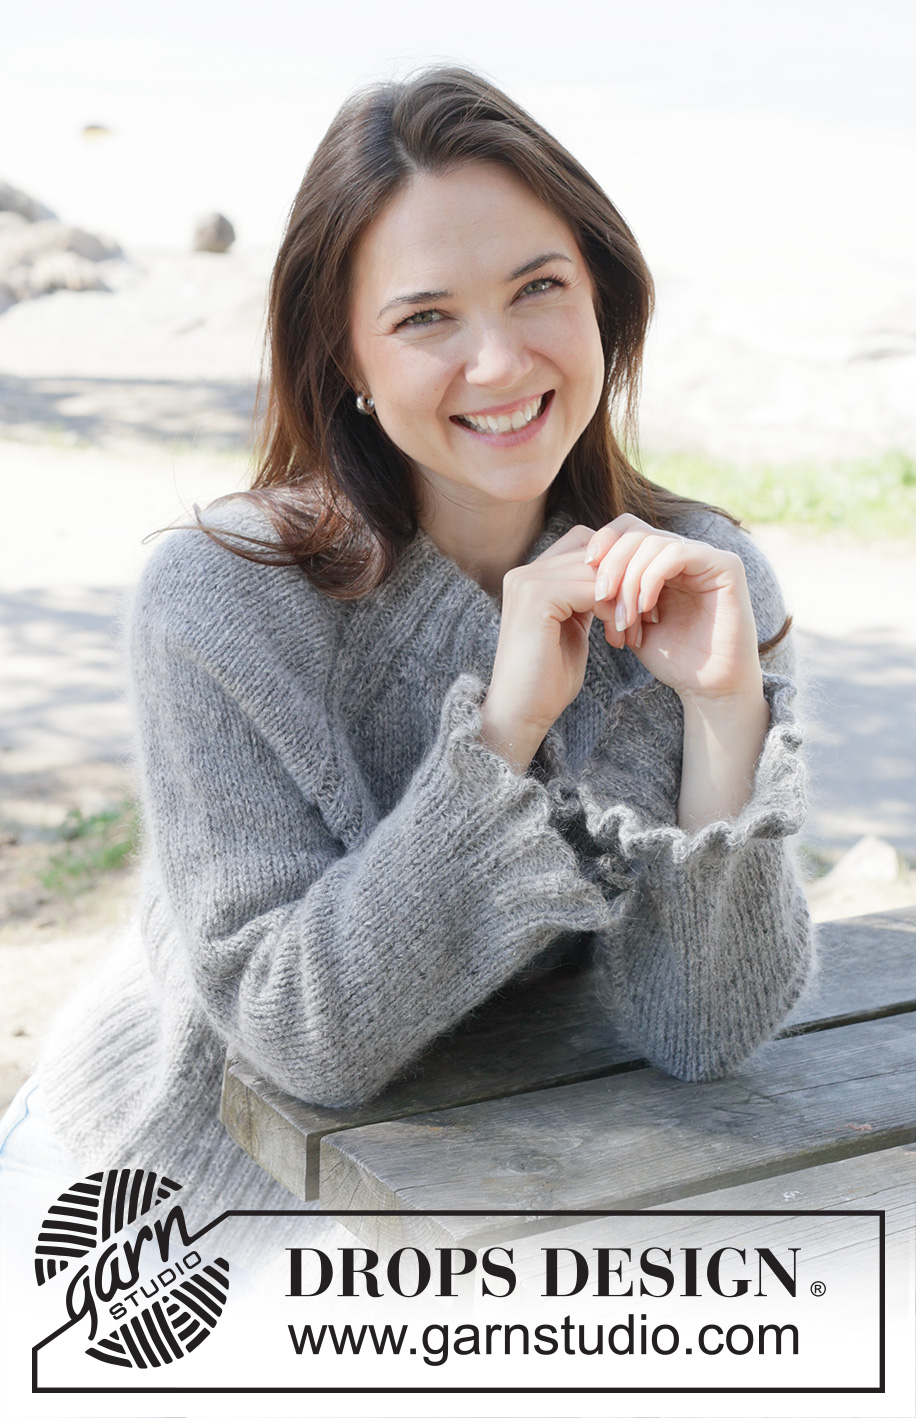
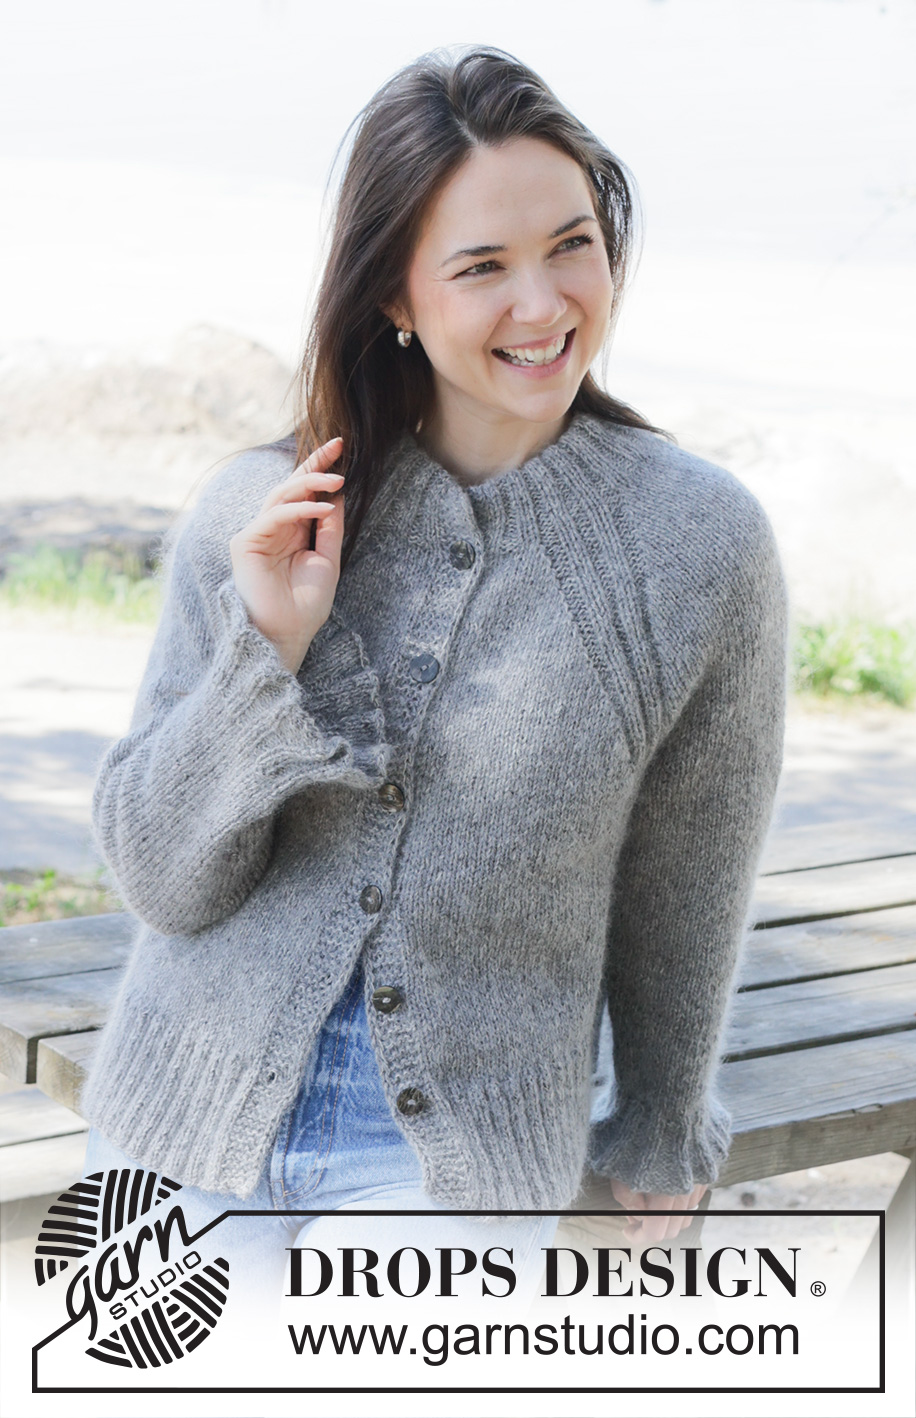
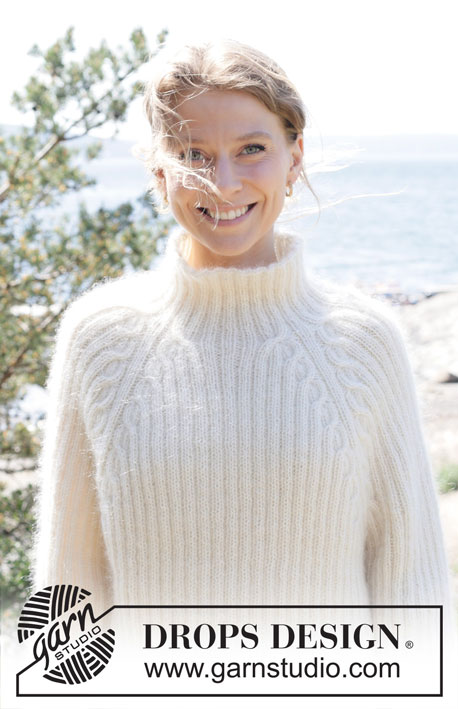
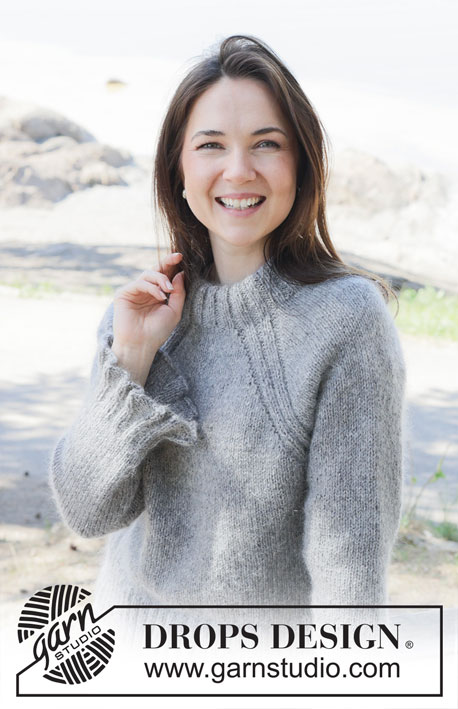
Knitted jacket in DROPS Soft Tweed and DROPS Kid-Silk. The piece is worked top down with raglan, double neck, I-cord and flounces. Sizes S - XXXL.
DROPS 252-39 |
||||||||||
|
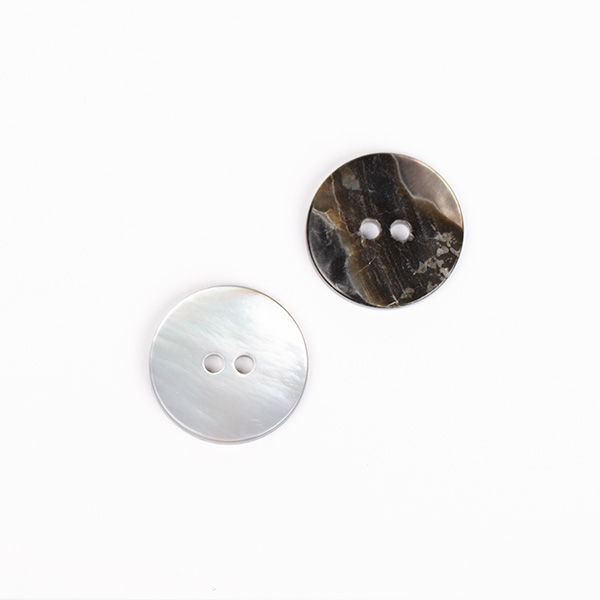
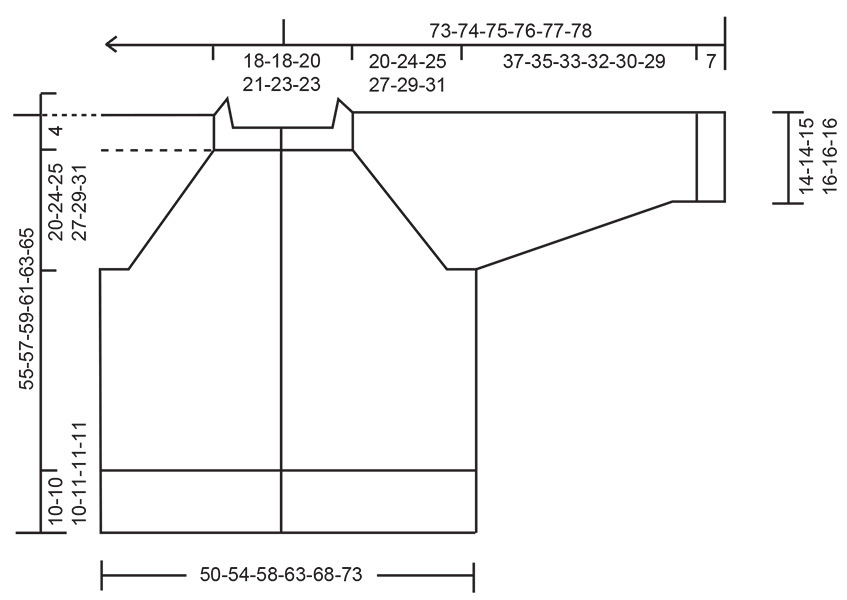
------------------------------------------------------- EXPLANATIONS FOR THE PATTERN: ------------------------------------------------------- GARTER STITCH (worked back and forth): Knit all rows, from both the right and wrong side. 1 ridge in height = knit 2 rows. PATTERN: See diagrams A.1 and A.2. The diagrams show all rows in the pattern, seen from the right side. RAGLAN: Increase 1 stitch by making 1 yarn over, which is worked as follows on the next row: BEFORE A.1: Purl through the back loop to avoid a hole. Then work the new stitch in stocking stitch. AFTER A.1: Slip the yarn-over off the left needle and replace it twisted (insert the left needle through the back when replacing it). Purl the front loop to avoid a hole. Then work the new stitch in stocking stitch. DECREASE TIP: Decrease 1 stitch on each side of the marker-thread as follows: Work until there are 3 stitches left before the marker-thread, knit 2 together, knit 2 (marker-thread sits between these 2 stitches), slip 1 stitch knit-wise, knit 1 and pass the slipped stitch over the knitted stitch (2 stitches decreased). BANDS WITH I-CORD BEGINNING OF ROW: Slip 1 stitch purl-wise with strand in front, knit 1, work 4 garter stitches. END OF ROW: Work until there are 6 stitches left on the row, work 4 garter stitches, slip 1 stitch purl-wise with strand in front, knit 1. Work in the same way from both the right and wrong side. BUTTONHOLES: Work the buttonholes on the right band (when garment is worn) from the right side, when there are 4 stitches left on the row: ROW 1 (right side): Make 1 yarn over, knit 2 together, slip 1 stitch purl-wise with strand in front, knit 1. ROW 2 (wrong side): Work the band as before. Knit the yarn over to leave a hole. The first buttonhole is worked on the first row from the right side when the neck is finished. Then work the other 5-5-6-6-6-6 buttonholes with 8-8½-7½-8-8-8½ cm between each one. The bottom buttonhole is worked in the transition between the stocking stitch and the rib. ------------------------------------------------------- START THE PIECE HERE: ------------------------------------------------------- JACKET – SHORT OVERVIEW OF THE PIECE. The pattern uses both long and short needles; start with the length which fits the number of stitches and change when necessary. The double neck and yoke are worked back and forth with circular needle, from mid front and top down. When the yoke is finished, it is divided for body and sleeves and the body continued back and forth with circular needle, while the sleeves wait. The sleeves are worked in the round, top down. The neck is folded to the inside and sewn down. DOUBLE NECK: Cast on 92-92-96-100-108-108 stitches with circular needle size 5.5 mm, 1 strand DROPS Soft Tweed and 1 strand DROPS Kid-Silk (= 2 strands). Change to circular needle size 4 mm (casting on with a larger needle size makes the cast-on edge elastic). Purl 1 row from the wrong side, then work as follows from the right side: Work 1 GARTER STITCH – read description above, work rib (knit 2, purl 2), until there are 3 stitches left, knit 2 and 1 garter stitch. Continue this rib for 6 cm (= approx. height of neck when folded double). At the end of the next 2 rows, cast on 5 stitches for the bands = 102-102-106-110-118-118 stitches. Continue the rib, with the 6 new stitches on each side worked according to BANDS WITH I-CORD – read description above. Continue working until the neck measures 12 cm – finishing after a row from the wrong side. Insert 1 marker inside one band; the piece is measured from here. YOKE: Change to circular needle size 5.5 mm and work as follows from the right side – remember the first BUTTONHOLE is worked this row – read description above: Work 6 band-stitches, 6-6-6-6-10-10 stocking stitches, A.1 (= left front piece), 14-14-14-14-14-14 stocking stitches (= sleeve), A.1, 10-10-14-18-18-18 stocking stitches, A.1 (= back piece), 14-14-14-14-14-14 stocking stitches (= sleeve), A.1, 6-6-6-6-10-10 stocking stitches and 6 band-stitches (= right front piece). Purl 1 row from the wrong side. Continue with stocking stitch, A.1 and the bands and increase for RAGLAN – read description above, as follows: ROW 1 (= right side): Increase by making 1 yarn over before and after each A.1 (= 8 increased stitches). ROW 2 (= wrong side): Work as before, with the new stitches worked in stocking stitch. Work rows 1 and 2 a total of 12-11-16-20-18-16 times (= 24-22-32-40-36-32 rows) = 198-190-234-270-262-246 stitches. Remember to maintain the knitting tension. Continue with stocking stitch, A.1 and the bands as before and increase for raglan as follows: ROW 1 (= right side): Increase by making 1 yarn over before and after each A.1 (= 8 increased stitches) ROW 2 (= wrong side): Work as before, with the new stitches worked in stocking stitch. ROW 3 (= right side): Increase by making 1 yarn over before the first repeat of A.1, after the 2nd repeat of A.1, before the 3rd repeat of A.1 and after the 4th repeat of A.1 (i.e., only increase on the front and back pieces not on the sleeves = 4 increased stitches). ROW 4 (= wrong side): Work as before, with the new stitches worked in stocking stitch. Work rows 1 to 4 a total of 5-7-4-3-5-8 times (= 20-28-16-12-20-32 rows worked = you have increased 5-7-4-3-5-8 times on the sleeves and 10-14-8-6-10-16 times on the front and back pieces = 258-274-282-306-322-342 stitches. All the increases for raglan are now finished, with a total of 22-25-24-26-28-32 times on the front and back pieces and 17-18-20-23-23-24 times on the sleeves. Continue with stocking stitch, A.1 and the bands as before and without further increases, until the piece measures 20-24-25-27-29-31 cm from the marker mid-front. Now divide for the body and sleeves. DIVIDE FOR BODY AND SLEEVES: AT THE SAME TIME as working next row, divide yoke as follows: 44-47-46-48-54-58 stitches as before (= front piece), place the next 48-50-54-60-60-62 stitches on a thread for the sleeve, cast on 6-6-10-10-14-14 stitches (= in side mid-under sleeve), work 74-80-82-90-94-102 stitches (= back piece), place the next 48-50-54-60-60-62 stitches on a thread for the sleeve, cast on 6-6-10-10-14-14 stitches (= in side mid-under sleeve), work the last 44-47-46-48-54-58 stitches as before (= front piece). The body and sleeves are finished separately. BODY: = 174-186-194-206-230-246 stitches. Continue with stocking stitch, A.1 and the bands as before until the piece measures 41-43-45-46-48-50 cm from the marker mid-front. On the next row from the right side, begin the rib, AT THE SAME TIME as increasing 68-68-80-88-88-100 stitches evenly on the row (do not increase across the bands or across the 6-6-10-10-14-14 stitches between A.1 on each side) = 242-254-274-294-318-346 stitches, working as follows: Change to circular needle size 4 mm. Work the band as before, work rib (knit 2, purl 2 – remember to increase and match the rib to A.1) until there are 8 stitches left, knit 2 and work the rib as before. When the rib measures 10-10-10-11-11-11 cm, cast off. The jacket measures approx. 51-53-55-57-59-61 cm from the marker mid-front and 55-57-59-61-63-65 cm from the top of the shoulder. SLEEVES: Place the 48-50-54-60-60-62 sleeve-stitches from the thread on one side of the piece on circular needle size 5.5 mm and knit up 1 stitch in each of the 6-6-10-10-14-14 stitches cast on under the sleeve = 54-56-64-70-74-76 stitches. Insert a marker-thread in the middle of the 6-6-10-10-14-14 stitches under the sleeve. Start at the marker-thread and work stocking stitch in the round. When the sleeve measures 3 cm, decrease 2 stitches under the sleeve – read DECREASE TIP. Decrease like this every 6-6-3½-3-2½-2 cm a total of 5-5-8-10-11-12 times = 44-46-48-50-52-52 stitches. Continue working until the sleeve measures 37-35-33-32-30-29 cm from the division. Change to double pointed needles size 4 mm. Work rib (knit 2, purl 2), AT THE SAME TIME increase 8-6-8-6-8-8 stitches evenly on the first round = 52-52-56-56-60-60 stitches. When the rib measures 3 cm, continue the rib but work A.2 in each purled section (flounces). When A.2 is finished in height, there are 104-104-112-112-120-120 stitches. Cast off. The sleeve measures approx. 44-42-40-39-37-36 cm. ASSEMBLY: Fold the neck double to the inside and sew down. To avoid the neck being tight and rolling outwards, it is important that the seam is elastic (or you can fasten the neck down with just a few stitches). Sew together the openings on the neck mid-front, with small stitches. Sew the buttons onto the left band. |
||||||||||
Diagram explanations |
||||||||||
|
||||||||||
 |
||||||||||
 |
||||||||||
Have you finished this pattern?Tag your pictures with #dropspattern #silverpetuniacardigan or submit them to the #dropsfan gallery. Do you need help with this pattern?You'll find 32 tutorial videos, a Comments/Questions area and more by visiting the pattern on garnstudio.com. © 1982-2026 DROPS Design A/S. We reserve all rights. This document, including all its sub-sections, has copyrights. Read more about what you can do with our patterns at the bottom of each pattern on our site. |
||||||||||


With over 40 years in knitting and crochet design, DROPS Design offers one of the most extensive collections of free patterns on the internet - translated to 17 languages. As of today we count 324 catalogues and 12290 patterns translated into English (UK/cm). 12290
We work hard to bring you the best knitting and crochet have to offer, inspiration and advice as well as great quality yarns at incredible prices! Would you like to use our patterns for other than personal use? You can read what you are allowed to do in the Copyright text at the bottom of all our patterns. Happy crafting!
Post a comment to pattern DROPS 252-39
We would love to hear what you have to say about this pattern!
If you want to leave a question, please make sure you select the correct category in the form below, to speed up the answering process. Required fields are marked *.