Comments / Questions (30)
![]() Dace wrote:
Dace wrote:
Hello, Pattern says: Repeat rows 3 and 4 until the piece measures 11 cm in the knitting direction. REMEMBER THE KNITTING TENSION! The shawl measures approx. 16 cm along the mid-stitch and there are approx. 175 stitches. Do I knit till piece measures 11cm lengthwise ( which is approx.12 rows or do I knittill I have aprox. 175 stitches?
08.11.2023 - 08:32DROPS Design answered:
Dear Mrs Dace, repeat row 3 and 4 until the piece measures approx. 11 cm in the knitting direction, this means approx 16 cm along the middle stitch, and this means you have increased enough stitches to get now approx. 175 stitches with the correct tension in both width and height. Happy knitting!
08.11.2023 - 08:39
![]() Tanja Martinovic wrote:
Tanja Martinovic wrote:
Ik snap dit stukje niet: "Herhaal naalden 3 en 4 tot het werk 11 cm meet in de breirichting. De omslagdoek meet ongeveer 16 cm over de middensteek ". Wat wordt bedoeld met de breirichting? Dat die ene middenstuk 16 cm lang moet zijn, dat snap ik. Maar WAT moet 11 cm lang zijn? Met vriendelijke groeten, Tanja
06.11.2023 - 12:23
![]() Tiny Tuip wrote:
Tiny Tuip wrote:
Fresh Rain by DROPS Design Gebreide omslagdoek in DROPS Flora. Het werk wordt van boven naar beneden gebreid, met honingraat- en reliëfpatroon. Trefwoorden: honinggraatpatroon, omslagdoek, reliëf, van boven naar beneden DROPS 234-35 Wordt dit patroon echt van boven naar onderen gebreid? je bgint met 7 steken en daarna vermeerderen, is het dan niet van onderen naar boven? vr gr Tiny DROPS Design: Patroon fl-076
22.09.2023 - 10:57
![]() JOSIANE Kurgouale wrote:
JOSIANE Kurgouale wrote:
Je ne comprends pas comment commencer le modèle 234.35.les explications ne correspondent pas à la photo du châle. Il y a des côtes alors que l on nous fait tricoter tout à l endroit. Merci de votre réponse
10.09.2023 - 19:40DROPS Design answered:
Bonjour Mme Kurgouale, ce châle se tricote de haut en bas, autrement dit, on commence par la partie point mousse (près du cou) pour terminer par les côtes de A.2. Vous allez augmenter 4 mailles tous les rangs sur l'endroit (1 m de chaque côté + 2 m au milieu du châle) et 2 mailles tous les rangs sur l'envers (1 m de chaque côté), et ainsi augmenter l'envergure du châle et la hauteur en même temps. Bon tricot!
11.09.2023 - 09:28
![]() Marion wrote:
Marion wrote:
Hallo, ik snap de rand niet helemaal. Het geschrevene en telpatroon. Is naald 1 van de rand 1 recht 2 averecht? En naald 2 telkens helemaal averechts? (De meerderingen komen er uiteraard bij) Dit, omdat bij het telpatroon bij het symbool met kruisje enkel gesproken wordt over recht breien aan de verkeerde kant. Terwijl in de patroontekening de kruisjes aan de goede zijde zijn ingetekend. Alvast hartelijk dank. En wat een mooi patroon overigens!
26.11.2022 - 11:28DROPS Design answered:
Dag Marion,
Er is denk ik vanuit gegaan dat je de kruisjes niet op de verkeerde kant breit, maar de kruisjes zijn inderdaad averecht op de goede kant en recht op de verkeerde kant. De lege hokjes zijn recht op de goede kant en averecht op de verkeerde kant.
27.11.2022 - 14:06
![]() Claudia S wrote:
Claudia S wrote:
Hallo! Ist in den Diagrammen A1 und A2 auch die Rückreihe jeweils eingezeichnet oder kommen die zu den Reihen noch dazu? Vielen Dank für Ihre Antwort. LG Claudia
17.10.2022 - 11:11DROPS Design answered:
Liebe Claudia S, alle Reihen sind im Diagram gezeichnet, dh die Hin- sowie die Rückreihen. Viel Spaß beim stricken!
17.10.2022 - 11:46
![]() Marion wrote:
Marion wrote:
Bonjour, comment l'ouvrage peut mesurer "11 cm dans le sens du tricot" et "16 cm le long de la maille centrale"? Qu'appelez vous le sens du tricot par rapport à la mesure le long de la maille centrale ? Merci pour votre aide. Marion
25.09.2022 - 10:32DROPS Design answered:
Bonjour Marion, on va tricoter en forme de triangle en augmentant de chaque côté de la maille centrale (hauteur du triangle); le sens du tricot va se faire à partir du rang de montage le long des mailles tricotées (le long d'un des côtés); la hauteur sera donc différente si elle est mesurée le long de la maille centrale ou à partir de l'un des côtés jusqu'aux mailles sur l'aiguille. Bon tricot!
26.09.2022 - 09:21
![]() Helga wrote:
Helga wrote:
Unter dem Hinweis „Bitte beachten“ muss bei der eigenen kleineren Maschenprobe eine dickere Nadel genommen werden und bei der größeren eine kleinere Nadel.
21.09.2022 - 08:39DROPS Design answered:
Liebe Helga, ja genau so stimmt es auch: wenn Sie mehr als 26 Maschen kraus rechts haben, dann sind Ihre Maschen zu klein so brauchen Sie grösseren Nadeln; wenn Sie weniger als 26 Maschen kraus rechts haben, dann sind Ihre Maschen zu groß und hier brauchen Sie kleinere Nadeln. Viel Spaß beim stricken!
21.09.2022 - 09:27
![]() Sandra Gauder wrote:
Sandra Gauder wrote:
Very pretty ,delicate look to this pattern, nice for gifting to someone special
05.08.2022 - 21:18
![]() Purlyplatypus wrote:
Purlyplatypus wrote:
Dewdrops shawl
05.08.2022 - 07:42
Fresh Rain#freshrainshawl |
||||||||||||||||
 |
 |
|||||||||||||||
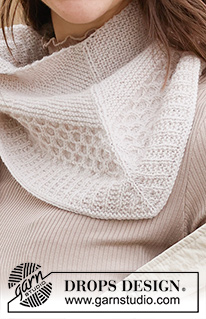
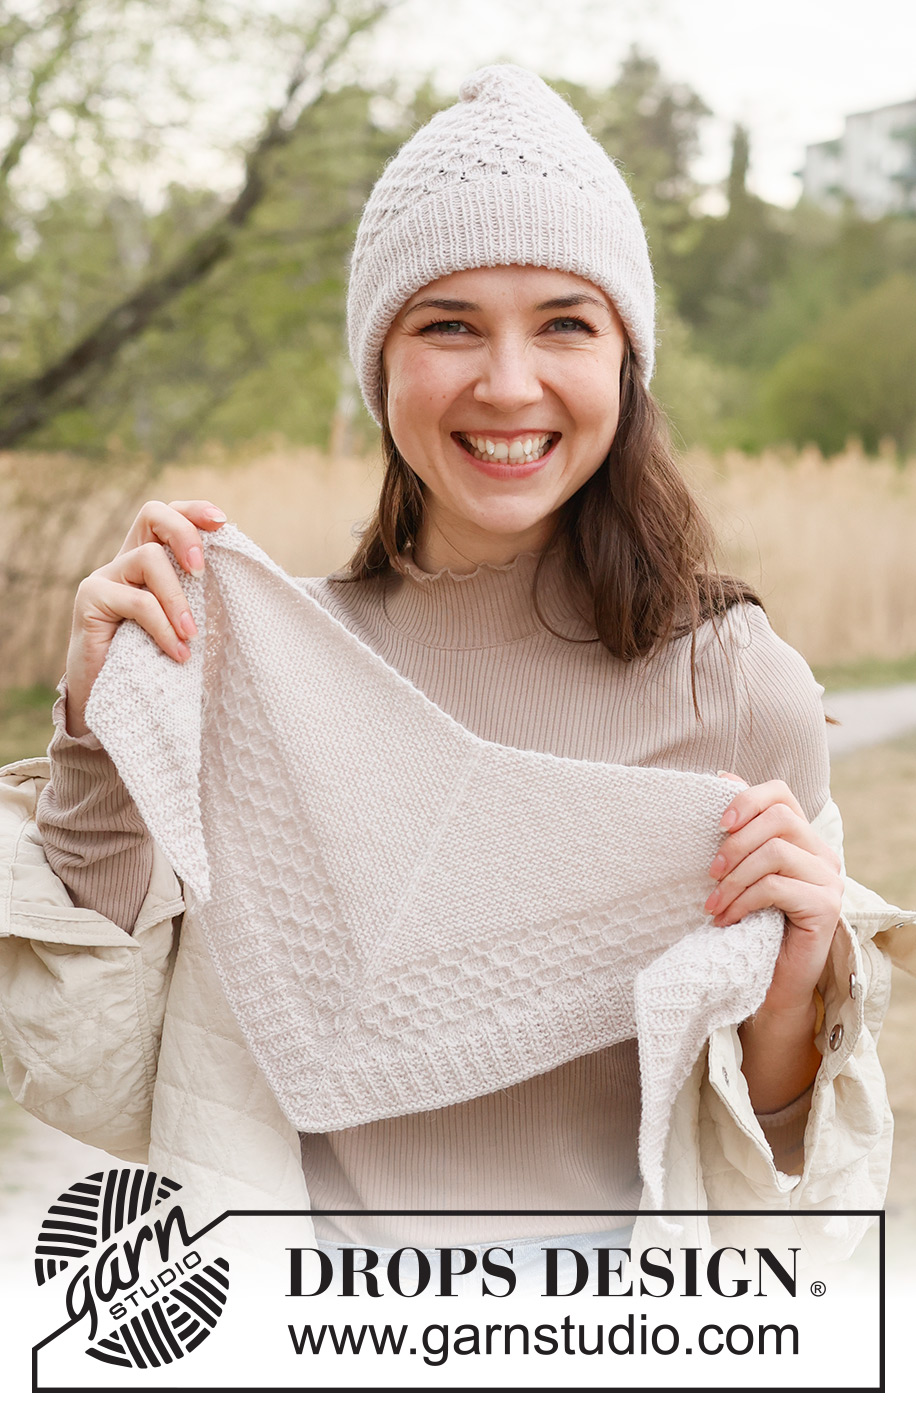
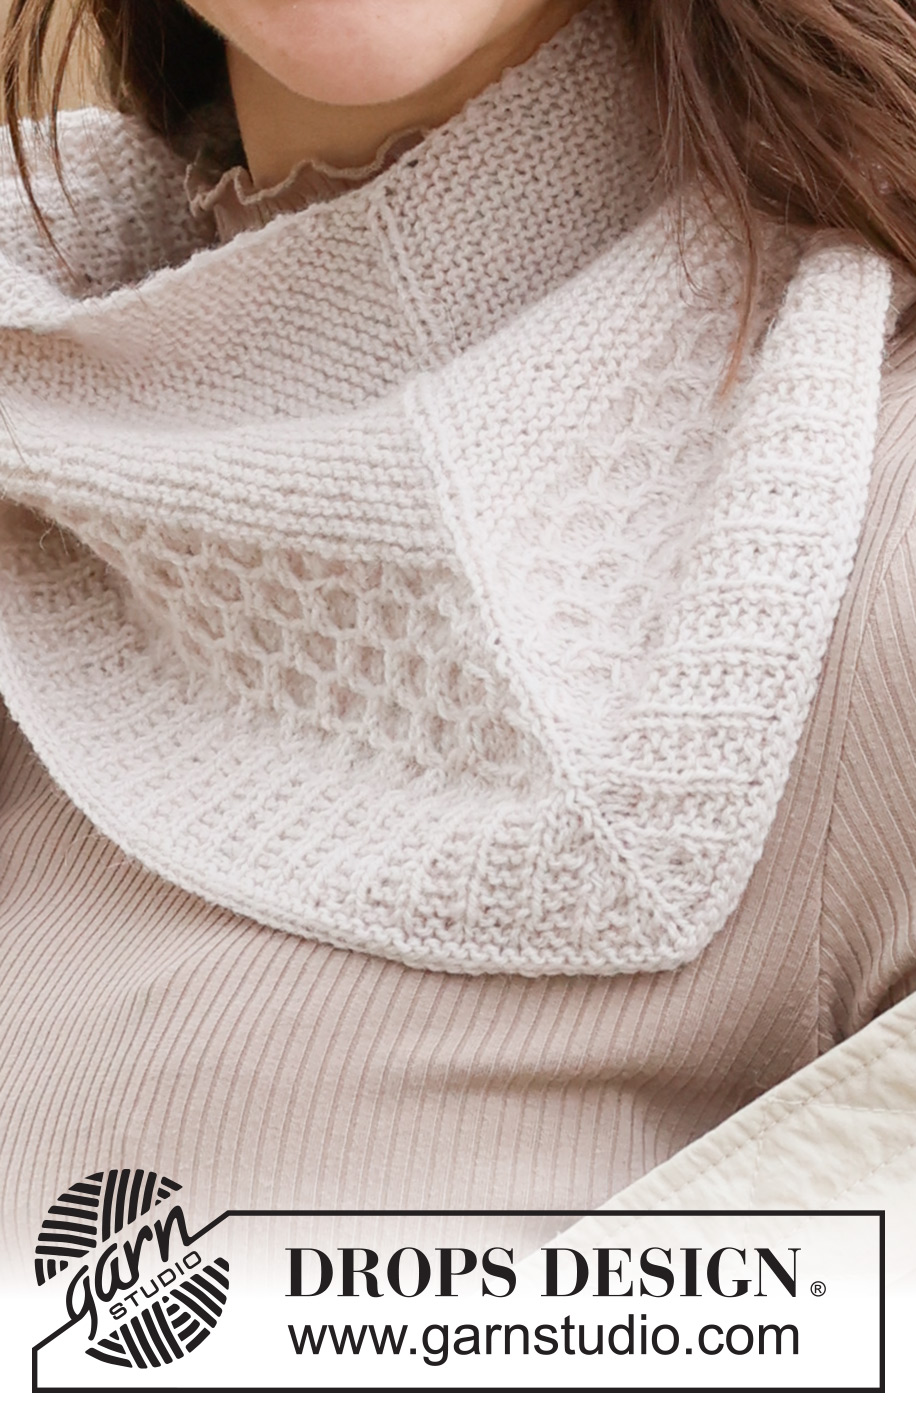
Knitted shawl in DROPS Flora. The piece is worked top down, with honeycomb and relief-pattern.
DROPS 234-35 |
||||||||||||||||
|
RIDGE/GARTER STITCH (worked back and forth): Knit all rows. 1 ridge = knit 2 rows. PATTERN: See diagrams A.1 and A.2. The diagrams show all rows in the pattern from the right side. ------------------------------------------------------- START THE PIECE HERE: ------------------------------------------------------- SHAWL – SHORT OVERVIEW OF THE PIECE: The piece is worked back and forth, top down. SHAWL: Cast on 7 stitches with circular needle size 3 mm and DROPS Flora. Knit 1 row. Continue with GARTER STITCH – see description above and increase as follows – NB: yarn overs from the increases will always be worked twisted, they shouldn’t create holes. GARTER-STITCH SECTION: ROW 1 (right side): Knit 1, 1 yarn over, knit 2, 1 yarn over, knit 1 (mid-stitch – this stitch is always worked in stocking stitch), 1 yarn over, knit 2, 1 yarn over, knit 1 (= 4 stitches increased). ROW 2 (wrong side): Knit 1, 1 yarn over, knit to the mid-stitch, purl the mid-stitch, knit until there is 1 stitch left, 1 yarn over and knit 1 (= 2 stitches increased). ROW 3 (right side): Knit 1, 1 yarn over, knit to the mid-stitch, 1 yarn over, knit the mid-stitch, 1 yarn over, knit until there is 1 stitch left, 1 yarn over and knit 1 (= 4 stitches increased). ROW 4 (wrong side): Knit 1, 1 yarn over, knit to the mid-stitch, purl the mid-stitch, knit until there is 1 stitch left, 1 yarn over and knit 1 (= 2 stitches increased). Repeat rows 3 and 4 until the piece measures 11 cm in the knitting direction. REMEMBER THE KNITTING TENSION! The shawl measures approx. 16 cm along the mid-stitch and there are approx. 175 stitches. Now work as follows from the right side: Knit 1, 1 yarn over, knit to the mid-stitch and increase 28 stitches evenly over these stitches, 1 yarn over, knit the mid-stitch, 1 yarn over, knit until there is 1 stitch left and increase 28 stitches evenly over these stitches, 1 yarn over and knit 1 = approx. 235 stitches. Work the next row as follows from the wrong side: Knit 1, 1 yarn over, purl until there is 1 stitch left on the row, 1 yarn over and knit 1 (= 2 stitches increased). Now work the honeycomb pattern and increase as follows: HONEYCOMB PATTERN: ROW 1 (right side): Knit 1, 1 yarn over, knit 1, work A.1 as far as a complete repeat will go before the mid-stitch, knit the remaining stitches to the mid-stitch, 1 yarn over, knit the mid-stitch, 1 yarn over, knit the same number after the mid-stitch as before, work A.1 until there are 2 stitches left, knit 1, 1 yarn over and knit 1 (= 4 stitches increased). ROW 2 (wrong side): Knit 1, 1 yarn over, purl until there is 1 stitch left on the row, 1 yarn over and knit 1 (= 2 stitches increased). Repeat rows 1 and 2. NOTE: The increased stitches are worked into the honeycomb pattern as soon as there is room for a complete or half repeat in width. AT THE SAME TIME on the row marked with an arrow in A.1, decrease 60 stitches evenly spaced (30 stitches on each side of the mid-stitch). When A.1 is finished, there are approx 231 stitches. Work an edge as follows: EDGE: ROW 1 (right side): Knit 1, 1 yarn over, work A.2 to the mid-stitch, 1 yarn over, knit the mid-stitch, 1 yarn over, work A.2 until there is 1 stitch left (starting the pattern after the mid-stitch so it is the mirror image of the first side), 1 yarn over and knit 1 (= 4 stitches increased). ROW 2 (wrong side): Knit 1, 1 yarn over, purl until there is 1 stitch left on the row, 1 yarn over and knit 1 (= 2 stitches increased). Repeat rows 1 and 2 until A.2 measures 3 cm. NOTE: The increased stitches are worked into the pattern. The shawl measures approx. 28 cm down the mid-stitch and there are approx. 273 stitches. Work 1 ridge over all stitches (increasing as before on both rows). Cast off a little loosely with knit from the right side. |
||||||||||||||||
Diagram explanations |
||||||||||||||||
|
||||||||||||||||
 |
||||||||||||||||
Have you finished this pattern?Tag your pictures with #dropspattern #freshrainshawl or submit them to the #dropsfan gallery. Do you need help with this pattern?You'll find 17 tutorial videos, a Comments/Questions area and more by visiting the pattern on garnstudio.com. © 1982-2026 DROPS Design A/S. We reserve all rights. This document, including all its sub-sections, has copyrights. Read more about what you can do with our patterns at the bottom of each pattern on our site. |
||||||||||||||||


Post a comment to pattern DROPS 234-35
We would love to hear what you have to say about this pattern!
If you want to leave a question, please make sure you select the correct category in the form below, to speed up the answering process. Required fields are marked *.