Comments / Questions (6)
![]() Marita Krahlmarck wrote:
Marita Krahlmarck wrote:
Om man stickar A2 mönster så blir det 35 st maskor på sista varvet. Men det står att man fortfarande ska ha 176 maskor
08.01.2026 - 16:57DROPS Design answered:
Hej Marita, A2= 5 m x 35 = 175 masker som justeres til 176 masker :)
29.01.2026 - 08:21
![]() Samira BRIKI wrote:
Samira BRIKI wrote:
Bonjour Après la séparation corps manche, dans les explications vous dites à chaque fois " ajuster le nombre de mailles et c est toujours le même nombre, pour moi je fais la taille M donc 190 mailles. Je ne comprends pas. Pour tricoter A2, sur le diagramme il y a une flèche pour marquer le milieu de la manche, on doit faire quoi. Merci d avance pour l'aide Cordialement
18.03.2025 - 10:48DROPS Design answered:
Bonjour Mme Briki, dans votre taille, vous n'avez rien à faire, ni à augmenter, ni à diminuer. Vous avez suffisamment de mailles pour tricoter le diagramme A.2 (38 fois les 5 mailles). La flèche dans A.2 sert de repère pour le milieu de la manche, cette maille doit être celle avec le marqueur au milieu du haut de la manche, retrouvez ici comment centrer un diagramme. Bon tricot!
18.03.2025 - 16:19
![]() Linda wrote:
Linda wrote:
Bonjour, pour le pull 255-26, j’ai beaucoup de difficulté à comprendre la signification de la flèche dans le diagramme A-2 au début du motif de la manche. Pourriez-vous me préciser davantage comment l’utiliser et pourquoi elle est située entre la première et la deuxième maille des 5 mailles? Merci à l’avance.
26.11.2024 - 12:20DROPS Design answered:
Bonjour Linda, votre nombre de mailles pour la manche est un nombre pair et A.2 se tricote sur un nombre de mailles impair, ainsi, le milieu du dessus de la manche doit être entre la 1ère maille et la 2ème maille de A.2, pour savoir comment centrer ce motif, cette leçon pourra vous aider. Bon tricot!
26.11.2024 - 16:33
![]() Linda wrote:
Linda wrote:
Pour le pull Artic Island (255-26), au niveau du col, après le rang de cassure, doit-on tricoter le jeté à l’endroit (trou) ou torse à l’endroit ( pour éviter le trou) ? Merci à l’avance
29.10.2024 - 19:54DROPS Design answered:
Bonjour Linda, on tricote les jetés à l'endroit pour qu'ils forment un trou et ainsi une bordure picot comme dans cette vidéo par exemple. Bon tricot!
30.10.2024 - 08:12
![]() Jo wrote:
Jo wrote:
Gallimaufry
08.08.2024 - 15:42
![]() Valerie wrote:
Valerie wrote:
Écume de mer.
08.08.2024 - 15:08
Arctic Island#arcticislandsweater |
|||||||||||||||||||||||||
 |
 |
||||||||||||||||||||||||
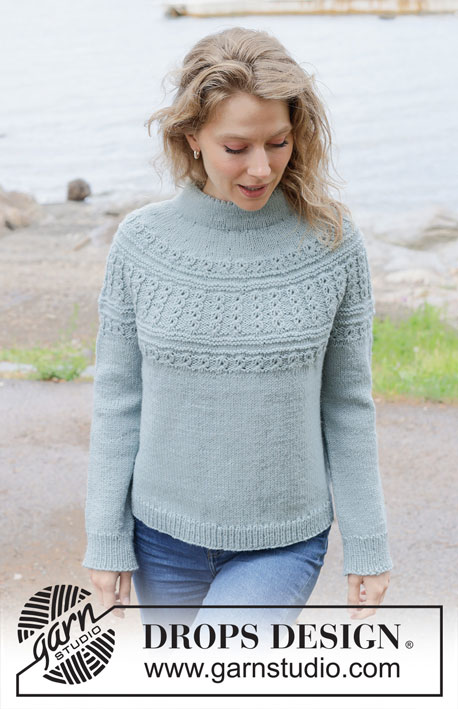
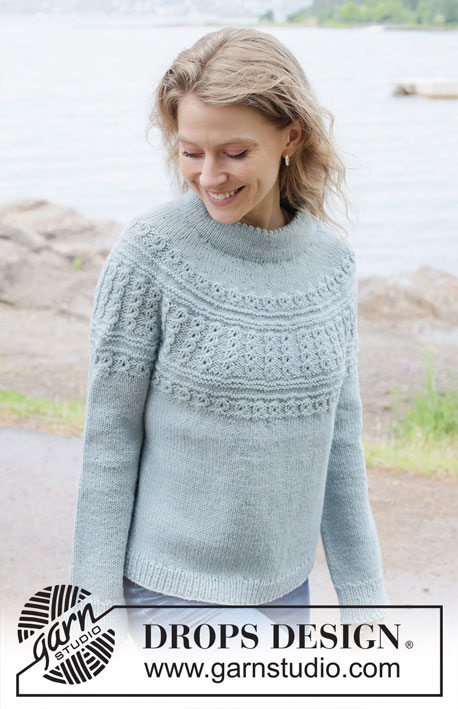
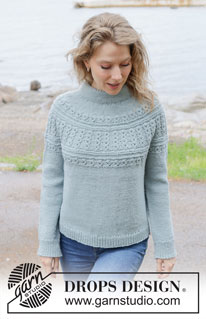
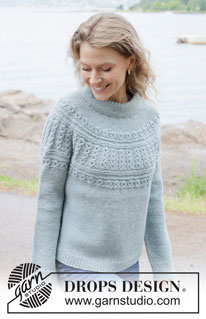
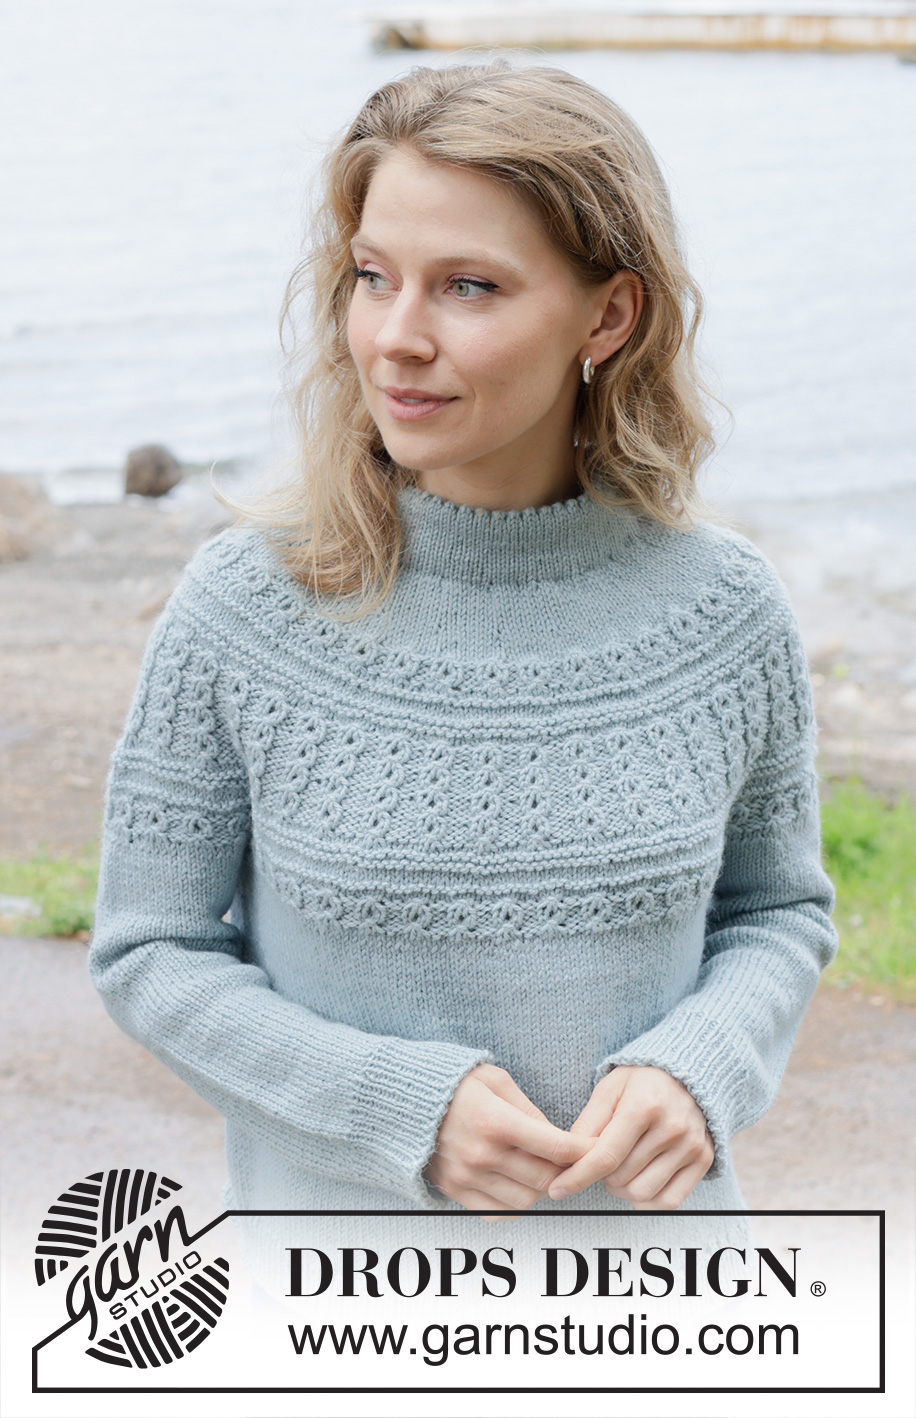
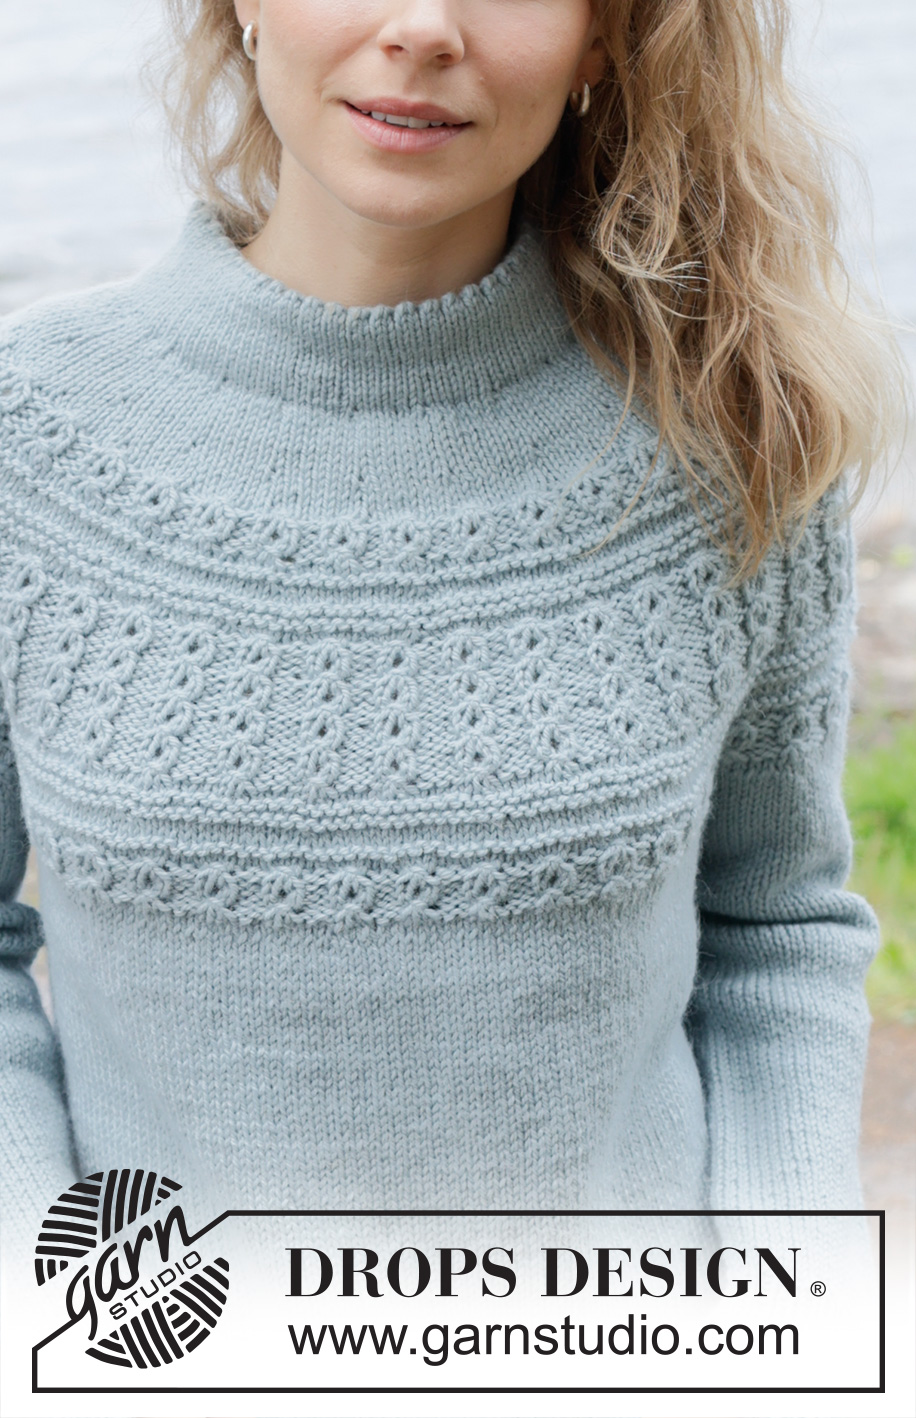
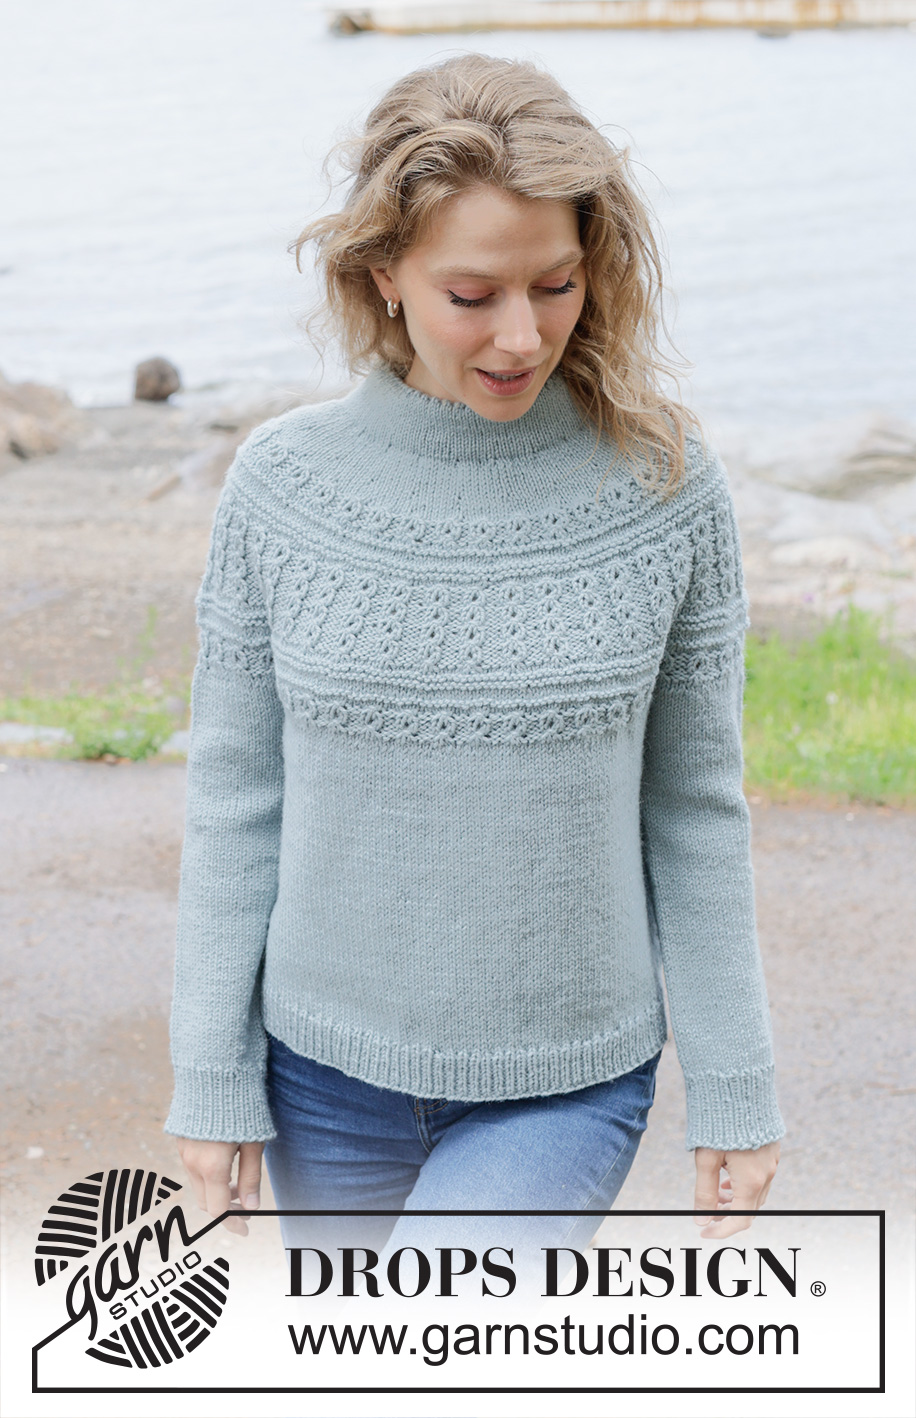
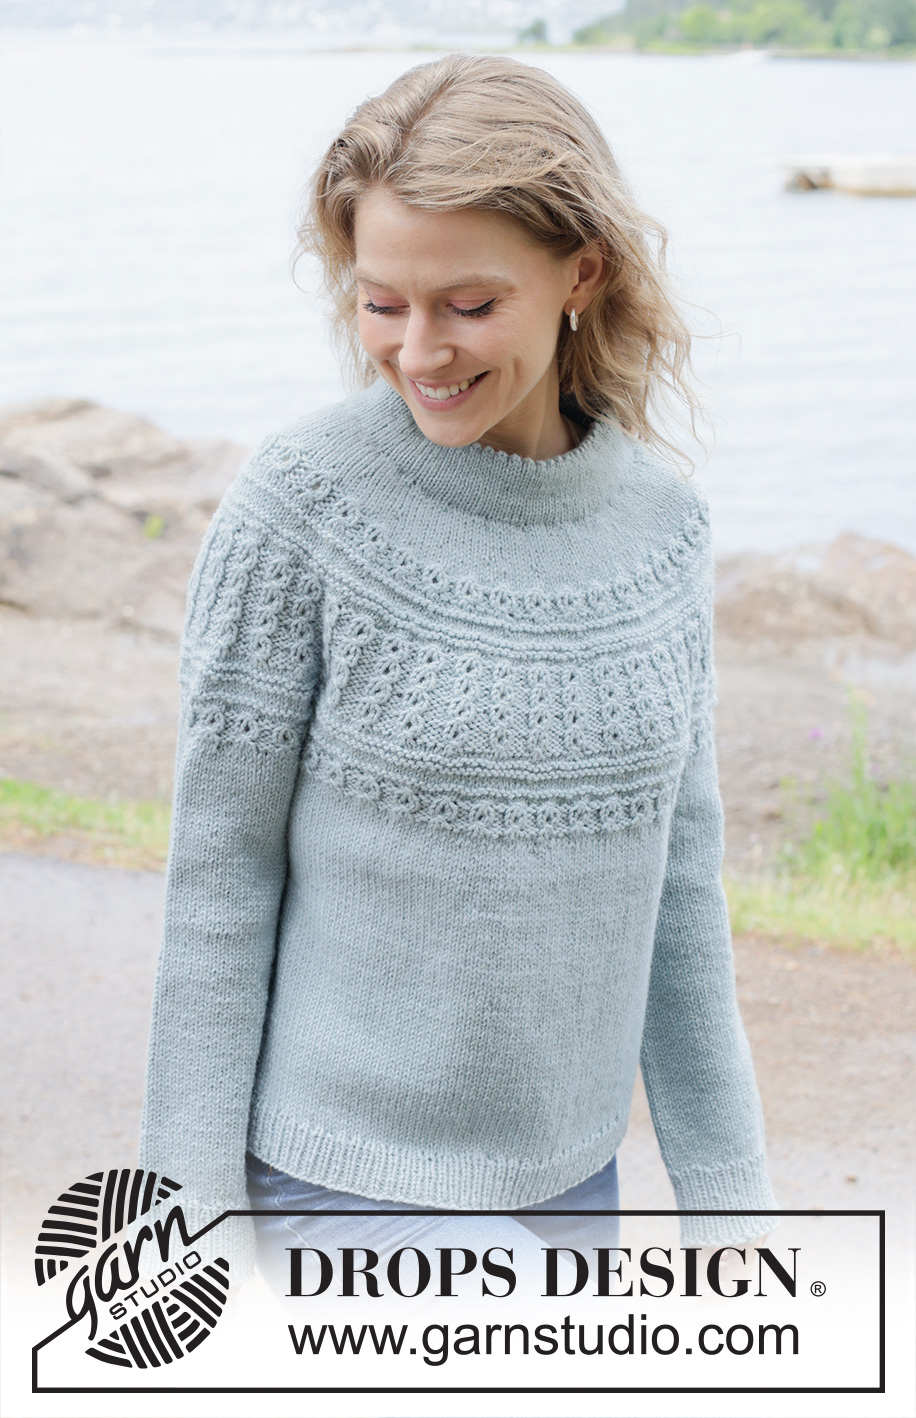
Knitted jumper in DROPS Nepal. Piece is knitted top down with round yoke, lace pattern, relief pattern and double neck edge. Size: S - XXXL
DROPS 255-26 |
|||||||||||||||||||||||||
|
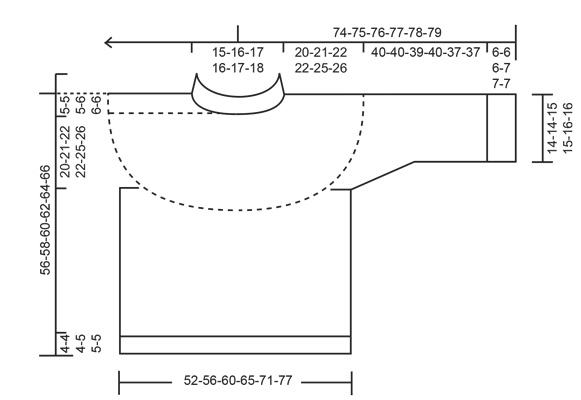
---------------------------------------------------------- EXPLANATION FOR THE PATTERN: ---------------------------------------------------------- PATTERN: See diagrams A.1 and A.2. Choose diagram for desired size (applies to A.1). INCREASE TIP (evenly): To calculate how to increase evenly, use the total number of stitches on row (e.g. 90 stitches) and divide stitches by number of increases to be done (e.g. 16) = 5.6. In this example increase by making 1 yarn over after alternately approx. every 5th and 6th stitch. On next round work yarn overs twisted to avoid holes. DECREASE TIP: Decrease 1 stitch on each side of marker thread as follows: Work until 4 stitches remain before marker thread and knit 2 together, knit 4 (marker thread is in the middle of these 4 stitches), slip 1 stitch knitwise, knit 1, pass slipped stitch over stitch worked (= 2 stitches decreased). ---------------------------------------------------------- START THE PIECE HERE: ---------------------------------------------------------- JUMPER - SHORT OVERVIEW OF THE PIECE: In this pattern needles of different length have been used, begin with fitting length for number of stitches and switch as needed. Work neck edge and yoke in the round on circular needle from right shoulder back, and work top down. When yoke is done, divide piece for body and sleeves. Work body down wards in the round on circular needle while putting the sleeves aside. Then work sleeves downwards in the round on needle. Fold the neck edge double against the wrong side and fasten. NECK EDGE: Cast on 90-94-98-102-106-108 stitches on circular needle size 5 mm with DROPS Nepal. Switch to circular needle size 3.5 mm (cast on on a larger needle to get an elastic cast-on edge). Work in stocking stitch in the round for 5-5-5½-5½-6-6 cm. Work next round as follows: * Knit 2 together, make 1 yarn over *, work from *-* the entire round (= folding edge). Then work in stocking stitch until neck edge measures 10-10-11-11-12-12 cm from cast-on edge. The neck edge is later folded in towards wrong side and assembled to form a neck edge of approx. 5-5-5½-5½-6-6 cm. Beginning of round is at right shoulder at the back. Insert 1 marker after the first 31-32-33-36-37-37 stitches on round (= approx. mid front), measures piece from this marker. YOKE: Switch to circular needle size 5 mm, work 1 round in stocking stitch while increasing 16-20-22-24-26-28 stitches evenly - read INCREASE TIP = 106-114-120-126-132-136 stitches. Then work in stocking stitch. Remember to follow the knitting tension! When yoke measures 2-2-3-3-3-3 cm from marker, increase 16-22-24-30-32-36 stitches evenly – remember INCREASE TIP = 122-136-144-156-164-172 stitches. Continue in stocking stitch. When yoke measures 4-5-6-6-6-7 cm from marker, increase 18-24-26-34-36-38 stitches evenly = 140-160-170-190-200-210 stitches. Work 1 round in stocking stitch. On next round work PATTERN – see explanation above, work first round as follows: Work A.1 14-16-17-19-20-21 times in total in the round on yoke- AT THE SAME TIME on every round marked with arrow in A.1 increase stitches evenly as explained below - read INCREASE TIP: Arrow-1: Increase 30-30-34-34-40-44 stitches evenly = 170-190-204-224-240-254 stitches. Arrow-2: Increase 30-30-36-36-40-46 stitches evenly = 200-220-240-260-280-300 stitches. Until arrow 3 work as shown in diagram = 240-264-288-312-336-360 stitches on needle before arrow 3. Arrow-3: Increase 12-10-4-12-4-8 stitches evenly = 252-274-292-324-340-368 stitches. When A.1 has been worked, yoke measures approx. 20-21-22-22-25-26 cm from marker. Now divide piece for body and sleeves. DIVIDING FOR BODY AND SLEEVES: AT THE SAME TIME as next round is worked divide yoke for body and sleeves as follows: Slip the first 46-50-54-62-62-66 stitches on a thread for sleeve, cast on 8-8-10-10-12-12 new stitches on needle (= in the side mid under sleeve), work 80-87-92-100-108-118 stitches in stocking stitch (= front piece), slip the next 46-50-54-62-62-66 stitches on a thread for sleeve, cast on 8-8-10-10-12-12 new stitches on needle (= in the side mid under sleeve), and work in stocking stitch over the last 80-87-92-100-108-118 stitches (= back piece). Work body and sleeves separately and beginning of round is in the transition between body and sleeve. BODY: = 176-190-204-220-240-260 stitches. Work 1 round in stocking stitch while adjusting number of stitches to 175-190-205-220-240-260. Then work pattern, i.e. work next round as follows: Work A.2 35-38-41-44-48-52 times in total on round - AT THE SAME TIME on last round adjust number of stitches to 176-190-204-220-242-262. When A.2 has been worked vertically, work in stocking stitch until piece measures 47-49-51-51-53-55 cm from marker mid front. Switch to circular needles size 3.5 mm, work rib (= knit 1/purl 1) while AT THE SAME TIME increasing 32-34-36-40-42-46 stitches evenly on 1st round = 208-224-240-260-284-308 stitches. When rib measures 4-4-4-5-5-5 cm cast off. Jumper measures 51-53-55-56-58-60 cm from marker mid front and approx. 56-58-60-62-64-66 cm from the top of shoulder. SLEEVES: Slip 46-50-54-62-62-66 sleeve stitches from one thread on to circular needle size 5 mm and pick in addition up 1 stitch in each of the 8-8-10-10-12-12 stitches cast on under sleeve = 54-58-64-72-74-78 stitches. Insert 1 marker thread in the middle of the 8-8-10-10-12-12 new stitches under sleeve - round begins at the marker thread, and insert 1 marker mid on top of sleeve (between 2 stitches). Marker thread mid under sleeve is used when decreasing under sleeve and marker mid on top of sleeve should be used to count where to begin pattern. Now work pattern while AT THE SAME TIME decreasing mid under sleeve – so read PATTERN and DECREASE before continuing. PATTERN: Remember decrease below before continuing. Begin round at the marker thread mid under sleeve and continue pattern from yoke, i.e. work 2 rounds in stocking stitch, then work A.2 around sleeve - A.2 will not fit mid under sleeve but count outwards from the middle of sleeve where pattern should begin. Marker mid on top of sleeve should fit with arrow in A.2. Work pattern as far as possible towards mid under sleeve, knit or purl the remaining stitches under sleeve to fit the pattern. When A.2 has been worked vertically, continue in stocking stitch. DECREASE: When sleeve measures 1 cm from division, decrease mid under sleeve – read DECREASE TIP and decrease as follows: Decrease 2 stitches 1-2-2-3-3-4 times on every other round, then decrease 2 stitches every 3-3-2-1½-1½-1½ cm 3-3-5-7-8-8 times in total = 46-48-50-52-52-54 stitches. Work until sleeve measures 40-40-39-40-37-37 cm from division. Switch to double pointed needles size 3.5 mm and work rib (= knit 1/purl 1) while AT THE SAME TIME increasing 8-8-8-8-10-10 stitches evenly on 1st round = 54-56-58-60-62-64 stitches. When rib measures 6-6-6-7-7-7 cm cast off. Sleeve measures approx. 46-46-45-47-44-44 cm from division. ASSEMBLY: Fold the neck edge down on the inside of garment. Fasten neck edge to get a double neck edge. To avoid a tight neck edge that sticks out it is important to keep the seam elastic. |
|||||||||||||||||||||||||
Diagram explanations |
|||||||||||||||||||||||||
|
|||||||||||||||||||||||||
 |
|||||||||||||||||||||||||
 |
|||||||||||||||||||||||||
 |
|||||||||||||||||||||||||
Have you finished this pattern?Tag your pictures with #dropspattern #arcticislandsweater or submit them to the #dropsfan gallery. Do you need help with this pattern?You'll find 26 tutorial videos, a Comments/Questions area and more by visiting the pattern on garnstudio.com. © 1982-2026 DROPS Design A/S. We reserve all rights. This document, including all its sub-sections, has copyrights. Read more about what you can do with our patterns at the bottom of each pattern on our site. |
|||||||||||||||||||||||||







Post a comment to pattern DROPS 255-26
We would love to hear what you have to say about this pattern!
If you want to leave a question, please make sure you select the correct category in the form below, to speed up the answering process. Required fields are marked *.