
Popular categories
Looking for a yarn?


Comments / Questions (26)
![]() Augendre wrote:
Augendre wrote:
Est ce que vous pourriez m'expliquer pourquoi dans l'explication pour l'empiecement il y a 18 mailles avec l'augmentation et sur la grille A1 et A5 il n'y a que 17 mailles de représentées je n'arrive pas a disposer mes motifs merci à vous
07.06.2025 - 14:25DROPS Design answered:
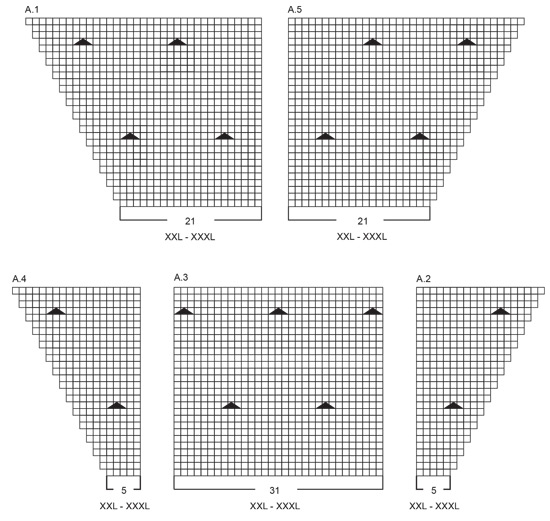
Bonjour Mme Augendre, au tout premier rang sur l'endroit, on tricote 17 m jersey en augmentant 1 m (devant gauche), mais seules les 17 premières de ces mailles seront tricotées en suivant le diagramme, la dernière de ces mailles appartient au raglan ainsi que la 1ère des mailles de la manche, ainsi vous avez 8 m de bordure devant, 17 m pour le 1er rang de A.1, 2 m jersey pour le raglan, avec le fil marqueur entre ces 2 mailles, 18 m pour la manche etc.. Bon tricot!
09.06.2025 - 09:42
![]() Augendre wrote:
Augendre wrote:
Bonjour je ne comprends pas comment placer mes marqueurs par rapport au 2mailles de jersey endroit je vous remercie par avance
06.06.2025 - 11:37DROPS Design answered:
Bonjour Mme Augendre, les marqueurs sont ici placés entre les mailles, les mailles des raglans sont donc les 2 mailles avec le marqueur au milieu soit: 1 m end, marqueur, 1 m end. Vous augmentez ainsi pour le raglan avant la m endroit avant le marqueur et/ou après la maille endroit après le marqueur. Bon tricot!
06.06.2025 - 13:02
![]() Catherine PESSIN wrote:
Catherine PESSIN wrote:
Bonjour Comment adapter ce modèle avec 2 aiguilles (sans aiguille circulaire) en faisant les dos et devant séparément ? Merci de votre réponse C.P
12.03.2025 - 19:07DROPS Design answered:
Bonjour Mme Pessin, cette leçon pourra éventuellement vous aider, mais notez qu'ici, vous tricotez l'empiècement puis le dos/les devants en allers et retours sur aiguille circulaire, vous pouvez donc tricoter sur aiguilles droites, vos mailles seront juste plus serrées et ce sera plus simple que de tout réajuster. Vous pouvez ensuite utiliser les infos du lien pour les manches. Bon tricot!
13.03.2025 - 15:33
![]() Paulien wrote:
Paulien wrote:
When working the PATTERN and increase for RAGLAN, is it: knit, yarn over, stitchmarker, yarn over, knit or is it: yarn over, knit, stitch marker, knit, yarn over?
11.03.2025 - 23:56DROPS Design answered:
Hi Paulien, You increase on each side of the 2 knitted stitches, so yarn over, knit 1, marker, knit 1, 1 yarn over. The 2 knitted stitches with the marker between them are the raglan-line and stay the same throughout. Happy knitting!
12.03.2025 - 05:56
![]() Beata wrote:
Beata wrote:
I wonder whether the diagrams show only the right side rows or both the right and wrong side rows (when looking from the right side). By the way, is there a general tip for identifying if DROPS pattern diagrams display both right and wrong side rows, or just the right side rows, assuming the wrong side is made based on the instructions and not shown in the diagram? I cannot find a clear indication. Thank you!
21.07.2024 - 20:10DROPS Design answered:
Dear Beata, most of our patterns show all rows, both from the right and wrong side, seen from the right side. In almost all of the patterns, under EXPLANATIONS FOR THE PATTERN, there will be a section called PATTERN, which will specify this. In this case it says: "See diagrams A.1 to A.5. Choose diagram for your size. The diagrams show all rows in the pattern from the right side." So it shows ALL rows in the pattern, but the rows from the wrong side will have to be worked invertedly, so that you see the chart pattern from the right side. Here you have a lesson on how to interpret our knitting charts: https://www.garnstudio.com/lesson.php?id=68&cid=19. Happy knitting!
22.07.2024 - 01:25
![]() Cristina Bujorean wrote:
Cristina Bujorean wrote:
Can you please tell me if the “purl 3 together…” are made on the right side or the wrong side?
06.06.2024 - 03:24DROPS Design answered:
Dear Mrs Bujorean, they are worked on the right side, just as shown in this video. Happy knitting!
06.06.2024 - 07:50
![]() Doriana wrote:
Doriana wrote:
Hallo, ich habe nochmal eine Frage zu den Raglan-Zunahmen. Irgendwie entstehen doch Löcher, obwohl ich es genauso machen, wie in der Anleitung beschrieben. Aber vielleicht habe ich es falsch verstanden. Könnt Ihr mir weiterhelfen? Danke und viele Grüße Doriana
24.05.2024 - 08:14DROPS Design answered:
Liebe Doriana, in diesem Video zeigen wir, wie solche Zunahmen gestrickt werden, beachten Sie vielleicht, daß die Umschläge nicht zu locker sind. Viel Spaß beim Stricken!
31.05.2024 - 08:01
![]() Doriana wrote:
Doriana wrote:
Hallo, ich stecke beim I-Cord fest: die 6 Maschen, die in der Beschreibung als "kraus rechts" bezeichnet werden, werden die in der 1. Hin-Reihe rechts oder links gestrickt? Kraus rechts ist ja immer rechts in jeder Reihe, aber dann wären es wieder rechte Maschen auf der Seite, da die 1. Reihe links gestrickt ist. Danke im Voraus, Viele Grüße Doriana
23.05.2024 - 08:26DROPS Design answered:
Liebe Doriana, die Maschen der Blende werden so gestrickt: am Anfang der Reihe: 2 Maschen I-Cord + 6 Maschen rechts, am Ende der Reihe: 6 Maschen rechts + 2 Maschen I-Cord; siehe auch dieses Video (hier stricken Sie aber keine Zunahmen wie im Video). Viel Spaß beim Stricken!
23.05.2024 - 08:44
![]() Eva Berger wrote:
Eva Berger wrote:
Hej stickar man de tre maskorna i mönstret från rätsidan. Ser ut som avigsidan i mönstret
06.05.2024 - 23:54DROPS Design answered:
Hej Eva, dem strikker du fra retsiden :)
08.05.2024 - 13:55
![]() Karin wrote:
Karin wrote:
Ich möchte die Jacke in marineblau/dunkelblau stricken. Ist Belle oder Paris dunkler?
05.05.2024 - 17:52DROPS Design answered:
Liebe Karin, Paris würde aber hier keine Alternative sein, da Paris gehört zur Garngruppe C, diese Jacke wird mit Belle (Garngruppe B) gestrickt. Ihr DROPS Händler wird Ihnen gerne die beste passende Farbe - auch per Telefon oder per E-Mail - empfehlen. Viel Spaß beim Stricken!
06.05.2024 - 08:40
|
|||||||
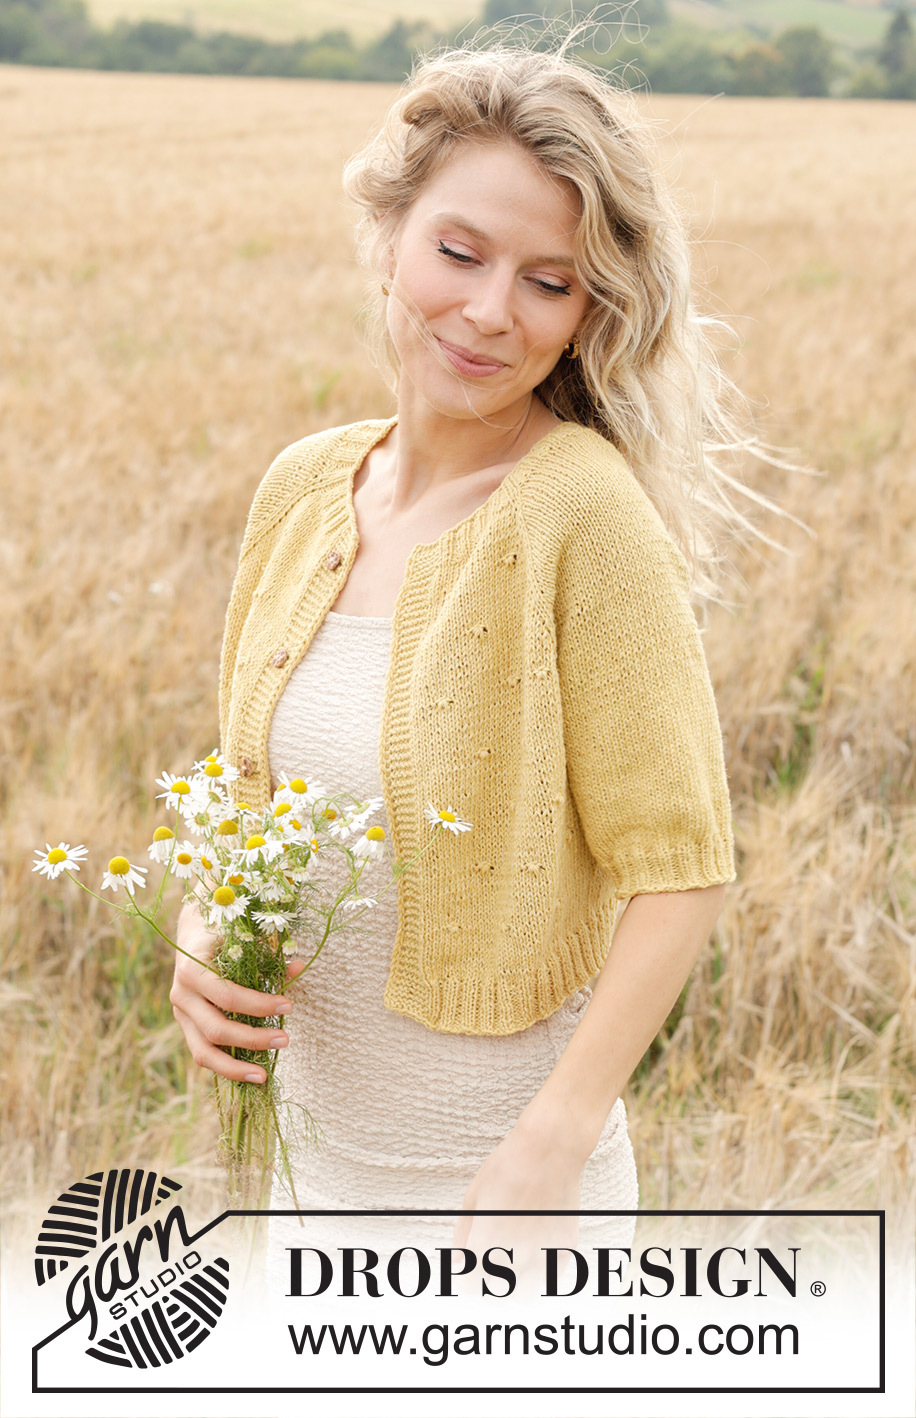
Dandelion Heart Cardigan#dandelionheartcardigan |
|||||||
 |
 |
||||||
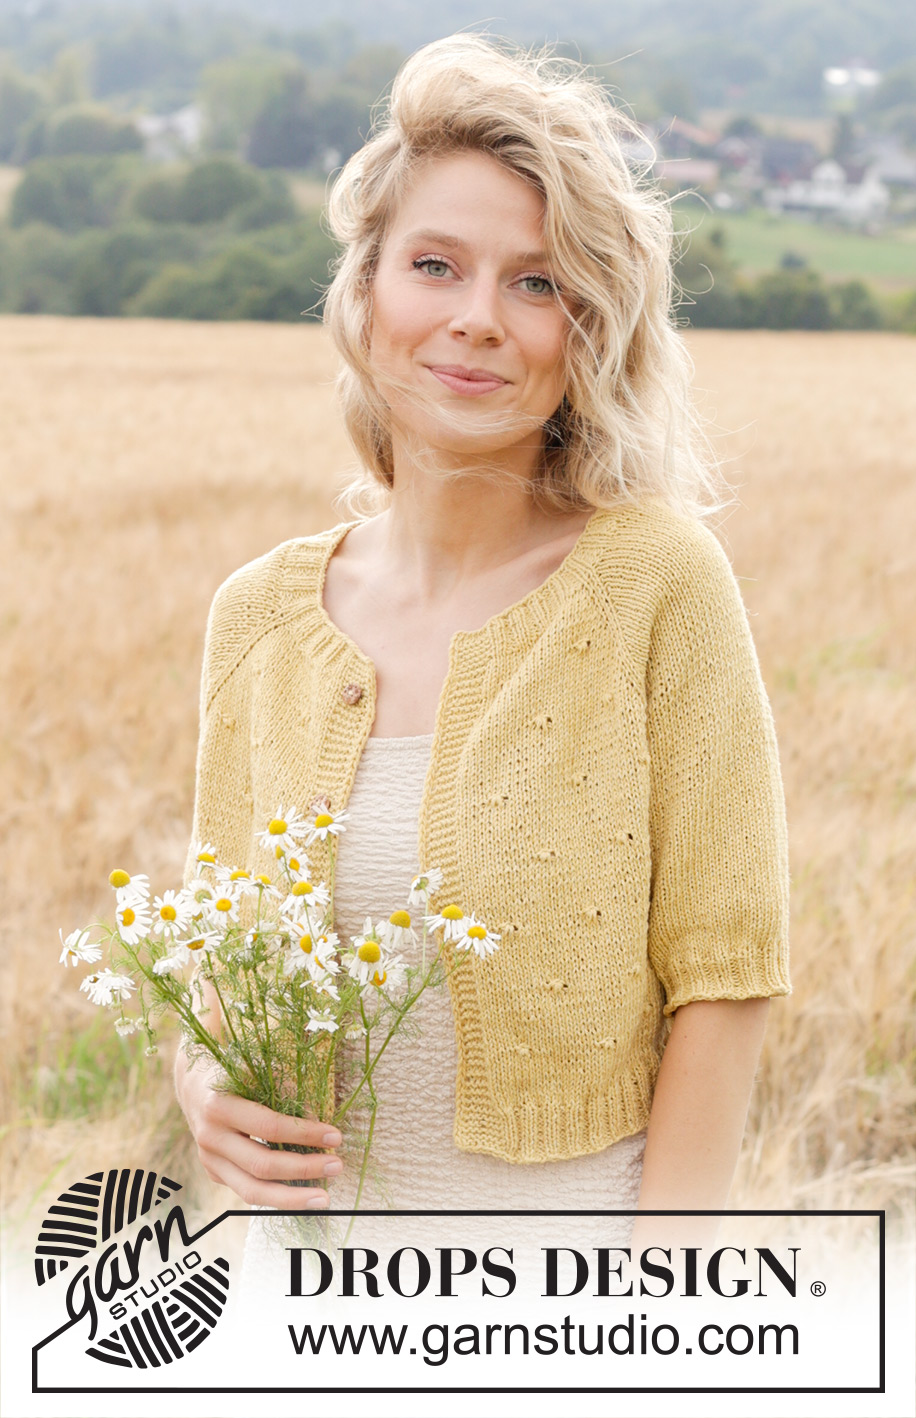
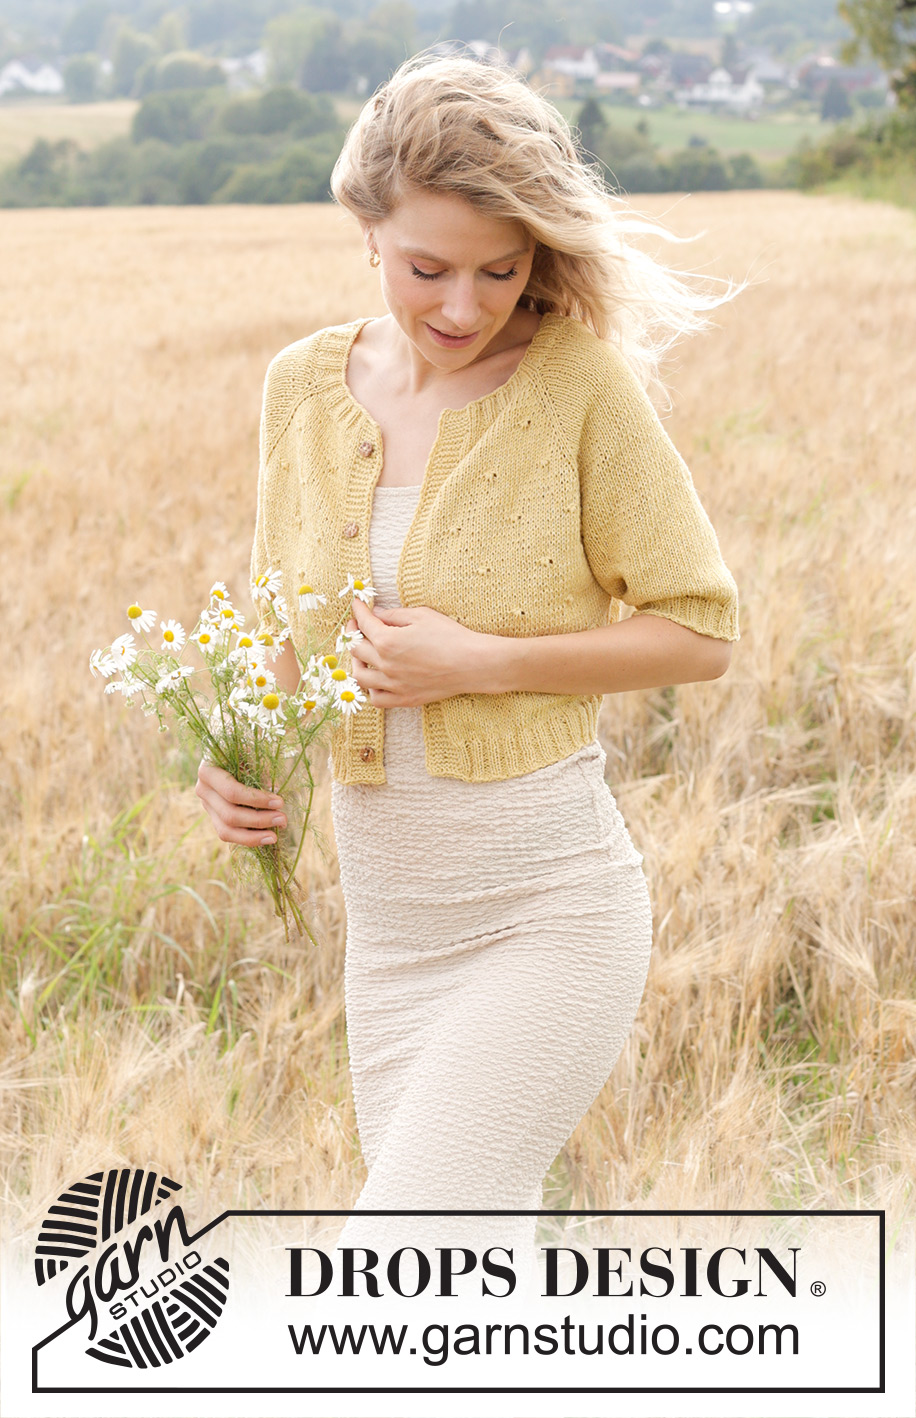
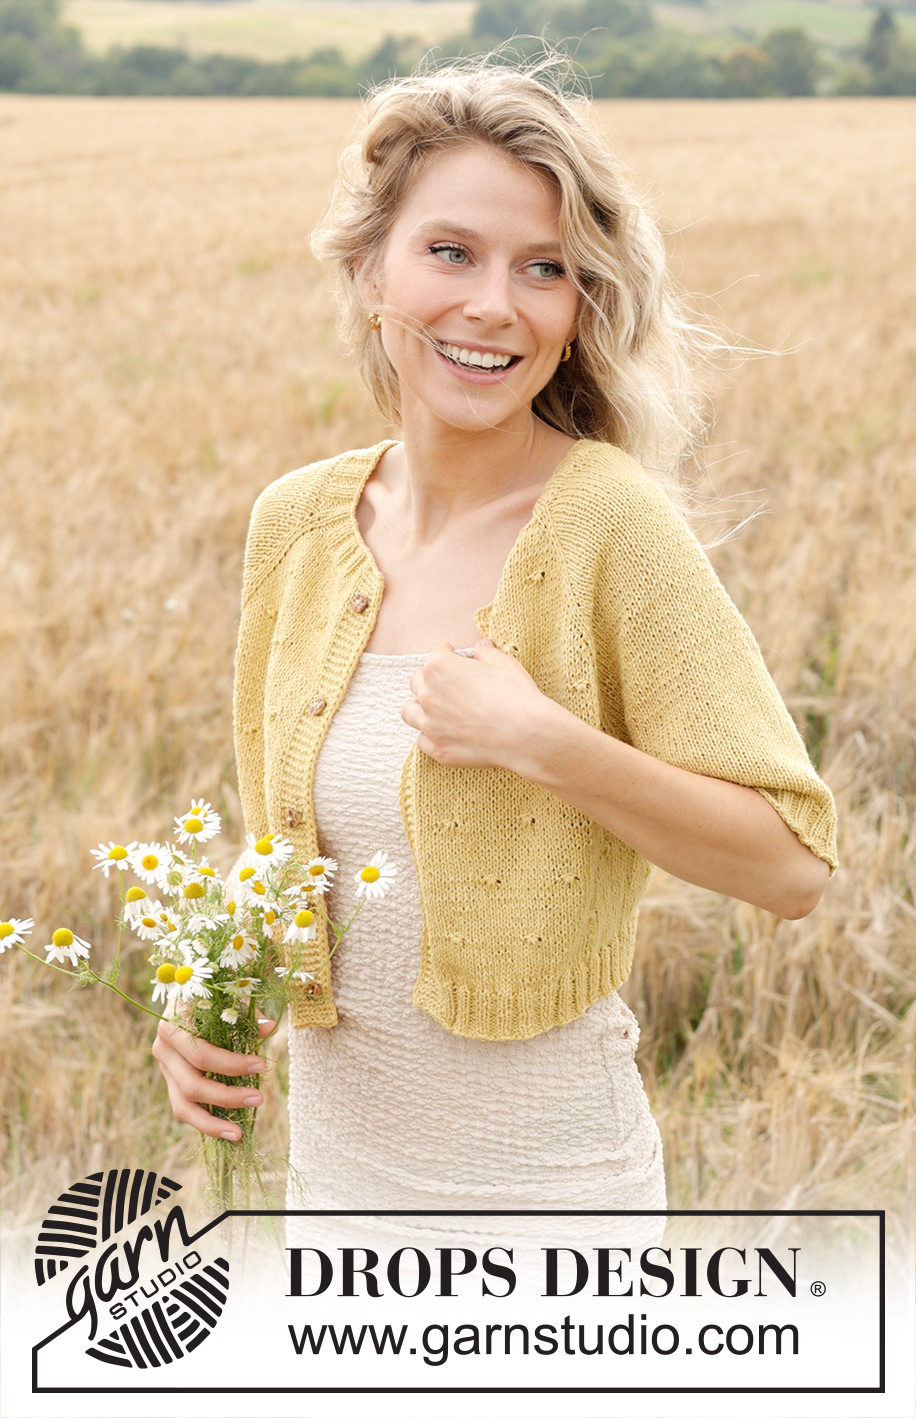
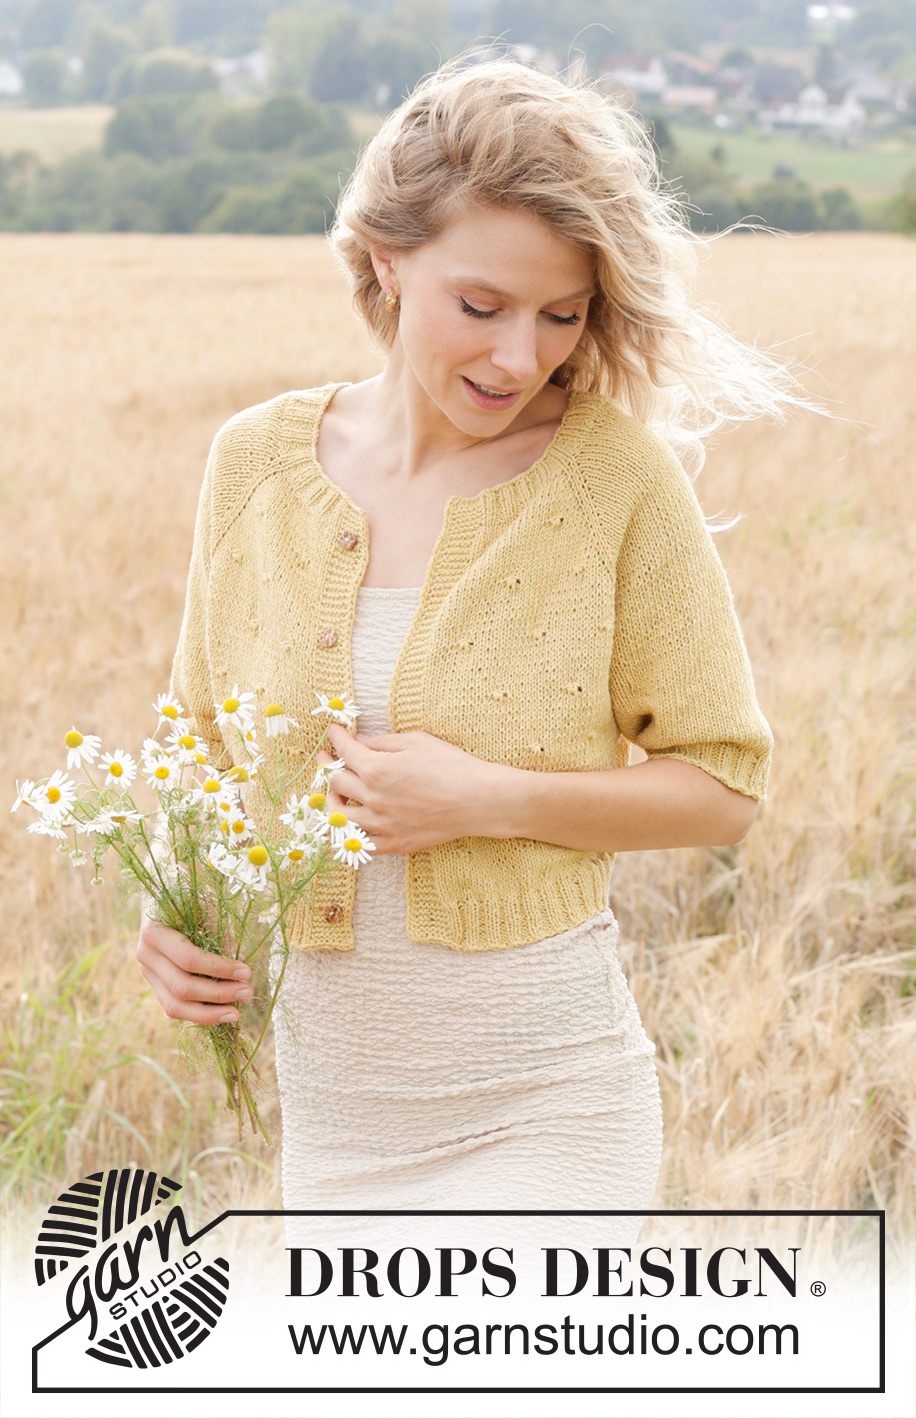
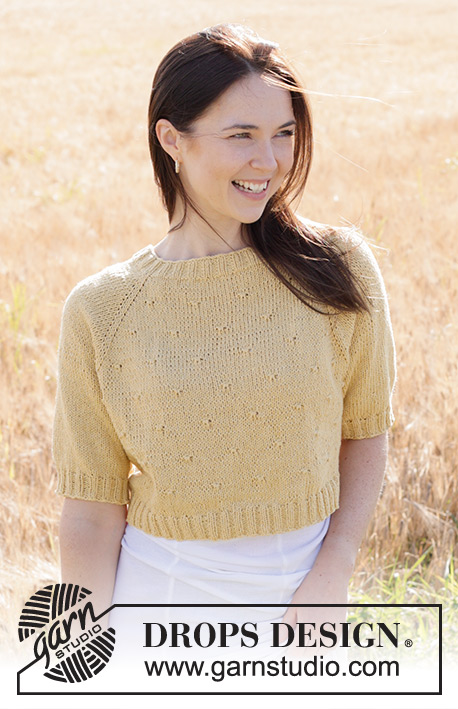
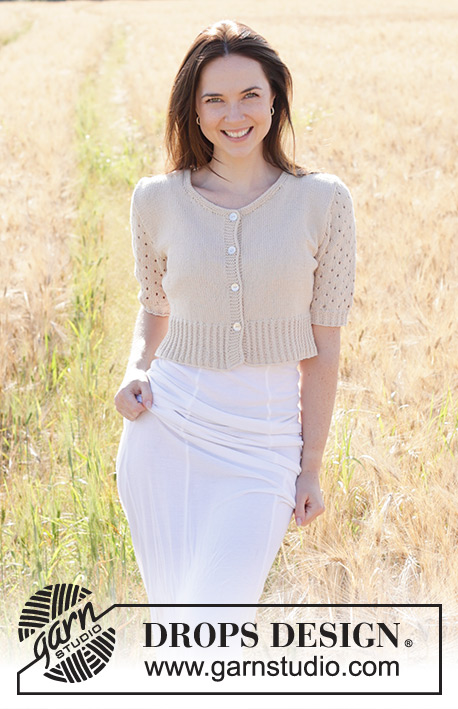
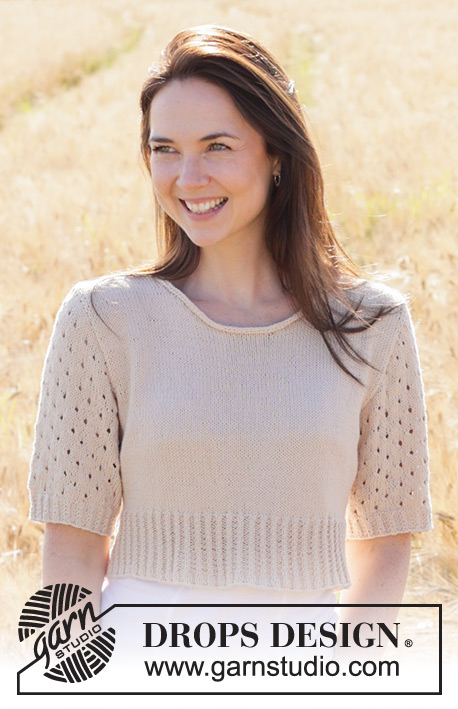
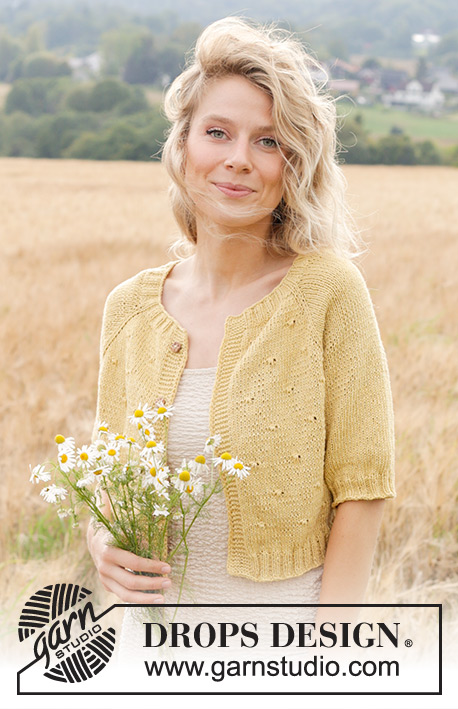
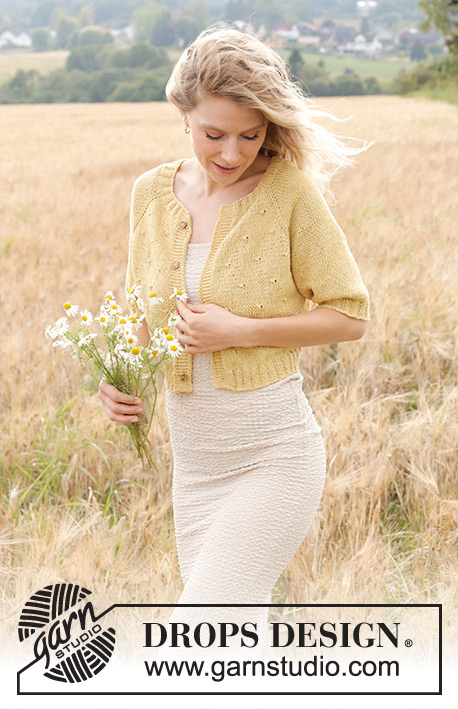
Knitted short-sleeved jacket in DROPS Belle. The piece is worked top down with raglan, relief-pattern and I-cord. Sizes S - XXXL.
DROPS 249-20 |
|||||||
|
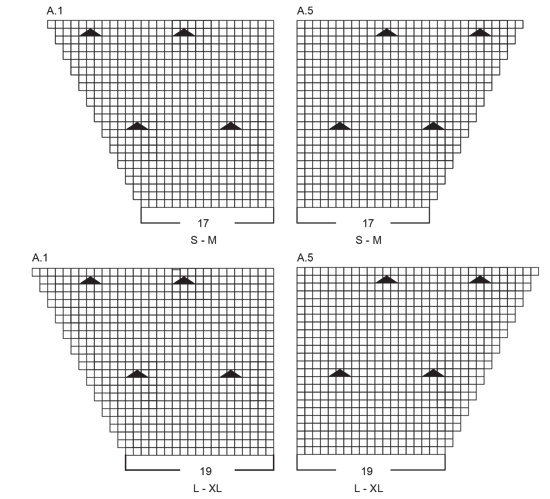
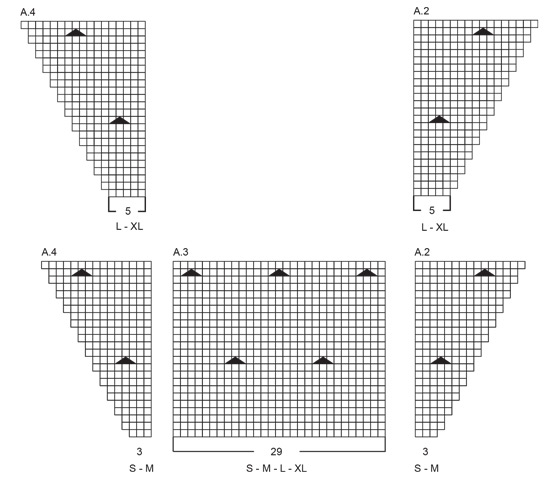
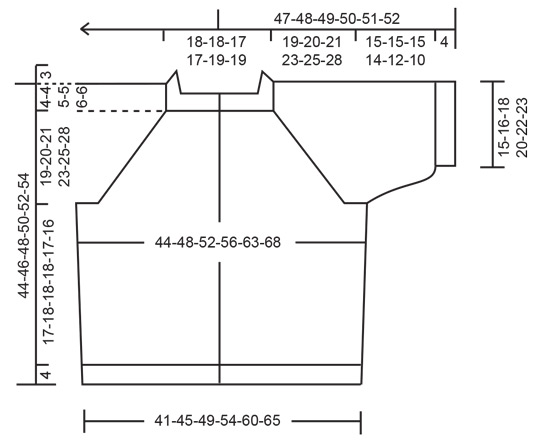
------------------------------------------------------- EXPLANATIONS FOR THE PATTERN: ------------------------------------------------------- GARTER STITCH (worked back and forth): Knit all rows. 1 ridge = knit 2 rows. BANDS WITH I-CORD: START OF ROW: Work the band as follows: Slip 1 stitch purl-wise, with yarn in front, knit 1, work 6 garter stitches. END OF ROW: Work the band as follows: Work until there are 8 stitches left on the row, work 6 garter stitches, slip 1 stitch purl-wise with yarn in front, knit 1. Work in the same way from both the right and wrong side. PATTERN: See diagrams A.1 to A.5. Choose diagram for your size. The diagrams show all rows in the pattern from the right side. RAGLAN: All increases are worked from the right side! Increase 1 stitch before/after 2 knitted stitches in each transition between body and sleeves (marker-thread sits between these 2 stitches). Increase 1 stitch by making 1 yarn over, which is worked twisted on the next row as follows. Then work the new stitches into the pattern on the front and back pieces and in stocking stitch on the sleeves. BEFORE MARKER-THREAD: Purl the back loop. No hole. AFTER MARKER-THREAD: Slip the yarn-over off the left needle and replace it the other way round (insert the left needle through the back when replacing it). Purl the front loop. No hole. DECREASE TIP-1 (for sides of body): Decrease 1 stitch on each side of the marker-thread: Start 4 stitches before the marker-thread, knit 2 together, work 4 stocking stitches (marker-thread sits between these 4 stitches), slip 1 stitch knit-wise, knit 1, pass the slipped stitch over the knitted stitch (2 decreased stitches). DECREASE TIP-2 (mid-under sleeve): Decrease 1 stitch on each side of the marker-thread as follows: Work until there are 3 stitches left before the marker-thread, knit 2 together, knit 2 (marker thread sits between these 2 stitches) slip 1 stitch knit-wise, knit 1, pass the slipped stitch over the knitted stitch (= 2 stitches decreased). BUTTONHOLES: Work buttonholes on the right band (when the garment is worn). Work from the right side when there are 5 stitches left on the row as follows: Make 1 yarn over, knit 2 together, knit 1, slip 1 stitch purl-wise with the strand in front, knit 1. On the next row (wrong side), knit the yarn over to leave a hole. The first buttonhole is worked on the first row after the neck. The other 4-4-5-5-5-5 buttonholes are then worked with approx. 9-9½-8-8-8½-9 cm between each one. The bottom buttonhole is worked in the transition between the stocking stitch and rib. ------------------------------------------------------- START THE PIECE HERE: ------------------------------------------------------- JACKET – SHORT OVERVIEW OF THE PIECE. The pattern uses both long and short circular needles; start with the length which fits the number of stitches and change when necessary. The neck and yoke are worked back and forth with circular needle, from mid front and top down. The yoke is divided for body and sleeves and the body continued back and forth with circular needle, while the sleeves wait. The sleeves are worked in the round, top down. NECK: Cast on 126-126-130-130-146-146 stitches with circular needle size 3 mm and DROPS Belle. Purl 1 row from the wrong side. Work as follows from the right side: 8 stitches according to BANDS WITH I-CORD – read above, * knit 2, purl 2 *, work from *-* until there are 10 stitches left, knit 2 and 8 stitches according to bands with I-cord. Continue this rib for 3 cm. Insert 1 marker inside the band. The yoke is measured from here. YOKE: Change to circular needle size 4 mm. Insert 4 marker-threads while working from the right side as follows: Work 8 band stitches as before, 17-17-17-17-21-21 stocking stitches and increase 1-1-3-3-1-1 stitches evenly spaced, insert 1 marker-thread before the next stitch (left front piece), work 20-20-20-20-24-24 stocking stitches and increase 0-0-2-2-2-2 stitches evenly spaced, insert 1 marker-thread before the next stitch (sleeve), work 36-36-40-40-40-40 stocking stitches and increase 1-1-1-1-3-3 stitches evenly spaced, insert 1 marker-thread before the next stitch (back piece), work 20-20-20-20-24-24 stocking stitches and increase 0-0-2-2-2-2 stitches evenly spaced, insert 1 marker-thread before the next stitch (sleeve), work 17-17-17-17-21-21 stocking stitches and increase 1-1-3-3-1-1 stitches evenly spaced, 8 band stitches as before (right front piece) – remember the BUTTONHOLES on the right band – read description above = 129-129-141-141-155-155 stitches. Each marker-thread sits between 2 knitted stitches from the rib (seen from the right side). Purl back from the wrong side with the 8 band stitches on each side worked as before. Now work PATTERN and increase for RAGLAN – read description above, i.e., work as follows from the right side: 8 band stitches as before, work A.1, increase for raglan on each side of the marker-thread (i.e., each side of 2 stocking stitches), work 18-18-20-20-24-24 stocking stitches (sleeve), increase for raglan on each side of the marker-thread, work A.2, A.3, A.4, increase for raglan on each side of the marker-thread, work 18-18-20-20-24-24 stocking stitches (sleeve), increase for raglan on each side of the marker-thread, work A.5, finish with 8 band stitches as before = 137-137-149-149-163-163 stitches. REMEMBER THE KNITTING TENSION! Continue this pattern back and forth, with A.1/A.5 on the front pieces, A.2/A.3/A.4 on the back piece, stocking stitch on the sleeves and 8 band stitches as before on each side. In addition, continue to increase for raglan on each side of all 4 marker-threads every 2nd row (each row from the right side) a total of 20-23-26-27-21-17 times, including the first increase = 289-313-349-357-323-291 stitches. NOTE: When the diagrams are finished in height, repeat them - making sure they are neatly above each other. Continue increasing for raglan, but every 2nd increase is only on the front and back pieces, i.e., increase on the front and back pieces every 2nd row and on the sleeves every 4th row (alternately 4 and 8 increased stitches). Increase like this 4-4-2-4-14-22 times on the front and back pieces (2-2-1-2-7-11 times on the sleeves). After the last increase there are 313-337-361-381-407-423 stitches and the yoke measures approx. 17-19-20-22-25-28 cm from the marker. In sizes XXL and XXXL The yoke is finished. In sizes S, M, L and XL continue working without further increases until the yoke measures 19-20-21-23 cm. Now divide for the body and sleeves: Work 51-54-57-60-66-70 stitches as before (front piece), place the next 62-68-74-78-80-80 stitches on 1 thread for the sleeve, cast on 6-8-10-14-16-20 stitches (in side under sleeve), work 87-93-99-105-115-123 stitches (back piece), place the next 62-68-74-78-80-80 stitches on 1 thread for the sleeve, cast on 6-8-10-14-16-20 stitches (in side under sleeve), work the last 51-54-57-60-66-70 stitches as before (front piece). The body and sleeves are finished separately. The piece is now measured from here! BODY: = 201-217-233-253-279-303 stitches. Insert 1 marker-thread 54-58-62-67-74-80 stitches in from each side, with 93-101-109-119-131-143 stitches between the marker-threads on the back piece. Allow the marker-threads to follow your work onwards – they are used when decreasing each side. Continue the pattern on the front and back pieces as far as possible under the sleeves, working the stitches which don’t fit into the pattern in stocking stitch. When the body measures 4 cm from the division, decrease 2 stitches on each side – read DECREASE TIP-1. Decrease like this every 4 cm a total of 3 times = 189-205-221-241-267-291 stitches (stitches which don’t fit into the pattern under sleeves are worked in stocking stitch). Work until the body measures 17-18-18-18-17-16 cm from the division. Knit 1 row from the right side and increase 17-21-21-25-27-27 stitches evenly spaced (bands worked as before and do not increase over the bands) = 206-226-242-266-294-318 stitches. Change to circular needle size 3 mm. Work as follows from the wrong side: 8 band stitches as before, * purl 2, knit 2 *, work from *-* until there are 10 stitches left, purl 2, 8 band stitches as before. Continue this rib for 4 cm. Cast off. The jacket measures approx. 44-46-48-50-52-54 cm from the shoulder. SLEEVES: Place the 62-68-74-78-80-80 stitches from the thread on one side of the piece on circular needle/double pointed needles size 4 mm and knit up 1 stitch in each of the 6-8-10-14-16-20 stitches cast-on under the sleeve = 68-76-84-92-96-100 stitches. Insert 1 marker-thread in the middle of the 6-8-10-14-16-20 stitches under the sleeve. Start by the marker-thread and work stocking stitch in the round. When the sleeve measures 2 cm from the division, decrease 2 stitches under the sleeve – read DECREASE TIP-2. Repeat the decrease when the sleeve measures 4 cm = 64-72-80-88-92-96 stitches. Work until the sleeve measures 15-15-15-14-12-10 cm from the division. There is 4 cm left. Try the jacket on and work to desired length before the rib. Knit 1 round and decrease 0-4-4-4-0-0 stitches evenly spaced = 64-68-76-84-92-96 stitches. Change to double pointed needles size 3 mm. Work rib (knit 2, purl 2) for 4 cm. Cast off a little loosely. The sleeve measures approx. 19-19-19-18-16-14 cm from the division. ASSEMBLY: Sew the buttons onto the left band. |
|||||||
Diagram explanations |
|||||||
|
|||||||
 |
|||||||
 |
|||||||
 |
|||||||
 |
|||||||
Have you finished this pattern?Tag your pictures with #dropspattern #dandelionheartcardigan or submit them to the #dropsfan gallery. Do you need help with this pattern?You'll find 33 tutorial videos, a Comments/Questions area and more by visiting the pattern on garnstudio.com. © 1982-2026 DROPS Design A/S. We reserve all rights. This document, including all its sub-sections, has copyrights. Read more about what you can do with our patterns at the bottom of each pattern on our site. |
|||||||


With over 40 years in knitting and crochet design, DROPS Design offers one of the most extensive collections of free patterns on the internet - translated to 17 languages. As of today we count 324 catalogues and 12290 patterns translated into English (UK/cm). 12290
We work hard to bring you the best knitting and crochet have to offer, inspiration and advice as well as great quality yarns at incredible prices! Would you like to use our patterns for other than personal use? You can read what you are allowed to do in the Copyright text at the bottom of all our patterns. Happy crafting!
Post a comment to pattern DROPS 249-20
We would love to hear what you have to say about this pattern!
If you want to leave a question, please make sure you select the correct category in the form below, to speed up the answering process. Required fields are marked *.