
Popular categories
Looking for a yarn?


Comments / Questions (36)
![]() Sarah wrote:
Sarah wrote:
...Und die Wendestelle liegt ja dann (außer nach d. 1. Reihe) immer bei Markierungsfaden 1 (+angegebene Maschen) oder? Dadurch komme ich doch häufiger bei Mark.faden 1+2 vorbei als an 3+4 für die linke Schulter und produziere dort mehr Strickreihen als an der anderen Schulter??? Ich versteh's leider einfach nicht. Tut mir leid!
23.01.2024 - 11:06DROPS Design answered:
Liebe Sarah, nach den 7 Reihen haben Sie die selbe Maschenanzahl am jedem Schulter gestrickt, da man genauso viel mehr Maschen am Ende jeder Reihe (HIn- sowie Rückreihe) strickt; da die Runden in die hintere Mitte beginnen, strickt man zuerst die rechte Schulter, dann beide Schulter (2. bis 6. Reihe) und bei der letztee Reihe strickt man nur die linke Schulter. Viel Spaß beim stricken!
24.01.2024 - 07:50
![]() Sarah wrote:
Sarah wrote:
Danke für Ihre Versuche mir zu helfen! Leider geht es immer noch nicht auf. Ich frag mich auch, warum man Anleit. nicht deutlicher schreiben kann? Mal heißt es "Markier. 1+2", dann sind aber mit d. "ersten beiden Markierungen" wieder Nr. 3+4 gemeint, weil sie die ersten in der Rückreihe sind? Daher noch unklar für mich: Ist hier nun in Reihe 2 mit "3 M nach dem letzten Markierungsfaden" MARKIER. NR. 1 gemeint (weil letzter i.d. Rückreihe?) oder doch MARK. NR. 4 (insges. letzter?)
23.01.2024 - 11:01DROPS Design answered:
Liebe Sarah, die Nummer für die Markierung sind diejenigen, die man am Anfang der Runde eingesetzt hat, so in der Strickrichtung: die 1. und die 2. Markierung bei der linke Ärmel = 1. Hin-Reihe vom Halsausschnitt; bei der 2. Reihe (Rückreihe) strickt man die Maschen bis 3 Maschen nach der letzten Markierung in der Strickrichtung: 2., 1. hintere Mitte, 4. 3. Markierung, bei der nächsten Hin-Reihe nimmt man 1 M beidseitig von jeder Markierung, die Ruckreihe stricken (4. R), noch 5. und 6. Reihe stricken mit jeweils mehr Maschen + Zunahmen bei der Hin-Reihe, und bei der 7. Reihe strickt man nur die Maschen für die linke Ärmel: 3. + 4. Markierung bis hintere Mitte. Ist es klarer so?
24.01.2024 - 07:45
![]() Sarah wrote:
Sarah wrote:
...und auch in der 6. Reihe dürfte es doch nicht heißen, dass man bis zur letzten Wendestelle zurück muss (das wäre ja wieder ein ganzer Kreis über alle Markierungen zurück, sondern nur zurück bis Markierer 3 plus paar Maschen stricken und ab dort dann die 7. Reihe starten oder? Andernfalls käme man ja wieder in der Hinreihe bei Markierer 1 und 2 vorbei... Verwirrend! :)
22.01.2024 - 23:41DROPS Design answered:
Liebe Sarah, bei den 2 ersten verkürzten Reihen strickt man 3 Maschen nach der Markierung (beidseitig), dann strickt man 2 Maschen mehr als die vorige verkürzte Reihe, so bei der 6. Reihen stricken Sie 2 Maschen mehr als die vorige verkürzte Reihe/Wendestelle. Viel Spaß beim stricken!
23.01.2024 - 07:44
![]() Sarah wrote:
Sarah wrote:
Danke, danke, danke, dass Sie so schnell versucht haben mir zu helfen!!! ♡ Wenn ich Sie nun aber richtig verstanden habe, wird in der 7. Reihe (=li. Schulter, wenn getragen) erst beim 3. und 4. Markierer zugenommen und eben NICHT wie in der Anleitung genannt, nochmal "beidseitig der 2 ersten Markierungsfäden arbeiten" (denn Mark. 1+2 wären ja erneut rechte Schulter wie schon in der 1. Reihe...)?
22.01.2024 - 21:56DROPS Design answered:
Liebe Sarah, das sind hier selbe Markierungen, bei der 7. Reihe stricken Sie die linke Schulter = 3. und 4. Markierung, das sind aber die 2 ersten Markierungen der Reihe, so wird man nur an diesen beiden Markierungen zunehmen. Viel Spaß beim stricken!
23.01.2024 - 07:39
![]() Sarah wrote:
Sarah wrote:
Bitte löschen Sie diese und meine letzte Nachricht, es hat nicht funktioniert hier ein Bild einzufügen... Jetzt steht da alles chaotisch durcheinander ;-)
21.01.2024 - 12:00
![]() Sarah wrote:
Sarah wrote:
< Hintere Mitte Mark. 1 Mark. 4 Re. Ärmel v ^ Li. Ärmel Mark. 2 > Mark. 3
21.01.2024 - 11:58
![]() Sarah wrote:
Sarah wrote:
Korrigiere Tippfehler in Teil 1 der Frage: "STATT bei der (getragen) rechten Schulter"
21.01.2024 - 11:56
![]() Sarah wrote:
Sarah wrote:
Ich habe die Anleitung sogar grafisch umgesetzt mit Kreisen/Pfeilen für Hin- und Rückreihen, ich komme dabei aber immer wieder zu dem Ergebnis, dass laut Ihrer Anleitung über den 1. und 2. Markierer hinweg am Ende insgesamt 4x (!) zugenommen wurde, hingegen über den 3. + 4. Markierer nur 2x. Dadurch wird an einer Schulter doch mehr zugenommen als an der anderen? Kann es sein, dass sich hier ein Fehler eingeschlichen hat? Oder zähle ich falsch, siehe folgendes Bild? Vielen Dank vorab!
21.01.2024 - 11:52DROPS Design answered:
Liebe Sarah, da die verkürzten Reihen mit einer Hin-Reihe an der hinteren Mitten beginnen, werden die ersten Markierung die 1. und die 2. Markierung (rechte schulter wenn man den Pullver trägt), dann die 7. Reihe (siehe unten) wird die linke Schulter. Vielleicht kann Ihnen doch dieses Video besser helfen?
22.01.2024 - 10:12
![]() Sarah wrote:
Sarah wrote:
Hi :) Ich verteile meine Nachricht auf mehrere Teile. Ich hoffe sehr auf Ihre Hilfe, ich bin am Verzweifeln bei den verkürzten Reihen mit Raglanzunahmen. Leider ist mir auch das hierzu empfohlene DROPS-Video keine Hilfe, da es NICHT wie in obiger Anleitung in der hinteren Rückenmitte startet, sondern irgendwo bei "Markierer Nr. 3". bei der (getragen) re. Schulter, oder?
21.01.2024 - 11:52DROPS Design answered:
Liebe Sarah, die 2. bzw 3. Markierung bei dem Halsausschnitt ist die 2. bzw 3. Markierung, die Sie am Ende der Halsblende eingesetzt wurden - siehe auch das passende Video; bei den verkürzten Reihen nehmen Sie dann nur bei den Hin-Reihen: 4 M bei der 1. Masche (2 M bei der 1. + 2. Markierung, 8 M bei der 3. und 5. Reihe (bei jeder Markierung) und 4 M bei der 7. Reihe (2 M bei der 3. + 4. Markierung). Hoffentlich kann das Ihnen helfen.
22.01.2024 - 10:10
![]() Malla wrote:
Malla wrote:
19 cm under armen og ned på str xl. Dekker nok ikke navlen min det. Må være noe galt i oppskrifta.
08.01.2024 - 23:36
|
|
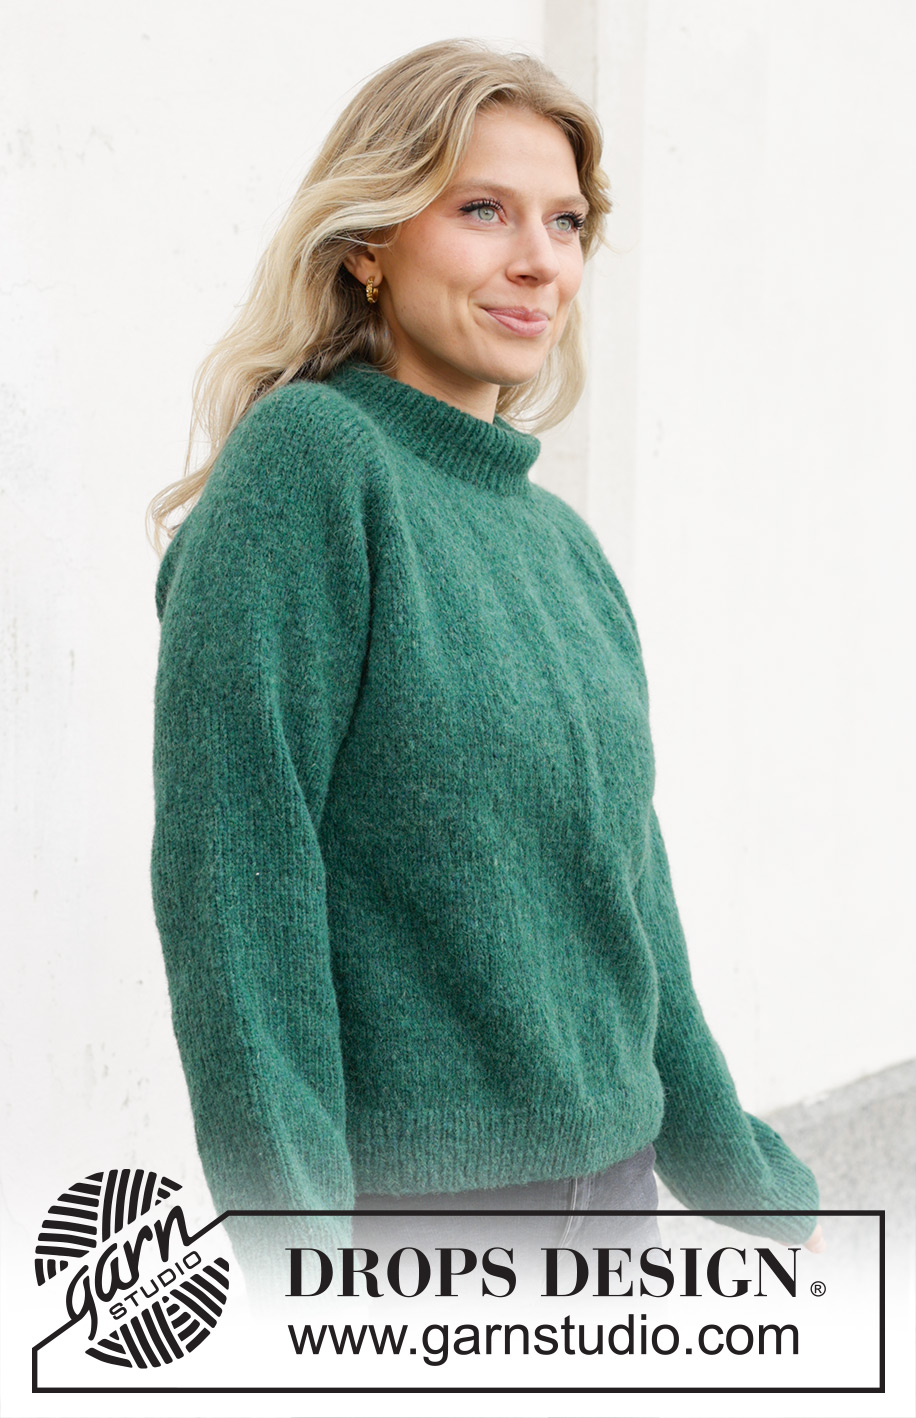
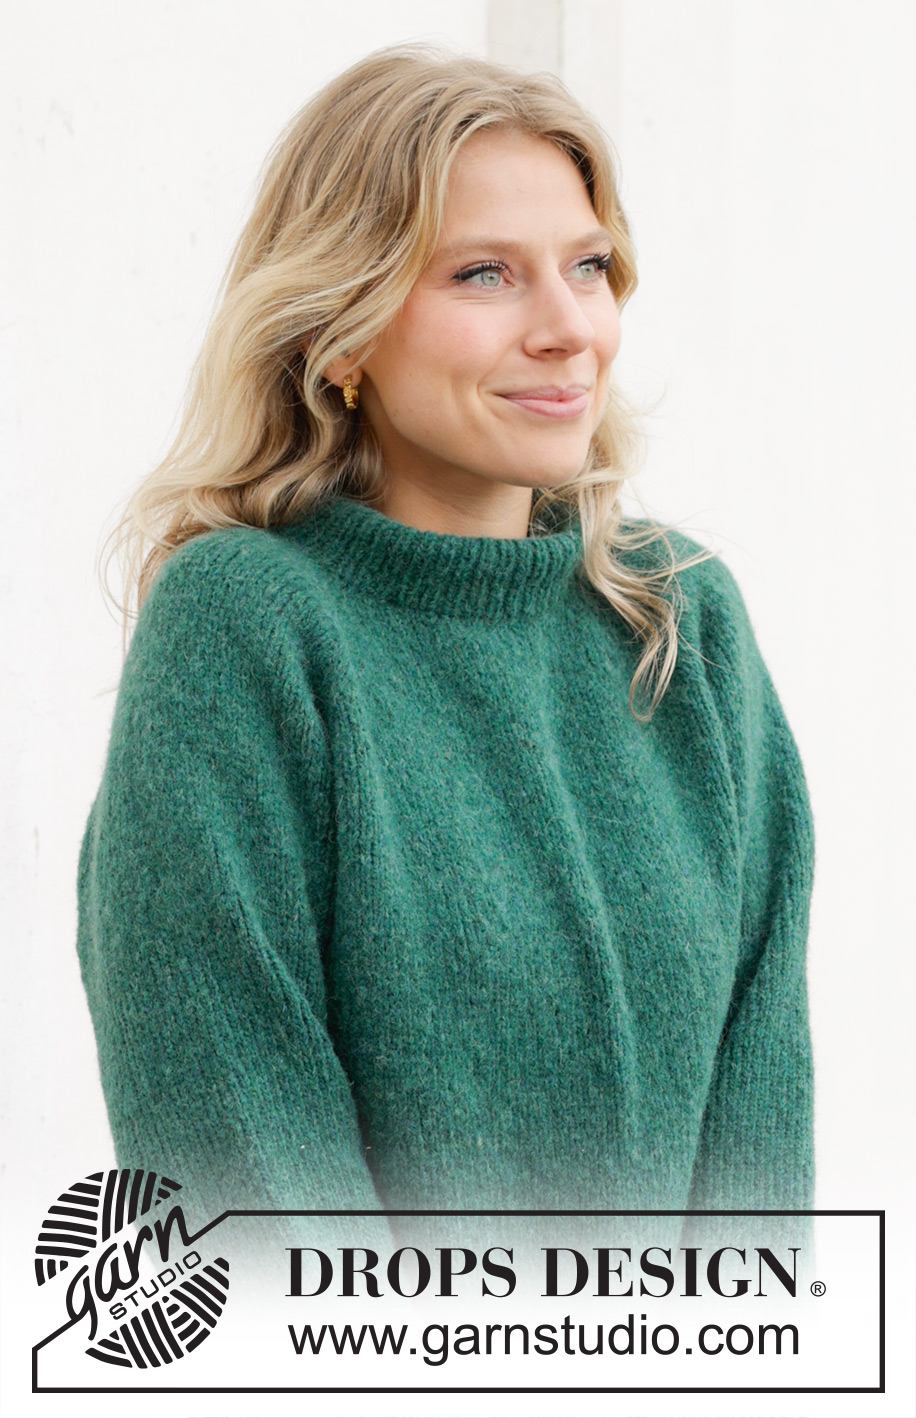
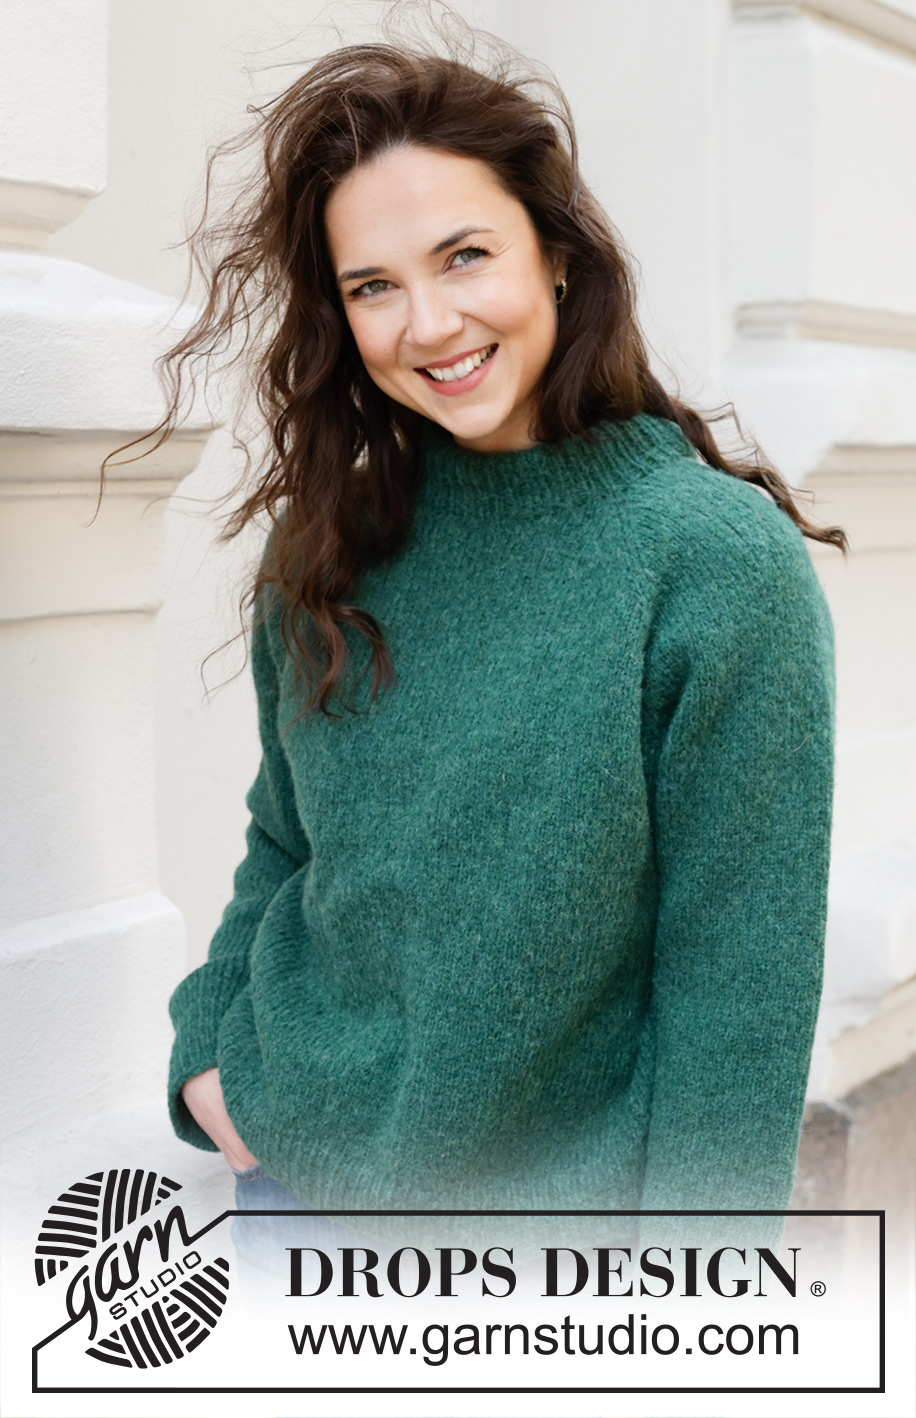
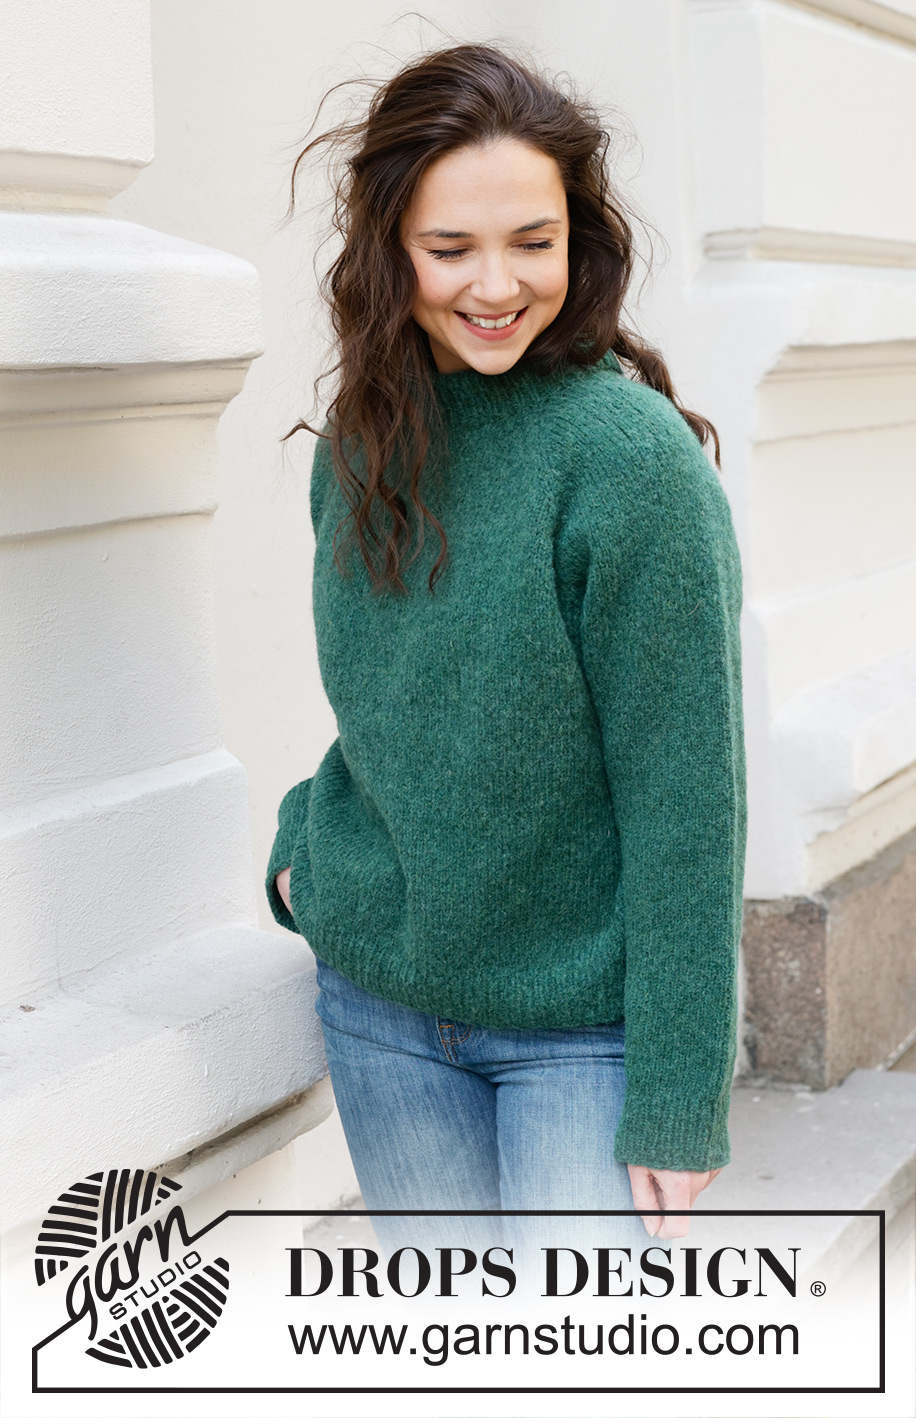
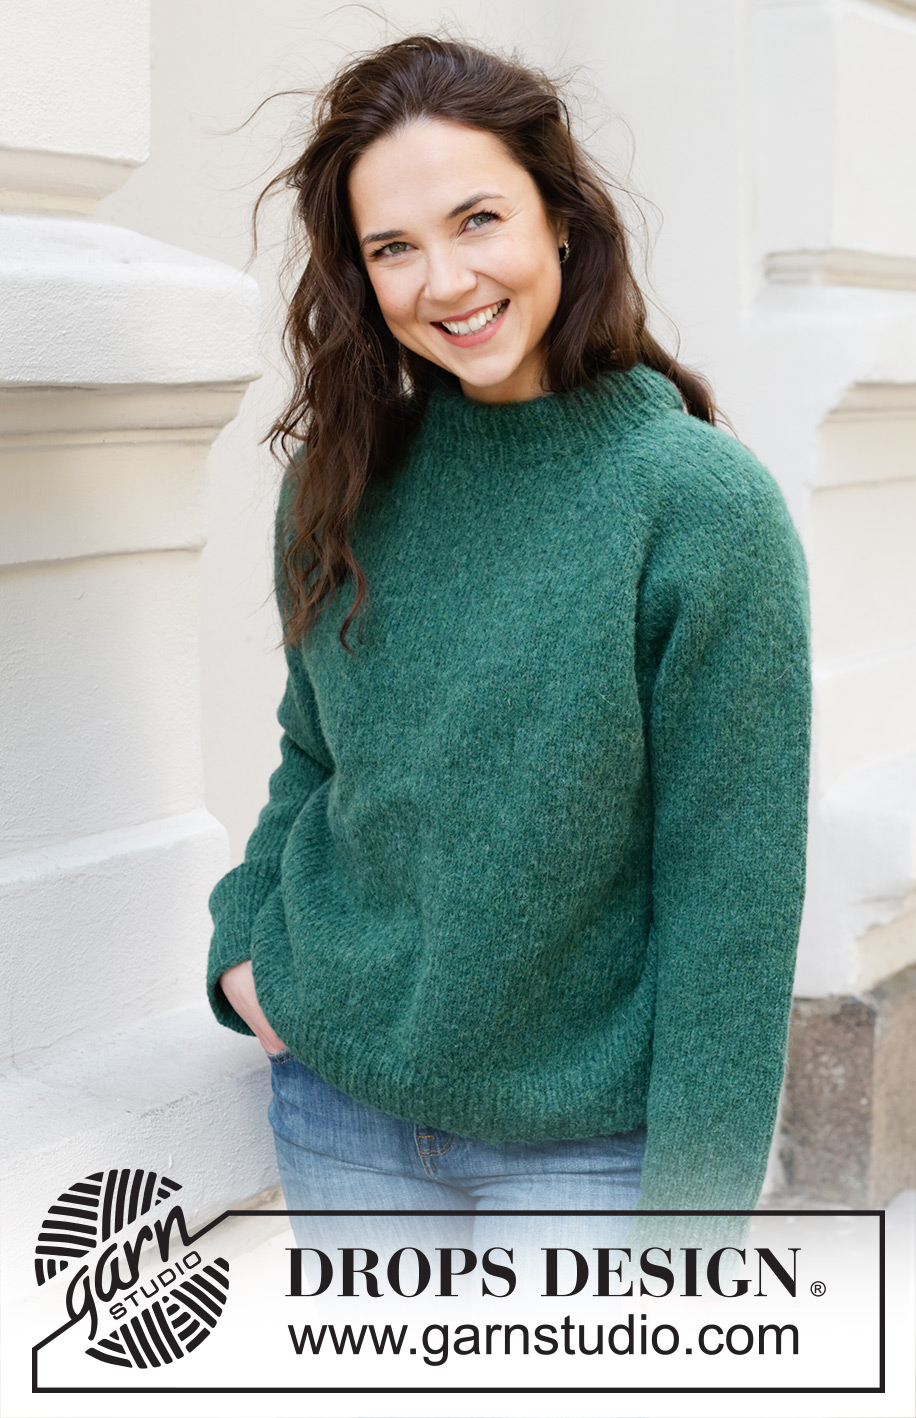
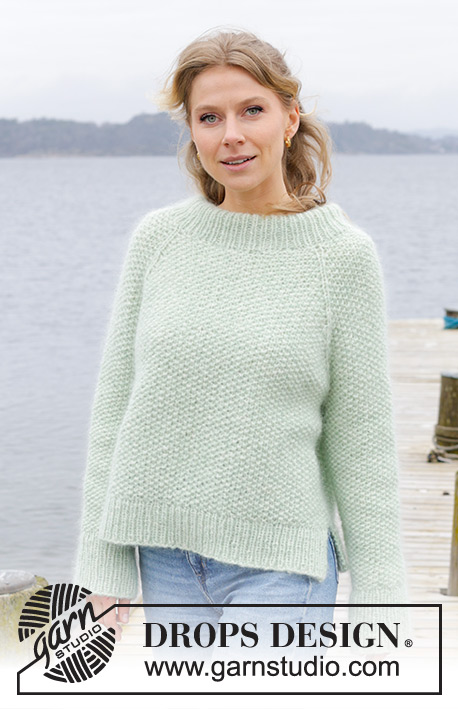
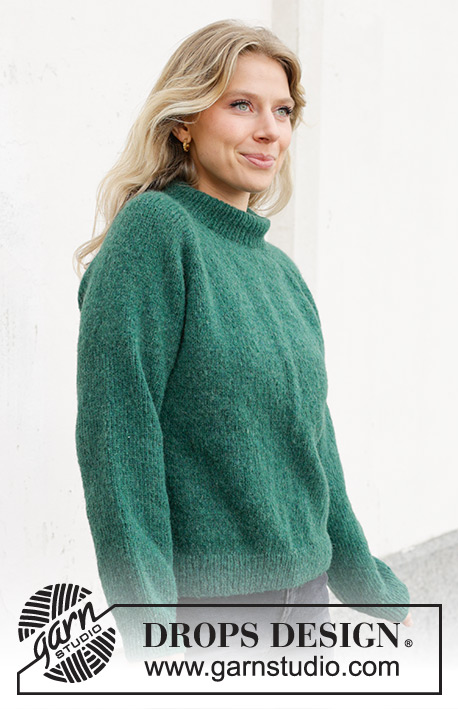
Green Hill Sweater#greenhillsweater |
|
 |
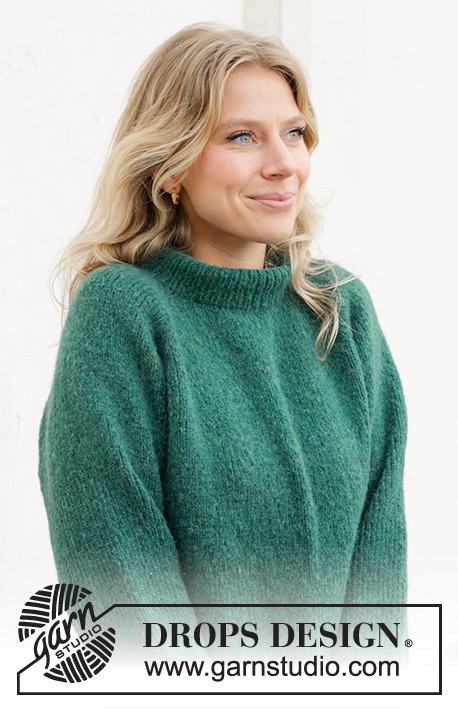 |
Knitted jumper in DROPS Air. The piece is worked top down with raglan and double neck. Sizes S - XXXL.
DROPS 244-7 |
|
|
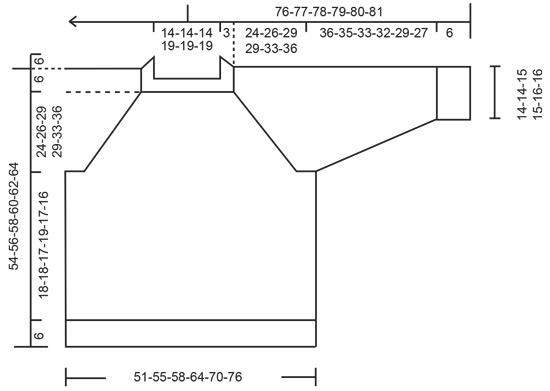
------------------------------------------------------- EXPLANATIONS FOR THE PATTERN: ------------------------------------------------------- RAGLAN: Increase 1 stitch before/after 2 stitches in each transition between the body and sleeves; the marker-thread sits between these 2 stitches. Increase 1 stitch by making 1 yarn over which is worked twisted on the next row/round to avoid a hole. The new stitches are then worked in stocking stitch. DECREASE TIP (for sleeves): Start 3 stitches before the marker-thread, knit 2 together, knit 2 (marker-thread sits between these 2 stitches), slip 1 stitch knit-wise, knit 1 and pass the slipped stitch over the knitted stitch. ------------------------------------------------------- START THE PIECE HERE: ------------------------------------------------------- JUMPER – SHORT OVERVIEW OF THE PIECE: The neck and yoke are worked in the round with circular needle, from mid back and top down. The yoke is divided for the body and sleeves and the body is continued in the round with circular needle. The sleeves are worked in the round with short circular needle/double pointed needles. DOUBLE NECK: Cast on 88-88-88-104-104-104 stitches with DROPS Air, using short circular needles size 4 and 5 mm held together. Remove the needle size 5 mm keeping the stitches with needle size 4 mm (this gives you an elastic cast-on edge). Knit 1 round, then work rib in the round (knit 1, purl 1) for 12 cm. Fold the neck double to the inside and work 1 more round of rib, working every 2nd stitch together with its corresponding stitch on the cast-on edge. You now have a double neck. The yoke is measured from here. Insert 4 marker-threads (used when increasing for raglan), without working the stitches and inserting them between 2 stitches as follows: Count 12-12-12-16-16-16 stitches (half back piece), insert 1 marker-thread, count 20 stitches (sleeve), insert 1 marker-thread, count 24-24-24-32-32-32 stitches (front piece), insert 1 marker-thread, count 20 stitches (sleeve), insert 1 marker-thread, there are 12-12-12-16-16-16 stitches left on the round (half back piece). NECKLINE: Change to circular needle size 5 mm and work short rows for the neckline, starting mid-back, as follows: ROW 1 (right side): Knit and increase for RAGLAN – read description above, on each side of the first 2 marker-threads (4 increased stitches), turn when you have worked 3 stitches past the 2nd marker-thread. ROW 2 (wrong side): Purl and turn when you have worked 3 stitches past the last marker-thread. ROW 3 (right side): Knit and increase for raglan on each side of all 4 marker-threads, (8 increased stitches) turn when you have worked 2 stitches past the previous turn. ROW 4 (wrong side): Purl and turn when you have worked 2 stitches past the previous turn. ROW 5 (right side): Knit and increase for raglan on each side of all 4 marker-threads, (8 increased stitches) turn when you have worked 2 stitches past the previous turn. ROW 6 (wrong side): Purl and turn when you have worked 2 stitches past the previous turn. ROW 7 (right side): Knit and increase for raglan on each side of the first 2 marker-threads (4 increased stitches), knit to mid-back. The short rows are finished and you have increased 3 times for raglan at each marker-thread = 112-112-112-128-128-128 stitches. YOKE: REMEMBER THE KNITTING TENSION! Work stocking stitch in the round from mid-back and increase for raglan every 2nd round 3 more times = 136-136-136-152-152-152 stitches. Continue to increase for raglan every 2nd round but every 2nd increase is only on the body, i.e., increase on the body every 2nd round and on the sleeves every 4th round, alternately 4 and 8 increased stitches. Increase like this 18-22-26-26-30-30 times on the body (9-11-13-13-15-15 times on the sleeves). SIZES S, M, and XXXL: Continue with stocking stitch and increase for raglan but now only increase on the body every 2nd round (the sleeve increases are finished) 2-1-4 times. ALL SIZES: You have increased a total of 26-29-32-32-36-40 times on the body and 15-17-19-19-21-21 times on the sleeves (including the increases on the short rows). After the last increase there are 252-272-292-308-332-348 stitches. Continue with stocking stitch until the yoke measures 24-26-29-29-33-36 cm, measured mid-back after the neck. Divide for the body and sleeves as follows: Work the first 38-41-44-48-52-56 stitches (half back piece), place the next 50-54-58-58-62-62 stitches on a thread for the sleeve, cast on 10-10-10-12-14-16 stitches (in side under sleeve), work 76-82-88-96-104-112 stitches (front piece), place the next 50-54-58-58-62-62 stitches on a thread for the sleeve, cast on 10-10-10-12-14-16 stitches (in side under sleeve), work the last 38-41-44-48-52-56 stitches (half back piece). BODY: = 172-184-196-216-236-256 stitches. Work stocking stitch in the round for a further 18-18-17-19-17-16 cm. Knit 1 round and increase 36-40-44-48-52-56 stitches evenly spaced = 208-224-240-264-288-312 stitches. Change to circular needle size 4 mm. Work rib (knit 1, purl 1) for 6 cm. Cast off. The jumper measures approx. 54-56-58-60-62-64 cm from the shoulder. SLEEVES: Place the 50-54-58-58-62-62 stitches from the thread on the one side of the piece on short circular needle/double pointed needles size 5 mm and knit up 1 stitch in each of the 10-10-10-12-14-16 stitches cast on under the sleeve = 60-64-68-70-76-78 stitches. Insert a marker-thread in the middle of the new stitches under the sleeve. Work stocking stitch in the round. When the sleeve measures 4 cm, decrease 2 stitches under the sleeve – read DECREASE TIP. Decrease like this every 5-3½-2½-2½-2-1½ cm a total of 6-8-9-10-11-11 times = 48-48-50-50-54-56 stitches. Continue working until the sleeve measures 36-35-33-32-29-27 cm from the division. Knit 1 round and increase 8-8-10-10-10-12 stitches evenly spaced = 56-56-60-60-64-68 stitches. Change to double pointed needles size 4 mm and work rib (knit 1, purl 1) for 6 cm. Cast off. The sleeve measures approx. 42-41-39-38-35-33 cm from the division. Work the other sleeve in the same way. |
|
 |
|
Have you finished this pattern?Tag your pictures with #dropspattern #greenhillsweater or submit them to the #dropsfan gallery. Do you need help with this pattern?You'll find 28 tutorial videos, a Comments/Questions area and more by visiting the pattern on garnstudio.com. © 1982-2026 DROPS Design A/S. We reserve all rights. This document, including all its sub-sections, has copyrights. Read more about what you can do with our patterns at the bottom of each pattern on our site. |
|


With over 40 years in knitting and crochet design, DROPS Design offers one of the most extensive collections of free patterns on the internet - translated to 17 languages. As of today we count 324 catalogues and 12290 patterns translated into English (UK/cm). 12290
We work hard to bring you the best knitting and crochet have to offer, inspiration and advice as well as great quality yarns at incredible prices! Would you like to use our patterns for other than personal use? You can read what you are allowed to do in the Copyright text at the bottom of all our patterns. Happy crafting!
Post a comment to pattern DROPS 244-7
We would love to hear what you have to say about this pattern!
If you want to leave a question, please make sure you select the correct category in the form below, to speed up the answering process. Required fields are marked *.