
Popular categories
Looking for a yarn?

































Comments / Questions (115)
 Emma wrote:
Hi there, I’m trying to read diagram A and am getting very lost! I don’t understand how the diagram is 4 stitches wide, isn’t it 5? I also don’t understand what it means by yarning over inbetween 2 stitches. Could I have some clarity please. Thanks x
13.09.2026 - 03:45DROPS Design answered:
Hi Emma, Yes, A.1 is 5 stitches in width. The yarn over between 2 stitches means that you work 1 stitch, make a yarn over, then work the next stitch. Regards, Drops Team.
13.09.2026 - 20:51
 Thea wrote:
Wilt u aub mijn vorige vraag verwijderen.... 42 plus 7 is 41 .....en dat is precies goed .
17.08.2026 - 16:49DROPS Design answered:
Dag Thea,
Goed om te horen dat je eruit gekomen bent. Je vraag is verwijderd. Veel breiplezier!
19.08.2026 - 09:55
 Larue Françoise wrote:
Merci pour ce modèle très facile à réaliser. Fanfan
28.07.2026 - 17:34
 Anne wrote:
Hei, kan eg bruke Drops Cotton Viscose til denne toppen? Har liggende 400 gram som eg ynskjer å bruke :-)
24.07.2026 - 22:01DROPS Design answered:
Hei Anne, Ja. Cotton Viscose også tilhører garngruppe A slik at det kan brukes til denne oppskriften. Hilsen Drops team.
26.07.2026 - 06:48
 Karin wrote:
Leider hab ich bei original Garn und Nadeln nicht die gewünschte Grösse erreicht. Sprich bei 2,5 er Nadel und 112 Maschen keine 41 cm bei grösse M. Musste auf 3.5er Nadeln wechseln.....
14.07.2026 - 13:13
Kathinka wrote:
Hoe brei ik de bandjes? Brei 1 naald recht aan de goede kant, * duw de steken terug naar het begin van de naald, trek de draad aan en brei de 5-5-5-7-7-7 steken aan de goede kant opnieuw recht * Ik begrijp niet hoe ik dit moet doen? Ik kan toch niet opnieuw rechtbreien een de goede kant?
13.07.2026 - 09:51DROPS Design answered:
Dag Kathinka,
Je breit inderdaad recht aan de goede kant (zorg dat je een naald zonder knop hebt) en duw de steken dan weer terug. De draad zit nu aan de andere kant, maar toch ga je opnieuw aan dezelfde kant breien. De draad trekt het werk aan de achterkant waardoor je uiteindelijk een soort tube breit.
14.07.2026 - 20:59
Catherine wrote:
Bonjour, je suis bloqué pour compte les bretelles, vous donnez des consignes pour les rangs endroits , mais que fait on pour les rangs envers ?
12.07.2026 - 18:22DROPS Design answered:
Bonjour Catherine, vous ne tricotez que sur l'endroit. Regardez la video ICI. Bon tricot!
20.07.2026 - 15:41
 Grażyna wrote:
Zamykanie oczek na lewej stronie robótki: - jak wykonać 2 oczka razem przekręcone na lewo?
02.07.2026 - 22:06DROPS Design answered:
Witaj Grażyno, jak to zrobić znajdziesz TUTAJ. Pozdrawiamy!
03.07.2026 - 08:27
 Aisling wrote:
Hi, in the A1 pattern when it says no stitch here go to next symbol, does this mean I slip that stitch? Sorry if I'm being silly I just can't get my head around it. Thanks
19.06.2026 - 19:53DROPS Design answered:
Dear Aisling, when you see the black square in the diagram, this means there is no stitch yet there; for ex on first row in A.4 you work over 4 sts: (P1, K1, YO, K1, P1) then you get 5 sts; on 3rd row you will decrease 1 stitch (slip 1, k2, psso) - there remain 4 sts. Happy knitting!
22.06.2026 - 07:29
 Katelijn wrote:
Welke maat kies ik best? Hebben jullie een matentabel?
18.05.2026 - 22:55DROPS Design answered:
Dag Katelijn,
Onderaan het patroon staat een maattekening waarin alle afmetingen staan voor iedere maat. Je zou deze het best kunnen vergelijken met een bestaand kledingstuk dat je goed zit en aan de hand daarvan de maat bepalen. Meer informatie over kledingmaten kun je ook op kledingmaat.nl vinden.
19.05.2026 - 20:40
|
||||||||||||||||
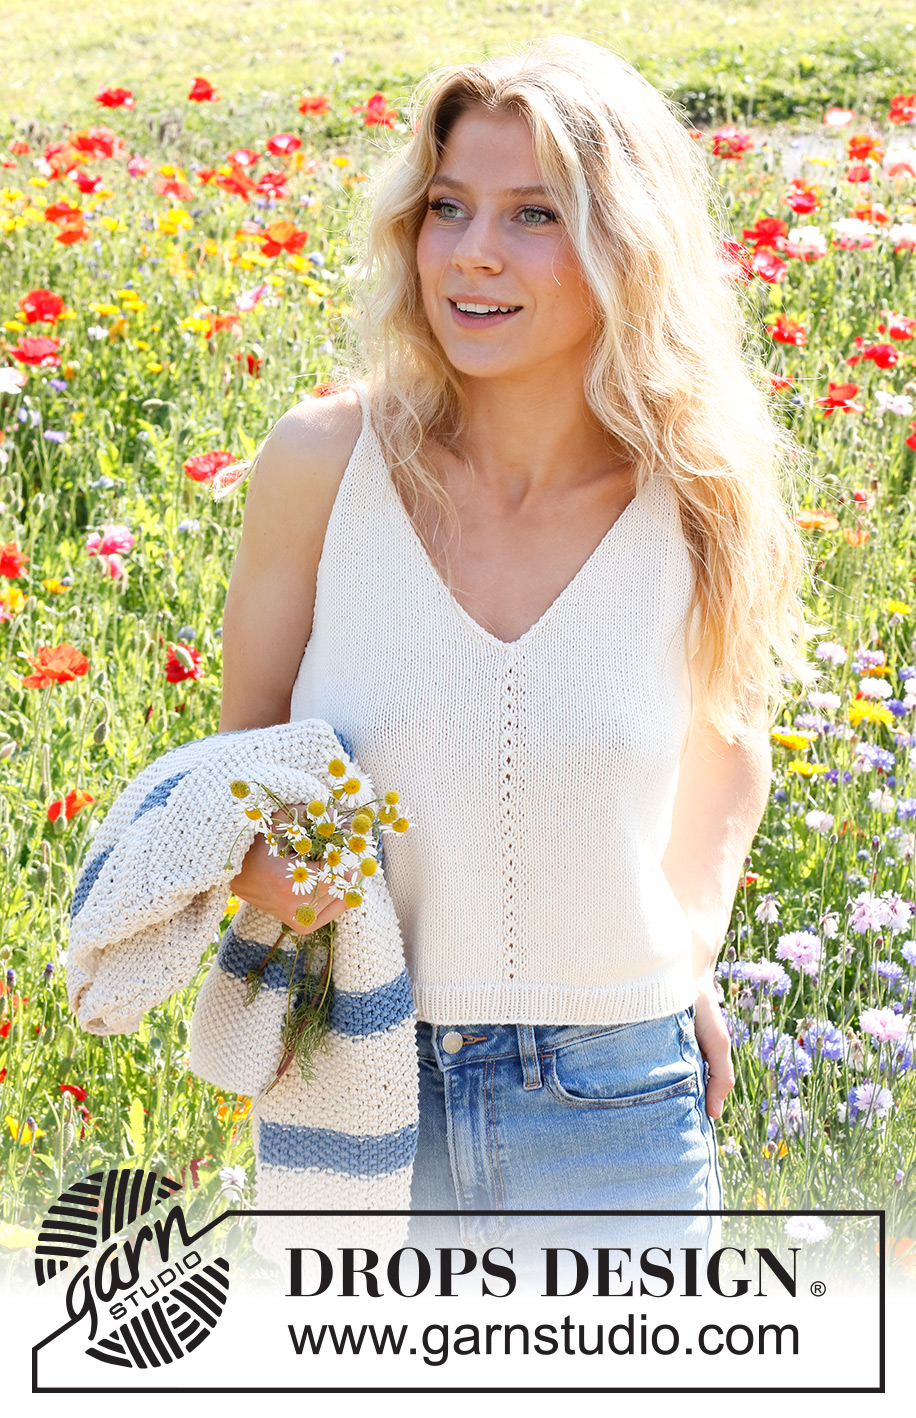
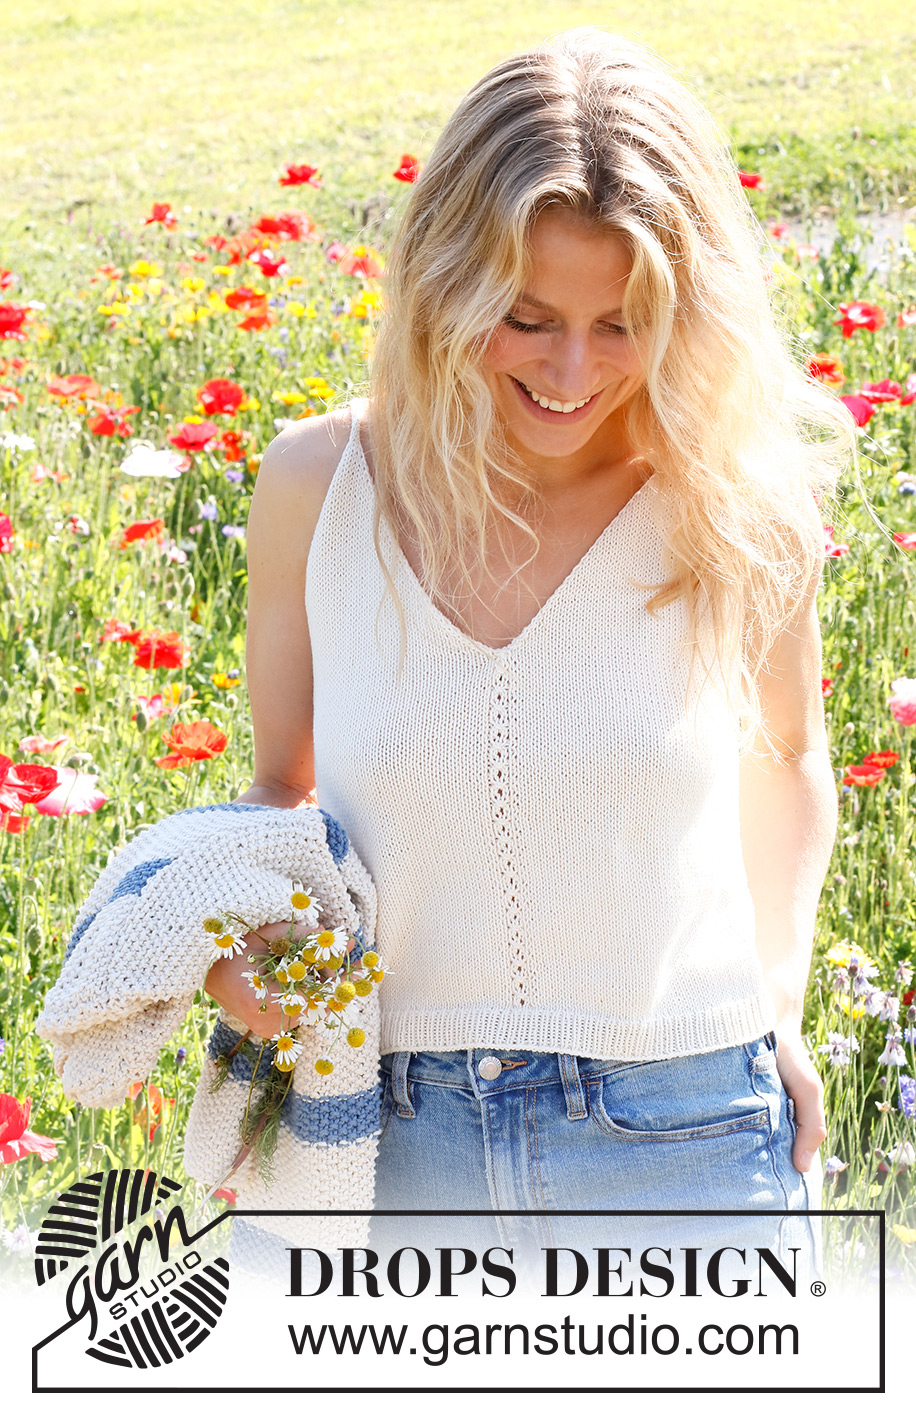
White Sails#whitesailstop |
||||||||||||||||
 |
 |
|||||||||||||||
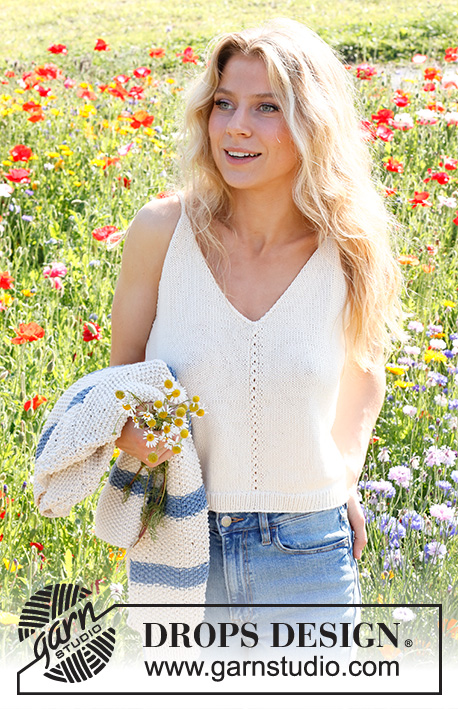
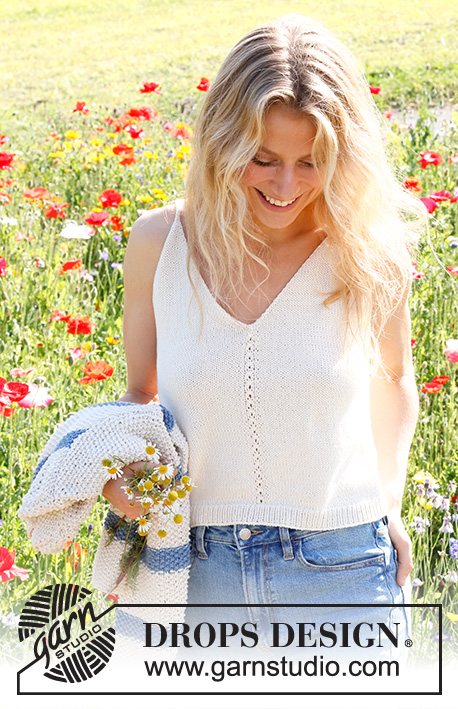
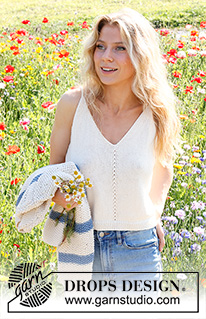
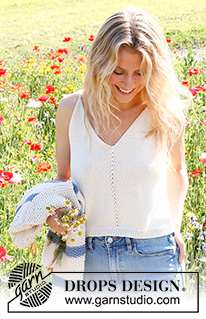
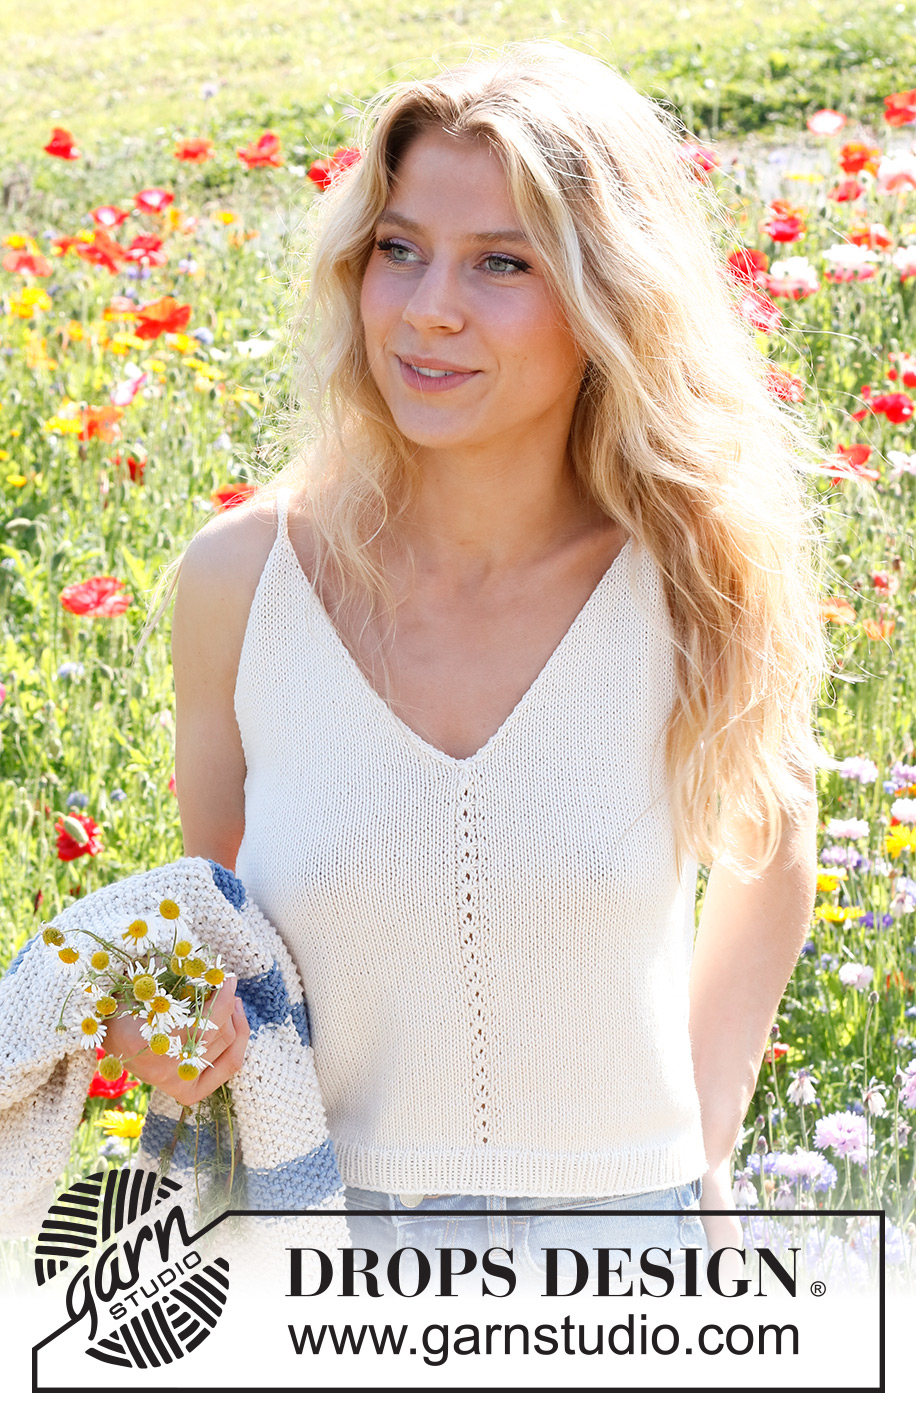
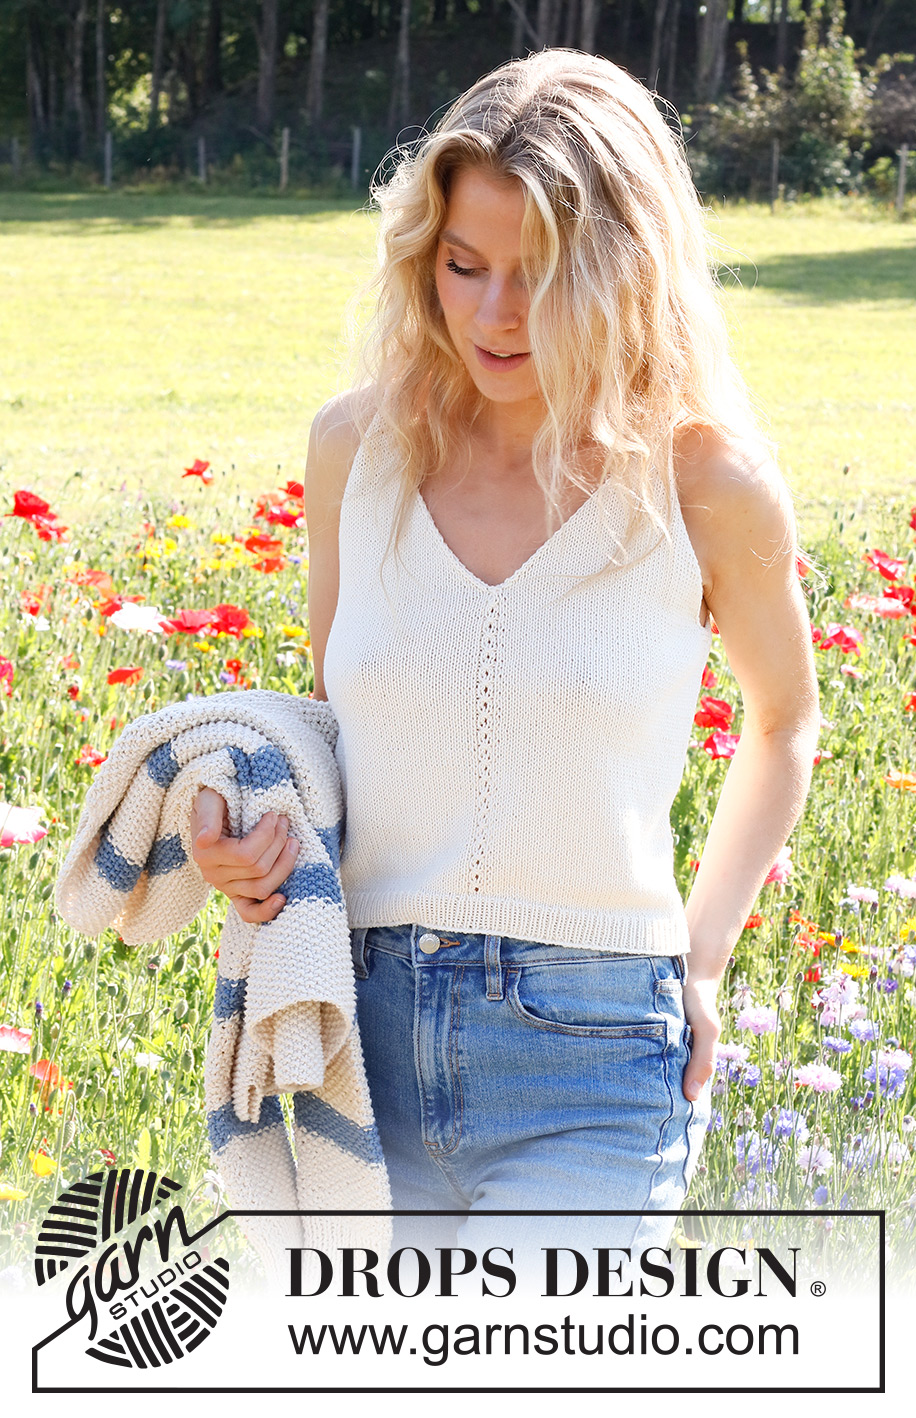
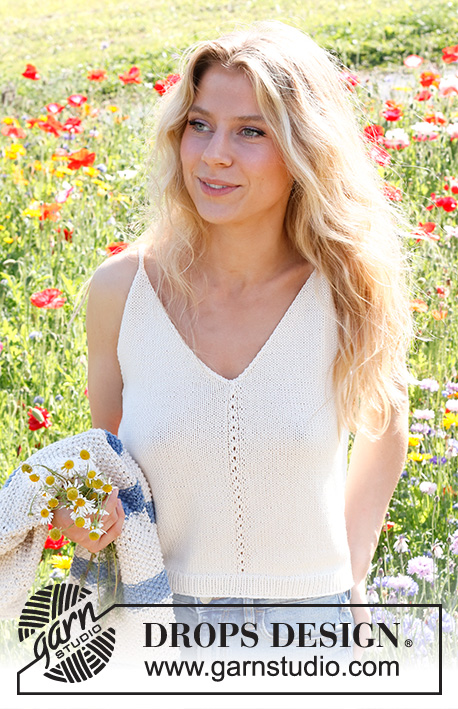
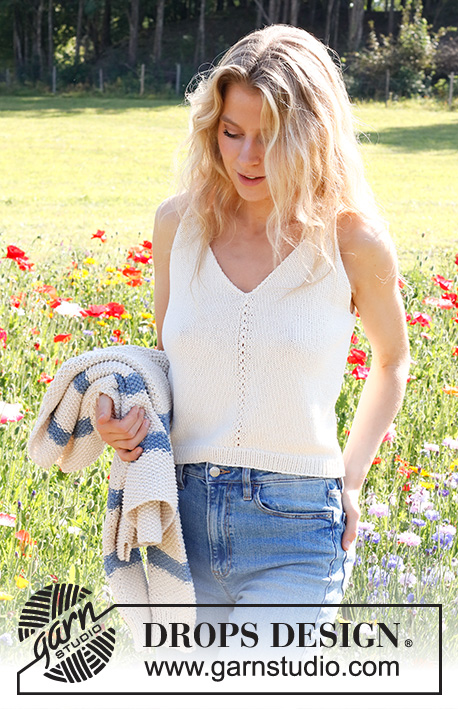
Knitted top in DROPS Safran or DROPS Magic. The piece if worked bottom up in stocking stitch. Sizes S - XXXL.
DROPS 230-1 |
||||||||||||||||
|
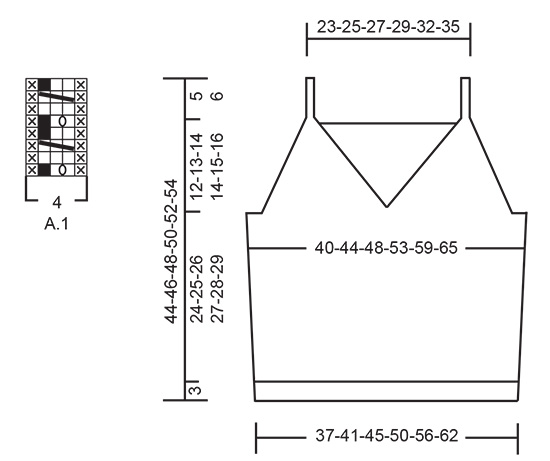
------------------------------------------------------- EXPLANATIONS FOR THE PATTERN: ------------------------------------------------------- RIDGE/GARTER STITCH (worked back and forth): Knit all rows. 1 ridge = knit 2 rows. PATTERN: See diagram A.1. The diagram shows all rows in the pattern from the right side. INCREASE TIP (sides): All increases are worked from the right side. Increase 1 stitch inside the 2 outermost stitches by making 1 yarn over. On the next row purl the yarn over twisted to avoid a hole. Then work the new stitch in stocking stitch. DECREASE TIP (for the armholes and V-neck): FROM THE RIGHT SIDE: After the 1 edge stitch: Slip 1 stitch as if to knit, knit 1 and pass the slipped stitch over the knitted stitch (= 1 stitch decreased). Before the 1 edge stitch: Work until there are 3 stitches left, knit 2 together, 1 edge stitch in garter stitch (= 1 stitch decreased). FROM THE WRONG SIDE: After the 1 edge stitch: Purl 2 together (= 1 stitch decreased). Before the 1 edge stitch: Work until there are 3 stitches left, purl 2 twisted together, edge stitch in garter stitch (= 1 stitch decreased). ------------------------------------------------------- START THE PIECE HERE: ------------------------------------------------------- TOP – SHORT OVERVIEW OF THE PIECE: The back and front pieces are worked separately, back and forth and bottom up. Straps are worked on the front piece, then sewn onto the back piece. BACK PIECE: Cast on 100-112-122-136-150-166 stitches with needle size 2.5 mm and DROPS Safran or Magic. Purl 1 row from the wrong side, then work rib (knit 1, purl 1), with 1 edge stitch in GARTER STITCH on each side – read description above. When the rib measures 3 cm, knit 1 row from the right side where you decrease 10-12-12-14-14-16 stitches evenly spaced = 90-100-110-122-136-150 stitches. Change to needle size 3 mm. Work stocking stitch back and forth with 1 edge stitch in garter stitch on each side. REMEMBER THE KNITTING TENSION! When the piece measures 6 cm, increase 1 stitch on each side – read INCREASE TIP. Increase like this every 6 cm a total of 4 times on each side = 98-108-118-130-144-158 stitches. When the piece measures 26-27-28-29-30-31 cm, work 2 ridges over the outermost 6-8-10-12-14-16 stitches on each side (the other stitches are continued in stocking stitch). After the 2 ridges, cast off 5-7-9-11-13-15 stitches at the beginning of the next 2 rows for the armholes = 88-94-100-108-118-128 stitches. Continue with stocking stitch and 1 edge stitch in garter stitch on each side. AT THE SAME TIME on the first row from the right side decrease 1 stitch on each side for the armholes – read DECREASE TIP. Decrease like this every 2nd row (each row from the right side) a total of 16-17-18-19-21-22 times = 56-60-64-70-76-84 stitches. Knit 1 row from the right side where you increase 7-7-7-7-9-9 stitches evenly spaced = 63-67-71-77-85-93 stitches. Change to needle size 2.5 mm. Work rib as follows from the wrong side: 1 edge stitch in garter stitch, * purl 1, knit 1 *, work from *-* until there are 2 stitches left, purl 1 and1 edge stitch in garter stitch. Continue this rib for 3 cm. Cast off a little loosely. FRONT PIECE: Cast on 100-112-122-136-150-166 stitches with needle size 2.5 mm and DROPS Safran. Purl 1 row from the wrong side, then work rib (knit 1, purl 1) with 1 edge stitch in garter stitch on each side. When the rib measures 3 cm, knit 1 row from the right side where you decrease 10-12-12-14-14-16 stitches evenly spaced = 90-100-110-122-136-150 stitches. Change to needle size 3 mm. Work stocking stitch back and forth with 1 edge stitch in garter stitch on each side. Purl 1 row from the wrong side with 1 edge stitch in garter stitch on each side. The next row is worked as follows from the right side: 1 edge stitch in garter stitch, 42-47-52-58-65-72 stitches in stocking stitch, A.1, 42-47-52-58-65-72 stitches in stocking stitch and 1 edge stitch in garter stitch. Continue this pattern. When the piece measures 6 cm, increase 1 stitch on each side. Increase like this every 6 cm a total of 4 times on each side = 98-108-118-130-144-158 stitches. When the piece measures 26-27-28-29-30-31 cm (adjust so the next row is either row 3 or 7 in A.1), work 2 ridges over the outermost 6-8-10-12-14-16 stitches on each side (the other stitches are continued in stocking stitch and pattern as before). After the 2 ridges work the next row from the right side as follows: Cast off 5-7-9-11-13-15 stitches for the armhole, work 42-45-48-52-57-62 stitches in stocking stitch, place the next 2 stitches on a cable needle in front of the piece, knit the next 3 stitches together and place these 43-46-49-53-58-63 stitches on a thread or extra needle = PART-1. PART-2: Knit twisted together the 2 stitches from the cable needle, work 41-44-47-51-56-61 stitches in stocking stitch and 6-8-10-12-14-16 stitches in garter stitch. Turn, cast off 5-7-9-11-13-15 stitches for the armhole, work stocking stitch until there is 1 stitch left and 1 stitch in garter stitch = 43-46-49-53-58-63 stitches. OVERVIEW OF THE NEXT SECTION: Continue with stocking stitch and 1 edge stitch in garter stitch on each side. AT THE SAME TIME on the first row from the right side, begin to decrease for the armhole and V-neck. Decrease inside the 1 edge stitch – read DECREASE TIP; the decreases are different for the armhole and neck - read ARMHOLE and V-NECK before continuing. ARMHOLE: Decrease every 2nd row (each row from the right side) a total of 16-17-18-19-21-22 times. V-NECK: Decrease every row (both right side and wrong side) a total of 7-7-9-9-13-17 times, then every 2nd row (each row from the right side) 15-17-17-18-17-17 times. After all the decreases there are 5-5-5-7-7-7 stitches left for the strap. STRAP: = 5-5-5-7-7-7 stitches. Knit 1 row from the right side, * push the stitches back to the beginning of the needle, tighten the strand and knit the 5-5-5-7-7-7 stitches from the right side again *, work from *-* until the strap measures 9-9-10-11-11-11 cm – work to desired length; the strap is sewn to the back piece later. Cut the strand, pull it through the 5-5-5-7-7-7 stitches, tighten and fasten well. PART-1: Place the 43-46-49-53-58-63 stitches from PART-1 back on needle size 3 mm. Work stocking stitch back and forth with 1 edge stitch in garter stitch on each side. AT THE SAME TIME on the first row from the right side, begin to decrease for the armhole and V-neck in the same way as on PART-2 = 5-5-5-7-7-7 stitches left for the strap. Work the strap in the same way as on part-2. ASSEMBLY: Sew the straps to the back piece – outermost on each side. Sew the side seams inside the 1 edge stitch. |
||||||||||||||||
Diagram explanations |
||||||||||||||||
|
||||||||||||||||
 |
||||||||||||||||
Have you finished this pattern?Tag your pictures with #dropspattern #whitesailstop or submit them to the #dropsfan gallery. Do you need help with this pattern?You'll find 16 tutorial videos, a Comments/Questions area and more by visiting the pattern on garnstudio.com. © 1982-2026 DROPS Design A/S. We reserve all rights. This document, including all its sub-sections, has copyrights. Read more about what you can do with our patterns at the bottom of each pattern on our site. |
||||||||||||||||






With over 40 years in knitting and crochet design, DROPS Design offers one of the most extensive collections of free patterns on the internet - translated to 17 languages. As of today we count 333 catalogues and 12532 patterns translated into English (UK/cm). 12532
We work hard to bring you the best knitting and crochet have to offer, inspiration and advice as well as great quality yarns at incredible prices! Would you like to use our patterns for other than personal use? You can read what you are allowed to do in the Copyright text at the bottom of all our patterns. Happy crafting!
Post a comment to pattern DROPS 230-1
We would love to hear what you have to say about this pattern!
If you want to leave a question, please make sure you select the correct category in the form below, to speed up the answering process. Required fields are marked *.