
Popular categories
Looking for a yarn?


Comments / Questions (52)
![]() Janne wrote:
Janne wrote:
Jeg fatter ikke hvordan det kan hænge sammen at knaphuller skal sidde i højre forkant og så er det på pindens sidste masker fra retsiden jeg skal lave et hul. Så er hullet jo i venstre side hvis jeg ellers skal have cardiganen på ret?
22.03.2026 - 22:05DROPS Design answered:
Hei Janne. Det felles til knapphull på høyre stolpe - NÅR PLAGGET TAS PÅ, og da blir det riktig at man feller fra retten når det gjenstår 3 masker på pinnen. mvh DROPSDesign
23.03.2026 - 14:13
![]() Janne wrote:
Janne wrote:
Jeg fatter ikke hvordan det kan hænge sammen at knaphuller skal sidde i højre forkant og så er det på pindens sidste masker fra retsiden jeg skal lave et hul. Så er hullet jo i venstre side hvis jeg ellers skal have cardiganen på ret?
22.03.2026 - 22:05
![]() Jan wrote:
Jan wrote:
How do I find out sizing ? Thank you
11.02.2026 - 19:07DROPS Design answered:
Hi jan, There is a size chart at the bottom of the pattern. Regards, Drops Team.
12.02.2026 - 07:07
![]() Margaret Elliott wrote:
Margaret Elliott wrote:
Is it the 6mm or 8mm used for the gauge?
10.12.2025 - 11:58DROPS Design answered:
Hi Margaret, The gauge is measured with 8 mm needles. Regards, Drops Team.
11.12.2025 - 06:53
![]() Hilde wrote:
Hilde wrote:
Met nr 6 krijg ik 12 st. voor 10 cm. Maar 20 nldn in hoogte. Voor het lijf is dit geen probleem, maar wat met de pad Ben pas begonnen in boordst. met nr4. Heb de indruk dat dit te smal wordt.
18.11.2025 - 17:42DROPS Design answered:
Dag Hilde,
Je meerdert steeds op een bepaalde hoogte in cm op de pas en niet na een aantal steken in de hoogte, dus dat zou geen probleem moeten zijn.
22.11.2025 - 09:18
![]() Ruth wrote:
Ruth wrote:
Could I knit this with 1 strand of Brushed Alpaca Silk and 1 strand of Sky instead of 1 strand of Melody?
15.09.2025 - 12:23DROPS Design answered:
Dear Ruth, DROPS Melody is a Group D yarn. You can replace a Group D yarn by working with 2 Group B threads or 1 Group C thread and 1 group A thread. So you could replace DROPS Melody with 2 strands of DROPS Sky or 1 strand of DROPS Brushed Alpaca Silk and a Group A yarn, such as DROPS Alpaca. Happy knitting!
22.09.2025 - 01:16
![]() Paula wrote:
Paula wrote:
Hi I’m Knitting size L I finished the yoke robbers part and now I am doing the increases I used your pattern calculator and followed the instructions but the amount of stitches on the needle are not enough to do the increases the way your calculator indicated How I am supposed to do this?
31.05.2025 - 13:15DROPS Design answered:
Dear Paula, when you start the yoke you have 75 stitches. You should have, according to the rib, 32 purl stitches and 5 sts on garter stitch on each side (plus the stitch to help adjust the rib). So you increase 1 stitch next to each one of the 32 rib purl stitches: 75+32 = 107 stitches. Now you adjust the new rib but you will still have 32 rib sections (since each rib section has 1 more stitch now) and increase 1 stitch in each of the rib sections. So you will have 107+32 = 139 sts. Now increase 21 stitches evenly over 129 stitches (139-10 band stitches): 129/21 = 6.14. So after approx. every 6th stitch you will increase 1 stitch. Happy knitting!
31.05.2025 - 22:42
![]() Maya wrote:
Maya wrote:
Is this garment to be blocked or just washed?
29.03.2025 - 06:11DROPS Design answered:
Hi Maya, each knitted fabric must be blocked or flattened and untied after washing. But it's true that this sweater doesn't need to be pinned and stretched, just loosely unfolded, smoothed and flattened. Happy knitting!
29.03.2025 - 10:32
![]() Maya wrote:
Maya wrote:
Quite easy and clear written pattern. One place that required re-reading to understand is increases 5 times by 10st in yoke
29.03.2025 - 06:08
![]() Minu Mortazavi wrote:
Minu Mortazavi wrote:
Meine Frage von gestern hat sich geklärt. Brauche keine Antwort mehr 😃
24.02.2025 - 10:36
|
|
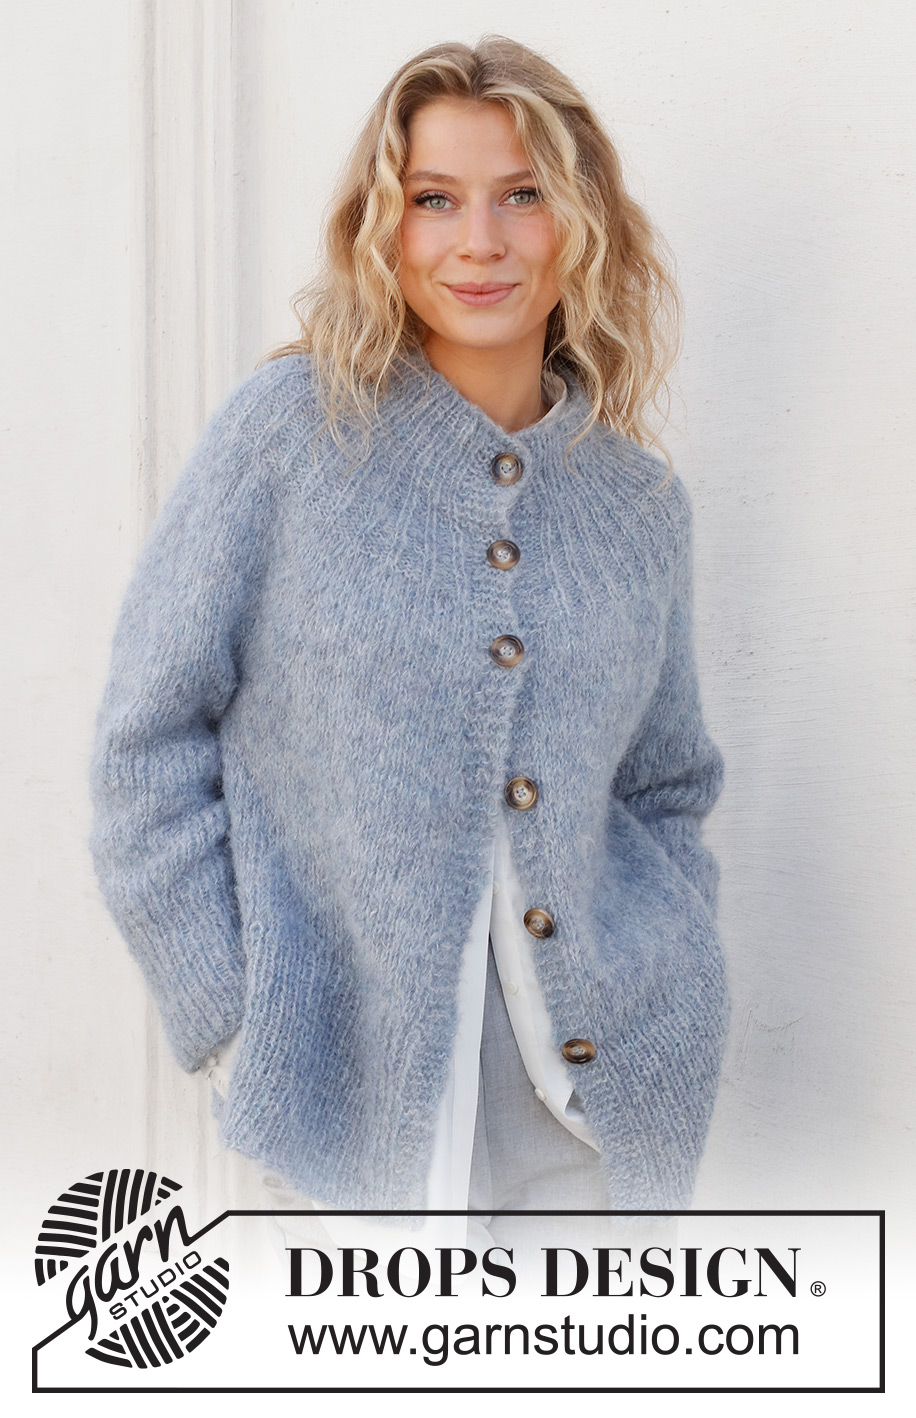
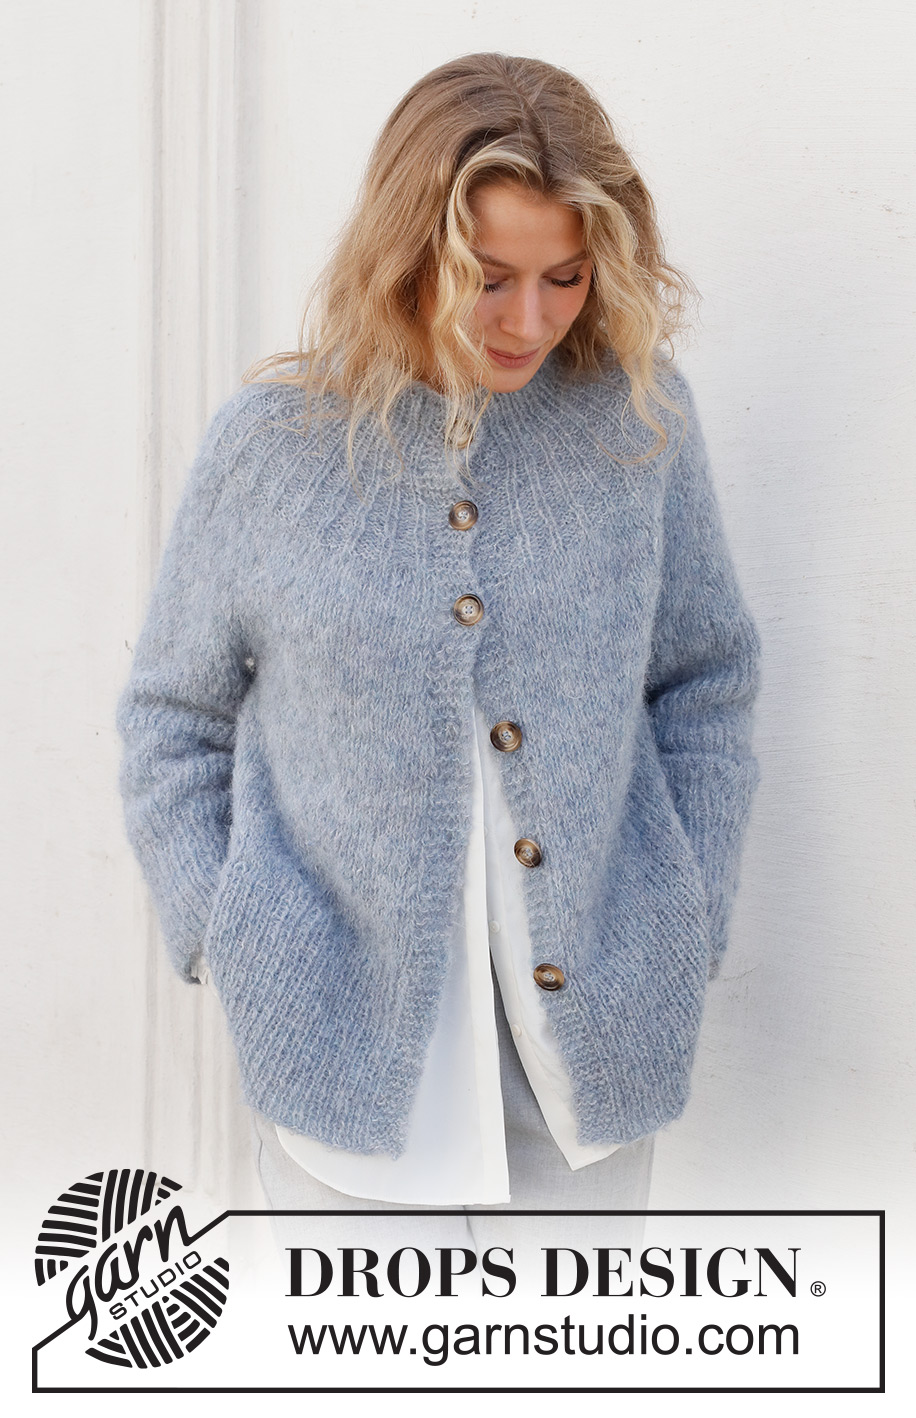
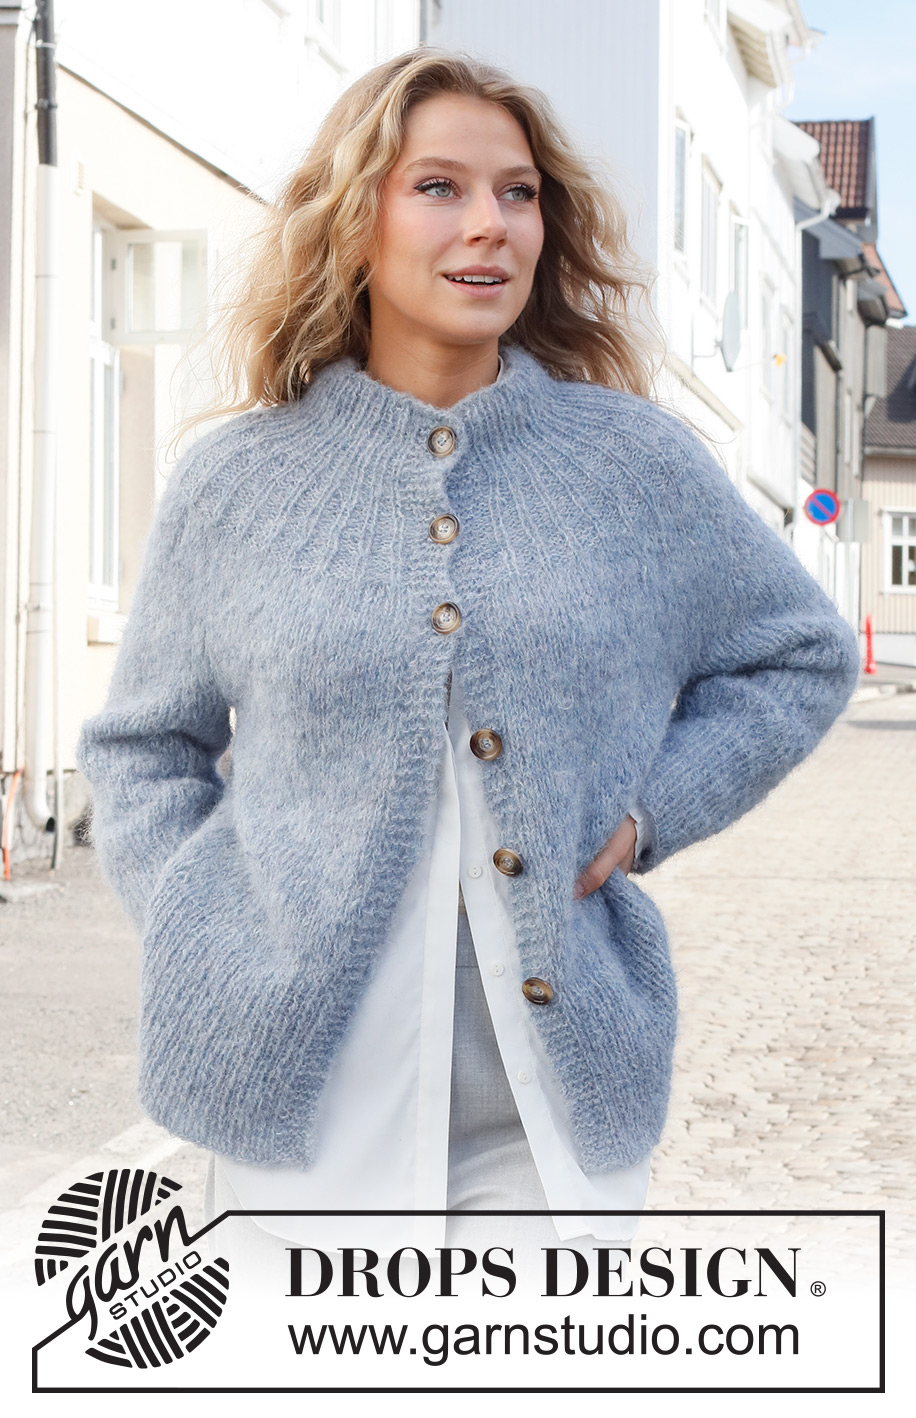
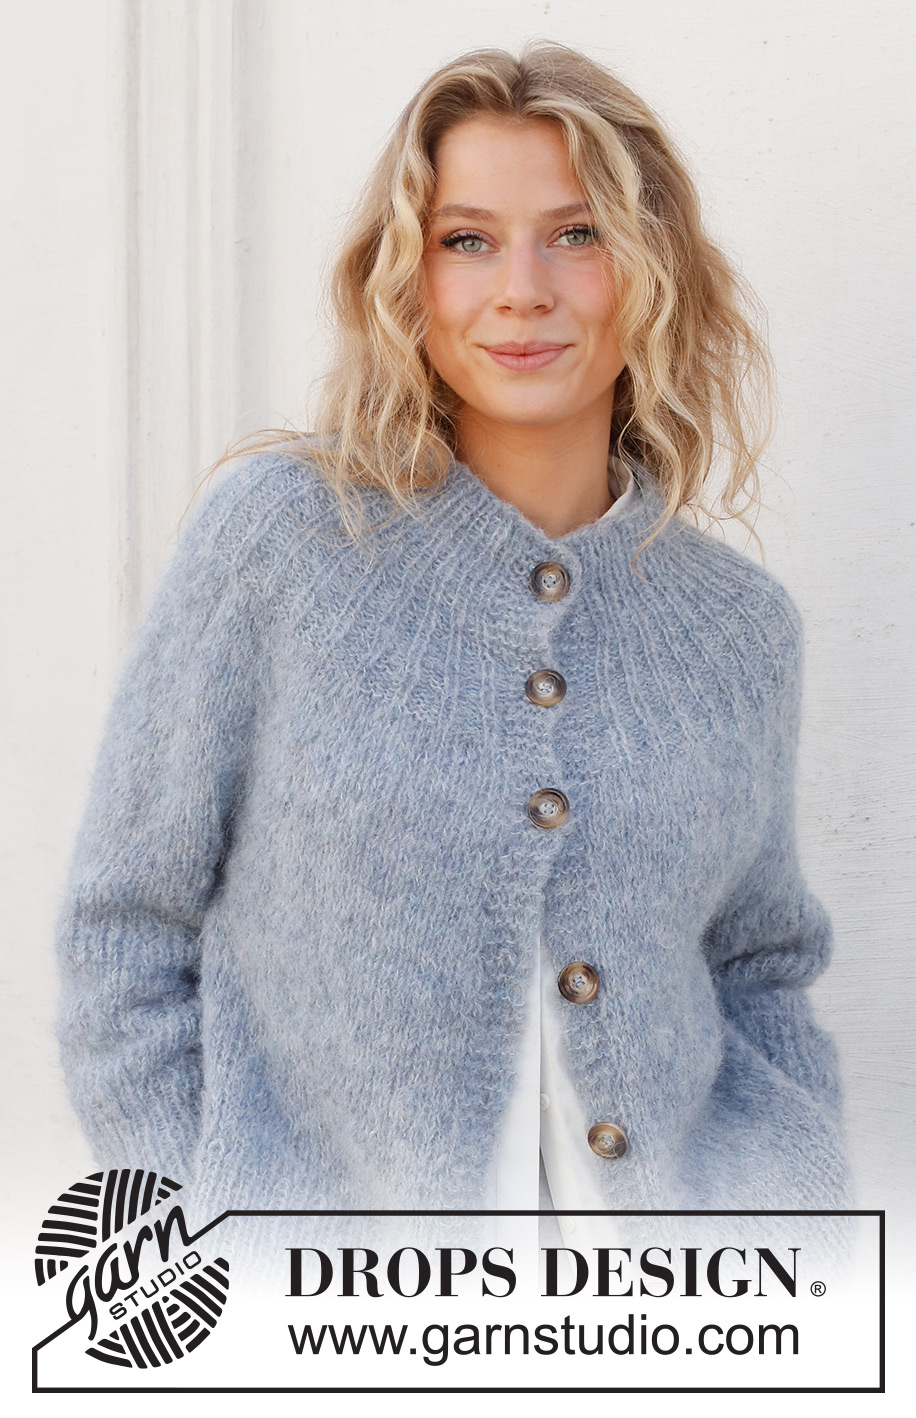
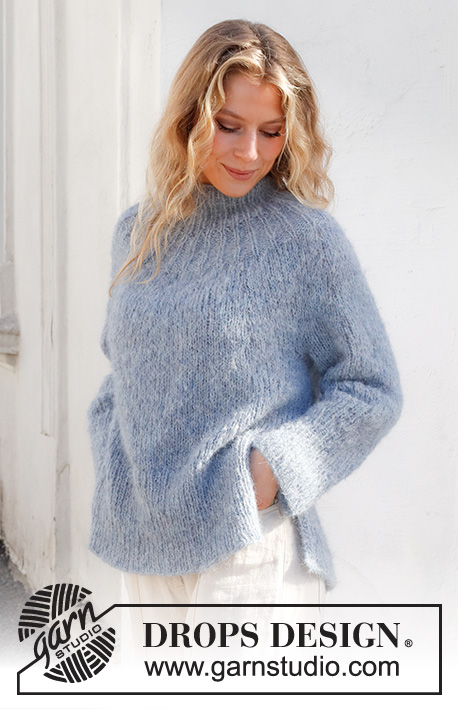
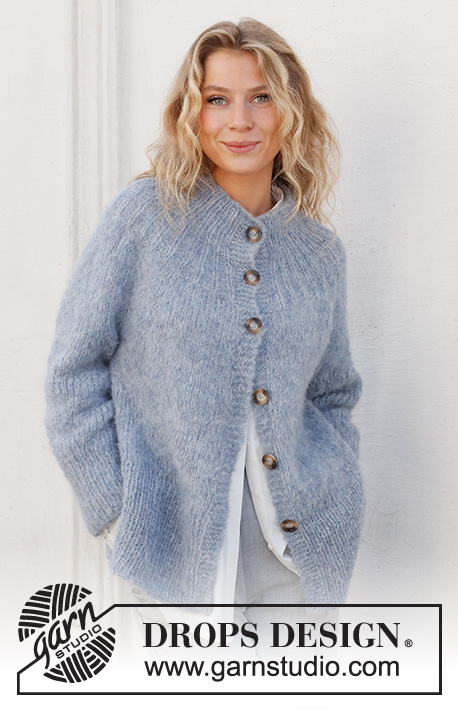
Rhythmic Rain Jacket#rhythmicrainjacket |
|
 |
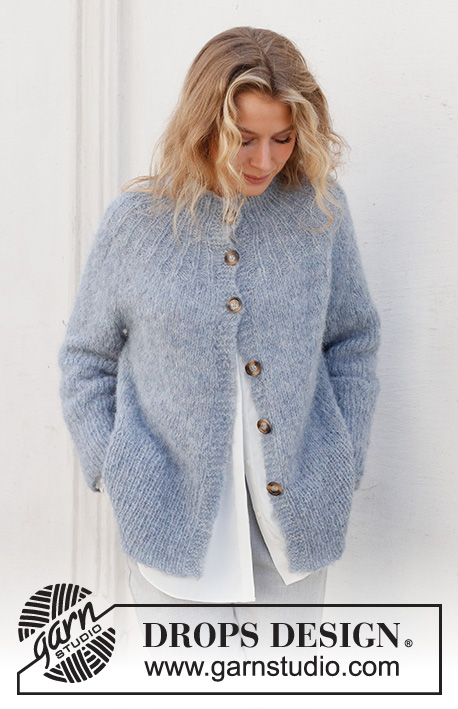 |
Knitted jacket in DROPS Melody. Piece is knitted top down with round yoke, edges in rib and vents in the side. Size: S - XXXL
DROPS 228-41 |
|
|
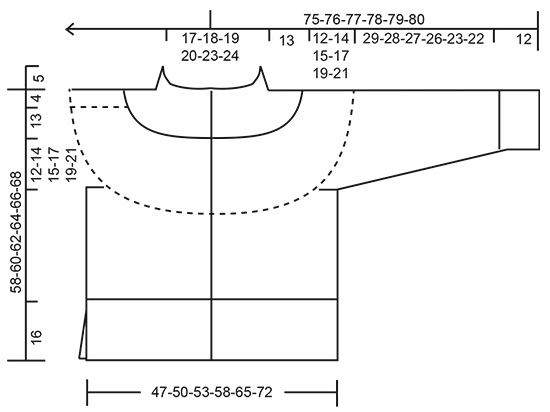
---------------------------------------------------------- EXPLANATION FOR THE PATTERN: ---------------------------------------------------------- GARTER STITCH (back and forth): Knit all rows. 1 ridge vertically = knit 2 rows. INCREASE TIP (evenly): To calculate how to increase evenly, use the total number of stitches on row (e.g. 142 stitches), subtract the band (= 10 stitches) and divide the remaining stitches by number of increases to be done (e.g. 11) = 12. In this example increase by making 1 yarn over after every 12th stitch. On next row work yarn over twisted to avoid hole. DECREASE TIP (applies to sleeves): Decrease 1 stitch on each side of marker thread as follows: Work until 3 stitches remain before marker thread, knit 2 together, knit 2 stitches (marker thread is between these stitches), slip 1 stitch knitwise, knit 1, pass slipped stitch over stitch worked (= 2 stitches decreased). BUTTONHOLES: Decrease for buttonholes on right band (when garment is worn). Decrease from right side when 3 stitches remain on row as follows: Make 1 yarn over, knit the next 2 stitches together, knit last stitch. On next row (wrong side) knit the yarn over to make a hole. Decrease first buttonhole when rib in neck measures approx. 2 cm. Then cast off the next 5-5-6-6-7-7 buttonholes approx. 9-9-8-8-8-8 cm apart. CAST-OFF TIP: To avoid a tight cast-off edge when casting off, you may use a larger needle. If this still is too tight make 1 yarn over after approx. every 4th stitch while casting off (cast off yarn overs as stitches). ---------------------------------------------------------- START THE PIECE HERE: ---------------------------------------------------------- JACKET - SHORT OVERVIEW OF THE PIECE: Work neck edge and yoke back and forth on circular needle from mid front, work top down. Increase first stitches in rib after neck edge, then increase stitches in stocking stitch. Now divide yoke for body and sleeves. Work body back and forth on circular needle, top down. Work sleeves in the round on double pointed needles/a short circular needle, top down. NECK EDGE: Cast on 71-73-75-79-85-87 stitches (including 5 band stitches in each side) on circular needle size 6 mm with DROPS Melody. Purl 1 row from wrong side. Work next row as follows from right side: 5 band stitches in GARTER STITCH - see explanation above, rib (= knit 1, purl 1) until 6 stitches remain, knit 1 and finish with 5 band stitches in garter stitch. Work BUTTONHOLES on right band - read explanation above. Work rib like this for 5 cm. Insert 1 marker in piece inside 5 band stitches and measures from here. YOKE: Continue with rib and 5 band stitches in garter stitch in each side. When piece measures 5 cm from marker, increase as follows: Increase 1 stitch in all purl sections, increase by making a yarn over at the beginning of all purl sections = 101-104-107-113-122-125 stitches. Continue as follows - from wrong side: 5 band stitches in garter stitch, * purl 1, knit 2 *, work from *-* until 6 stitches remain, purl 1 and finish with 5 band stitches in garter stitch, knit yarn overs twisted on first row to avoid holes. When piece measures 10 cm from marker, increase 1 stitch in all purl sections, increase by making a yarn over at the end of all purl sections = 131-135-139-147-159-163 stitches. Work as follows - from wrong side: 5 band stitches in garter stitch, * purl 1, knit 3 *, work from *-* until 6 stitches remain, purl 1 and finish with 5 band stitches in garter stitch, knit yarn overs twisted on first row to avoid holes. Continue until piece measures 13 cm from marker. Switch to circular needle size 8 mm. Knit 1 row from right side while increasing 11-19-21-23-25-31 stitches evenly - read INCREASE TIP = 142-154-160-170-184-194 stitches. Work in stocking stitch with 5 band stitches in garter stitch in each side of piece. When piece measures 15 cm from marker, increase 10 stitches evenly. Increase like this every 2½-3-2½-2½-2-2 cm 4-4-5-6-7-8 times in total = 182-194-210-230-254-274 stitches. REMEMBER THE KNITTING TENSION! Continue with stocking stitch and in garter stitch over bands until piece measures approx. 25-27-28-30-32-34 cm from marker. Now divide yoke for body and sleeves from right side as follows: Knit 30-32-34-37-41-45 (= front piece), slip the next 36-38-42-46-50-52 stitches on 1 stitch holder for sleeve, cast on 6 new stitches on row (= in the side under sleeve), knit 50-54-58-64-72-80 (= back piece), slip the next 36-38-42-46-50-52 stitches on 1 stitch holder for sleeve, cast on 6 new stitches on row (= in the side under sleeve) and knit the remaining 30-32-34-37-41-45 stitches (= front piece). Finish body and sleeves separately. NOW MEASURE THE PIECE FROM HERE! BODY: = 122-130-138-150-166-182 stitches. Continue with stocking stitch and 5 band stitches in garter stitch in each side towards mid front. Work until piece measures approx. 13-13-14-14-14-14 cm from division, adjust so that last row is from wrong side (or desired length, approx. 16 cm remain until finished measurements). Now divide the piece and finish each part separately to make a vent in each side. Slip the first and the last 33-35-37-40-44-48 stitches on a stitch holder = 56-60-64-70-78-86 stitches on needle (= back piece). BACK PIECE: Knit 1 row from right side while increasing 23-25-25-27-31-33 stitches evenly = 79-85-89-97-109-119 stitches. Switch to circular needle size 6 mm and work next row – from wrong side as follows: 2 stitches in garter stitch, * purl 1, knit 1 *, repeat from *-* until 3 stitches remain, purl 1 and 2 stitches in garter stitch. Work rib like this for 16 cm. Cast off with knit over knit and purl over purl - read CAST-OFF TIP. LEFT FRONT PIECE: Slip stitches from left front piece back on needle (= 33-35-37-40-44-48 stitches). Knit 1 row from right side while increasing 11-11-13-14-16-16 stitches evenly = 44-46-50-54-60-64 stitches. Switch to circular needle size 6 mm and work next row – from wrong side as follows: 2 stitches in garter stitch, * purl 1, knit 1 *, repeat from *-* until 6 stitches remain, purl 1 and 5 band stitches in garter stitch. Work rib like this for 16 cm. Cast off with knit over knit and purl over purl - remember CAST-OFF TIP. RIGHT FRONT PIECE: Slip stitches from right front piece back on needle (= 33-35-37-40-44-48 stitches). Knit 1 row from right side while increasing 11-11-13-14-16-16 stitches evenly = 44-46-50-54-60-64 stitches. Switch to circular needle size 6 mm and work next row as follows – from wrong side and mid front: 5 band stitches in garter stitch * purl 1, knit 1 *, repeat from *-* until 3 stitches remain, purl 1 and 2 stitches in garter stitch. Work rib like this for 16 cm. Cast off with knit over knit and purl over purl - remember CAST-OFF TIP. Jacket measures 58-60-62-64-66-68 cm from shoulder and down. SLEEVE: Slip the 36-38-42-46-50-52 stitches from stitch holder in one side of piece on double pointed needles/a short circular needle size 8 mm and pick up 1 stitch in each of the 6 new stitches cast on under sleeve = 42-44-48-52-56-58 stitches. Insert 1 marker thread mid under sleeve, i.e. in the middle of the 6 stitches that were cast on under sleeve. Move the marker thread upwards when working; it should be used for decrease mid under sleeve. Begin round at the marker thread and work stocking stitch in the round. When sleeve measures 2 cm from division, decrease 2 stitches mid under sleeve - read DECREASE TIP. Decrease as follows every 8-8-4½-3½-2½-2½ cm 4-4-6-7-8-8 times in total = 34-36-36-38-40-42 stitches. Work without decreases until sleeve measures 29-28-27-26-23-22 cm from division (approx. 12 cm remain before finished measurements, try the jumper on and work to desired length). Knit 1 round while increasing 6 stitches evenly = 40-42-42-44-46-48 stitches. Switch to double pointed needles size 6 mm. Work rib in the round = knit 1/purl 1 for 12 cm. Cast off with knit over knit and purl over purl - remember CAST-OFF TIP. Sleeve measures approx. 41-40-39-38-35-34 cm from division. Work the other sleeve the same way. ASSEMBLY: Sew the buttons on to left front piece. |
|
 |
|
Have you finished this pattern?Tag your pictures with #dropspattern #rhythmicrainjacket or submit them to the #dropsfan gallery. Do you need help with this pattern?You'll find 32 tutorial videos, a Comments/Questions area and more by visiting the pattern on garnstudio.com. © 1982-2026 DROPS Design A/S. We reserve all rights. This document, including all its sub-sections, has copyrights. Read more about what you can do with our patterns at the bottom of each pattern on our site. |
|


With over 40 years in knitting and crochet design, DROPS Design offers one of the most extensive collections of free patterns on the internet - translated to 17 languages. As of today we count 324 catalogues and 12290 patterns translated into English (UK/cm). 12290
We work hard to bring you the best knitting and crochet have to offer, inspiration and advice as well as great quality yarns at incredible prices! Would you like to use our patterns for other than personal use? You can read what you are allowed to do in the Copyright text at the bottom of all our patterns. Happy crafting!
Post a comment to pattern DROPS 228-41
We would love to hear what you have to say about this pattern!
If you want to leave a question, please make sure you select the correct category in the form below, to speed up the answering process. Required fields are marked *.