
Popular categories
Looking for a yarn?










































Comments / Questions (14)
 Monika wrote:
Guten Tag, sind bei Diagramm A1 nur die Hinreihen notiert und müssen die Rückreihen identisch gestrickt werden oder ist auch die Rückreihe abgebildet? Gruß und danke Monika Gottschalk
27.10.2026 - 14:59DROPS Design answered:
Liebe Monika, alle Reihen sind im Diagram gezeichnet, wenn Sie in Runden stricken, lesen Sie jede Reihe/Runde rechts nach links (- Hinreihen) wenn Sie dann später in Hin- und Rückreihen stricken, lesen Sie die Rückreihen links nach rechts. Viel Spaß beim Stricken!
28.10.2026 - 07:55
 Guyot wrote:
Rebonjour.pour les manches peut-on utiliser une aiguille circulaire de 40cm pour le gilet en 12 ans si on ne veut pas utiliser 4 aiguilles ou cela va trop tirer le fil?
16.10.2026 - 10:19DROPS Design answered:
Bonjour Mme Guyot, vous pouvez alors simplement utiliser une aiguille de 80 cm et tricoter en magic loop. Bon tricot!
16.10.2026 - 16:48
Guyot wrote:
Bonjour .je ne comprends pas quand on monte 8 mailles de dessous de manche et qu'on les relève pour faire la manche c'est on relève une maille à chaque début de rang 8 fois ou c'est relever les 8 mailles d'un seul coup? merci
16.09.2026 - 17:41DROPS Design answered:
Bonjour Mme Guyot, quand on tricote les manches, on va relever 1 maille dans chacune des 8 mailles montées à la fin de l'empiècement, retrouvez cette étape à partir de la photo 18B dans cette leçon. Bon tricot!
17.09.2026 - 09:15
 Jacqueline wrote:
Après avoir isoler les manches, il est écrit cintinuer en jersey. Augmentation de 33 mailles à intervalles réguliers pour obtenir 196 mailles (grandeur 5/6 ans). Ma question: est ce que l’augmentation vient immédiatement après le premier rang sous les manches ou juste avant les cotes de la fin?
23.06.2026 - 13:56DROPS Design answered:
Bonjour Jacqueline, vous tricotez vos 163 mailles (en 5/6 ans) pendant 23 cm en jersey, puis, juste avant les côtes, vous augmentez 33 m ainsi les côtes du bas ne seront pas trop serrées. Bon tricot!
24.06.2026 - 06:53
Cathy wrote:
Colour work - When the peach yarn is at one end and it is used in 2 rows so needs to be at the other end, is it better to carry the peach across or cut the yarn? Also, if I am to carry a colour up until it is used again, is it ok to carry it up just before the button band or is it better to cut the yarn?
20.05.2026 - 02:55DROPS Design answered:
Hi Cathy, Yes, to avoid too many loose ends, it is best to carry the peach yarn across to the other end of the row. if there is a large gap before the colour is used again, it is better to cut the yarn as carrying it up the button-band will be noticeable when the cardigan is open. Regards, Drops Team.
20.05.2026 - 06:22
Gudrun Wendt wrote:
Hallo, ich möchte dieses Modell gern mit Drops Air stricken. Für ein Kind 11 bis 12 Jahre. Wie muss ich die Anleitung umrechnen?
17.03.2026 - 17:13DROPS Design answered:
Liebe Frau Wendt, vielleicht können Sie sich von einem ähnlichen Modell in der gewünschten Maschenprobe inspirieren - siehe z.B. diese Jacke mit auch einer Rundpasse, so können Sie das Muster und die Zunahmen umrechnen. Viel Spaß beim Stricken!
18.03.2026 - 07:21
 RoseMarie wrote:
How can I send a picture so I can explain my question. I have finished the sweater, but the shoulder is on such a downward angle. And the neck looks so pushed up.
04.02.2026 - 22:41
Dolfin wrote:
Je voudrais faire le modèle mais tout dans la même couleur, pouvez-vous me dire combien de pelotes il me faut pour du 11/12 ans ? Merci. Bon dimanche.
07.12.2025 - 10:48DROPS Design answered:
Bonjour, 250-300 g (5-6 pelotes). Bon tricot!
07.12.2025 - 10:57
 Tone wrote:
Finnes dette mønsteret (eller et som ligner) i voksen størrelse?
21.11.2025 - 10:01
 Marjo wrote:
Villatakki on malliltaan pieni, kannattaa neuloa yksi koko isompi. Neuloin lopultakin kolme villatakkia tällä ohjeella.
13.11.2025 - 10:32
|
|||||||||||||
Berries & Dreams Cardigan#berriesanddreamscardigan |
|||||||||||||
 |
 |
||||||||||||
Knitted jacket for children in DROPS Sky. The piece is worked top down with round yoke and Nordic pattern. Sizes 2 – 12 years.
DROPS Children 48-9 |
|||||||||||||
|
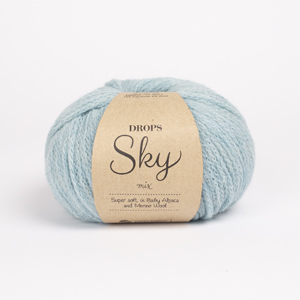
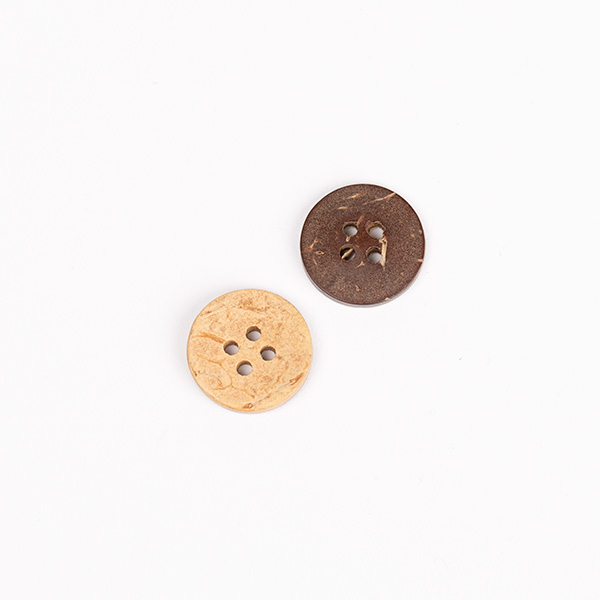
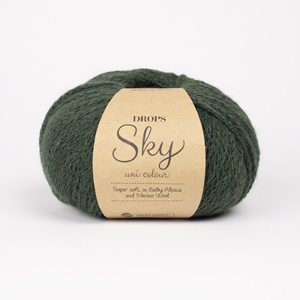
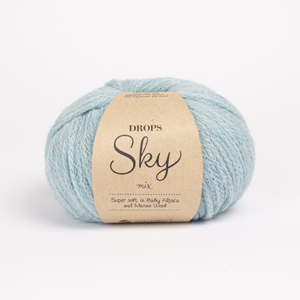
------------------------------------------------------- EXPLANATIONS FOR THE PATTERN: ------------------------------------------------------- GARTER STITCH (worked back and forth): Knit all rows. INCREASE TIP (evenly spaced): To work out how to increase evenly, count the total number of stitches on the needle (e.g., 92 stitches) minus the bands (e., 10 stitches) and divide the remaining stitches by the number of increases to be made (e.g., 15) = 5.5. In this example, increase by making 1 yarn over after alternately each 5th and 6th stitch. Do not increase over the bands. On the next row work the yarn overs twisted to avoid holes. PATTERN: See diagram A.1. The pattern is worked in stocking stitch. KNITTING TIP: To avoid the knitting tension losing its elasticity when working pattern, it is important that the strands at the back are not tight. Use a size larger needle when working pattern if the piece becomes tight. BUTTONHOLES: Work buttonholes on the right band (when the garment is worn). Work from the right side when there are 3 stitches left on the row as follows: Make 1 yarn over, knit 2 together and knit 1. On the next row (wrong side), knit the yarn over to leave a hole. The first buttonhole is worked when the neck measures 1½-2 cm. The other 5-5-6-6-6-6 buttonholes are then worked with approx. 6-7-6½-7-7½-7½ cm between each one. DECREASE TIP (for sleeves): Decrease 1 stitch on each side of the marker-thread as follows: Work until there are 3 stitches left before the marker-thread, knit 2 together, knit 2 (marker-thread sits between these 2 stitches), slip 1 stitch knit-wise, knit 1 and pass the slipped stitch over the knitted stitch (2 stitches decreased). ------------------------------------------------------- START THE PIECE HERE: ------------------------------------------------------- JACKET – SHORT OVERVIEW OF THE PIECE. The neck and yoke are worked back and forth with circular needle, from mid front and top down. The yoke is divided for body and sleeves and the body continued back and forth. The sleeves are worked in the round with double pointed needles. NECK: Cast on 92-92-96-96-100-100 stitches with circular needle size 3 mm and colour cranberry DROPS Sky. Purl 1 row from the wrong side. Change to colour white fog. Work as follows from the right side: 5 band stitches in GARTER STITCH – read description above, * knit 2, purl 2 *, work from *-* until there are 7 stitches left, knit 2 and 5 band stitches in garter stitch. Remember the BUTTONHOLES on the right band - read description above. Continue this rib for 3 cm. When the rib is finished, work the next row as follows from the right side: Knit and increase 15-19-19-23-23-27 stitches evenly spaced – read INCREASE TIP, do not increase over the bands = 107-111-115-119-123-127 stitches. Change to circular needle size 4 mm. Insert 1 marker after the band at the beginning of the row; the yoke is measured from here! YOKE: Read KNITTING TIP and work as follows from the right side: 5 band stitches in garter stitch, work A.1 until there are 6 stitches left, work the first stitch in A.1 (so the front pieces are symmetrical), 5 band stitches in garter stitch. Continue this pattern. The bands are always worked in colour white fog. REMEMBER THE KNITTING TENSION! AT THE SAME TIME, on each row marked with an arrow in A.1, increase as described below – remember INCREASE TIP: Arrow-1: Increase 20-24-24-24-24-28 stitches evenly spaced = 127-135-139-143-147-155 stitches. Arrow-2: Increase 24-24-24-24-28-28 stitches evenly spaced = 151-159-163-167-175-183 stitches. Arrow-3: Increase 24-24-24-24-28-28 stitches evenly spaced = 175-183-187-191-203-211 stitches. Arrow-4: Increase 24-24-28-28-28-32 stitches evenly spaced = 199-207-215-219-231-243 stitches. Arrow-5: Increase 24-28-32-32-32-32 stitches evenly spaced = 223-235-247-251-263-275 stitches. Finish A.1, then continue with colour white fog until the yoke measures 16-16-16-17-18-19 cm from the marker on the neck. Divide for the body and sleeves on the next row from the wrong side as follows: Work 36-38-40-41-43-45 stitches as before (front piece), place the next 44-46-48-48-50-52 stitches on 1 thread for the sleeve, cast on 6-6-6-8-8-8 stitches (in side under sleeve), work 63-67-71-73-77-81 stitches (back piece), place the next 44-46-48-48-50-52 stitches on 1 thread for the sleeve, cast on 6-6-6-8-8-8 stitches (in side under sleeve), work the last 36-38-40-41-43-45 stitches (front piece). The body and sleeves are finished separately. The piece is now measured from here! BODY: = 147-155-163-171-179-187 stitches. Continue with colour white fog, stocking stitch and 5 band stitches in garter stitch on each side for a further 15-19-23-25-26-27 cm. Knit 1 row from the right side and increase 33-33-33-37-37-37 stitches evenly spaced = 180-188-196-208-216-224 stitches. Change to circular needle size 3 mm. Work as follows from the wrong side: 5 band stitches in garter stitch, * purl 2, knit 2 *, work from *-* until there are 7 stitches left, purl 2 and 5 band stitches in garter stitch. Continue this rib for 2½-2½-2½-3½-3½-3½ cm, then work 2 rows of rib in colour cranberry. Cast off with garter stitch over garter stitch, knit over knit and purl over purl. The jacket measures approx. 36-40-44-48-50-52 cm from the shoulder. SLEEVES: Place the 44-46-48-48-50-52 stitches from the thread on the one side of the piece on double pointed needles size 4 mm and knit up 1 stitch in each of the 6-6-6-8-8-8 stitches cast on under the sleeve = 50-52-54-56-58-60 stitches. Insert a marker-thread in the middle of the new stitches under the sleeve and allow it to follow your work onwards; it is used when decreasing under the sleeve. Work stocking stitch in the round with colour white fog. When the sleeve measures 3 cm, decrease 2 stitches under the sleeve – read DECREASE TIP. Decrease like this every 2-2½-3-3½-4½-4½ cm a total of 6-7-7-7-7-8 times = 38-38-40-42-44-44 stitches. Continue working until the sleeve measures 14-20-24-27-31-35 cm from the division. Knit 1 round and increase 6-6-8-6-8-8 stitches evenly spaced = 44-44-48-48-52-52 stitches. Change to double pointed needles size 3 mm and work rib (knit 2, purl 2) for 2½-2½-2½-3½-3½-3½ cm, then work 2 rounds of rib in colour cranberry. Cast off with rib. The sleeve measures approx. 17-23-27-31-35-39 cm from the division. Work the other sleeve in the same way. ASSEMBLY: Sew the buttons onto the left band. |
|||||||||||||
Diagram explanations |
|||||||||||||
|
|||||||||||||
 |
|||||||||||||
 |
|||||||||||||
Have you finished this pattern?Tag your pictures with #dropspattern #berriesanddreamscardigan or submit them to the #dropsfan gallery. Do you need help with this pattern?You'll find 24 tutorial videos, a Comments/Questions area and more by visiting the pattern on garnstudio.com. © 1982-2026 DROPS Design A/S. We reserve all rights. This document, including all its sub-sections, has copyrights. Read more about what you can do with our patterns at the bottom of each pattern on our site. |
|||||||||||||






With over 40 years in knitting and crochet design, DROPS Design offers one of the most extensive collections of free patterns on the internet - translated to 17 languages. As of today we count 333 catalogues and 12532 patterns translated into English (UK/cm). 12532
We work hard to bring you the best knitting and crochet have to offer, inspiration and advice as well as great quality yarns at incredible prices! Would you like to use our patterns for other than personal use? You can read what you are allowed to do in the Copyright text at the bottom of all our patterns. Happy crafting!
Post a comment to pattern DROPS Children 48-9
We would love to hear what you have to say about this pattern!
If you want to leave a question, please make sure you select the correct category in the form below, to speed up the answering process. Required fields are marked *.