
Popular categories
Looking for a yarn?


Comments / Questions (6)
![]() Maria wrote:
Maria wrote:
Hej! Efter att ha läst igenom beskrivningen då undrar jag varför man ska byta till smalare sticka när man sätter ihop fram- och bakstycke och börjar på resten av kroppen. Och sedan ska man byta till en större sticka när man stickar ärmarna. Vad beror det på?
07.05.2025 - 19:10DROPS Design answered:
Hej Maria, det er først når du kommer ned til ribkanten du skal skifte til en mindre pind :)
08.05.2025 - 15:18
![]() Lynn wrote:
Lynn wrote:
Question regarding reading the pattern. The pattern begins listing sizes S-M-L-XL-XXL-XXXL. I would expect that the number of centimetres listed throughout the pattern would follow the S to XXXL order. Unless I am reading incorrectly, it doesn’t. For example LEFT SLEEVE, last paragraph the number of centimetres from the marker 36-35-34-34-34-33 is in the opposite order i.e. largest to smallest. For size Small, do I continue working until sleeve measures 36 or 33cm?
05.12.2023 - 01:02DROPS Design answered:
Hi Lynn, Smaller sizes have longer sleeves, due to narrower shoulder width and a shorter yoke. So you work the sleeves to 36 cm (or to desired length; this is adjustable). Happy knitting!
05.12.2023 - 06:38
![]() Bine wrote:
Bine wrote:
Hallo liebes DROPS-Team! Hat sich vielleicht in der deutschen Übersetzung ein Fehler eingeschlichen? Die norwegischen und englischen Versionen dieser Anleitung sowie auch der Garnumrechner liefern für ANDES höhere Verbrauchswerte .... Beste Grüße, Bine
07.03.2023 - 10:38DROPS Design answered:
Liebe Bine, danke für den Hinweis, die norwegische Anleitung ist richtig, die deutsche wird korrigiert. Viel Spaß beim stricken!
07.03.2023 - 10:47
![]() Martine Malbranque wrote:
Martine Malbranque wrote:
Bonjour est t'il possible d'obtenir çe modele as tricoter en aiguilles normales car les circulaires j'ai du mal merçi de votre comprehention dans l'attente d'une réponse cordialement !!
30.09.2022 - 14:28DROPS Design answered:
Bonjour Mme Malbranque, vous pouvez, mais il vous faudra adapter les explications en conséquence - car le dos/le devant sont tricotés en rond à partir des emmanchures jusqu'à la fente des côtés - retrouvez ici comment adapter un modèle sur aiguilles droites; votre magasin saura également vous aider et vous conseiller si besoin, même par mail ou téléphone. Bon tricot!
30.09.2022 - 15:44
![]() Martine Malbranque wrote:
Martine Malbranque wrote:
Bonjour est t'il possible d'obtenir çe modele as tricoter en aiguilles normales car les circulaires j'ai du mal merçi de votre comprehention dans l'attente d'une réponse cordialement !!
30.09.2022 - 14:27
![]() Beatrice wrote:
Beatrice wrote:
Dolce latte
06.08.2022 - 17:17
|
||||
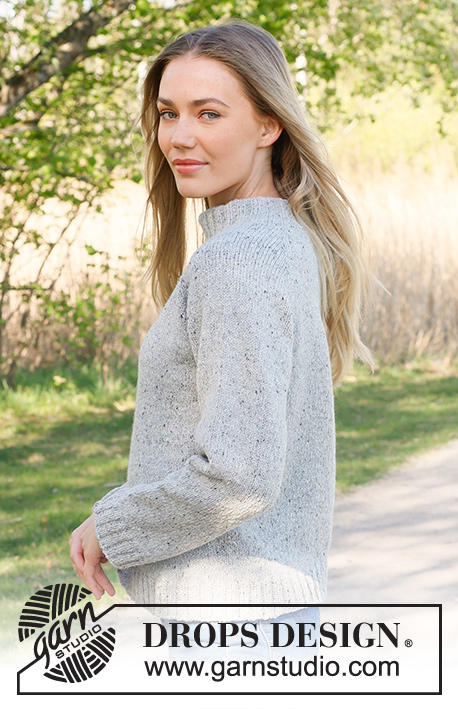
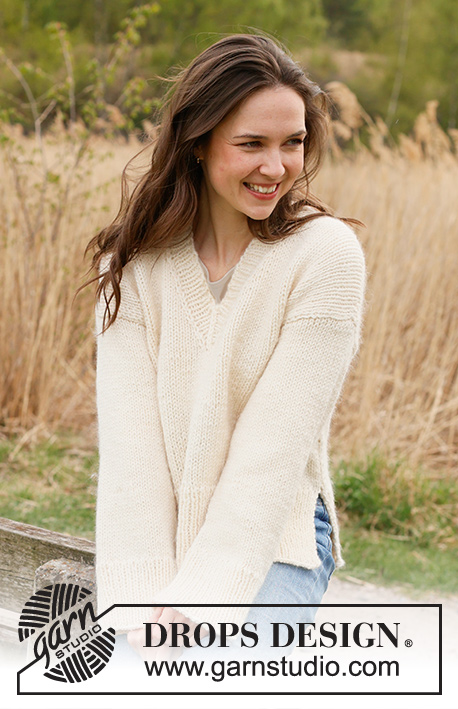
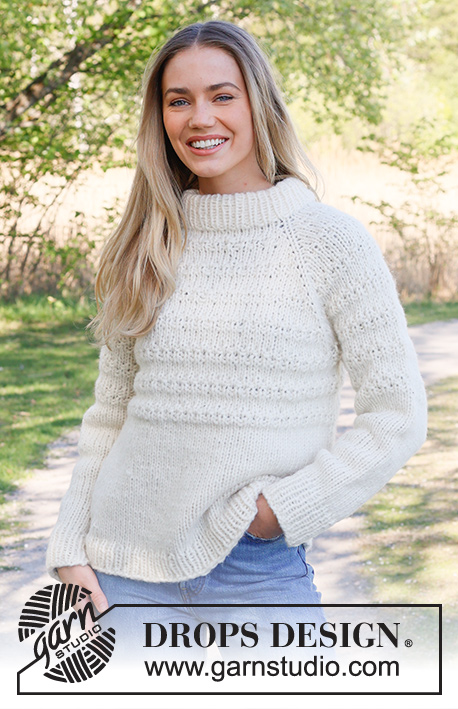
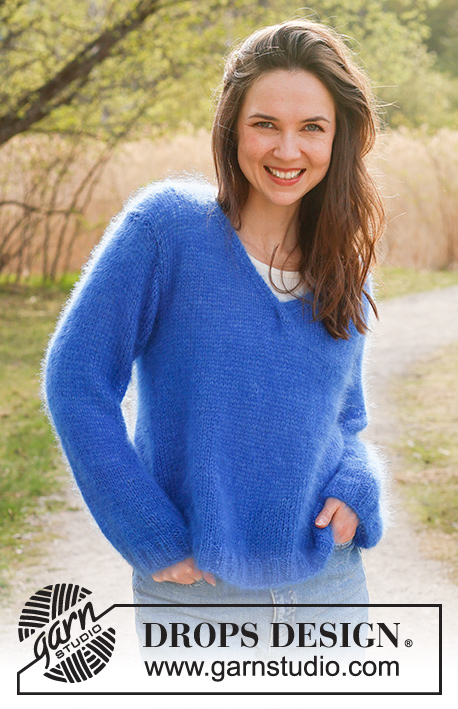
Silver Frost#silverfrostsweater |
||||
 |
 |
|||
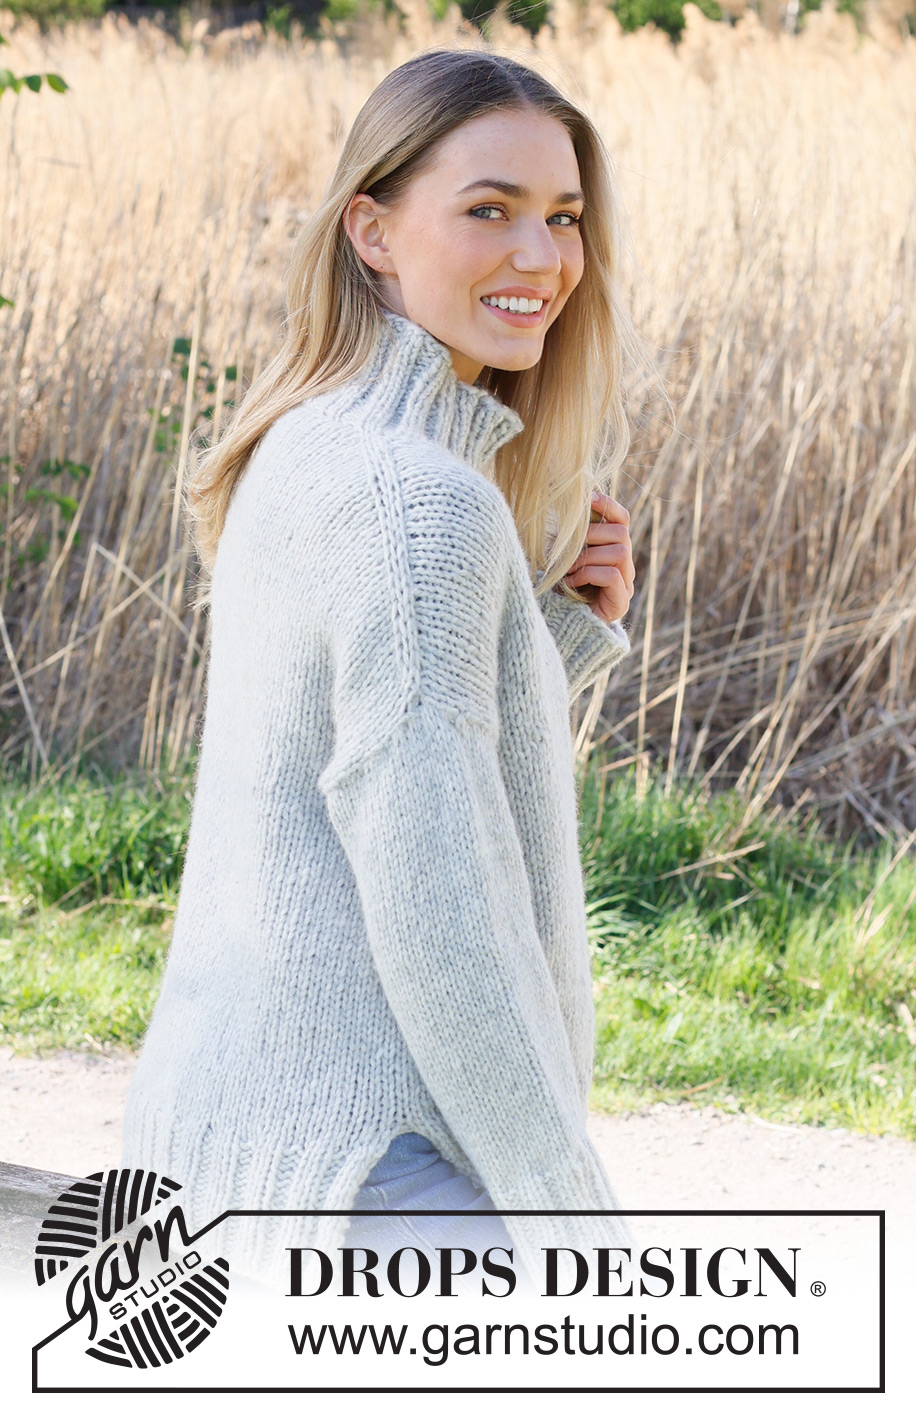
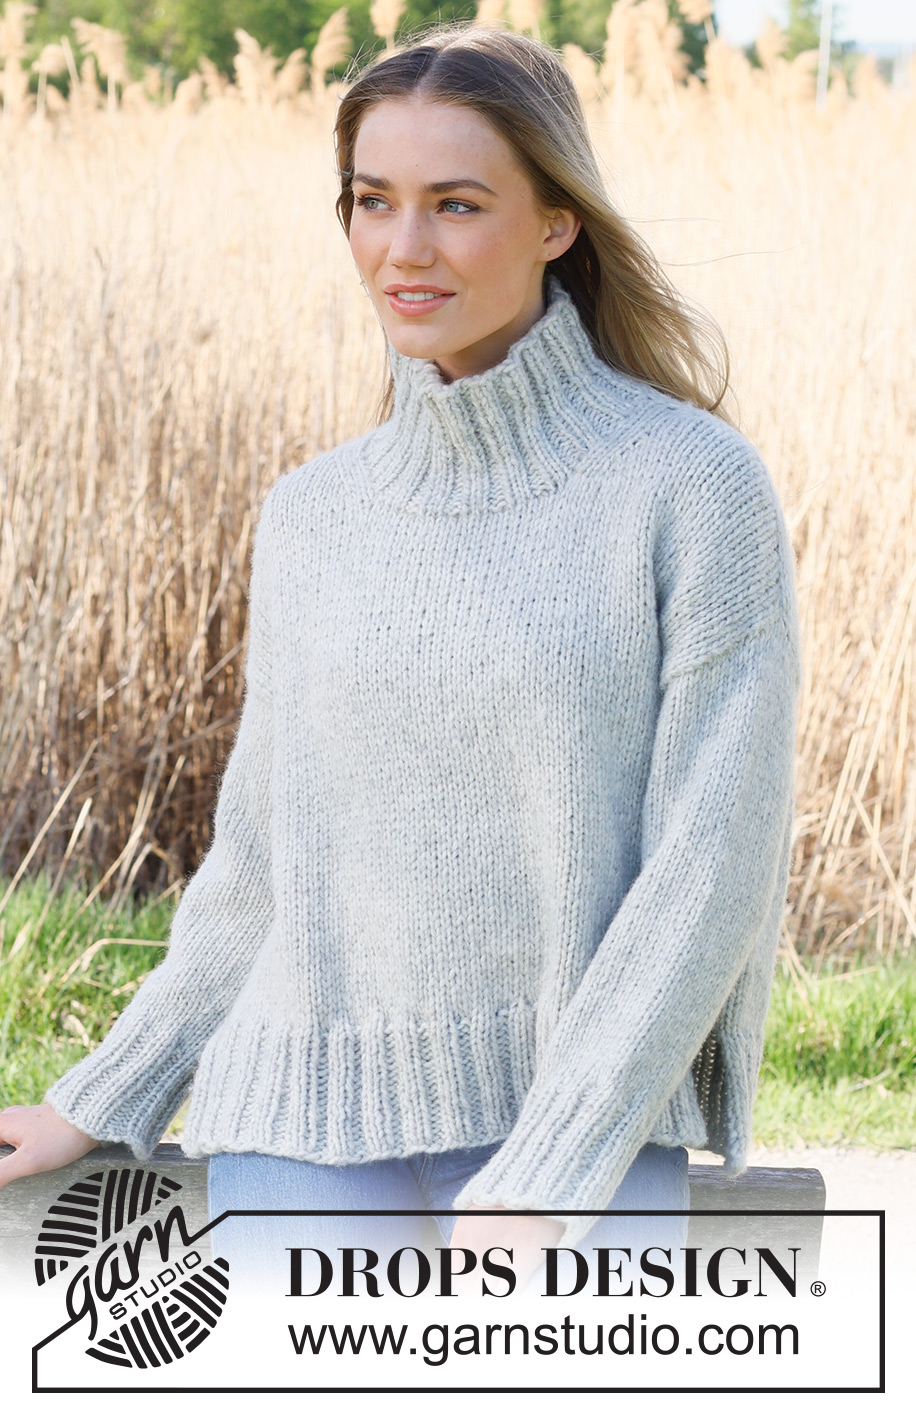
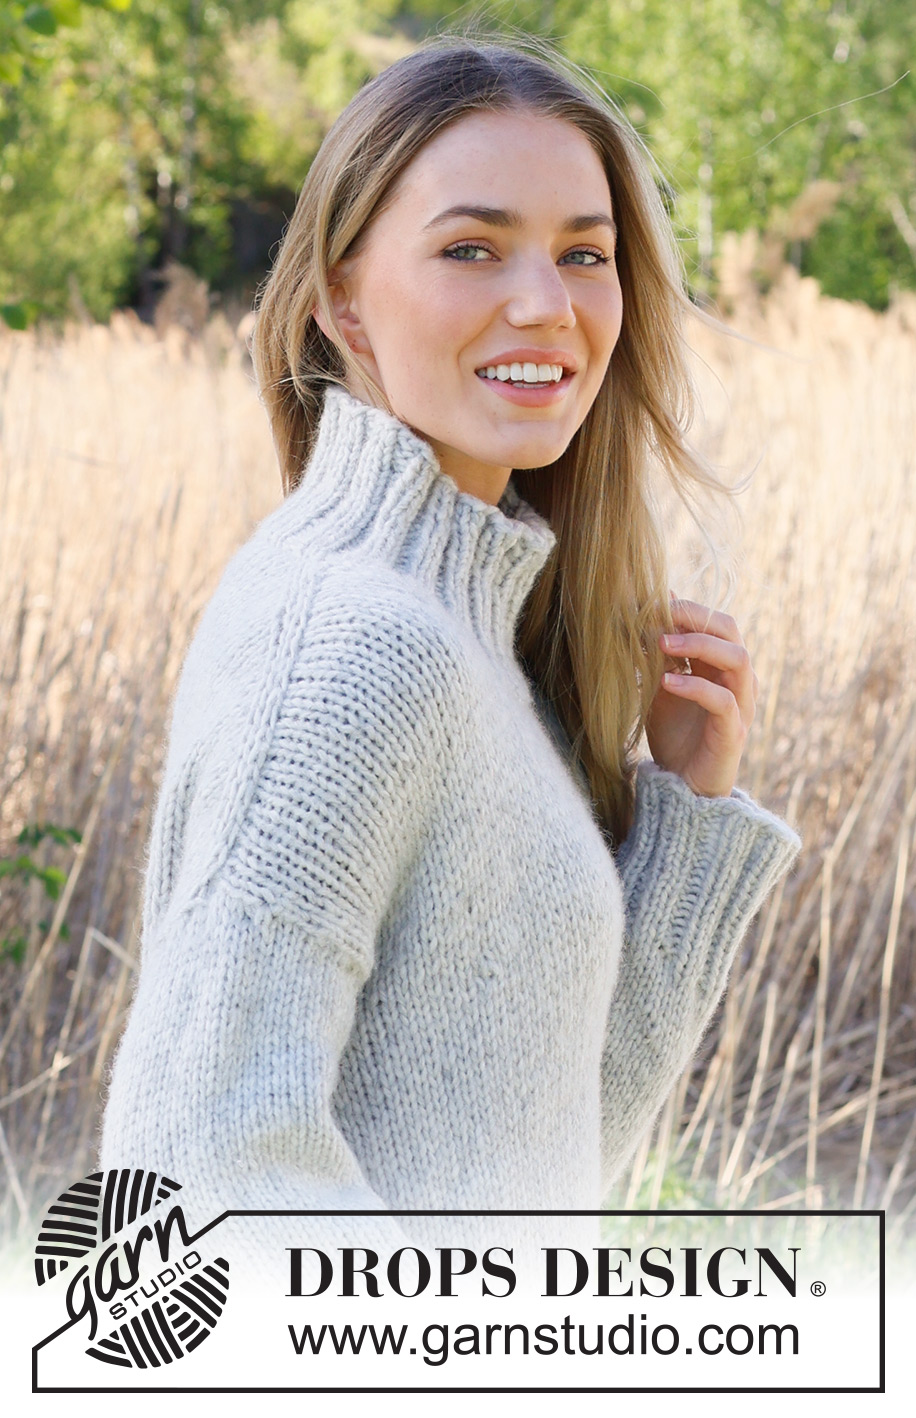
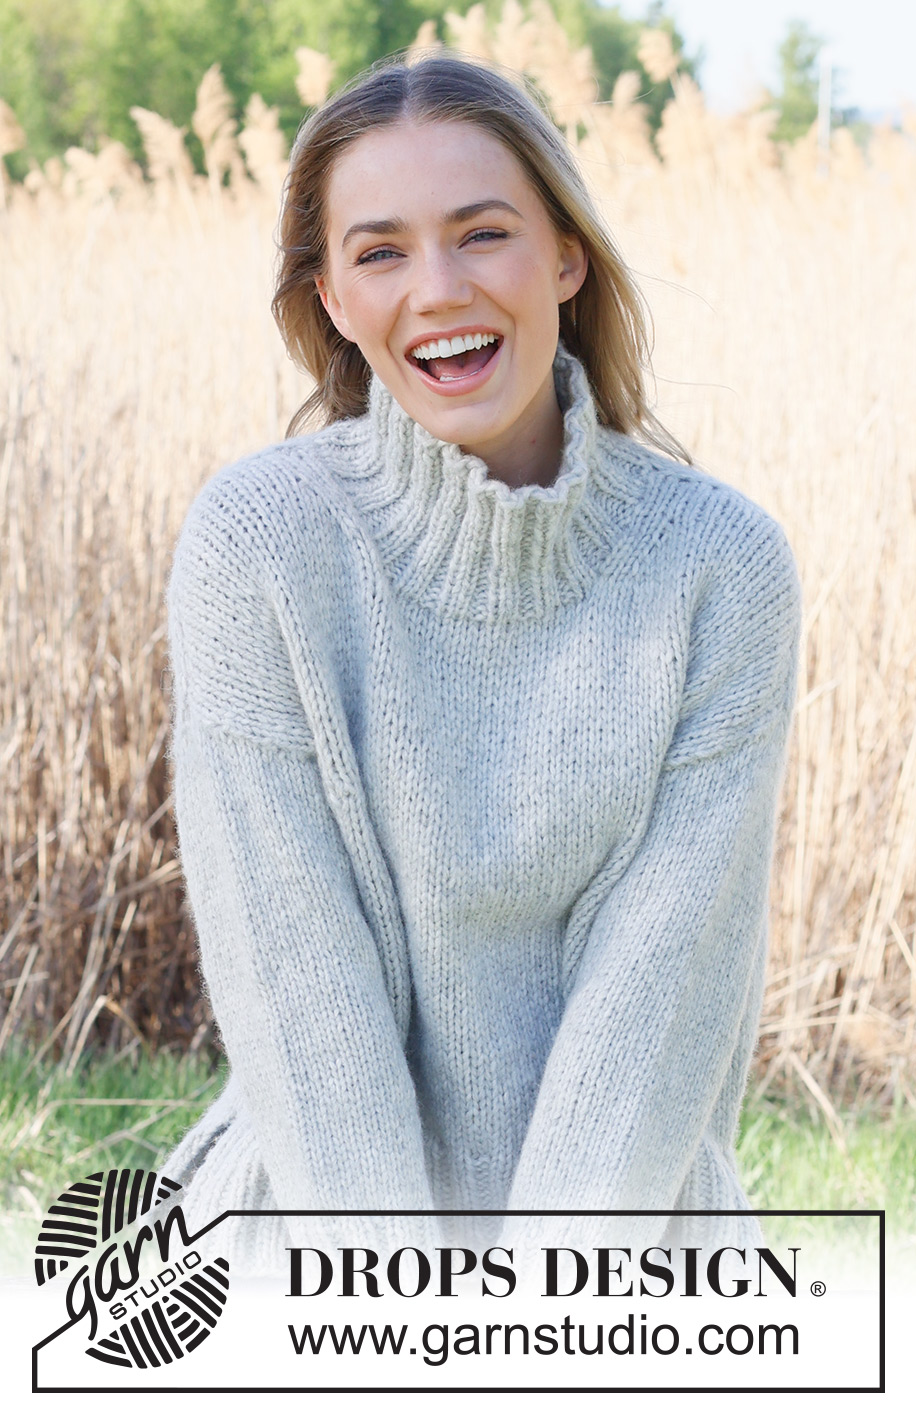
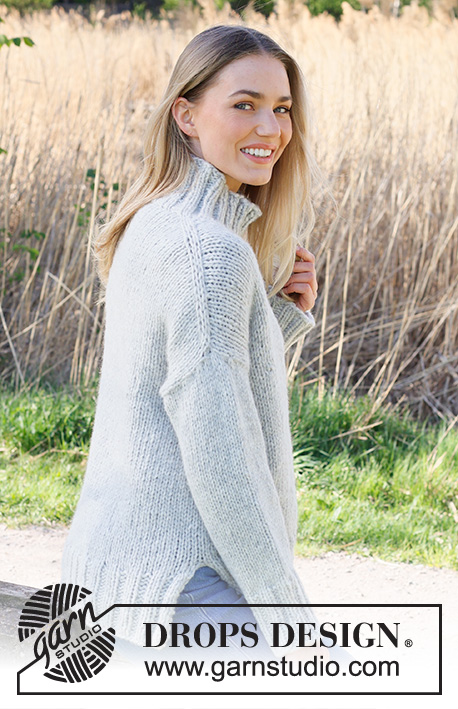
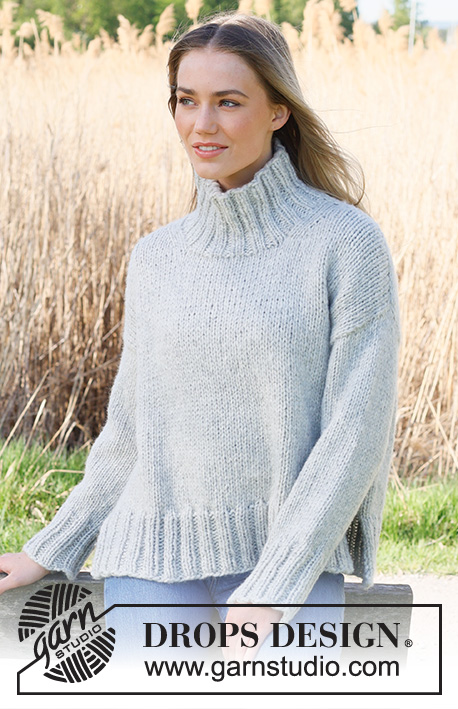
Knitted jumper in DROPS Wish or DROPS Andes or DROPS Snow. The piece is worked top down with stocking stitch, European shoulders / diagonal shoulders and high neck. Sizes S - XXXL.
DROPS 235-33 |
||||
|
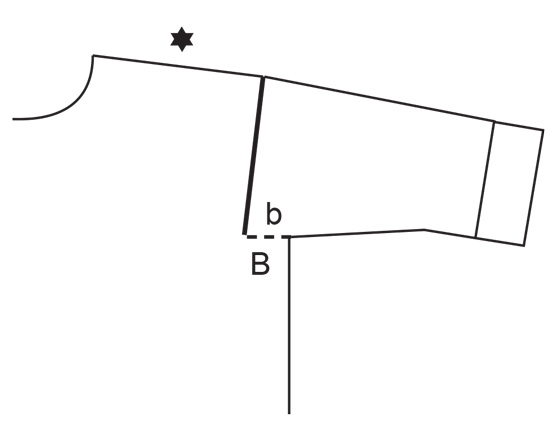
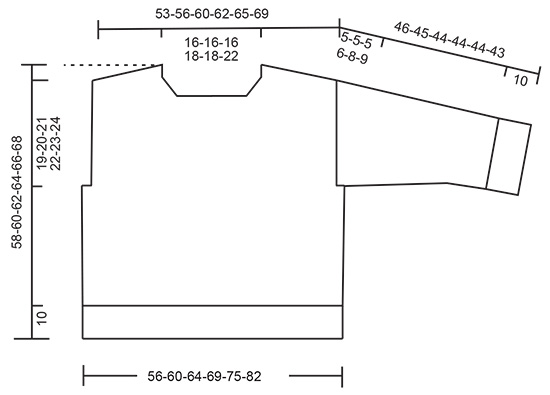
------------------------------------------------------- EXPLANATIONS FOR THE PATTERN: ------------------------------------------------------- RIDGE/GARTER STITCH (worked back and forth): Knit all rows. 1 ridge = knit 2 rows. INCREASE TIP FROM THE RIGHT SIDE: Increase towards the left AFTER MARKER: Use left needle to pick up yarn between 2 stitches from row below, pick up yarn from the front and knit in the stitch loop that is on the back of the needle. Increase towards the right BEFORE MARKER: Use left needle to pick up yarn between 2 stitches from row below, pick up yarn from the back and knit in the stitch loop that is on the front side of the needle. INCREASE TIP FROM THE WRONG SIDE: Increase towards the right AFTER MARKER: Use left needle to pick up yarn between 2 stitches from row below, pick up yarn from the back and purl in the stitch loop that is on the front side of the needle. Increase towards the left BEFORE MARKER: Use left needle to pick up yarn between 2 stitches from row below, pick up yarn from the front and purl in the stitch loop that is on the back side of the needle. DECREASE TIP (for sleeves): Decrease 1 stitch on either side of the marker as follows: Work until there are 3 stitches left before the marker, knit 2 together, knit 2 (marker sits between these 2 stitches), slip 1 stitch as if to knit, knit 1 and pass the slipped stitch over the knitted stitch. ------------------------------------------------------- START THE PIECE HERE: ------------------------------------------------------- JUMPER – SHORT OVERVIEW OF THE PIECE: The back piece is worked back and forth with circular needle, top down as far as the bottom of the armholes. Stitches are knitted up along each shoulder, increased for the neck and the front piece is worked back and forth with circular needle, top down to the bottom of the armholes. The back and front pieces are joined and the body is continued in the round with circular needle. Stitches are knitted up around the armholes for the sleeves, which are started back and forth for the sleeve-cap then finished in the round. The neck is worked in the round to finish. BACK PIECE: Cast on 22-22-22-24-24-28 stitches with circular needle size 8 mm and DROPS Wish or DROPS Andes or DROPS Snow. Purl 1 row from the wrong side. Insert 1 marker inside the outermost 3 stitches on each side. Markers should sit inside the 3 outermost stitch on every row onwards. Work stocking stitch back and forth. AT THE SAME TIME, on the first row , increase AFTER the marker at the beginning of the row and BEFORE the marker at the end of the row – read INCREASE TIP FROM RIGHT SIDE. On the next row (wrong side) increase in the same way – read INCREASE TIP FROM THE WRONG SIDE. Continue working and increasing from both the right and wrong side a total of 18-20-22-22-24-24 times. After the last increase there are 58-62-66-68-72-76 stitches on the needle. The piece is now measured from here! Continue working until the piece measures 16-17-17-18-19-20 cm down the outside of the armhole. Cut the yarn, put stitches on a thread or on an extra needle and work the front piece. FRONT PIECE: Start on the left shoulder (when the garment is worn). Knit up 18-20-22-22-24-24 stitches inside the outermost stitch along the left shoulder on the back piece (i.e. knit up 1 stitch in each row from the top edge). Work stocking stitch back and forth for 5 cm. Now increase stitches for the neck after the first 3 stitches at the beginning of each row from the right side – remember INCREASE TiP FROM THE RIGHT SIDE. Increase 1 stitch 4 times = 22-24-26-26-28-28 stitches. Purl back from the wrong side, cut the yarn, put stitches on a thread or an extra needle and work the right shoulder. Knit up 18-20-22-22-24-24 stitches inside the outermost stitch along the right shoulder on the back piece. Work stocking stitch back and forth for 5 cm. Now increase stitches for the neck before the last 3 stitches at the end of each row from the right side, remember INCREASE TIP FROM THE RIGHT SIDE. Increase 1 stitch 4 times = 22-24-26-26-28-28 stitches. Purl 1 row from the wrong side after last increase. Work as follows from the right side: Knit the 22-24-26-26-28-28 stitches from the right front piece, cast on 14-14-14-16-16-20 stitches for the neck, knit the 22-24-26-26-28-28 stitches from the left front piece = 58-62-66-68-72-76 stitches. Work stocking stitch back and forth until the front piece measures 22-23-25-26-27-28 cm down the outside of the armhole. The front and back pieces are now joined for the body. BODY: Work stocking stitch over the 58-62-66-68-72-76 stitches from the front piece, cast on 4-4-4-8-10-14 at the end of the row (side), work the 58-62-66-68-72-76 stitches from the back piece, cast on 4-4-4-8-10-14 stitches at the end of the row = 124-132-140-152-164-180 stitches. Work stocking stitch in the round until the piece measures 48-50-52-54-56-58 cm, from the highest point on the front shoulder. Now divide the piece to give a split in each side. Place the 62-66-70-76-82-90 stitches from the front piece on a thread or extra needle and work the back piece. BACK PIECE: Change to circular needle size 7 mm. Knit 1 row from the right side and increase 6-6-10-8-10-10 stitches evenly spaced = 68-72-80-84-92-100 stitches. Work as follows from the wrong side: 1 edge stitch in GARTER STITCH – read description above, * purl 2, knit 2 *, work from *-* until there are 3 stitches left, purl 2 and 1 edge stitch in garter stitch. Continue this rib for 10 cm. Cast off. FRONT PIECE: Work in the same way as the back piece. LEFT SLEEVE: Use circular needle size 8 mm and knit up from the right side 25-26-28-29-30-32 stitches from the bottom of the armhole and up the front piece to the shoulder, then 17-18-18-19-20-20 stitches down the back piece to the bottom of the armhole = 42-44-46-48-50-52 stitches. Insert 1 marker in the middle of the row – the sleeve is measured from this marker. Insert 1 marker in the middle of the stitches picked up. Work now back and forth in stocking stitch with short rows for the sleeve cap, to gives a better shape to the sleeve. 1st row (from wrong side): work to 10 stitches after marker, turn. 2nd row (from right side): work to 10 stitches after marker, turn. 3rd row (from wrong side): work to 14 stitches after marker, turn. 4th row (from right side): work to 14 stitches after marker, turn. 5th row (from wrong side): work to the beginning of the row. Work stocking stitch back and forth for 5-5-5-6-8-9 cm, measure from where the stitches were picked up (all length are measured mid on top of sleeve). Now join the sleeve using circular needle/double pointed needles size 8 mm. Insert 1 marker at the beginning of the round (mid-under sleeve). Allow the marker to follow your work onwards. Start at the marker and work stocking stitch in the round until the sleeve measures 7-7-7-8-10-11 cm, now decrease 2 stitches mid-under the sleeve – read DECREASE TIP. Decrease like this every 8-8-7½-7½-7-6½ cm a total of 4 times = 34-36-38-40-42-44 stitches. Continue working until the sleeve measures 36-35-34-34-34-33 cm from the marker. There is 10 cm left. Try the jumper on and work to desired length. Knit 1 round and increase 2-4-2-4-2-4 stitches evenly spaced = 36-40-40-44-44-48 stitches. Change to double pointed needles size 7 mm. Work rib (knit 2, purl 2) for 10 cm. Cast off a little loosely. The sleeve measures approx. 46-45-44-44-44-43 cm from the marker. RIGHT SLEEVE: Work the same way as the left sleeve but knit up 17-18-18-19-20-20 stitches from the bottom of the armhole up the back piece and 25-26-28-29-30-32 stitches from the shoulder down the front piece to the bottom of the armhole. Sew the bottom of the armholes together – see sketch. NECK: Start on one shoulder and knit up from the right side, inside the 1 edge stitch, 48 to 64 stitches using short circular needle size 7 mm. The stitch-number should be divisible by 4. Work rib in the round (knit 2, purl 2) for 10 cm. Cast off a little loosely. |
||||
Diagram explanations |
||||
|
||||
 |
||||
 |
||||
Have you finished this pattern?Tag your pictures with #dropspattern #silverfrostsweater or submit them to the #dropsfan gallery. Do you need help with this pattern?You'll find 34 tutorial videos, a Comments/Questions area and more by visiting the pattern on garnstudio.com. © 1982-2026 DROPS Design A/S. We reserve all rights. This document, including all its sub-sections, has copyrights. Read more about what you can do with our patterns at the bottom of each pattern on our site. |
||||


With over 40 years in knitting and crochet design, DROPS Design offers one of the most extensive collections of free patterns on the internet - translated to 17 languages. As of today we count 324 catalogues and 12290 patterns translated into English (UK/cm). 12290
We work hard to bring you the best knitting and crochet have to offer, inspiration and advice as well as great quality yarns at incredible prices! Would you like to use our patterns for other than personal use? You can read what you are allowed to do in the Copyright text at the bottom of all our patterns. Happy crafting!
Post a comment to pattern DROPS 235-33
We would love to hear what you have to say about this pattern!
If you want to leave a question, please make sure you select the correct category in the form below, to speed up the answering process. Required fields are marked *.