
Popular categories
Looking for a yarn?


Comments / Questions (219)
![]() Liz wrote:
Liz wrote:
What ply is Drops baby merino?
07.03.2013 - 12:30
![]() Eileen wrote:
Eileen wrote:
Do not know how much yarn I need to make for a size 2.
05.03.2013 - 02:52DROPS Design answered:
Dear Eileen, if you mean for a size 2 years, you'll need 100 g Baby Merino : 1st indication of both numbers between brackets. Happy knitting!
05.03.2013 - 09:08
![]() Federica wrote:
Federica wrote:
Trovo difficoltà a capire come lavorare nel momento in cui arriva la tasca. Potreste spiegarmi meglio questo passaggio? Grazie
28.02.2013 - 17:00DROPS Design answered:
Buongiorno, praticamente sono delle false tasche, deve lavorare le m. in sospeso come indicato per lavorare il bordo della falsa tasca e poi affrancarla sul davanti. Buon lavoro!!
01.03.2013 - 10:26
![]() Yasmin wrote:
Yasmin wrote:
Bitte um Hilfe, wie muss ich die teile separat weiterstricken? Muss ich zwei der drei teile auf hilfsfäden ziehen? Vielen dank für ihre Antwort
28.01.2013 - 13:03DROPS Design answered:
Liebe Yasmin, ja genau, die Teile, an denen gerade nicht gestrickt wird, werden auf eine Hilfsnadel oder einen Hilfsfaden stillgelegt.
29.01.2013 - 08:49
![]() Nina wrote:
Nina wrote:
Hei, hvor mange masker skal det være til forstykkene når det felles av til ermehull. Altså hvor mange masker sitter jeg igjen med etter fellingen?
25.01.2013 - 19:37
![]() Olivia wrote:
Olivia wrote:
Ich habe das selbe Problem wie Sina, aber Ihre Antwort hilft mir nicht weiter. Ich bin momentan hier: "Weiter wie folgt für den Ausschnitt abn. - siehe oben: bei jeder 2. R. je 1 M. Total 12-13-16 (16-16) Mal." Heißt das, dass in jeder zweiten Reihe vor UND nach den Blenden eine Masche abgenommen wird (=2 Maschen insgesamt)? Oder wird abwechselnd in einer Reihe vor der Blende und in der nächsten Reihe nach der Blende 1 M. abgenommen (=1 Masche pro Reihe)?
18.01.2013 - 12:59DROPS Design answered:
Liebe Olivia, Sie nehmen in jeder 2. Reihe vor und nach den Blendenmaschen je 1 M ab, solange das Strickstück noch nicht nach dem Armausschnitt in likes/rechtes Vorderteil getrennt ist sind das 2 M in jeder 2. R. Dann stricken Sie den V-Ausschnitt so weiter.
20.01.2013 - 18:53
![]() Bente Pedersen wrote:
Bente Pedersen wrote:
Jeg har tidligere sendt spørgsmål, men jeg har læst opskriften en gang mere og kan nu se hvor jeg har læst forkert. 1000 tak for en MEGET spændende hjemmeside.
10.01.2013 - 03:49
![]() Bente Pedersen wrote:
Bente Pedersen wrote:
Skal knaphullerne ikke strikkes i ribkanten? og skal ribkanten ikke strikkes på til sidst? og hvor mange masker skal der være på ryg og forstykke? samt i ærmerne?
10.01.2013 - 03:45DROPS Design answered:
Godt at se at du fandt ud af det. God fornöjelse!
11.01.2013 - 13:19
![]() Katinka wrote:
Katinka wrote:
...gleichzeitig fertige ich den Rand für die Armausschnitte (2 Krausrippen), die in der nächsten Reihe abgekettet werden. So entsteht hier ja ein Loh und mann kann nicht mehr durchgängig hin und zurück stricken. Soll man dann die Maschen für den Rücken auf eine Nadel ziehen, den Rücken stricken und die übrigen Maschen auf Hilfsfäden ziehen? Ich finde die Weste so toll und möchte sie unbedingt stricken...bitte um Hilfe
09.01.2013 - 13:09DROPS Design answered:
Liebe Katinka, es wird immer neben den Krausrippen abgenommen.
27.01.2013 - 15:45
![]() Katinka wrote:
Katinka wrote:
Ich komme ab den Abnahmen für den Kragen nicht weiter: Ich nehme links und rechts im Wechsel in jeder 2. Reihe eine Masche ab. Die 1. konkrete Frage lautet jetzt: Wie funktiert es, dass ich das Perlenmuster nicht ruiniere? Wenn ich 2 rechte M zusammenstricke habe ich beim nächsten Mal 1 rechte M, 2 linke Maschen usw. Ich könnte dann 2 linke Maschen zusammenstricken, aber dann beginnt die Reihe mit 1 rechte M, 1 linke M, und dann immer 2 rechte 2 linke M im Wechsel...
09.01.2013 - 13:08DROPS Design answered:
Liebe Katinka, Sie haben ganz Recht, Sie müssen unbedingt darauf achten, dass sich das Perlmuster nichts verschiebt! Es können am Rand nicht immer 2 re bzw. 2 li Maschen sein, aber das ist nicht weiter störend.
10.01.2013 - 12:53
|
|
Junior#juniorvest |
|
 |
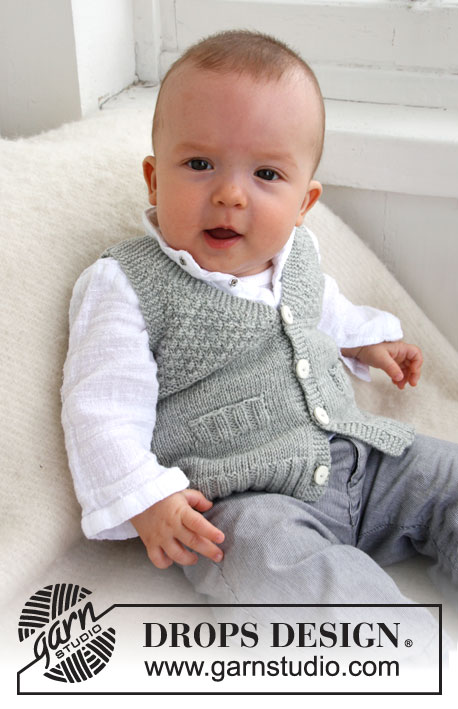 |
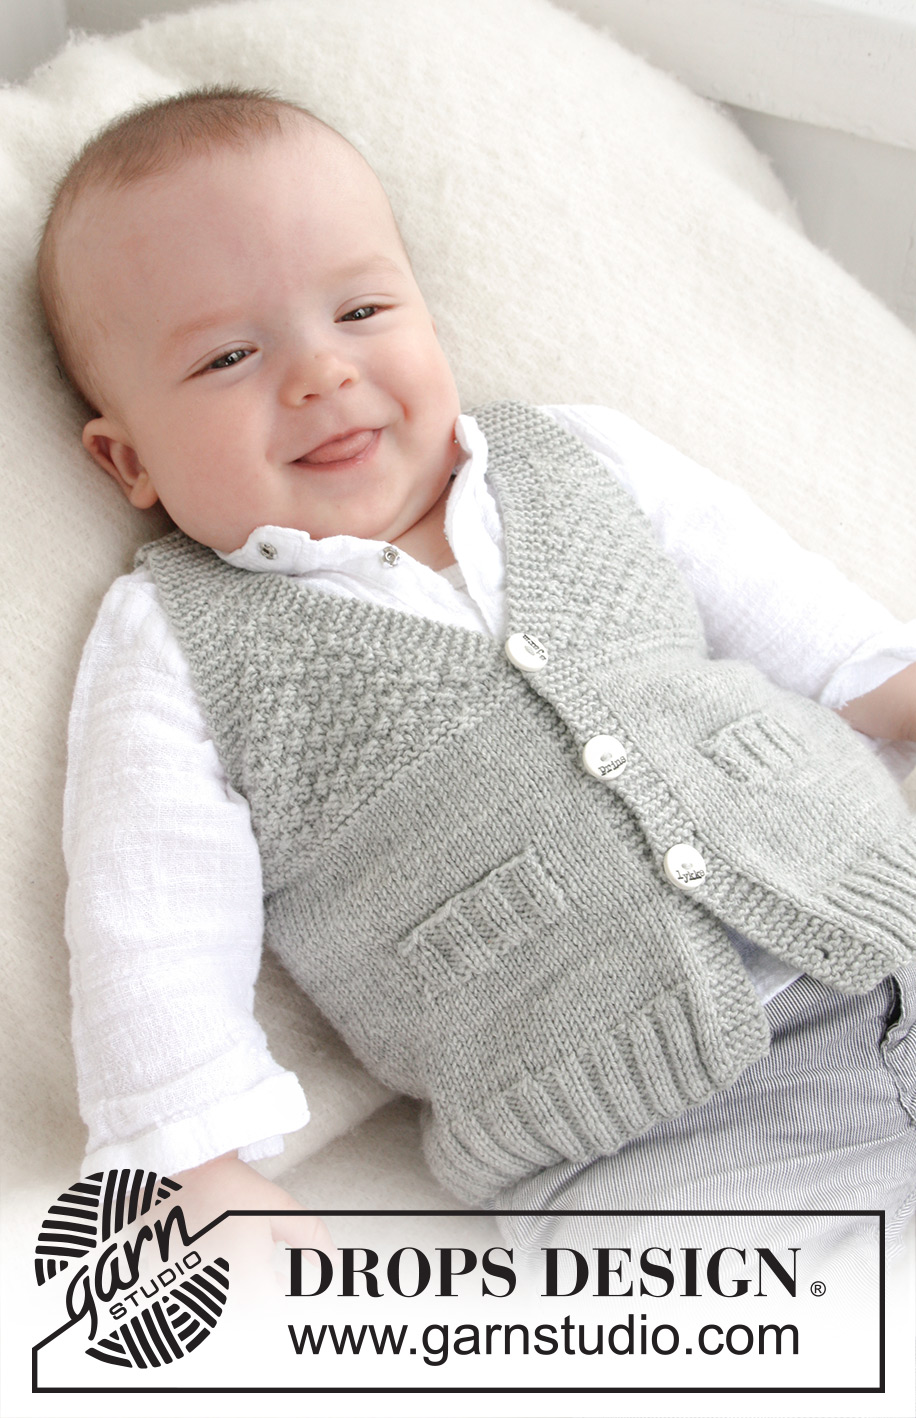
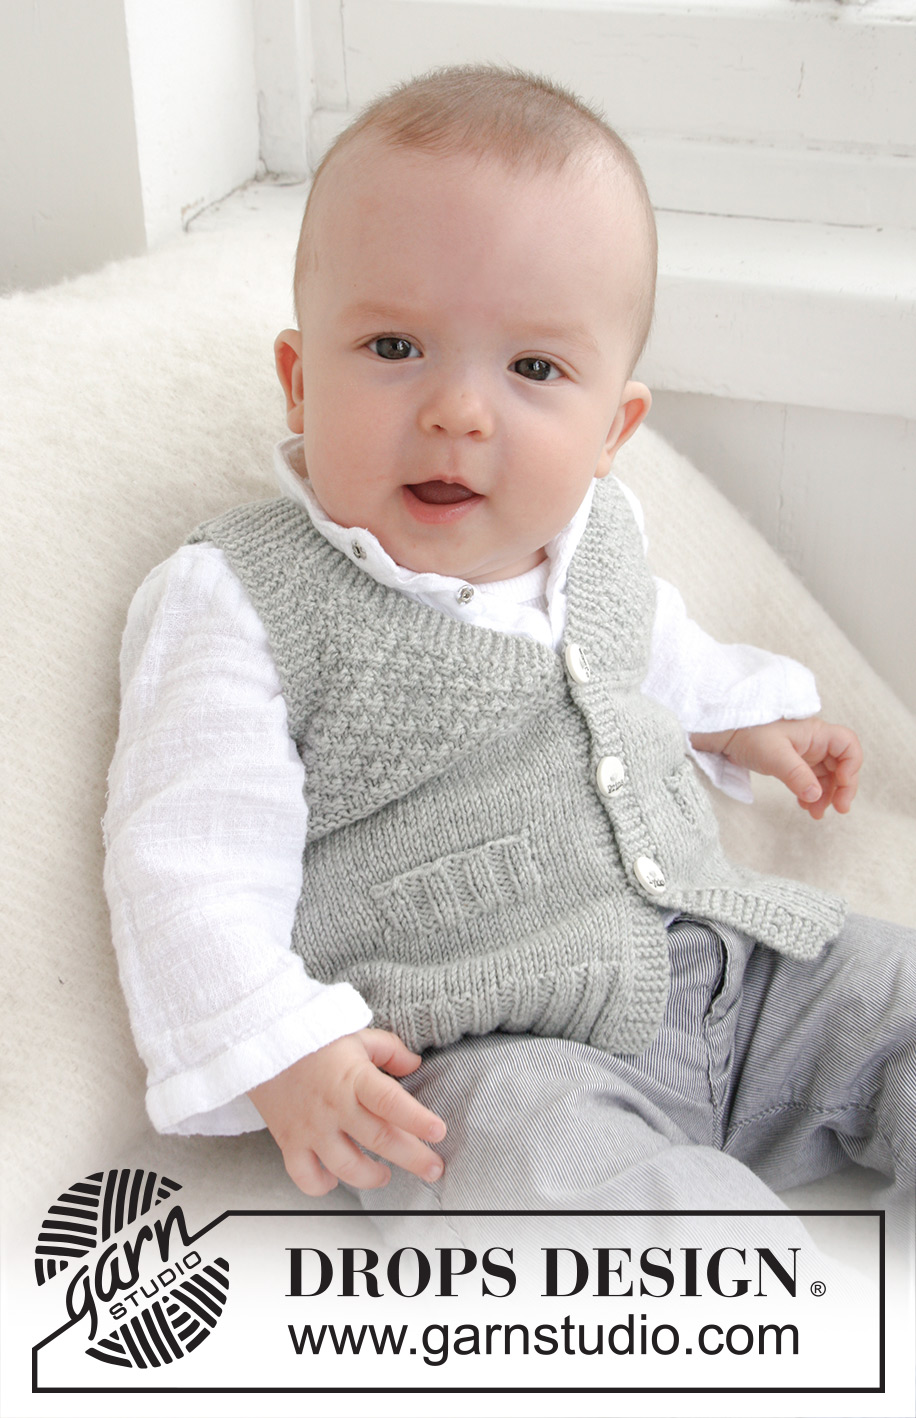
Knitted vest with V-neck and textured pattern for baby and children in DROPS BabyMerino or DROPS BabyAlpaca Silk
DROPS Baby 21-8 |
|
|
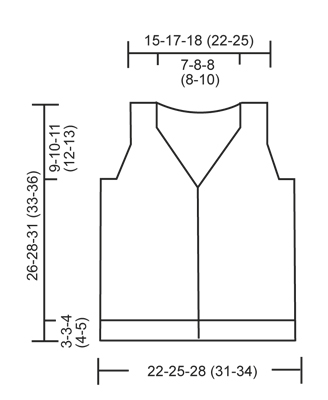
GARTER ST (back and forth on needle): K all rows. DOUBLE MOSS ST: Row 1: * K 2, P 2 *, repeat from *-*. Row 2: K over K and P over P. Row 3: P over K and K over P. Row 4: As row 2. Repeat row 1 to 4. BUTTON HOLES: Cast off for button holes on right band. 1 button hole = K tog 2nd and 3rd st from edge and make 1 YO. Cast off for button holes when piece measures: SIZE 1/3 MONTHS: 2, 6, 10 and 14 cm. SIZE 6/9 MONTHS: 2, 7, 11 and 16 cm. SIZE 12/18 MONTHS: 2, 7, 12 and 17 cm. SIZE 2 YEARS: 2, 8, 13 and 19 cm. SIZE 3/4 YEARS: 2, 8, 14 and 20 cm. DEC FOR V-NECK AND ARMHOLES IN DOUBLE MOSS ST: All dec are done from RS! DEC AS FOLLOWS BEFORE BAND/SLEEVE EDGE: When last st should be K: K 2 tog. When last st should be P: P 2 tog. DEC AS FOLLOWS AFTER BAND/SLEEVE EDGE: When first st should be K: Slip 1 st as if to K, K 1, psso. When first st should be P: P 2 twisted tog (i.e. work in back loop of st instead of front). -------------------------------------------------------- -------------------------------------------------------- BODY: Worked back and forth on circular needle from mid front. Cast on 148-168-184 (204-224) sts on circular needle size 2.5 mm with Baby Merino. Work first row as follows from RS: 5 sts in GARTER ST (= band) - see explanation above, * K 2, P 2 *, repeat from *-* until 7 sts remain, finish with K 2 and 5 sts in GARTER ST (= band). Continue rib like this with 5 sts in garter st in each side until piece measures 3-3-4 (4-5) cm - REMEMBER BUTTON HOLES on band - see explanation above. Switch to circular needle size 3 mm and work in stocking st but continue bands in garter st as before. AT THE SAME TIME on first row after rib, dec 32-36-40 (44-52) sts evenly (do not dec over bands) = 116-132-144 (160-172) sts. Insert a marker 31-35-39 (43-45) sts in from each side (= 54-62-66 (74-82) sts between markers on back piece). REMEMBER THE KNITTING TENSION! When piece measures 7-7½-8 (9-10) cm, work next row as follows from RS: 5 sts in garter st, 21-21-27 (27-31) sts in stocking st, slip the last 16-16-20 (20-24) sts that were worked on a stitch holder for pocket slit, work until 10-10-12 (12-12) sts remain on needle, slip the last 16-16-20 (20-24) sts that were worked on a stitch holder for pocket slit, work 5-5-7 (7-7) sts in stocking st and finish with 5 sts in garter st. On next row cast on 16-16-20 (20-24) new sts over each of the 2 stitch holders with sts = 116-132-144 (160-172) sts. Continue in stocking st and in garter st until piece measures 13-14-16 (16-18) cm. Now K 4 rows over all sts (= 2 ridges). Then work DOUBLE MOSS ST - see explanation above (continue bands in garter st as before). READ ALL OF THE FOLLOWING SECTION BEFORE CONTINUING! When piece measures 15-17-18 (20-21) cm, work 2 rows in garter st over the first 5 sts on needle (do not work the other sts on needle), then work 1 row over all sts before working 2 rows in garter st over the first 5 sts on needle in the other side of piece (this is done so that the V-neck looks nice). Then dec for V-neck - see explanation above: Dec 1 st every other row (i.e. every row from RS) a total of 12-13-16 (16-16) times. AT THE SAME TIME when piece measures 16-17-19 (20-22) cm, work 4 rows in garter st over the middle 18-20-20 (20-20) sts in each side (i.e. over 9-10-10 (10-10) sts on each side of both markers) – work the other sts as before. On next row, cast off the middle 8-10-10 (10-10) sts in each side for armhole and finish front and back piece separately. BACK PIECE: = 46-52-56 (64-72) sts. Work double moss st with 5 sts in garter st in each side (= sleeve edges). AT THE SAME TIME dec for armholes - see explanation above: Dec 1 st every other row (i.e. on every row from RS) a total of 5-6-6 (6-6) times = 36-40-44 (52-60) sts. Continue in double moss st and in garter st until piece measures 24-26-29 (31-34) cm. Now work in garter st over all sts until finished measurements. AT THE SAME TIME when piece measures 25-27-30 (32-35) cm, cast off the middle 16-18-20 (20-24) sts for neck = 10-11-12 (16-18) sts remain on each shoulder. Now finish each shoulder separately. Continue with garter st until piece measures 26-28-31 (33-36) cm, cast off. LEFT FRONT PIECE: Continue with double moss st and in garter st while AT THE SAME TIME dec for armhole in the side as on back piece and continue dec for V-neck as before. After last dec, 10-11-12 (16-18) sts remain on needle. Work garter st over all sts until piece measures 26-28-31 (33-36) cm and cast off. RIGHT FRONT PIECE: Work as left front piece but reversed. POCKET SLIT: Slip the 16-16-20 (20-24) sts from stitch holder on one front piece back on needle size 2.5 mm. Work rib K2/P2 with 1 st in garter st and K 2 in each side (seen from RS). When pocket slit measures 2½-2½-3 (3-3) cm, loosely cast off with K over K and P over P. Sew pocket slit to front piece with duplicate sts in each side. Sew pocket opening to bottom of pocket slit (where sts were put on a stitch holder) on the back of piece. Work another pocket slit the same way on the other front piece. ASSEMBLY: Sew the shoulder seams. Sew on buttons. |
|
 |
|
Have you finished this pattern?Tag your pictures with #dropspattern #juniorvest or submit them to the #dropsfan gallery. Do you need help with this pattern?You'll find 13 tutorial videos, a Comments/Questions area and more by visiting the pattern on garnstudio.com. © 1982-2026 DROPS Design A/S. We reserve all rights. This document, including all its sub-sections, has copyrights. Read more about what you can do with our patterns at the bottom of each pattern on our site. |
|


With over 40 years in knitting and crochet design, DROPS Design offers one of the most extensive collections of free patterns on the internet - translated to 17 languages. As of today we count 324 catalogues and 12290 patterns translated into English (UK/cm).
We work hard to bring you the best knitting and crochet have to offer, inspiration and advice as well as great quality yarns at incredible prices! Would you like to use our patterns for other than personal use? You can read what you are allowed to do in the Copyright text at the bottom of all our patterns. Happy crafting!
Post a comment to pattern DROPS Baby 21-8
We would love to hear what you have to say about this pattern!
If you want to leave a question, please make sure you select the correct category in the form below, to speed up the answering process. Required fields are marked *.