
Popular categories
Looking for a yarn?


Comments / Questions (85)
![]() Tiia wrote:
Tiia wrote:
Ohjeessa ei ole muuta vikaa kuin se, että se on vaikeaselkoinen.
16.03.2026 - 16:57
![]() Tangarine wrote:
Tangarine wrote:
Hii! So for the neck, the increases are only happening on one side of each sleeve and both side of the front panel? (In the end there are 8 stitches difference between the front and back panel). Is that correct? Oh yeah, is it alright if I want to use m1l m1r increases insted of yarn over? Thank you!
24.02.2026 - 06:04DROPS Design answered:
Hi Tangarine, The increases for raglan on the short rows are on both sides of all markers (as the short rows are across all markers). So the number of increases are the same on the front and back pieces. And, of course you can increase using m1l and m1r instead of yarn overs. Regards, Drops Team.
24.02.2026 - 06:39
![]() Federica wrote:
Federica wrote:
Vi ringrazio ma ho capito, chiedo scusa ! Andava nel verso sbagliato!
28.01.2026 - 17:08
![]() Federica wrote:
Federica wrote:
Buongiorno, io non riesco a capire, ho letto i commenti fino al 2023 per trovare una risposta. Sulla scollatura, con gli short row non mi tornano gli aumenti. Se faccio gli short row per aumentare la scollatura sul davanti, vado avanti e indietro tra il 3* e il 2* segnapunti intono ai quali faccio aumenti (8 in totale). Come posso aumentare anche sugli altri segna punti se i giri si fermano prima?… alla fine avrò 88 non 96…?..
26.01.2026 - 23:10
![]() Kate wrote:
Kate wrote:
Im so confused with yoke. If i start mid back and increase raglan, turn and knit a short row, wont this just make the front higher and not the back?
23.01.2026 - 09:17DROPS Design answered:
Dear Kate, before starting the short rows we cut the thread and rejoin it 3 stitches before marker-3. Then we work towards the back, over the sleeve, over all back stitches and over the other sleeve, finishing 3 stitches after marker-2, at the front right-hand side of neck. So we have skipped the front piece when working. We continue working over the stitches as in this row, each time working over more stitches from the front-piece, but not the whole front piece. In the end, the back piece will be slightly higher than the front piece. Happy knitting!
25.01.2026 - 18:12
![]() Ann Field wrote:
Ann Field wrote:
I am unsure what size I need I am a British size 14/16 but prefer my sweaters slightly big. So size 16 probably best Continental sizing S, M, L, etc just confuses me, Can you help. This will be my first top down sweater. Thank You
05.01.2026 - 18:05DROPS Design answered:
Hi Ann, how to choose the right size you will find in the lesson DROPS HERE. Happy knitting!
05.01.2026 - 18:57
![]() Lidia wrote:
Lidia wrote:
Hi, at the end of the double neck the pattern says that I should cut the strand, why?
04.01.2026 - 17:56DROPS Design answered:
Dear Lidia, you cut the strand to displace the beginning of the round. For example, the neckline is started 3 stitches before marker-3. So you could start the round at the beginning and work up to the marker, but then the first short row wouldn't look too good. So we start the row at this spot and we need to cut the thread and rejoin it in the right position. Happy knitting!
04.01.2026 - 23:30
![]() Lidia wrote:
Lidia wrote:
At the end of the double neck it says that I should be cutting the strand. Why?
04.01.2026 - 17:51DROPS Design answered:
Dear Lidia, you cut the strand to displace the beginning of the round. For example, the neckline is started 3 stitches before marker-3. So you could start the round at the beginning and work up to the marker, but then the first short row wouldn't look too good. So we start the row at this spot and we need to cut the thread and rejoin it in the right position. Happy knitting!
04.01.2026 - 23:30
![]() Fatima wrote:
Fatima wrote:
Jeg har garn Månestråle der er 200m/25 g. Skal strikke “L” - hvilken pind skal jeg bruge? Tak
30.11.2025 - 22:04
![]() Megan Louise wrote:
Megan Louise wrote:
Glæder mig til at strikke denne sweater! Kunne I overveje at implementere en feature, der lader én sortere kommentar på sprog?
26.10.2025 - 17:23
|
|
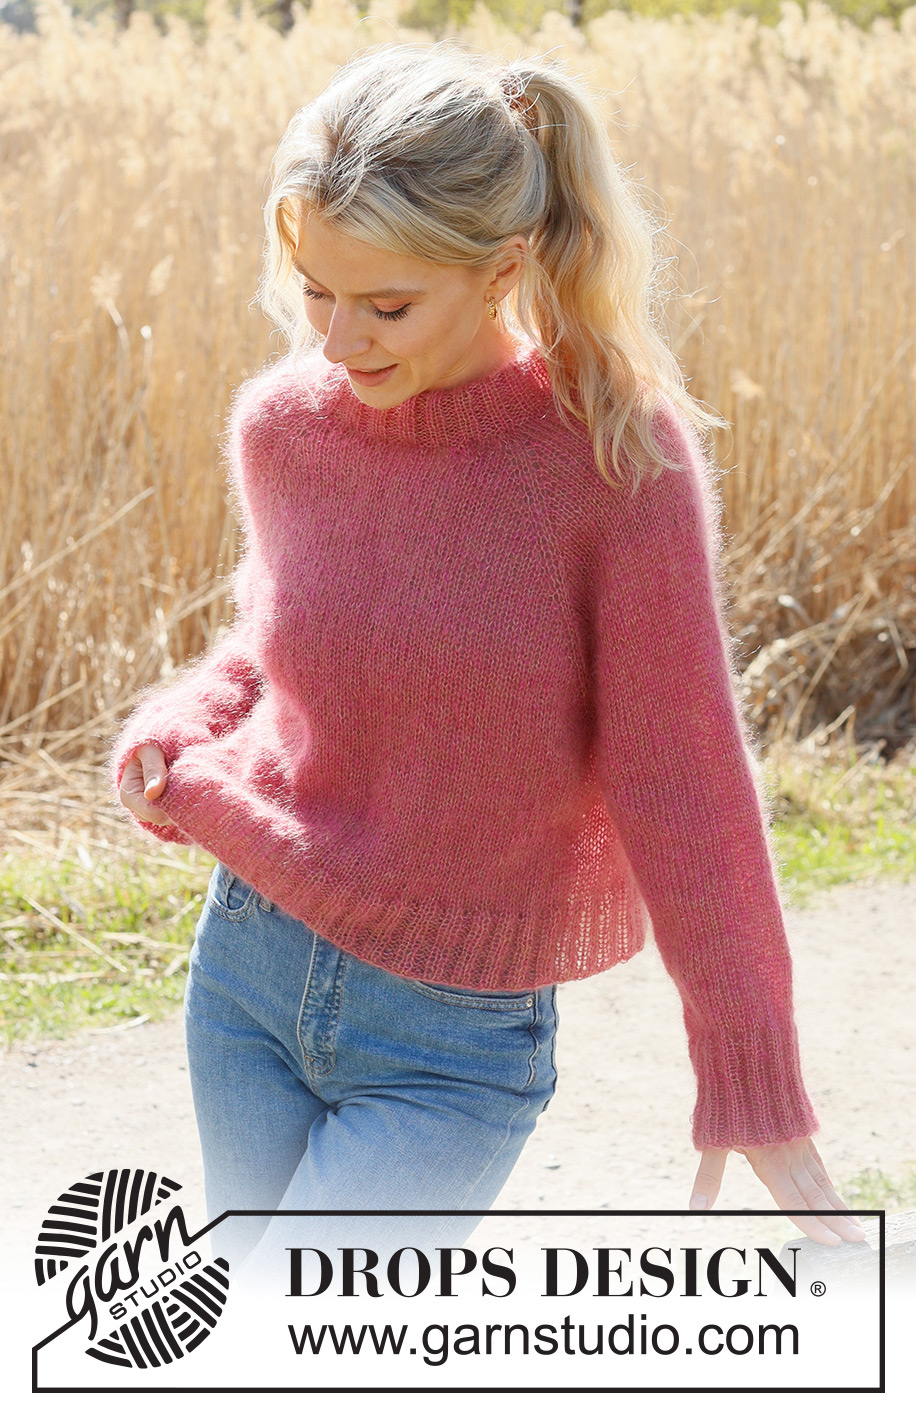
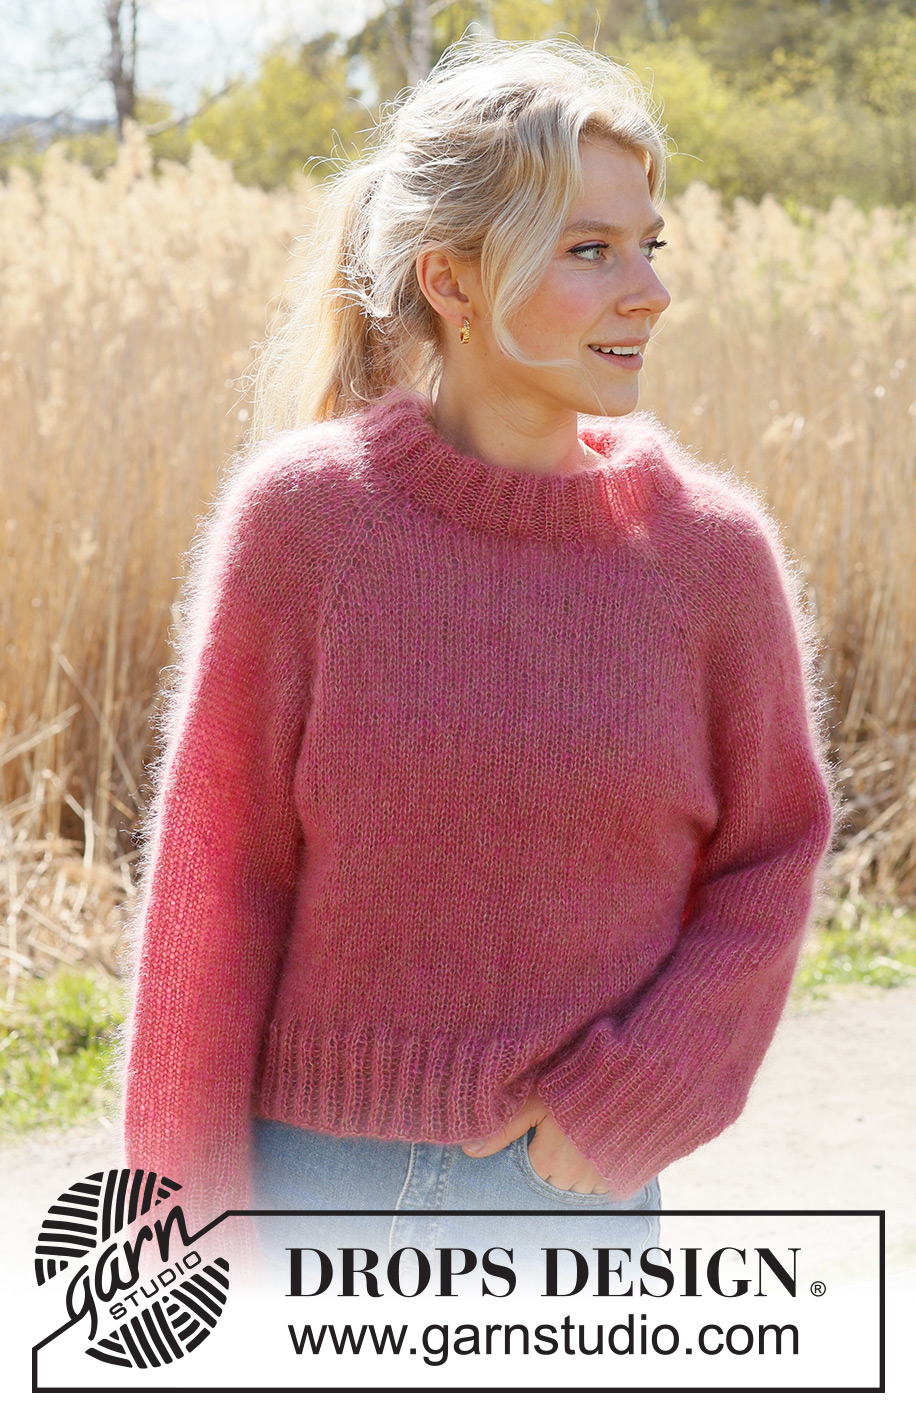
Cranberry Kiss Sweater#cranberrykisssweater |
|
 |
 |
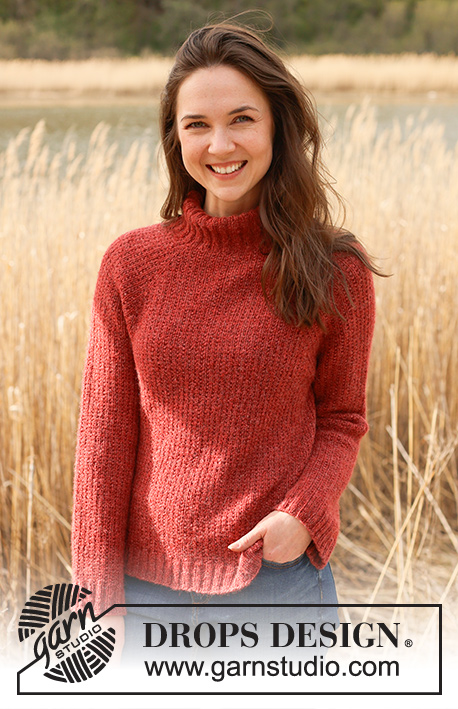
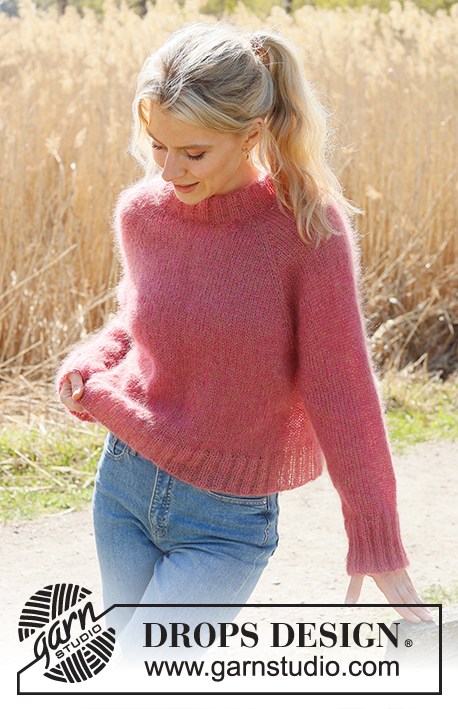
Knitted jumper in 2 strands DROPS Kid-Silk. The piece is worked top down with raglan, stocking stitch and double neck. Sizes S - XXXL.
DROPS 235-8 |
|
|
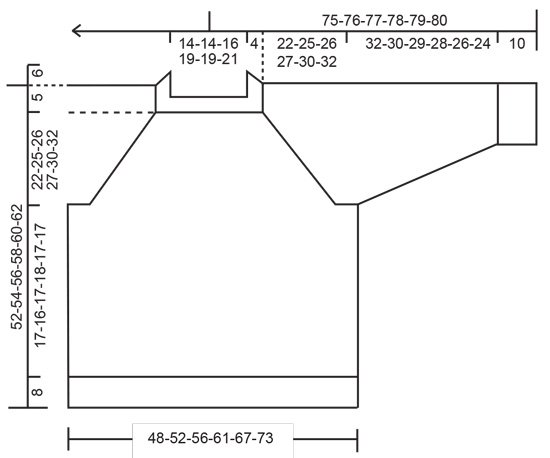
------------------------------------------------------- EXPLANATIONS FOR THE PATTERN: ------------------------------------------------------- RAGLAN: Increase 1 stitch on both sides of 2 stitches in each transition between the body and sleeves; the marker sits between these 2 stitches (8 increases on the round). Increase 1 stitch by making 1 yarn over, which is then worked twisted on the next round to avoid holes. Work the new stitches in stocking stitch. DECREASE TIP (for sleeves): Start 3 stitches before the marker, knit 2 together, knit 2 (marker sits between these 2 stitches), slip 1 stitch as if to knit, knit 1 and pass the slipped stitch over the knitted stitch. ------------------------------------------------------- START THE PIECE HERE: ------------------------------------------------------- JUMPER – SHORT OVERVIEW OF THE PIECE: The neck and yoke are worked in the round with circular needle, from mid back and top down. The yoke is divided for body and sleeves and the body is continued in the round with circular needle. The sleeves are worked in the round with short circular needle/double pointed needles. DOUBLE NECK: Cast on 80-80-88-96-96-104 stitches with one strand of each colour DROPS Kid-Silk, using short circular needles size 3.5 and size 5 mm held together. Remove the needle size 5 mm keeping the stitches on the needle size 3,5 mm (doing this gives you an elastic cast-on edge). Knit 1 round then work rib (knit 2, purl 2) for 12 cm. Fold the neck double to the inside and knit 1 round, where every 2nd stitch is knitted together with its corresponding stitch on the cast-on edge. This gives a double neck. Change to circular needle size 5 mm. Insert 4 markers without working the stitches; these are used when increasing for raglan and each marker is inserted between 2 stitches: Count 9-9-13-13-13-17 stitches (half back piece), insert marker-1, count 20 stitches (sleeve), insert marker-2, count 20-20-24-28-28-32 stitches (front piece), insert marker-3, count 20 stitches (sleeve), insert marker-4, there are 11-11-11-15-15-15 stitches left after marker-4 (half back piece). Cut the strand. NECK-LINE: Now work a neck-line with short rows: Start from the right side, 3 stitches before marker-3 (front left-hand side of neck when garment is worn). Work stocking stitch and increase for RAGLAN – read description above, until you are 3 stitches past marker-2 (front right-hand side of neck). Turn, tighten the strand and work back to 7 stitches past marker-3. Turn, tighten the strand and work back to 7 stitches past marker-2 – remember to increase for raglan. Turn, tighten the strand and work back to 3 stitches past marker-3. Cut the strand. YOKE: = 96-96-104-112-112-120 stitches. Start mid-back and continue to increase for raglan every 2nd round a total of 12-14-16-17-15-13 times (including the increases on the short rows) = 176-192-216-232-216-208 stitches. Continue with stocking stitch and increases for raglan, but every 2nd increase is only on the body; i.e. you increase on the body every 2nd round and on the sleeves every 4th round. Increase like this 12-12-12-12-18-22 times on the body (6-6-6-6-9-11 times on the sleeves), a total of 24-26-28-29-33-35 times on the body and 18-20-22-23-24-24 times on the sleeves. After the last increase there are 248-264-288-304-324-340 stitches and the yoke measures approx. 22-25-26-27-30-32 cm measured mid-front and from after the neck. If necessary continue working without increasing to the correct measurement. Divide the yoke for the body and sleeves as follows: Work the first 36-38-44-45-49-55 stitches (half back piece), place the next 50-54-58-60-62-62 stitches on a thread for the sleeve, cast on 8-10-10-12-14-16 stitches (in side under sleeve), work 74-78-86-92-100-108 stitches (front piece), place the next 50-54-58-60-62-62 stitches on a thread for the sleeve, cast on 8-10-10-12-14-16 stitches (in side under sleeve), work the remaining 38-40-42-47-51-53 stitches (half back piece). BODY: = 164-176-192-208-228-248 stitches. Continue with stocking stitch in the round for a further 17-16-17-18-17-17 cm. Knit 1 round and increase 16-16-20-20-24-24 stitches evenly spaced =180-192-212-228-252-272 stitches. Change to circular needle size 3.5 mm. Work rib (knit 2, purl 2) for 8 cm. Cast off. The jumper measures approx. 52-54-56-58-60-62 cm from the shoulder down. SLEEVES: Place the 50-54-58-60-62-62 stitches from the thread on the one side of the piece on short circular needle/double pointed needles size 5 mm and knit up 1 stitch in each of the new stitches cast on under the sleeve = 58-64-68-72-76-78 stitches. Insert a marker thread in the middle of the new stitches mid-under the sleeve. Continue in the round with stocking stitch for 4 cm. Now decrease 2 stitches under the sleeve – read DECREASE TIP. Decrease like this every 5-3½-2½-2½-2-1½ cm a total of 6-8-9-10-11-11 times = 46-48-50-52-54-56 stitches. Continue working until the sleeve measures 32-30-29-28-26-24 cm. Knit 1 round where you increase 6-4-6-4-6-4 stitches evenly spaced = 52-52-56-56-60-60 stitches. Change to double pointed needles size 3.5 mm and work rib (knit 2, purl 2) for 10 cm. Cast off. The sleeve measures approx. 42-40-39-38-36-34 cm from the division. Work the other sleeve in the same way. |
|
 |
|
Have you finished this pattern?Tag your pictures with #dropspattern #cranberrykisssweater or submit them to the #dropsfan gallery. Do you need help with this pattern?You'll find 29 tutorial videos, a Comments/Questions area and more by visiting the pattern on garnstudio.com. © 1982-2026 DROPS Design A/S. We reserve all rights. This document, including all its sub-sections, has copyrights. Read more about what you can do with our patterns at the bottom of each pattern on our site. |
|


With over 40 years in knitting and crochet design, DROPS Design offers one of the most extensive collections of free patterns on the internet - translated to 17 languages. As of today we count 324 catalogues and 12285 patterns translated into English (UK/cm). 12285
We work hard to bring you the best knitting and crochet have to offer, inspiration and advice as well as great quality yarns at incredible prices! Would you like to use our patterns for other than personal use? You can read what you are allowed to do in the Copyright text at the bottom of all our patterns. Happy crafting!
Post a comment to pattern DROPS 235-8
We would love to hear what you have to say about this pattern!
If you want to leave a question, please make sure you select the correct category in the form below, to speed up the answering process. Required fields are marked *.