
Popular categories
Looking for a yarn?


Comments / Questions (10)
![]() Susana wrote:
Susana wrote:
Hi there, I think there is a mistake that other people have reported but the pattern seem to not have been corrected as yet. While working the right back piece, once we have finished the row 15 (from wrong side) we turn the piece over to work it from the right side. This means we will start it half way. We can't possibly make the row 16 as we are not starting from the very beginning unless we cut the yarn. Can you kindly advise?
12.08.2025 - 22:25DROPS Design answered:
Dear Susana, yes, it seems that you would need to work as the left back piece; work row 16 from the right side as row 2 and then work a row 17 from the wrong side, where you start with the i-cord, work the 24 stitches as before and finish with the 14 stitches with 4 decreases and 2 i-cord stitches. Happy knitting!
19.08.2025 - 20:29
![]() Ana wrote:
Ana wrote:
Boa tarde, tenho uma dúvida em relação à Parte Direita das Costas. Não se faz a 16ª carreira como a 2ª?! Faz-se as diminuições na parte das carreiras encurtadas?! Não deveriam ser feitas na parte que não tem carreiras encurtadas?! Não será um erro? Obrigada. Se na 15ª carreira temos de virar o trabalho é impossível tricotar as 14 malhas seguintes fazendo as diminuições, teríamos de ir até ao fim da carreira para poder fazer o i-cord edge. Algo não bate certo...
11.08.2025 - 15:24DROPS Design answered:
Bom dia, Járespondemos à sua dúvida, A 2.ª carreira é uma carreira encurtada. A 16.ª carreira já não é uma carreira encurtada e, por isso, é nessa carreira que se fazem as diminuições . Bons tricôs!
12.08.2025 - 09:13
![]() Ana wrote:
Ana wrote:
Se na 15ª carreira temos de virar o trabalho é impossível tricotar as 14 malhas seguintes fazendo as diminuições, teríamos de ir até ao fim da carreira para poder fazer o i-cord edge. Algo não bate certo...
11.08.2025 - 14:18
![]() Ana wrote:
Ana wrote:
Boa tarde, tenho uma dúvida em relação à Parte Direita das Costas. Não se faz a 16ª carreira como a 2ª?! Faz-se as diminuições na parte das carreiras encurtadas?! Não deveriam ser feitas na parte que não tem carreiras encurtadas?! Não será um erro? Obrigada.
11.08.2025 - 14:13DROPS Design answered:
Boa tarde, Não, na 16.ª carreira, já não se fazem carreiras encurtadas (como tal, NÃO se tricota esta carreira como a 2.ª carreira) e fazem-se as dininuições depois das carreiras encurtadas (ou seja, na 16.ª carreira): CARREIRA 16 (= pelo direito): Tricotar 2 malhas I-cord, tricotar em meia as 14 malhas seguintes diminuindo AO MESMO TEMPO 4 malhas a intervalos regulares (= 10 malhas), tricotar em meia as 24-25-26-27-28-29 malhas seguintes e terminar com 2 malhas I-cord = 38-39-40-41-42-43 malhas. Bons tricôs!
11.08.2025 - 14:51
![]() Emanuela wrote:
Emanuela wrote:
Buonasera, nel dietro destro, dopo il ferro 15 non si lavora il ferro 16 come il ferro n. 2, ma si gira e il lavoro e il ferro 16 prevede I-cord e lavorare a dritto con le diminuzioni sul dritto del lavoro, come è possibile avviare l'i-cord se sono a metà ferro? C'è qualche errore?
23.06.2025 - 18:44DROPS Design answered:
Buonasera Emanuela, al momento non sono riportati errori per questo modello. Buon lavoro!
23.06.2025 - 22:37
![]() Concha Ramírez Torres wrote:
Concha Ramírez Torres wrote:
Buenos días, Tengo dudas sobre la explicación.Si el top se teje de arriba hacia abajo tanto en la parte delantera como en la trasera,¿cómo pone en el apartado \"FRENTE\" que montemos x puntos y después nos dice que hagamos el escote (1º primer hombro...) y la explicación que continua es para hacer los hombros de arriba hacia abajo?Espero su aclaración. Gracias.
06.06.2025 - 11:30DROPS Design answered:
Hola Concha, el escote con forma de barco se forma con las filas acortadas de los hombros, donde trabajas cada hombro por separado. Empiezas a trabajar estas hileras acortadas en la hilera 1: "Tejer 2 puntos I-cord, tejer 10-11-11-12-12-13 puntos derechos, virar la pieza." Se trabaja cada hombro por separado para la sección del cuello pero no se están disminuyendo; los puntos no trabajados en el 1º hombro se quedan en espera y después trabajas las filas acortadas por el otro lado del delantero para el 2º hombro.
08.06.2025 - 16:04
![]() Chiara wrote:
Chiara wrote:
Buuonasera, è possibile fare questo modello utilizzando il filato drop love you 7 anche se non appartenente allo stesso gruppo? Eventualmente quanto dovrei acquistarne? Grazie molte
02.06.2025 - 22:21DROPS Design answered:
Buonasera Chiara, per un'assistenza così personalizzata può rivolgersi al suo rivenditore DROPS di fiducia. Buon lavoro!
03.06.2025 - 19:53
![]() Irma Hermans wrote:
Irma Hermans wrote:
Het voorpand begint met 90 steken. Vervolgens brei ik een schouder en na 16 naalden moet ik ineens weer over die 90 steken breien. Hoe dan? Er zit inmiddels een verschil van 16 naalden tussen en dan krijg je een gat met de eerste naald. Of lees ik iets verkeerd?
13.05.2025 - 14:05DROPS Design answered:
Dag Irma,
Om de schouder te maken brei je vanaf het begin van de naald verkorte naalden, dus je breit maar over een klein aantal steken, dan keer je het werk en brei je terug. Zo werk je alle beschreven naalden van de schouder af. Je hebt dan nog steeds alle 90 steken op de naald staan, alleen heb je nu een soort ronding voor de hals gemaakt door verkorte naalden te breien.
14.05.2025 - 09:02
![]() Linda Rosseel wrote:
Linda Rosseel wrote:
Ik zoek een vest met motief al een bloem , kleur lichtblauw , grijs . die ik nergens terugvindt
11.05.2025 - 16:38DROPS Design answered:
Dag Linda,
Ik weet niet precies welke je bedoelt, maar je zou even kunnen zoeken op kleur en op damesvesten, wellicht vind je hem dan...
11.05.2025 - 19:51
![]() Janicke wrote:
Janicke wrote:
15.PINNE: Strikk 2 masker i-cord, strikk 24-25-25-26-26-27 masker rett, snu arbeidet. 16.PINNE (= retten): Strikk 2 masker i-cord, strikk rett over de neste 14 maskene SAMTIDIG som det felles 4 masker jevnt over disse maskene (= 10 masker), strikk rett over de neste 24-25-26-27-28-29 maskene, avslutt med 2 masker i-cord = 38-39-40-41-42-43 masker. Skal du strikke tilbake og på neste pinne felle av 4 masker?
07.05.2025 - 10:58DROPS Design answered:
Hei Janicke. Du strikker 2 masker i-cord, så strikkes det rett over de neste 14 maskene SAMTIDIG som det felles 4 masker jevnt over disse maskene (= 10 masker). Ikke på neste pinne. mvh DROPS Design
12.05.2025 - 10:30
|
|
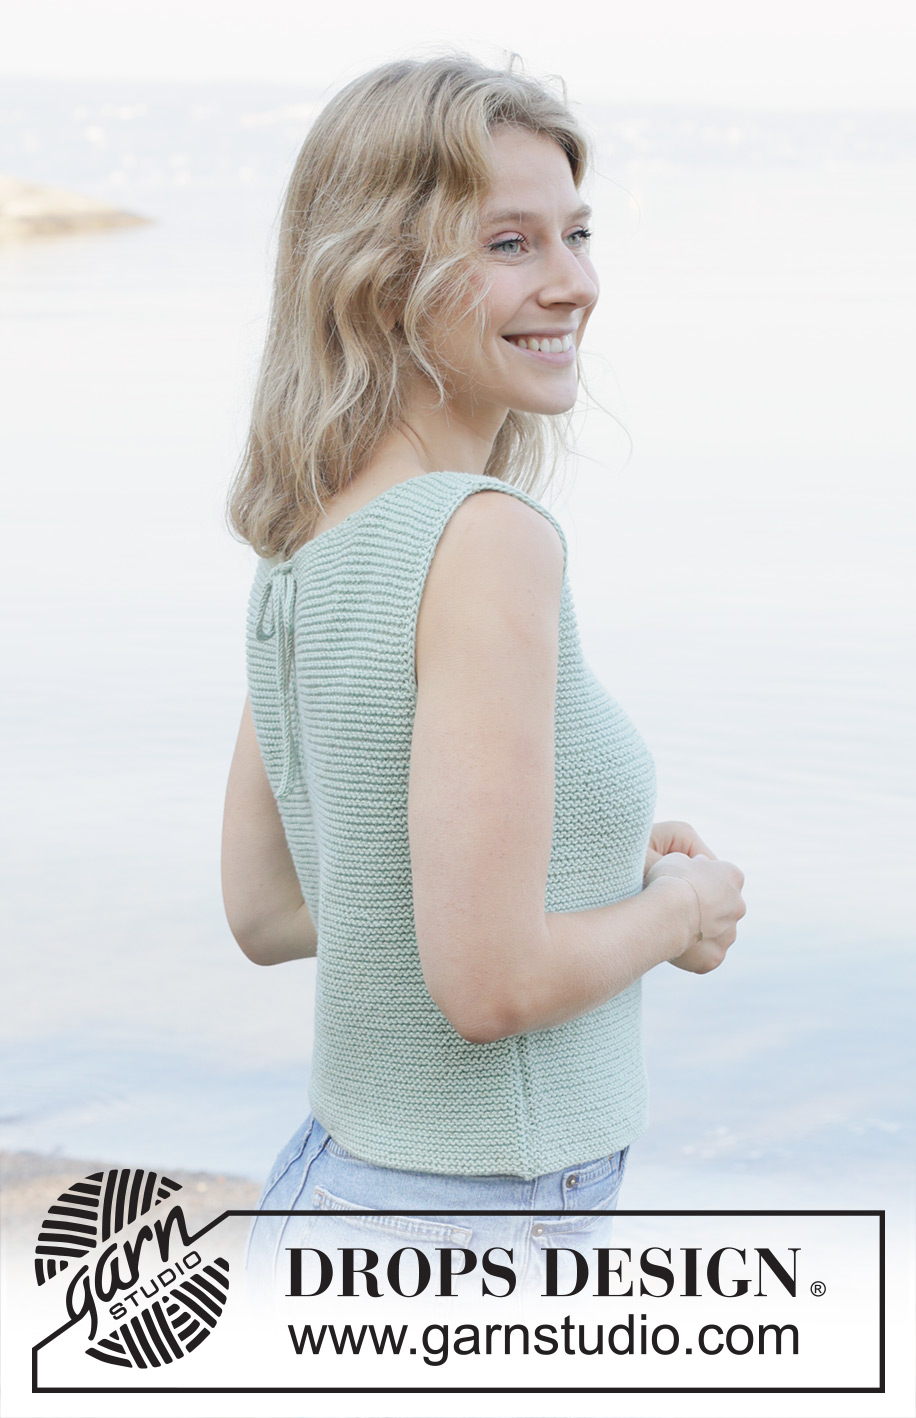
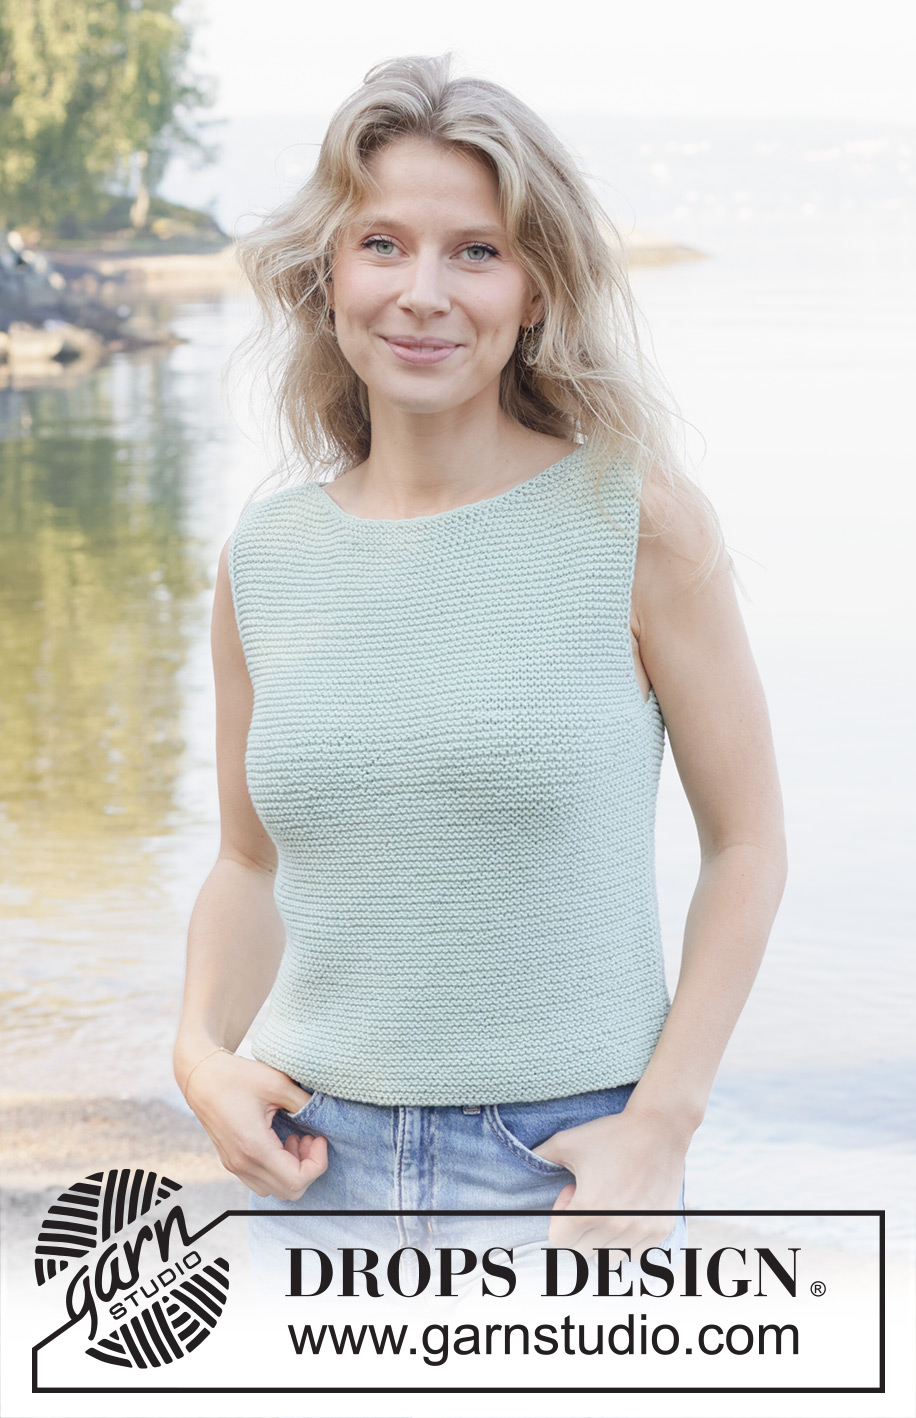
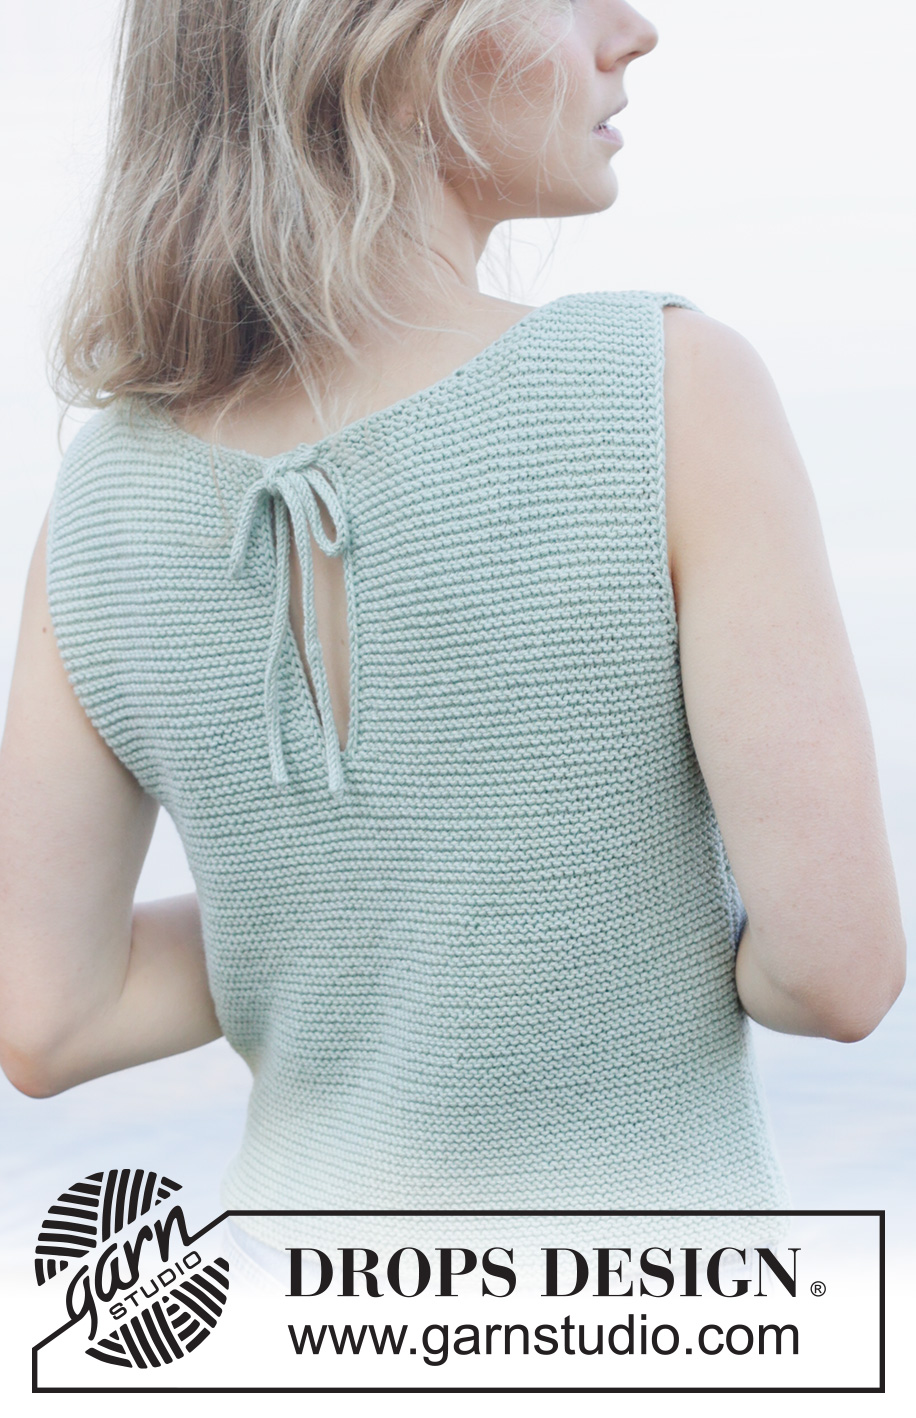
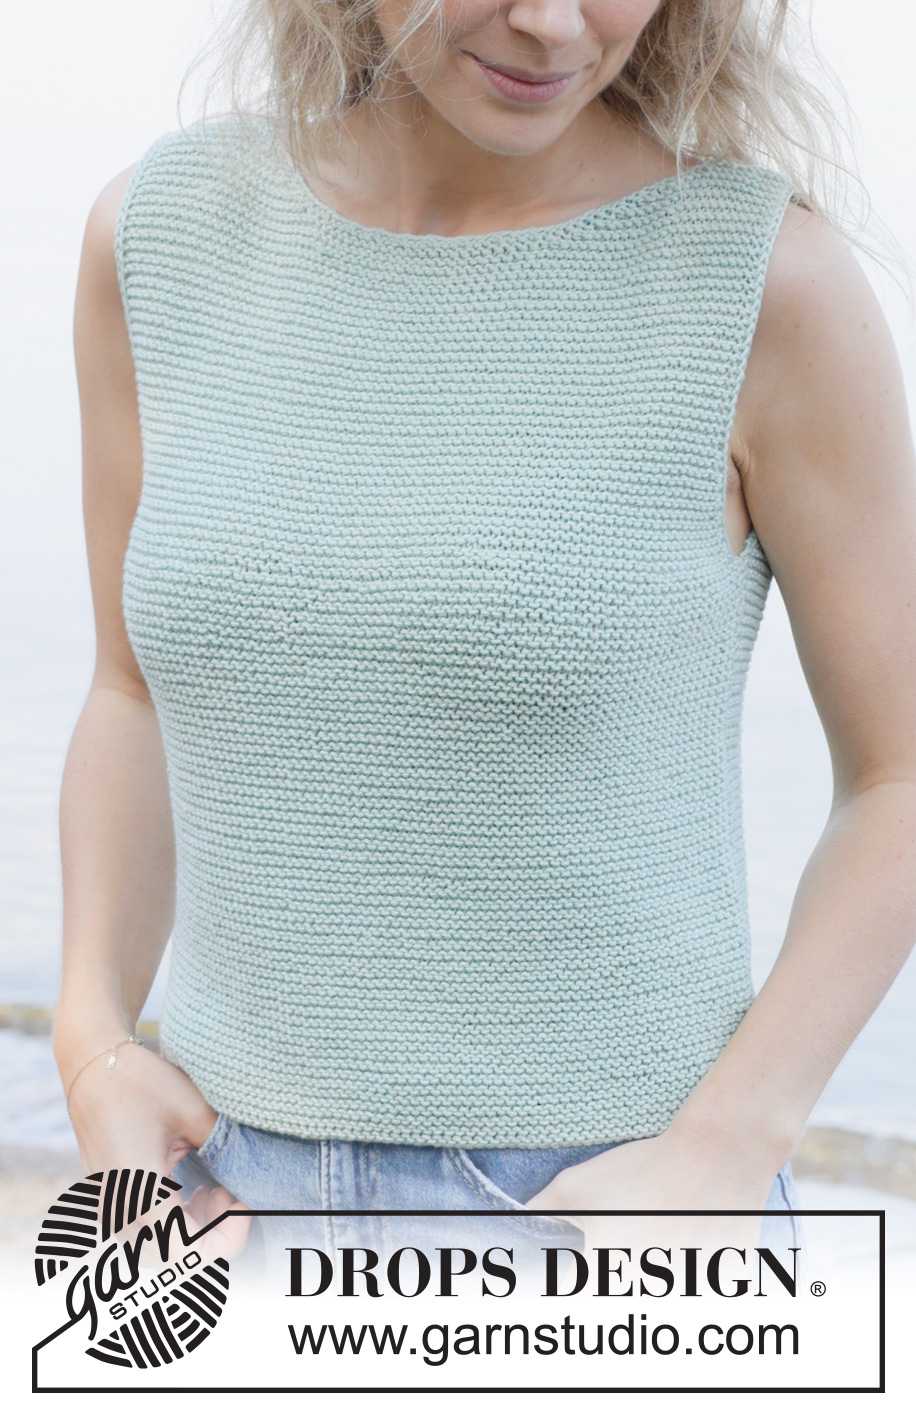
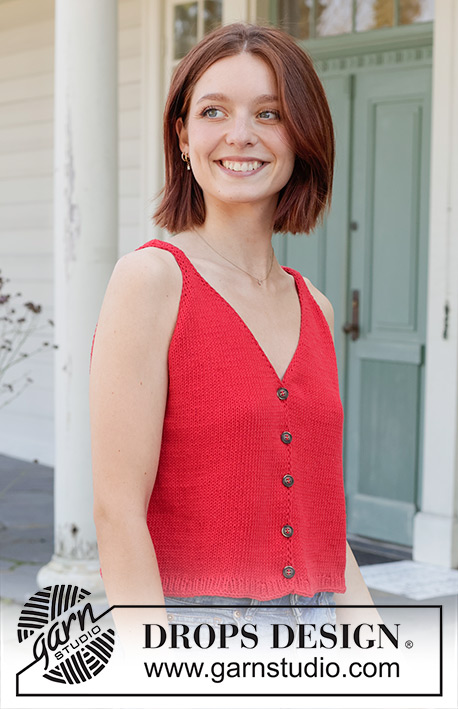
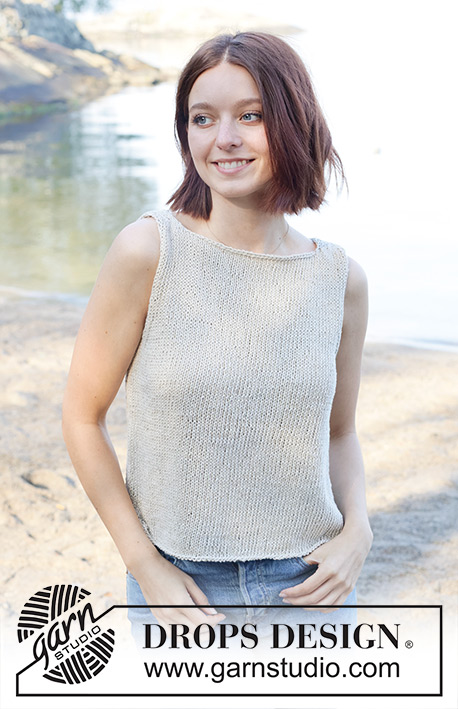
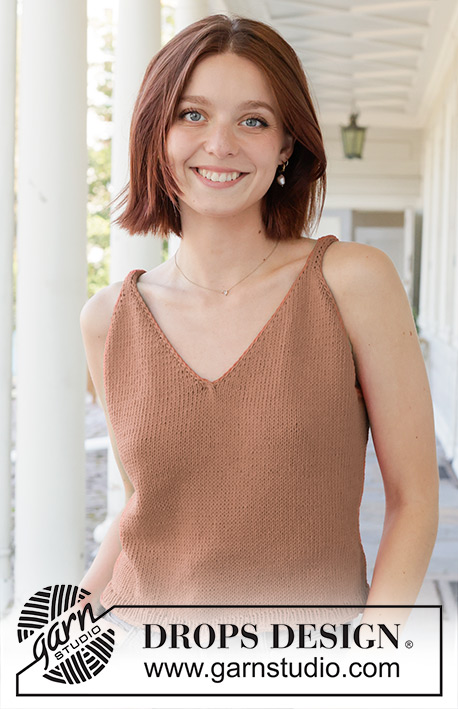
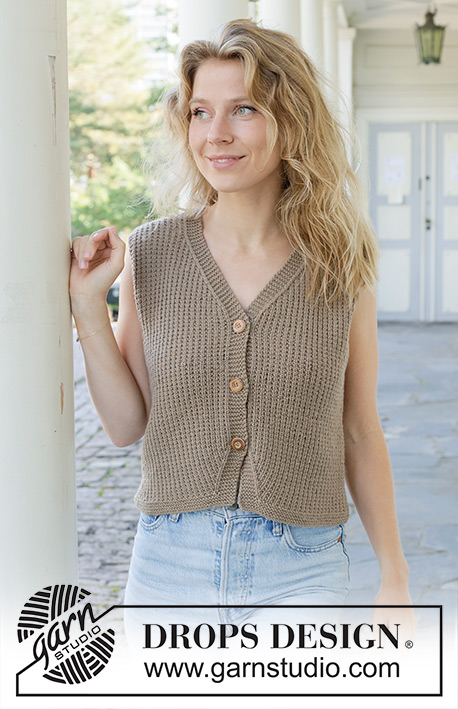
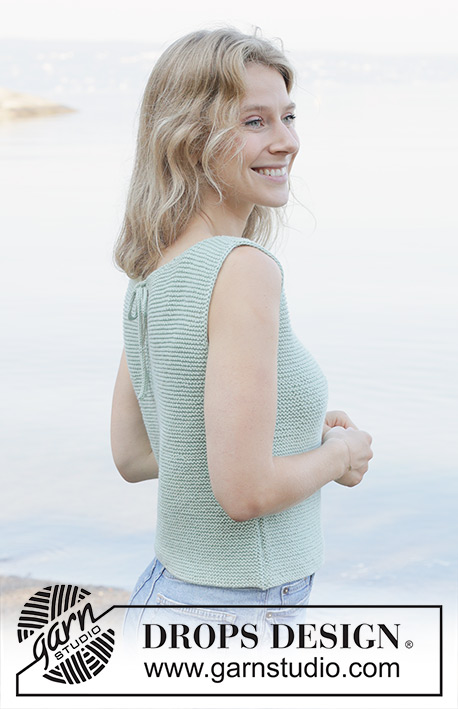
Mint Serenity Top#mintserenitytop |
|
 |
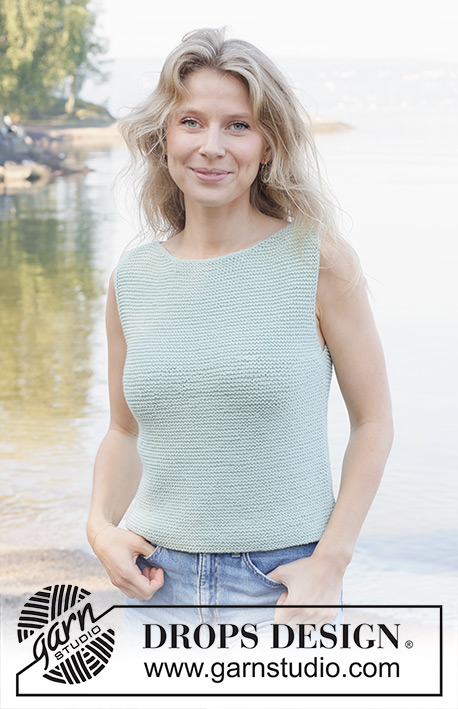 |
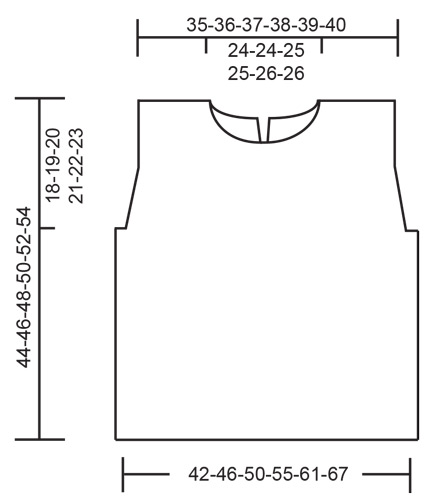
Knitted top in DROPS Cotton Merino. Piece is knitted top down and in garter stitch, I-cord and short rows. Size: S - XXXL
DROPS 258-27 |
|
|
---------------------------------------------------------- EXPLANATION FOR THE PATTERN: ---------------------------------------------------------- GARTER STITCH (when working back and forth): Knit on all rows, i.e. knit from right side and knit from wrong side. 1 ridge vertically = knit 2 rows. KNITTING TIP: When working short row there will be a small hole when turning the piece - the hole can be closed by tightening the yarn or using the technique German Short Rows as follows: Slip first stitch purlwise. Place strand over right needle and tighten well at the back (should lead to two loops on needle). Work these loops together on next row. INCREASE TIP: Increase 1 stitch by making 1 yarn over, on next row knit yarn over twisted to avoid holes. Then work the new stitches in garter stitch. I-CORD: BEGINNING OF ROW: Slip 1 stitch purlwise with strand in front of piece, knit 1. END OF ROW: Work until 2 stitches remain on needle, slip 1 stitch purlwise with strand in front of piece, knit 1. Work the same way both from right side and wrong side. ---------------------------------------------------------- START THE PIECE HERE: ---------------------------------------------------------- TOP - SHORT OVERVIEW OF THE PIECE: Work front piece back and forth on circular needle top down. Work back piece in two parts back and forth separately to form a vent mid back, before slipping them together into one back piece and working downwards. Sew front and back piece together over the shoulders and in each side from armhole and down. Then pick up an I-cord string at the top in each side of vent mid back for tying. FRONT PIECE: Work back and forth on circular needle. Cast on 84-86-88-90-92-94 stitches on circular needle size 4 MM = US 6 with DROPS Cotton Merino. Work the entire piece in GARTER STITCH - read explanation above. Work first row from wrong side as follows: Work 2 stitches I-CORD - read explanation above, at the beginning of row, knit 80-82-84-86-88-90, finish with 2 stitches in I-cord. To form a neck work short rows first over first shoulder (= beginning of row seen from right side), before working short rows over the other shoulder (= the end of row seen from right side). Read KNITTING TIP and work right shoulder as follows (1st row is from right side): ROW 1: Work 2 stitches I-cord, knit 10-11-11-12-12-13, turn piece. ROW 2: Slip 1st stitch purlwise with strand in front of piece, tighten yarn (= the stitches will look like 2 loops on needle when it is tightened), knit until 2 stitches remain on row, finish with 2 stitches I-cord. ROW 3: Work 2 stitches I-cord, knit 12-13-13-14-14-15, turn piece. ROW 4: Work as 2nd row. ROW 5: Work 2 stitches I-cord, knit 14-15-15-16-16-17, turn piece. ROW 6: Work as 2nd row. ROW 7: Work 2 stitches I-cord, knit 16-17-17-18-18-19, turn piece. ROW 8: Work as 2nd row. ROW 9: Work 2 stitches I-cord, knit 18-19-19-20-20-21, turn piece. ROW 10: Work as 2nd row. ROW 11: Work 2 stitches I-cord, knit 20-21-21-22-22-23, turn piece. ROW 12: Work as 2nd row. ROW 13: Work 2 stitches I-cord, knit 22-23-23-24-24-25, turn piece. ROW 14: Work as 2nd row. ROW 15: Work 2 stitches I-cord, knit 24-25-25-26-26-27, turn piece. ROW 16: Work as 2nd row. ROW 17 (= right side): Work 2 stitches I-cord, knit the next 26-27-28-29-30-31, knit the next 28 stitches while AT THE SAME TIME decreasing 8 stitches evenly over these stitches (= 20 stitches), knit the next 26-27-28-29-30-31, finish with 2 stitches I-cord = 76-78-80-82-84-86 stitches. Right shoulder is finished with short rows. Repeat ROWS 1-16 1 more time (1st row is from wrong side) for left shoulder. Now both shoulders have been worked with short rows and last row was worked from right side. Work back and forth in garter stitch with 2 stitches I-cord in each side until piece measures 14-13-11-10-8-6 cm = 5½"-5⅛"-4⅜"-4"-3⅛"-2⅜" from edge of shoulder. On next row from right side begin increases for armholes. Read INCREASE TIP and work as follows: 2 stitches I-cord, make 1 yarn over, knit until 2 stitches remain on needle, make 1 yarn over, finish with 2 stitches I-cord. Increase like this every 4th row (i.e. on every 2nd row from right side) 4-6-9-11-14-17 times in total = 84-90-98-104-112-120 stitches. When all increases are done, work in garter stitch with I-cord in each side until piece measures 18-19-20-21-22-23 cm = 7"-7½"-8"-8¼"-8¾"-9" from edge of shoulder. Then work in garter stitch over all stitches (I-cord is no longer worked), AT THE SAME TIME on the next 2 rows cast on 2-3-4-6-8-10 new stitches for armholes at the end of row = 88-96-106-116-128-140 stitches. Work in garter stitch back and forth until piece measures 26-27-28-29-30-31 cm = 10¼"-10⅝"-11"-11⅜"-11¾"-12¼" from the 2-3-4-6-8-10 new stitches cast on for armholes. Bind off. LEFT BACK PIECE: Cast on 42-43-44-45-46-47 stitches on circular needle size 4 MM = US 6. Work first row from wrong side as follows: Work 2 stitches I-cord, work 38-39-40-41-42-43 stitches in garter stitch, finish with 2 stitches I-cord. Now work short rows over shoulder (= beginning of row seen from right side). Remember KNITTING TIP and work as follows: ROW 1 (= right side): Work 2 stitches I-cord, knit 10-11-11-12-12-13, turn piece. ROW 2: Slip 1st stitch purlwise with strand in front of piece, tighten yarn (= the stitches will look like 2 loops on needle when it is tightened), work in garter stitch until 2 stitches remain on row, finish with 2 stitches I-cord. ROW 3: Work 2 stitches I-cord, work 12-13-13-14-14-15 stitches in garter stitch, turn piece. ROW 4: Work as 2nd row. ROW 5: Work 2 stitches I-cord, knit 14-15-15-16-16-17, turn piece. ROW 6: Work as 2nd row. ROW 7: Work 2 stitches I-cord, knit 16-17-17-18-18-19, turn piece. ROW 8: Work as 2nd row. ROW 9: Work 2 stitches I-cord, knit 18-19-19-20-20-21, turn piece. ROW 10: Work as 2nd row. ROW 11: Work 2 stitches I-cord, knit 20-21-21-22-22-23, turn piece. ROW 12: Work as 2nd row. ROW 13: Work 2 stitches I-cord, knit 22-23-23-24-24-25, turn piece. ROW 14: Work as 2nd row. ROW 15: Work 2 stitches I-cord, knit 24-25-25-26-26-27, turn piece. ROW 16: Work as 2nd row. ROW 17 (= right side): Work 2 stitches I-cord, knit the next 24-25-26-27-28-29, knit the next 14 stitches while AT THE SAME TIME decreasing 4 stitches evenly over these stitches (= 10 stitches), finish with 2 stitches I-cord = 38-39-40-41-42-43 stitches. Now work back and forth in garter stitch with 2 stitches I-cord in each side until piece measures 14-13-11-10-8-6 cm = 5½"-5⅛"-4⅜"-4"-3⅛"-2⅜" along the longest side. On next row from right side begin increases for armholes. Remember INCREASE TIP and work as follows: 2 stitches I-cord, make 1 yarn over, knit until 2 stitches remain on needle, finish with 2 stitches I-cord (= 1 stitch increased). Increase like this every 4th row (i.e. on every 2nd row from right side) 4-6-9-11-14-17 times in total = 42-45-49-52-56-60 stitches. When all increases are done, work in garter stitch with I-cord in each side until piece measures 18-19-20-21-22-23 cm = 7"-7½"-8"-8¼"-8¾"-9" from the edge of shoulder along the longest side. Work last row from right side - the front piece and back piece are sewn together later, so make sure that back piece is the same length as front piece. Cut the yarn. Work right back piece as explained below. RIGHT BACK PIECE: Cast on 42-43-44-45-46-47 stitches on circular needle size 4 MM = US 6. Work first row from wrong side as follows: Work 2 stitches I-cord, work 38-39-40-41-42-43 stitches in garter stitch, finish with 2 stitches I-cord. Work 1 row from right side the same way. Now work short rows over shoulder (= end of row seen from right side). Read KNITTING TIP and work shoulder as follows (1st row is from wrong side): ROW 1 (= wrong side): Work 2 stitches I-cord, knit 10-11-11-12-12-13, turn piece. ROW 2: Slip 1st stitch purlwise with strand in front of piece, tighten yarn (= the stitches will look like 2 loops on needle when it is tightened), work in garter stitch until 2 stitches remain on row, finish with 2 stitches I-cord. ROW 3: Work 2 stitches I-cord, work 12-13-13-14-14-15 stitches in garter stitch, turn piece. ROW 4: Work as 2nd row. ROW 5: Work 2 stitches I-cord, knit 14-15-15-16-16-17, turn piece. ROW 6: Work as 2nd row. ROW 7: Work 2 stitches I-cord, knit 16-17-17-18-18-19, turn piece. ROW 8: Work as 2nd row. ROW 9: Work 2 stitches I-cord, knit 18-19-19-20-20-21, turn piece. ROW 10: Work as 2nd row. ROW 11: Work 2 stitches I-cord, knit 20-21-21-22-22-23, turn piece. ROW 12: Work as 2nd row. ROW 13: Work 2 stitches I-cord, knit 22-23-23-24-24-25, turn piece. ROW 14: Work as 2nd row. ROW 15: Work 2 stitches I-cord, knit 24-25-25-26-26-27, turn piece. ROW 16 (= right side): Work 2 stitches I-cord, knit the next 14 stitches while AT THE SAME TIME decreasing 4 stitches evenly over these stitches (= 10 stitches), knit the next 24-25-26-27-28-29 stitches, finish with 2 stitches I-cord = 38-39-40-41-42-43 stitches. Now work back and forth in garter stitch with 2 stitches I-cord in each side until piece measures 14-13-11-10-8-6 cm = 5½"-5⅛"-4⅜"-4"-3⅛"-2⅜" along the longest side. On next row from right side begin increases for armholes. Remember INCREASE TIP and work as follows: 2 stitches I-cord, knit until 2 stitches remain on needle, make 1 yarn over, finish with 2 stitches I-cord (= 1 stitch increased). On next round knit yarn over twisted and work the new stitches in garter stitch as well. Increase like this on every 4th row (i.e. every other row from right side) 4-6-9-11-14-17 times in total = 42-45-49-52-56-60 stitches. When all increases are done, work in garter stitch with I-cord in each side until piece measures 18-19-20-21-22-23 cm = 7"-7½"-8"-8¼"-8¾"-9" from the edge of shoulder along the longest side. Last row is worked from right side - adjust so that the back pieces are the same length. On next row work back pieces together as explained below - now work stitches only in garter stitch. BACK PIECE: Begin by casting on 2-3-4-6-8-10 new stitches at the end of last row on right back piece. Turn and work as follows from wrong side: Work all stitches in garter stitch over right back piece from wrong side, then work over the 42-45-49-52-56-60 stitches from left back piece in garter stitch from wrong side, finish by casting on 2-3-4-6-8-10 new stitches at the end of row = 88-96-106-116-128-140 stitches. Now measure piece from here. Now work all stitches in garter stitch back and forth until piece measures 26-27-28-29-30-31 cm = 10¼"-10⅝"-11"-11⅜"-11¾"-12¼" from stitches cast on in the side under sleeve - make sure that the back piece is the same length as front piece. Bind off. ASSEMBLY: Sew the shoulders together in each side, the outermost 13-14-14-15-15-16 stitches in each side from cast-on edge on front piece towards 13-14-14-15-15-16 stitches from cast on edge at the edge on back piece (= 2 stitches I-cord + 11-12-12-13-13-14 stitches in garter stitch). Sew together the sides from where the new stitches were cast on under the armhole all the way down, or you can leave a couple of cm = ¾" for vents in each side. TIE: Now pick up stitches at the top of vent and work an I-cord tube that is later used to tie the back pieces together mid back. Use double pointed needles size 4 MM = US 6 and pick up 3 stitches in I-cord edge at the top of one side of vent mid back. Knit 1 row. Now work a tube in the round as follows: * Move all stitches to the right side of needle without turning piece, tighten yarn and knit over all 3 stitches *, repeat from *-* until tie measures approx. 30 cm = 11¾". Cut and fasten the yarn. Work another tie the same way at the top on the other side of vent mid back. |
|
 |
|
Have you finished this pattern?Tag your pictures with #dropspattern #mintserenitytop or submit them to the #dropsfan gallery. Do you need help with this pattern?You'll find 17 tutorial videos, a Comments/Questions area and more by visiting the pattern on garnstudio.com. © 1982-2026 DROPS Design A/S. We reserve all rights. This document, including all its sub-sections, has copyrights. Read more about what you can do with our patterns at the bottom of each pattern on our site. |
|


With over 40 years in knitting and crochet design, DROPS Design offers one of the most extensive collections of free patterns on the internet - translated to 17 languages. As of today we count 324 catalogs and 12290 patterns - 12280 of which are translated into English (US/in).
We work hard to bring you the best knitting and crochet have to offer, inspiration and advice as well as great quality yarns at incredible prices! Would you like to use our patterns for other than personal use? You can read what you are allowed to do in the Copyright text at the bottom of all our patterns. Happy crafting!
Post a comment to pattern DROPS 258-27
We would love to hear what you have to say about this pattern!
If you want to leave a question, please make sure you select the correct category in the form below, to speed up the answering process. Required fields are marked *.