
Popular categories
Looking for a yarn?


Comments / Questions (40)
![]() Kim Christensen wrote:
Kim Christensen wrote:
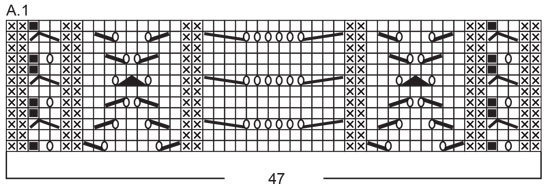
Line three shows a double decrease (after the two edge stitches) taking three stitches down to one; but on line four it shows 2 stitches where there can be only one. Not sure how to knit this.
07.06.2024 - 07:19DROPS Design answered:
Hi Kim, the first decrease in line 3 showns 1 decrease: taking three stitches down to two. Explanation to the diagram symbol is as follow: Slip 1 stitch as if to knit, knit 2 and pass the slipped stitch over the 2 knitted stitches > there is not 'knit 2 stitches together'. Happy knitting!
07.06.2024 - 07:54
![]() Lili Grondin wrote:
Lili Grondin wrote:
Bonjour, est-ce que l'échantillon doit être bloqué avant de prendre la mesure?
06.06.2024 - 14:37DROPS Design answered:
Bonjour Mme Grondin, nous ne bloquons pas mais si vous voyez une différence dans votre échantillon entre avant/après, il peut être recommandé de bloquer - et d'ajuster la taille des aiguilles si besoin. Bon tricot!
06.06.2024 - 16:43
![]() Elena wrote:
Elena wrote:
Ho provato a fare questo modello davvero molto carino ma lo schema non va bene, ho letto i commenti ed ho visto che tutti quelli che ci hanno provato non si ritrovavano nello schema. Mi chiedevko se qualcuno è riuscito a rifare lo schema nel modo giusto se può postarlo. Grazie
01.06.2024 - 15:55DROPS Design answered:
Buonasera Elena, c'era un errore nel diagramma che è stato corretto, come può leggere nelle correzioni in fondo al modello. Il modello online è corretto. Buon lavoro!
01.06.2024 - 23:00
![]() Maryse wrote:
Maryse wrote:
Je viens de commencer le devant du modèle je viens de tricoter les 3 premiers rangs de A1 , je ne comprends pas dans le shema central;comment dans le rang suivant je récupère les 4 mailles qui ont été tricotées ensemble je suis donc bloquée pourriez-vous me communiquer les explications JE VOUS EN REMERCIE PAR AVANCE
10.05.2024 - 18:17DROPS Design answered:
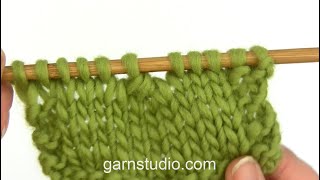
Bonjour Maryse, au 3ème rang de A.1 on va diminuer 2 x 3 mailles en tricotant 4 m ens/4 m ens torse à l'endroit, mais ces diminutions sont compensées par les 6 jetés , autrement dit en tricotant ces mailles ainsi: 4 m ens à l'end, (1 jeté, 1 m end)x5, 1 jeté, 4 m ens torse à l'end, vous avez toujours 13 m entre les 2 m env. Dans cette vidéo, nous montrons (pour un autre modèle) comment tricoter ce type de point de vagues, cela pourra probablement vous aider. Bon tricot!
13.05.2024 - 07:13
![]() Kristel Van De Ven wrote:
Kristel Van De Ven wrote:
Het patroon klopt niet
28.03.2024 - 14:13
![]() Mamicha wrote:
Mamicha wrote:
Bonjour. Il me semble qu'il y a une erreur dans les légendes du diagramme. Au 3ème rang, entre les 2m envers de part et d'autre de A21, selon la légende, il y aurait 2 diminutions. Or, au rang suivant il reste 2m entre les 2m envers de part et d'autre. Il n'y aurait donc qu'une diminution. La 7ème légende serait donc erronée? Merci pour votre réponse.
17.03.2024 - 13:10DROPS Design answered:
Bonjour Mamicha, lorsque l'on tricote le 7ème symbole, on ne diminue qu'une maille: on glisse 1 maille, on tricote 2 mailles endroit, et on passe la maille tricotée par-dessus les mailles tricotées= il reste 2 mailles. Bon tricot!
18.03.2024 - 09:19
![]() Anne-Marie wrote:
Anne-Marie wrote:
Bonjour,j'ai 2 questions : L'échantillon est-il censé être testé avec des aiguilles 2,5 ou 3,5? Et que faire si non échantillon de 10 cm fait 24 mailles, mais 38 rangs? Merci d'avance !
25.01.2024 - 23:25DROPS Design answered:
Bonjour Anne-Marie, l'échantillon se tricote avec les aiguilles 3,5, si votre tension en hauteur est différente vous aurez besoin de davantage de fils (car il vous faut plus de rangs pour la même hauteur), il est possible que l'échancrure des emmanchures soit aussi légèrement différente de part votre différence de tension, vous pouvez compenser en tricotant des rangs supplémentaires entre les rangs de diminutions pour conserver la bonne hauteur. Bon tricot!
26.01.2024 - 08:18
![]() Anne-Marie wrote:
Anne-Marie wrote:
Bonjour! Comment calculer la taille qu'il me faut? Comment puis-je savoir à quelles mensurations correspond la taille S, M, etc.? Merci d'avance!
08.09.2023 - 16:05DROPS Design answered:
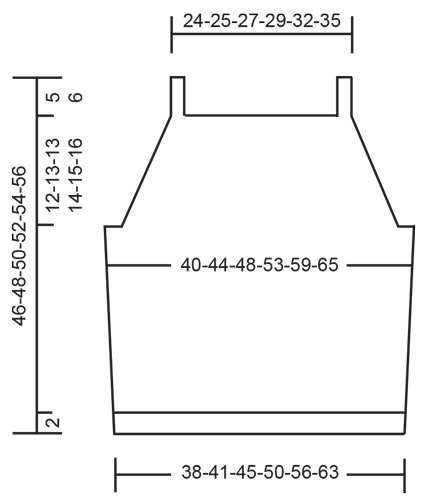
Bonjour Anne-Marie, pour trouver votre taille, mesurez un vêtement similaire que vous avez et dont vous aimez la forme et comparez ces mesures à celles du schéma du bas de page; vous trouverez plus d'infos ici. Bon tricot!
08.09.2023 - 16:24
![]() Maria Paula Marques wrote:
Maria Paula Marques wrote:
Obrigada, já percebi o que estava a fazer mal! :)
26.07.2023 - 09:36
![]() Maria Paula Marques wrote:
Maria Paula Marques wrote:
Boa tarde! No início da terceira fila do padrão A1, após passar a malha sobre as duas malhas tricotadas juntas, ficamos só com uma malha, certo? Como podemos ter duas malhas no avesso, quando tricotamos a fila quatro?... Obrigada pela vossa ajuda. O modelo é lindo :)
22.07.2023 - 16:44
|
|||||||||||||||||||||||||||||||
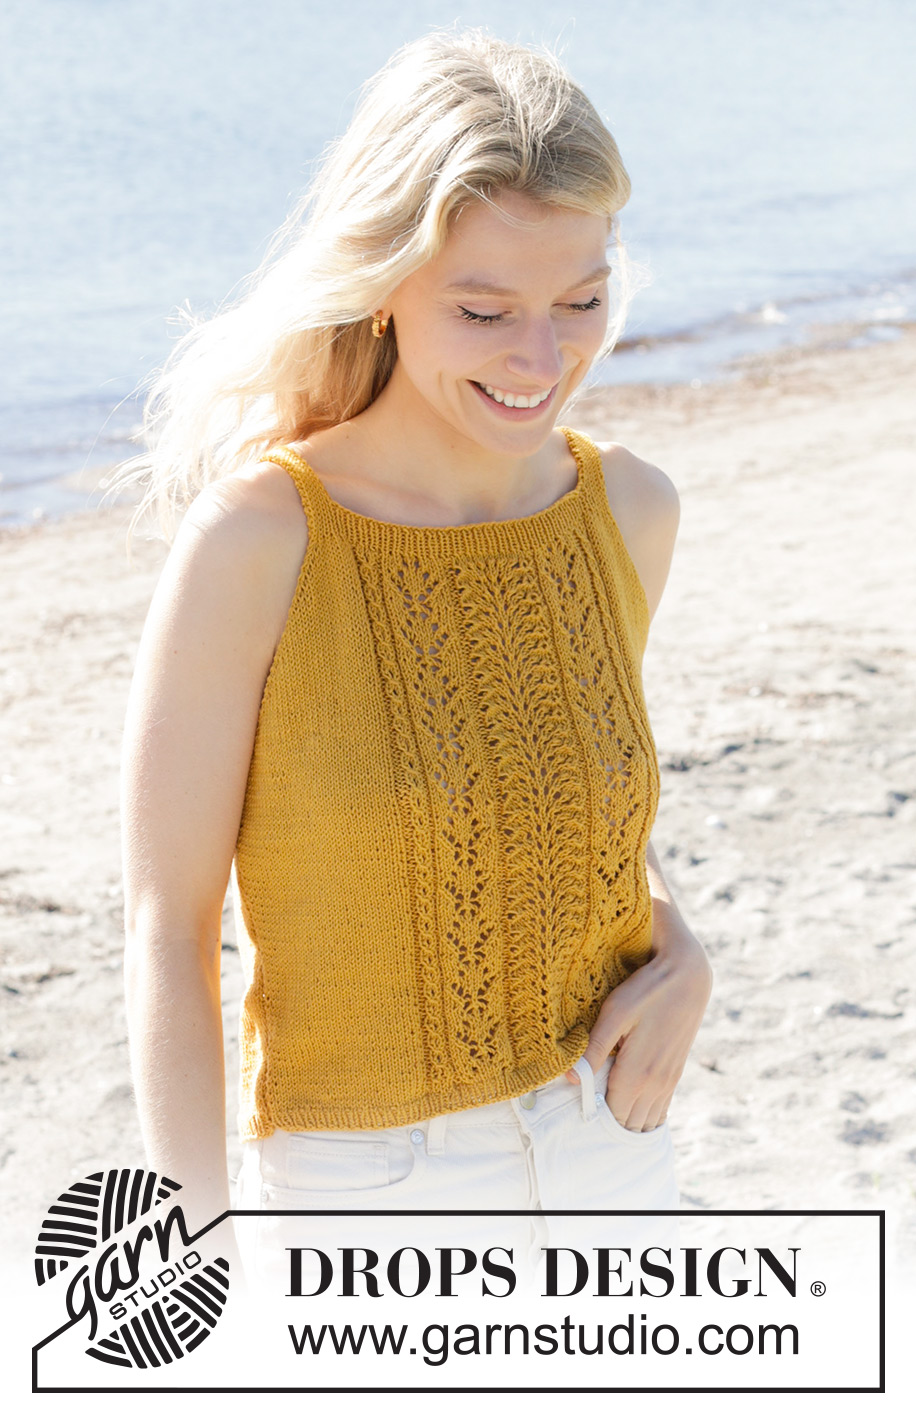
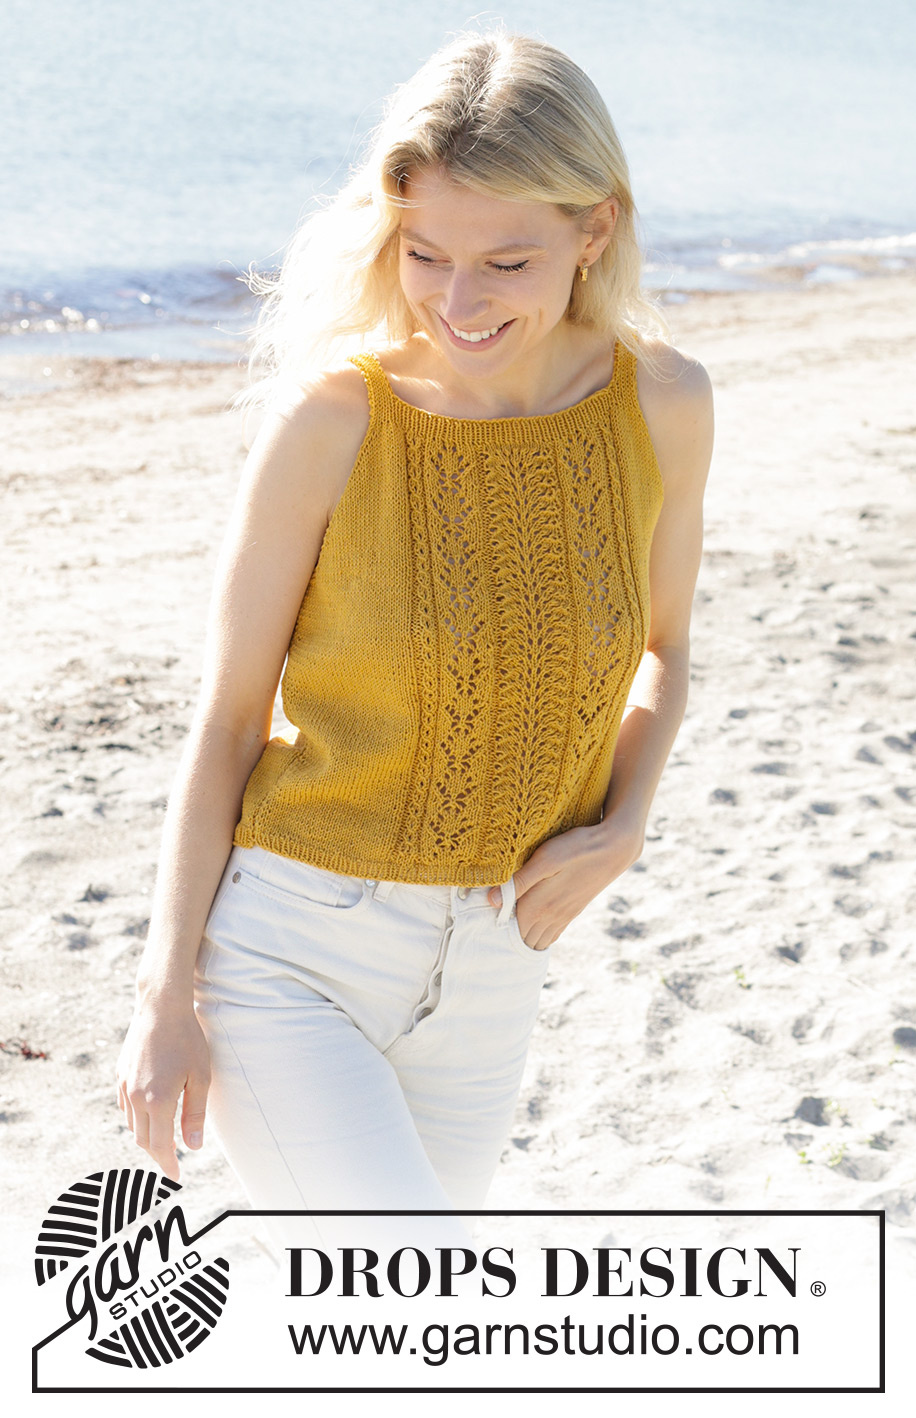
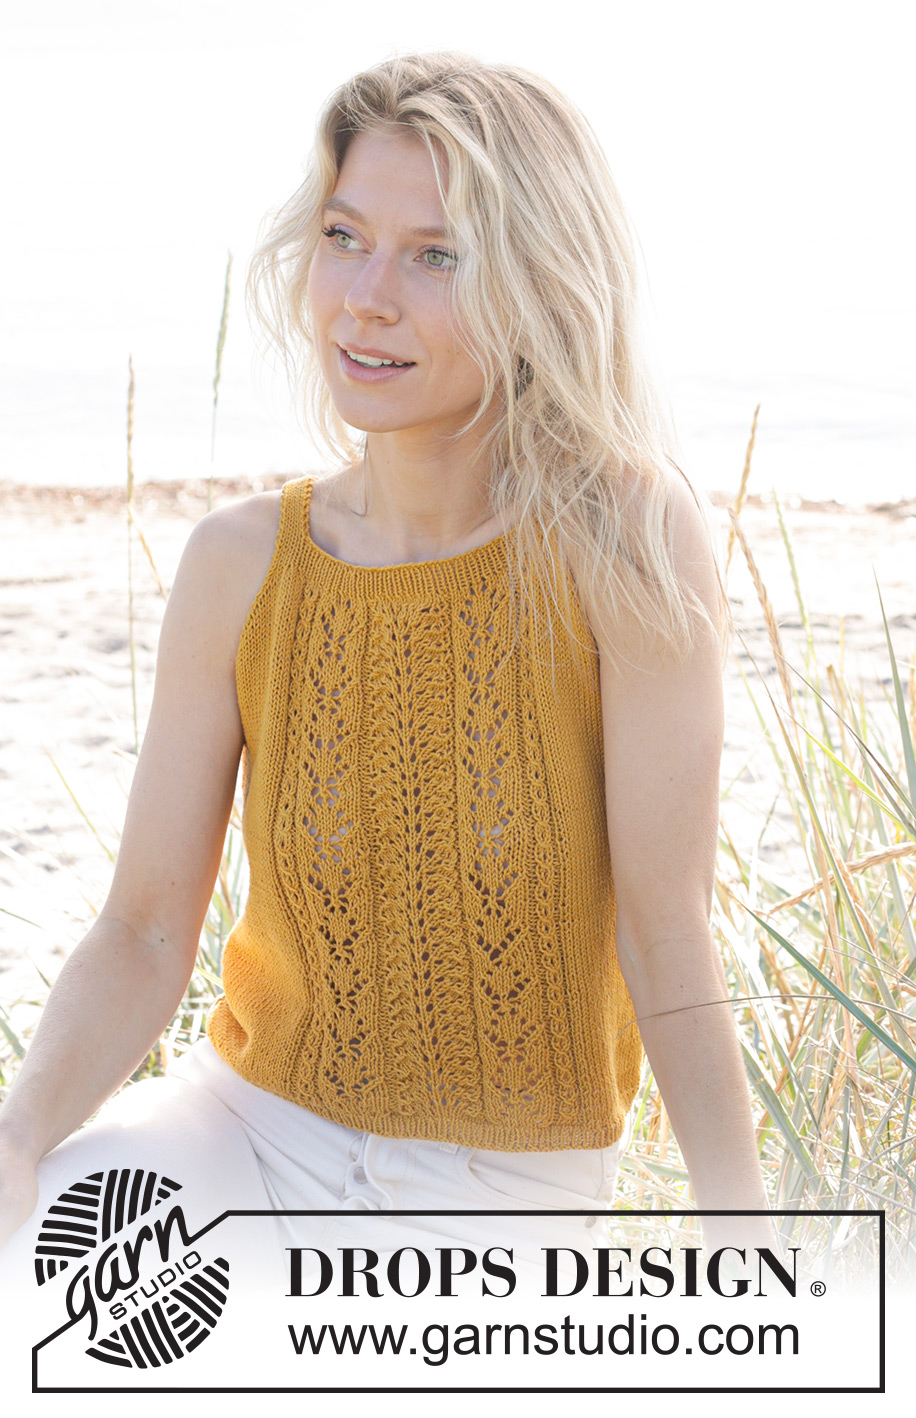
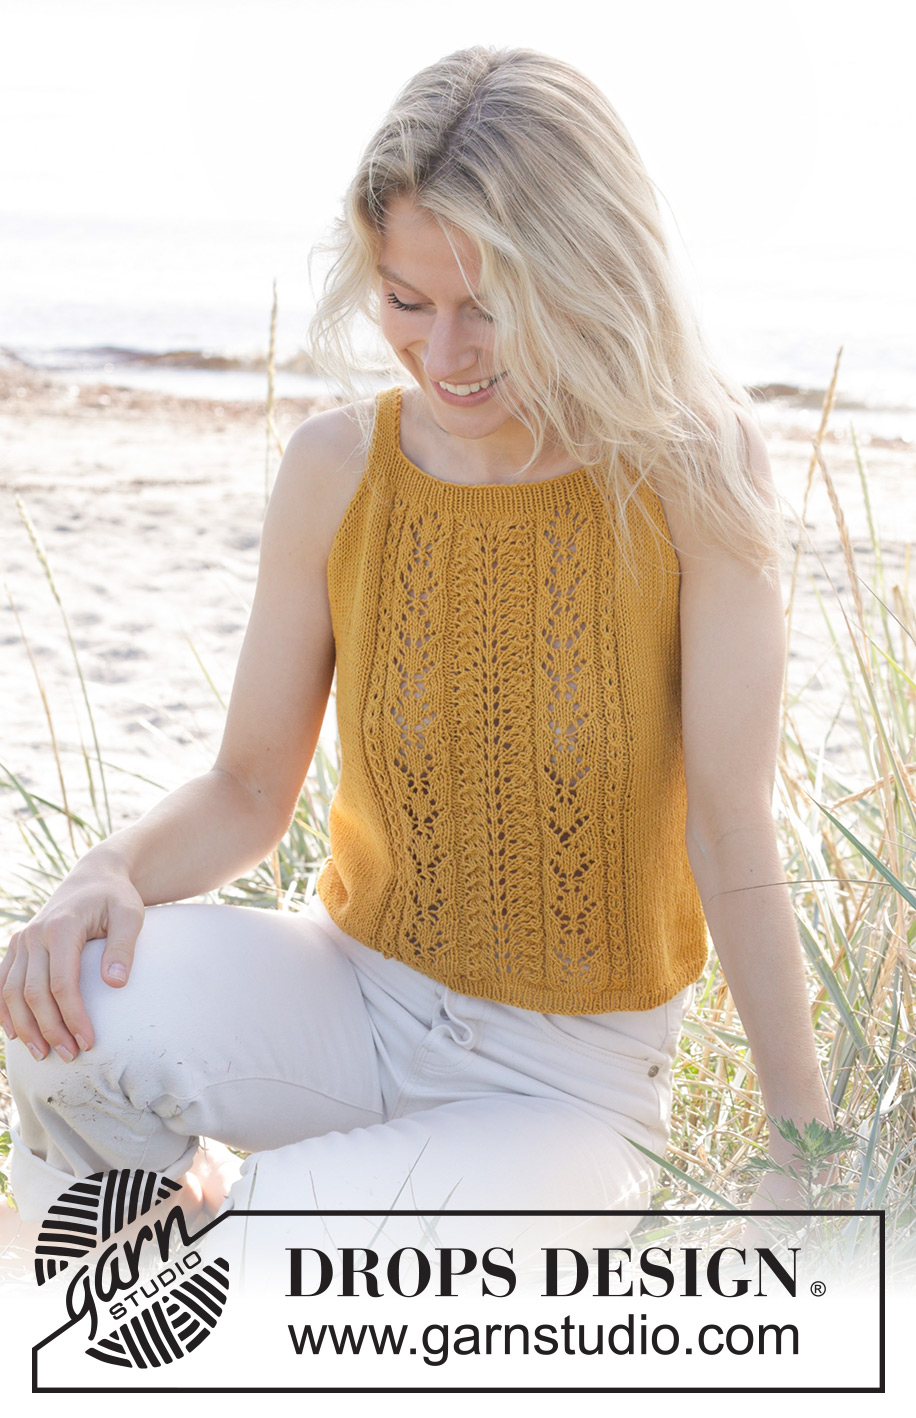
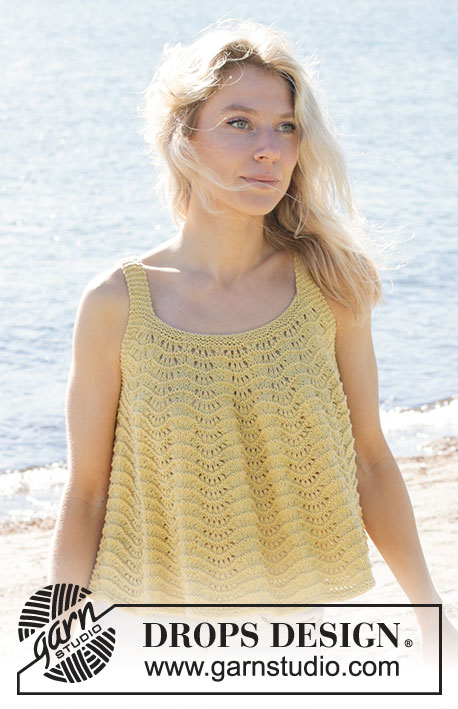
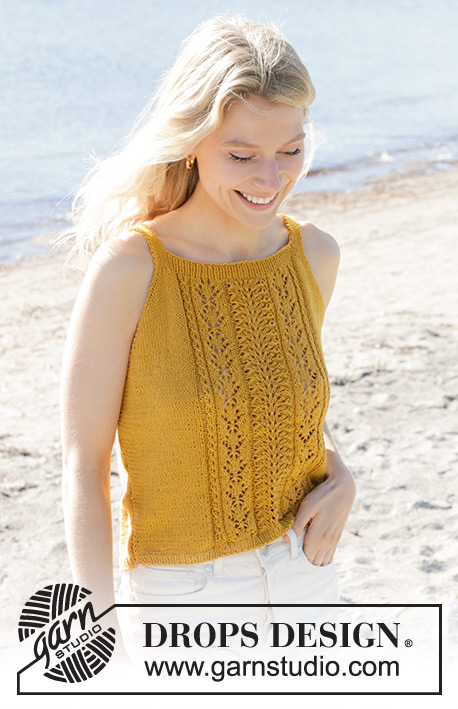
Smiling Honey Top#smilinghoneytop |
|||||||||||||||||||||||||||||||
 |
 |
||||||||||||||||||||||||||||||
Knitted top in DROPS Safran. The piece is worked bottom up with lace pattern on the front piece. Sizes S - XXXL.
DROPS 240-14 |
|||||||||||||||||||||||||||||||
|
------------------------------------------------------- EXPLANATIONS FOR THE PATTERN: ------------------------------------------------------- RIDGE/GARTER STITCH (worked back and forth): Knit all rows. 1 ridge = knit 2 rows. PATTERN: See diagram A.1. The diagram shows all rows in the pattern from the right side. INCREASE TIP: All increases are worked from the right side! Increase 1 stitch inside the first and last 2 stitches on the row by making 1 yarn over. On the next row purl the yarn overs twisted to avoid holes. Then work the new stitches in stockinette stitch. DECREASE TIP: All decreases are worked from the right side! BEGINNING OF ROW: Work 1 stitch in garter stitch, slip 1 stitch as if to knit, knit 1 and pass the slipped stitch over the knitted stitch (1 stitch decreased). END OF ROW: Work until there are 3 stitches left, knit 2 together, 1 stitch in garter stitch (1 stitch decreased). KNITTING TIPS: When working a yarn over in the lace pattern, make sure to tighten the strand is slightly taut. This is done to avoid the holes becoming too large. ------------------------------------------------------- START THE PIECE HERE: ------------------------------------------------------- TOP – SHORT OVERVIEW OF THE PIECE: The back and front pieces are worked separately, back and forth and bottom up. The straps are continued from the front piece and sewn onto the back piece. Then the side-seams are sewn together. BACK PIECE: Cast on 109-117-129-143-159-179 stitches with needles size 2.5 MM = US 1.5 and DROPS Safran. Purl 1 row from the wrong side. Then work rib (purl 1, knit 1) with 1 stitch in GARTER STITCH on each side – see explanation above. Work until the piece measures 2 cm = ¾", with the next row from the right side. Change to needles size 3.5 MM = US 4. Knit 1 row from the right side and decrease 16-16-18-20-22-26 stitches evenly spaced = 93-101-111-123-137-153 stitches. Continue with stockinette stitch and 1 stitch in garter stitch on each side. REMEMBER THE KNITTING GAUGE! When the piece measures 6-6-6-8-8-8 cm = 2⅜"-2⅜"-2⅜"-3⅛"-3⅛"-3⅛", increase 1 stitch on each side – read INCREASE TIP. Increase like this every 7-7-8-8-8-8 cm = 2¾"-2¾"-3⅛"-3⅛"-3⅛"-3⅛", 2 more times in each side = 99-107-117-129-143-159 stitches. When the piece measures 28-29-30-31-32-33 cm = 11"-11⅜"-11¾"-12¼"-12½"-13" from the cast-on edge, work 2 ridges over the outermost 6-8-9-12-14-16 stitches on each side (the other stitches are continued in stockinette stitch). Bind off 5-7-8-11-13-15 stitches for the armholes at the beginning of the next 2 rows = 89-93-101-107-117-129 stitches. Continue with stockinette stitch and 1 stitch in garter stitch on each side. AT THE SAME TIME on the first row from the right side decrease 1 stitch on each side for the armholes – read DECREASE TIP. Decrease like this every 2nd row (each row from the right side) a total of 16-17-18-19-20-22 times on each side = 57-59-65-69-77-85 stitches. Knit 1 row from the right side and increase 10-10-10-12-12-12 stitches evenly spaced = 67-69-75-81-89-97 stitches. Change to needles size 2.5 MM = US 1.5. Work rib as follows from the wrong side: 1 stitch in garter stitch, * purl 1, knit 1 *, work from *-* until there are 2 stitches left, purl 1 and 1 stitch in garter stitch. Continue this rib for 2 cm = ¾". Bind off a little loosely. FRONT PIECE: Cast on 109-117-129-143-159-179 stitches with needles size 2.5 MM = US 1.5 and DROPS Safran. Purl 1 row from the wrong side. Then work rib (purl 1, knit 1), with 1 stitch in garter stitch on each side. Work until the piece measures 2 cm = ¾", with the next row from the right side. Change to needles size 3.5 MM = US 4. Work 2 rows of stockinette stitch with 1 stitch in garter stitch on each side – and on the first row decrease 16-16-18-20-22-26 stitches evenly spaced = 93-101-111-123-137-153 stitches. Work the next row as follows from the right side: 1 stitch in garter stitch, 22-26-31-37-44-52 stitches in stockinette stitch, A.1 – read KNITTING TIPS, 22-26-31-37-44-52 stitches in stockinette stitch, 1 stitch in garter stitch. Continue this pattern. When the piece measures 6-6-6-8-8-8 cm = 2⅜"-2⅜"-2⅜"-3⅛"-3⅛"-3⅛", increase 1 stitch on each side – remember INCREASE TIP. Increase like this every 7-7-8-8-8-8 cm = 2¾"-2¾"-3⅛"-3⅛"-3⅛"-3⅛", 2 more times in each side = 99-107-117-129-143-159 stitches. When the piece measures 28-29-30-31-32-33 cm = 11"-11⅜"-11¾"-12¼"-12½"-13" from the cast-on edge, work 2 ridges over the outermost 6-8-9-12-14-16 stitches on each side (the other stitches are continued as before). Then bind off 5-7-8-11-13-15 stitches for the armholes at the beginning of the next 2 rows = 89-93-101-107-117-129 stitches. Continue the pattern, with 1 stitch in garter stitch on each side. AT THE SAME TIME on the first row from the right side, decrease 1 stitch on each side for the armholes – remember DECREASE TIP. Decrease like this every 2nd row (each row from the right side) a total of 16-17-18-19-20-22 times on each side = 57-59-65-69-77-85 stitches. Knit 1 row from the right side and increase 10-10-10-12-12-12 stitches evenly spaced = 67-69-75-81-89-97 stitches. Change to needles size 2.5 MM = US 1.5. Work rib as follows from the wrong side: 1 stitch in garter stitch, * purl 1, knit 1 *, work from *-* until there are 2 stitches left, purl 1 and 1 stitch in garter stitch. Continue this rib for 2 cm = ¾". Do not cut the strand. The front piece measures approx. 41-43-44-46-48-50 cm = 16⅛"-17"-17¼"-18"-19"-19¾" from the cast-on edge. STRAPS AND NECK: Work the first row from the right side as follows: 1 stitch in garter stitch, * knit 1, purl 1 *, work from *-* a total of 3-3-4-5-6-7 times, knit 1, 1 stitch in garter stitch, then place these 9-9-11-13-15-17 stitches on a thread for the strap, bind off the next 49-51-53-55-59-63 stitches and work the last 9-9-11-13-15-17 stitches as follows: 1 stitch in garter stitch, * knit 1, purl 1 *, work from *-* a total of 3-3-4-5-6-7 times, knit 1, 1 stitch in garter stitch. Continue this rib back and forth over these 9-9-11-13-15-17 stitches until the strap measures approx. 10-10-12-12-12-12 cm = 4"-4"-4¾"-4¾"-4¾"-4¾" (the strap should reach over the shoulder to the back piece; try the top on and work to desired length). Bind off. Place the 9-9-11-13-15-17 stitches from the thread back on needles size 2.5 MM = US 1.5 and continue the rib until the strap measures approx. 10-10-12-12-12-12 cm = 4"-4"-4¾"-4¾"-4¾"-4¾" (adjust the length to the first strap). Bind off. ASSEMBLY: Sew the straps to the bind-off edge on the back piece – outermost on each side. Sew the side seams, inside the 1 edge stitch. |
|||||||||||||||||||||||||||||||
Diagram explanations |
|||||||||||||||||||||||||||||||
|
|||||||||||||||||||||||||||||||
 |
|||||||||||||||||||||||||||||||
 |
|||||||||||||||||||||||||||||||
Have you finished this pattern?Tag your pictures with #dropspattern #smilinghoneytop or submit them to the #dropsfan gallery. Do you need help with this pattern?You'll find 24 tutorial videos, a Comments/Questions area and more by visiting the pattern on garnstudio.com. © 1982-2026 DROPS Design A/S. We reserve all rights. This document, including all its sub-sections, has copyrights. Read more about what you can do with our patterns at the bottom of each pattern on our site. |
|||||||||||||||||||||||||||||||


With over 40 years in knitting and crochet design, DROPS Design offers one of the most extensive collections of free patterns on the internet - translated to 17 languages. As of today we count 324 catalogs and 12290 patterns - 12280 of which are translated into English (US/in).
We work hard to bring you the best knitting and crochet have to offer, inspiration and advice as well as great quality yarns at incredible prices! Would you like to use our patterns for other than personal use? You can read what you are allowed to do in the Copyright text at the bottom of all our patterns. Happy crafting!
Post a comment to pattern DROPS 240-14
We would love to hear what you have to say about this pattern!
If you want to leave a question, please make sure you select the correct category in the form below, to speed up the answering process. Required fields are marked *.