
Looking for a yarn?


Comments / Questions (48)
![]() Flor S wrote:
Flor S wrote:
Por favor suban un video donde se explique cómo empezar la capucha, porque para las principiantes no queda claro. Gracias.
09.12.2023 - 05:06
![]() Roosmarijn wrote:
Roosmarijn wrote:
I used the raglan ssk at each side of the sleeve, so 4 times in a round. But now I have 2 left leaning and 2 vertical decreases. Do I need twice the ssk and twice a k2tog to create the raglan sleaves? Ik heb de raglan instructie toegepast aan beide zijden van de mouwen, dus 4x per ronde. Nu heb ik 2 keer een schuine decrease en 2 keer een rechte decrease, waardoor de mouwen scheef zijn. Had ik een andere techniek moeten, gebruiken, met 2x ssk en 2x k2tog?
26.11.2023 - 10:03DROPS Design answered:
Dear Roosmarijn, this is not an ssk nor k2tog decrease (see RAGLAN above). You decrease 2 sts in each raglan line/ transition, so 8 sts in total on the row. You can see how to work this decrease here: https://www.garnstudio.com/video.php?id=736&lang=en. If you work in the same way in all of the raglan lines, the decreases should be equal in all lines. Happy knitting!
26.11.2023 - 22:45
![]() Veronika wrote:
Veronika wrote:
Skal bolen kun være 31 cm i alle størrelser? Er dette inklusive vrangborden?
09.11.2023 - 07:49DROPS Design answered:
Hei Veronika. Ja, det stemmer. Ønsker du den lengre (og har nok garn) kan du fint strikke den lengre. De 31 cm er inkl vrangborden. Se evnt. målene på målskissen lengst nederst på oppskriften. mvh DROPS Design
13.11.2023 - 11:57
![]() Marie-noelle Eyssartier wrote:
Marie-noelle Eyssartier wrote:
Bonjour je suis a la recherche d'un pull a capuche qui se tricote sur deux aiguilles au lieu d'un aiguille circulaire dans l'attente je vous remercie de votre compréhension
11.10.2023 - 07:59
![]() Elin wrote:
Elin wrote:
Jeg skjønner ikke målene på lengden på ermet. Det kan da ikke stemme at en genser i 3x XL bare skal måle 34 cm?
30.09.2023 - 16:07DROPS Design answered:
Hei Elin, Ermene i større størrelsene er kortere fordi man har bredere skulder og lengre bærestykke i disse størrelsene. Du kan selvfølgelig forlenge ermene hvis du mener de er for korte, ved å strikke flere omganger mellom hver økning. God fornøyelse!
02.10.2023 - 06:55
![]() Iris wrote:
Iris wrote:
Hallo! Hat sehr gut geklappt mit der Anleitung! Bin jetzt am oberen Ende der Passe. Weiß nicht, wie man das macht am Ende der 1. Hinreihe " je 1 M aus der Rückseite der nächsten 6 M auffassen" Gibt es ein Video dazu? Danke
25.01.2023 - 10:57DROPS Design answered:
Liebe Iris, schauen Sie mal dieses Video - ab Zeit ca 01:00 schauen wir, wie man 1 Masche hinter jeder der nächsten Maschen auffasst (folgen Sie natürlich die Maschenanzahl wie in der Anleitung und nicht wie im Video, wo nur die Technikk gezeigt wird). Viel Spaß beim stricken!
25.01.2023 - 12:15
![]() Iris wrote:
Iris wrote:
Hallo! Am Beginn lege ich ja die Maschen des Rückenteils und Vorderteils dann auf 1 Rundnadel. Das heißt, ich habe dann 2 Arbeitafäden. Welchen der beiden muß ich für das Weiterstricken des Rumpfteiles in der Runde abschneiden und vernähen? Liebe Grüße
22.01.2023 - 08:48DROPS Design answered:
Liebe Iris, Sie können der Arbeitsfaden vom Ruckenteil abschneiden, und dann mit dem vom Vorderteil weiterstricken. Viel Spaß beim stricken!
23.01.2023 - 09:22
![]() Agáta Maňásková wrote:
Agáta Maňásková wrote:
Dobrý den, doporučila bych opravit k 1. řadě kapuce text: Pod každým z následujících 6 ok přidáme 6 ok. Ne za každým. 2 hodiny jsem se trápila než jsem na to přišla.
16.01.2023 - 06:46
![]() Patricia Peña wrote:
Patricia Peña wrote:
Me podían explicar la parte del canesú, a partir de la hilera 1? No acabo de entenderlo, Gracias
02.01.2023 - 20:12DROPS Design answered:
Hola Patricia, las disminuciones para el raglán se trabajan como se explica arriba, en la sección RAGLÁN. Después tienes que recoger 6 pts en el bucle posterior de cada pt de los 6 pts centrales (3 pts a cada lado del marcapuntos).
07.01.2023 - 19:52
![]() Anna wrote:
Anna wrote:
Hello. Is my understanding correct that when decreasing for raglan, there always 2 stitches decreased - e.g. one from the front part and one from the sleeve?
13.12.2022 - 11:39DROPS Design answered:
Dear Anna, you should decrease 8 sts on each decrease round: 1 at the end of right front piece, 2 on each sleeve, 2 on back piece (1 at the beg of sleeve/back piece + 1 at the end of sleeve/back piece) + 1 at the beg of left front piece (seen from RS) - see RAGLAN, in other words, you will slip the last stitch on right front piece/end of sleeve/end of back piece + the stitch with the marker as if to K2 tog, knit the first st of sleeve/back piece/left front piece and psso. Happy knitting!
13.12.2022 - 13:38
|
|
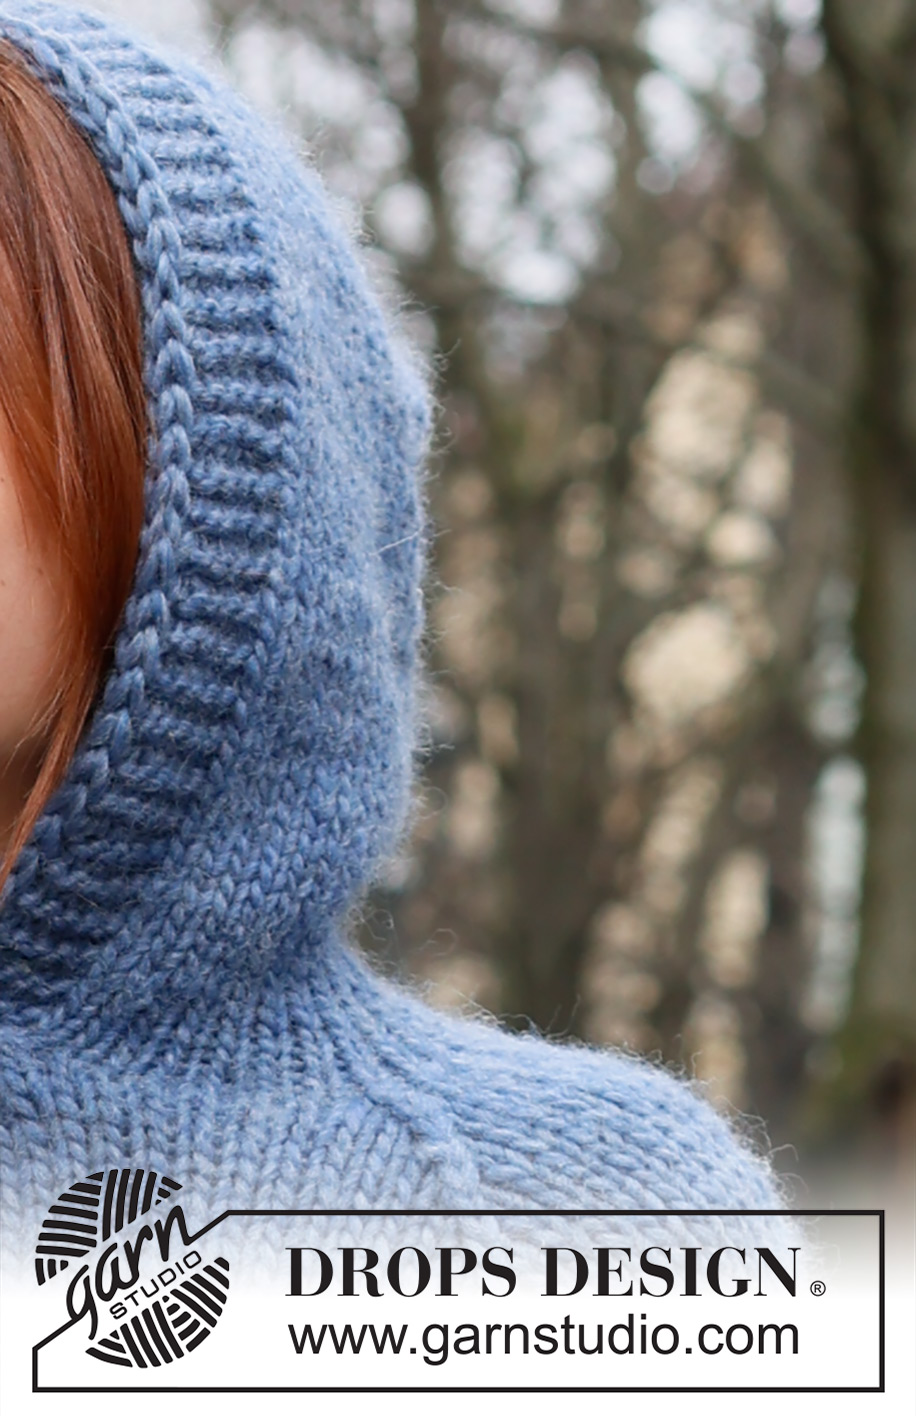
Chaperon Bleu#chaperonbleusweater |
|
 |
 |
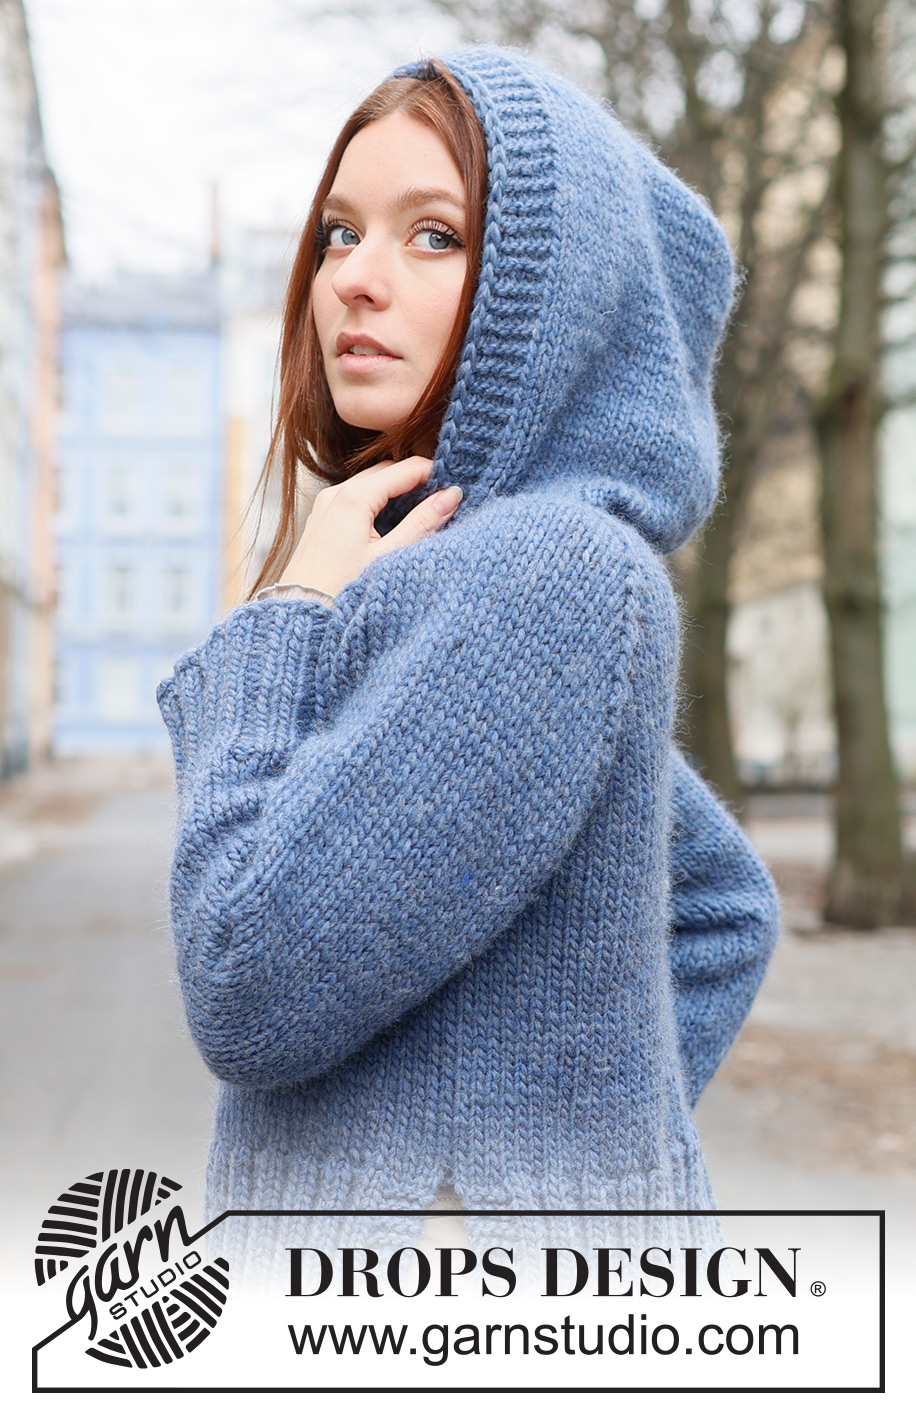
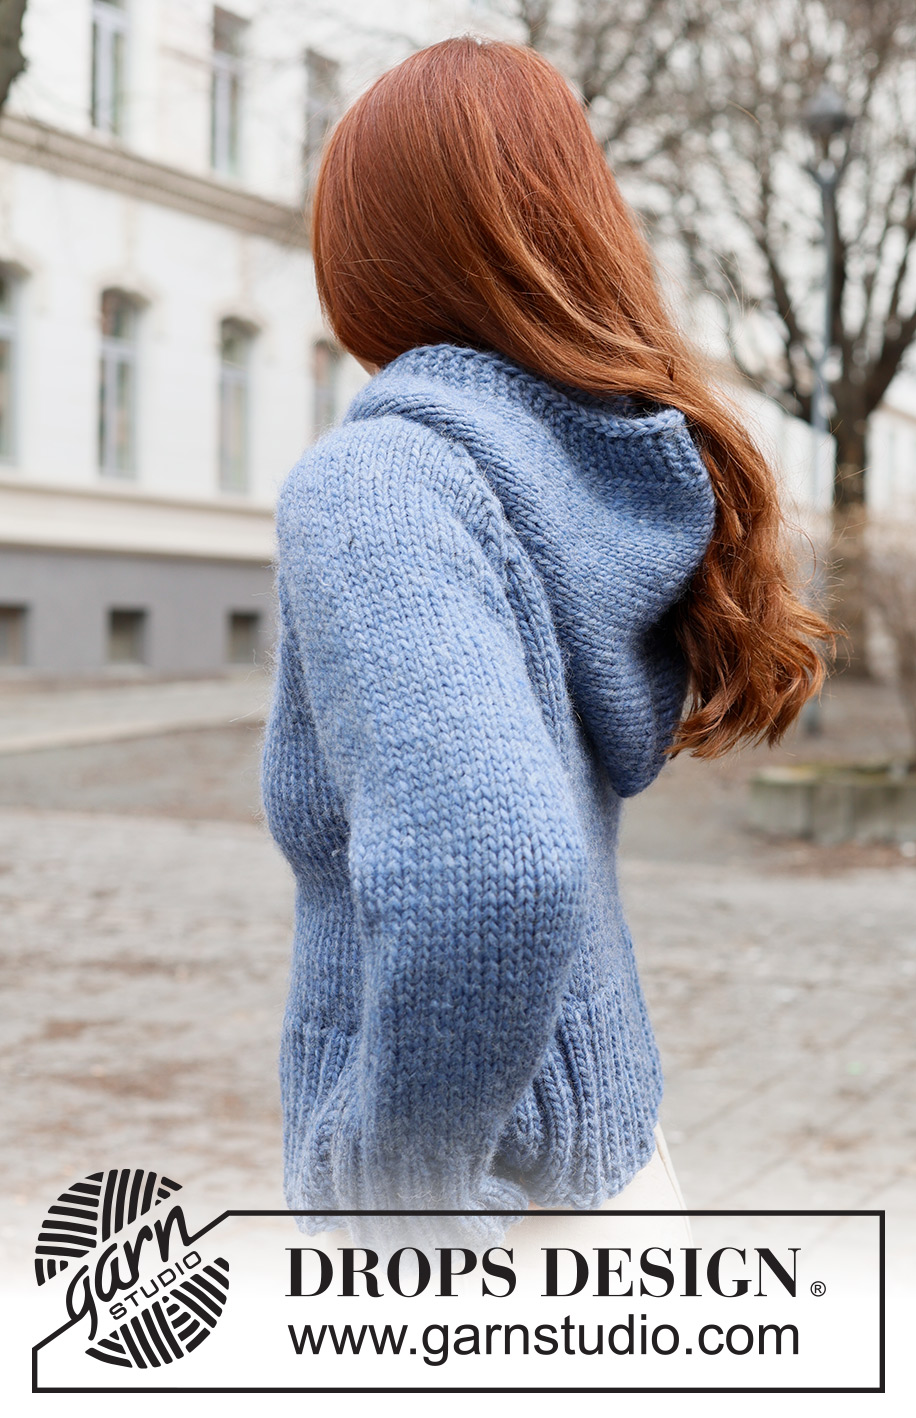
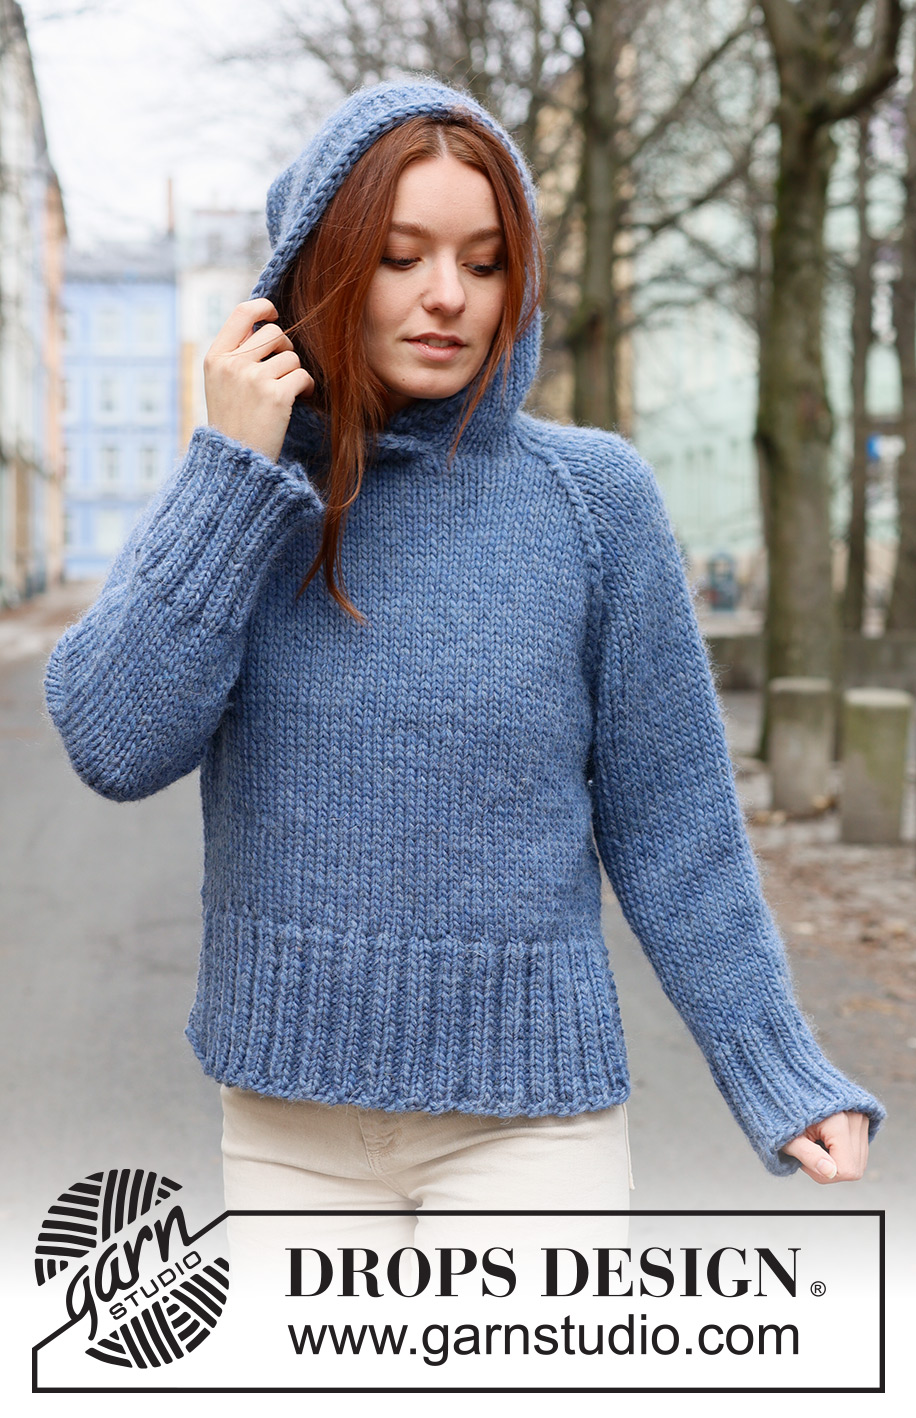
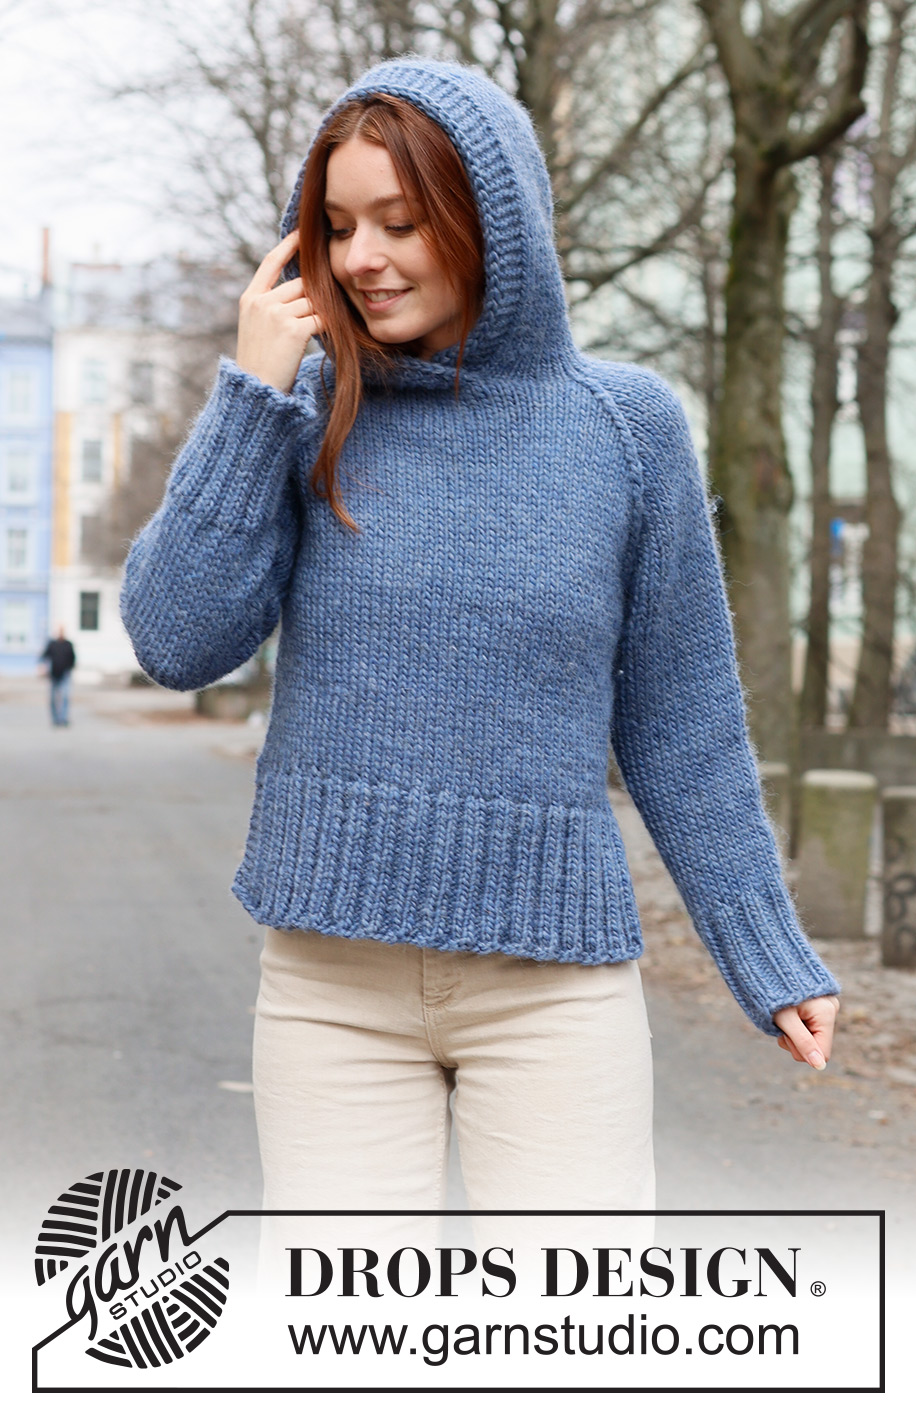
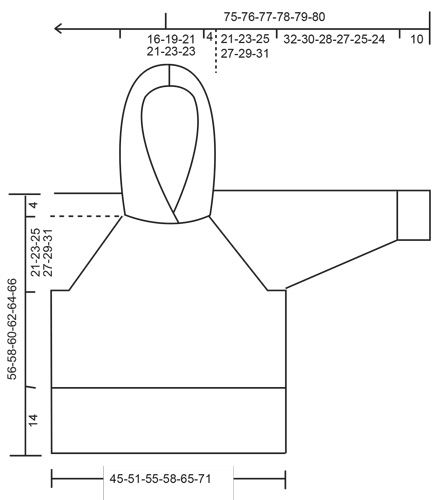
Knitted jumper in DROPS Snow. The piece is worked bottom up in stocking stitch with raglan and a hood. Sizes S - XXXL.
DROPS 236-4 |
|
|
------------------------------------------------------- EXPLANATIONS FOR THE PATTERN: ------------------------------------------------------- RIDGE/GARTER STITCH (worked back and forth): Knit all rows. 1 ridge = knit 2 rows. INCREASE TIP-1 (for sleeves): Work until there are 2 stitches left before the marker, 1 yarn over, knit 4 (marker sits between these 4 stitches), 1 yarn over. On the next round knit the yarn overs twisted to avoid holes. Then work the new stitches in stocking stitch. INCREASE TIP-2 (for hood): Work until there are 2 stitches left before the marker thread, 1 yarn over, knit 4 (marker thread sits between these 4 stitches), 1 yarn over. On the next row work the yarn overs twisted to avoid holes. Then work the new stitches in stocking stitch. RAGLAN: Decrease to raglan in each transition between body and sleeves as follows: Work until there is 1 stitch left before marker-stitch, slip 2 stitches as if to knit together, knit 1, pass the slipped stitches over the knitted stitch. Repeat at each marker (8 stitches decreased on the row). ------------------------------------------------------- START THE PIECE HERE: ------------------------------------------------------- JUMPER - SHORT OVERVIEW OF THE PIECE: The front and back pieces are worked separately, back and forth, bottom up until the split is finished. Both pieces are placed on the same circular needle and the piece is continued in the round as far as the armholes. The sleeves are worked in the round with double pointed needles/short circular needle, bottom up, then placed on the same circular needle as the body. The yoke is continued in the round. The hood is worked back and forth to finish. BACK PIECE: Cast on 62-70-74-78-86-94 stitches with circular needle size 7 mm and DROPS Snow. Purl 1 row from the wrong side. Then work rib as follows: 4 stitches in GARTER STITCH – read description above, * knit 2, purl 2 *, work from *-* until there are 6 stitches left, knit 2 and 4 stitches in garter stitch. Work this rib back and forth for 14 cm, finishing after a row from the wrong side. Lay the piece to one side. FRONT PIECE: Cast on and work in the same way as the back piece. BODY: Place the front and back pieces on the same circular needle size 8 mm and knit 1 round where you decrease 24-28-28-28-28-32 stitches evenly spaced = 100-112-120-128-144-156 stitches. Insert 1 marker at the beginning of the round and 1 marker after 50-56-60-64-72-78 stitches (sides). Work stocking stitch in the round. REMEMBER THE KNITTING TENSION! When the piece measures 31 cm, cast off 6-6-6-8-8-10 stitches for the armholes on each side (cast off 3-3-3-4-4-5 stitches on each side of each marker) = 44-50-54-56-64-68 stitches on the front and back pieces. Lay the piece to one side and work the sleeves. SLEEVES: Cast on 32-32-36-36-40-40 stitches with double pointed needles size 7 mm and DROPS Snow. Knit 1 round, then work rib (knit 2, purl 2) in the round for 10 cm. Change to double pointed needles size 8 mm. Insert 1 marker at the beginning of the round (mid-under sleeve). Allow the marker to follow your work onwards; it is used when increasing under the sleeve. Work stocking stitch in the round. When the sleeve measures 12 cm from the cast-on edge, increase 1 stitch on each side of the marker – read INCREASE TIP. Increase like this every 8-6-7-4-3-2 cm a total of 4-5-4-6-7-10 times = 40-42-44-48-54-60 stitches. When the sleeve measures 42-40-38-37-35-34 cm, cast off 6-6-6-8-8-10 stitches under the sleeve (3-3-3-4-4-5 stitches on each side of the marker) = 34-36-38-40-46-50 stitches. Lay the piece to one side and work the other sleeve in the same way. YOKE: Place the sleeves onto the same circular needle as the body, where stitches were cast off for the armholes = 156-172-184-192-220-236 stitches. Insert 2 markers in the outermost stitch on each side of both the front and back pieces (4 markers). These are used when decreasing for raglan. Start at the transition between the back piece and the right sleeve and work stocking stitch in the round. When the yoke measures 3-4-5-5-4-3 cm, begin to decrease for RAGLAN – read description above. Decrease like this every 2nd round a total of 11-12-13-14-17-19 times = 68-76-80-80-84-84 stitches. Insert 1 marker-thread mid-front and 1 marker-thread mid-back. Cut the strand. Start 3 stitches before the marker-thread mid-front – the piece is now finished back and forth. ROW 1 (right side): Knit and decrease for raglan until there are 3 stitches left before the marker-thread mid-front. Knit up 1 stitch behind each of the next 6 stitches. Turn. ROW 2 (wrong side): Knit 5, purl until there are 5 stitches left, knit 5. On the next row from the right side decrease for raglan for the last time (you have decreased a total of 13-14-15-16-19-21 times) and there are 58-66-70-70-74-74 stitches. The yoke measures approx. 21-23-25-27-29-31 cm. HOOD: Work stocking stitch with 5 stitches in garter stitch on each side, AT THE SAME TIME increase 1 stitch on each side of the marker-thread mid-back and 1 stitch on each side of both raglan-lines on the front piece (6 stitches increased) – read INCREASE TIP-2. Increase like this 1 more time on the next row from the right side = 70-78-82-82-86-86 stitches. Continue with stocking stitch and garter stitch until the hood measures 37-38-39-40-41-42 cm. Cast off. Fold the hood and sew it together at the top. I-CORD EDGE: Work an edge around the hood as follows: Use 2 double pointed needles size 8 mm and cast on 2 stitches, knit up 1 stitch in the outermost loop of the bottom ridge on the right side of the hood (when the garment is worn) = 3 stitches on the needle. *Push the stitches back to the beginning of the needle and work again from the right side without turning. Knit 2, slip the next stitch as if to knit, knit up a new stitch in the next ridge on the hood, pass the slipped stitch over the knitted-up stitch *, work from *-* until an edge has been worked around the hood. NOTE! Knit up 1 stitch in each ridge, if this makes the edge tight, knit up 1 more stitch evenly along the hood. Knit together the last 3 stitches on the row, cut the strand, pull it through the remaining stitch and fasten. ASSEMBLY: Sew the openings under the sleeves. |
|
 |
|
Have you finished this pattern?Tag your pictures with #dropspattern #chaperonbleusweater or submit them to the #dropsfan gallery. Do you need help with this pattern?You'll find 28 tutorial videos, a Comments/Questions area and more by visiting the pattern on garnstudio.com. © 1982-2025 DROPS Design A/S. We reserve all rights. This document, including all its sub-sections, has copyrights. Read more about what you can do with our patterns at the bottom of each pattern on our site. |
|


With over 40 years in knitting and crochet design, DROPS Design offers one of the most extensive collections of free patterns on the internet - translated to 17 languages. As of today we count 320 catalogues and 12095 patterns translated into English (UK/cm). 12095
We work hard to bring you the best knitting and crochet have to offer, inspiration and advice as well as great quality yarns at incredible prices! Would you like to use our patterns for other than personal use? You can read what you are allowed to do in the Copyright text at the bottom of all our patterns. Happy crafting!
Post a comment to pattern DROPS 236-4
We would love to hear what you have to say about this pattern!
If you want to leave a question, please make sure you select the correct category in the form below, to speed up the answering process. Required fields are marked *.