
Popular categories
Looking for a yarn?

































Comments / Questions (161)
 Martina wrote:
Wie lange muss die Rundstricknadel für die Ärmel sein, damit man in Runden Stricken kann
26.10.2026 - 19:13DROPS Design answered:
Liebe Martina, am Anfang braucht man lieber ein Nadelspiel da es zu wenig Maschen für die 40 cm Rundnadel gibt; aber wenn Sie Magic Loop (siehe Video) stricken , dann brauchen Sie nur eine 80 cm Rundnadel (beide Nr, dh 5,5 sowie 4,5). Viel Spaß beim Stricken!
27.10.2026 - 09:27
Theresa wrote:
Ich habe eine Frage zum Beginn des Vorder- und Hinterteils: Wird dort wirklich kraus rechts gestrickt? Auf den Bildern sehe ich ein Rippenmuster r-l-r-l - aber vielleicht täusche ich mich. Vielen Dank!
21.10.2026 - 14:36DROPS Design answered:
Liebe Theresa, das Rippenmuster, das Sie sehen, ist ja auch in der Anleitung beschrieben. Lediglich die beiden ersten und letzten Maschen des Rückenteils und des Vorderteils werden bei diesem Bündchen kraus rechts gestrickt, der Rest im Rippenmuster 1 M re, 1 M li. Die kraus rechten Maschen dienen als Rand, da es ja Seitenschlitze über die ganze Höhe des unteren Bündchens gibt (die Seitenschlitze kann man allerdings auf dem Foto nicht wirklich erkennen). Viel Spaß beim Stricken!
21.10.2026 - 23:21
 Sandra wrote:
Ich stricke den Pullover in Größe XL. Beim Vorderteil steht „bei einer Länge von 50 cm für die Armausschnitte abketten“. Ab wo werden die 50 cm gemessen? Ab Beginn der Arbeit oder ab Ende Bündchen/Anfang glatt rechts?
18.10.2026 - 12:27DROPS Design answered:
Liebe Sandra, messen Sie die 50 cm ab Anschlagskante. Viel Spaß beim Stricken!
19.10.2026 - 10:52
Christel wrote:
Warun werden nach dem Bündchen Maschen abgenommen?
28.08.2026 - 16:02DROPS Design answered:
Liebe Christel, man braucht mehr Maschen für Bündchen und kleine Nadeln als fürs Glattrechts und grössere Nadeln, deshalb wird man nach Bündchen abnehmen. Viel Spaß beim Stricken!
31.08.2026 - 15:31
Gabi Rapp wrote:
Mir ist nicht klar wie ich beim Armausschnitt abnehme. In der Beschreibung kommt es mir so vor als müßte ich mehr als 12 Maschen abnehmen.
20.07.2026 - 20:56DROPS Design answered:
Liebe Gabi, Sie ketten pro Armausschnitt 6 Maschen ab, wenn Sie Größe S oder M stricken. Zuerst ketten Sie 3 Maschen ab, dann in der nächsten Reihe, die am selben Armausschnitt beginnt, ketten Sie 2 Maschen ab, danach dann 1 Masche. Das machen Sie an beiden Seiten, d.h. Sie ketten wie folgt ab: 3 Maschen abketten, Reihe zu Ende stricken, 3 Maschen abketten, Reihe zu Ende stricken, 2 Maschen abketten, Reihe zu Ende stricken, 2 Maschen abketten, Reihe zu Ende stricken, 1 Masche abketten, Reihe zu Ende stricken, 1 Masche abketten, Reihe zu Ende stricken. Dann haben Sie insgesamt 12 Maschen abgenommen, d.h. 6 pro Seite. Viel Spaß beim Stricken!
05.08.2026 - 00:26
 Sara wrote:
Hej! Stämmer det att jag på bakstycke ska sticka första varvet avigt men på ärmarna ska jag sticka första varvet rätt, alltså med räta maskor? Varför skiljer det i så fall?
25.06.2026 - 15:54DROPS Design answered:
Hei Sara. Stemmer slik det står i oppskriften. På bakstykket / forstykket skal 1. pinne strikkes vrang fra vrangen (= det blir rett masker når man ser det fra retten), mens 1. omgang på ermene strikkes rett fra retten. Bakstykket / forstykket strikkes frem og tilbake, mens ermene strikkes rundt. mvh DROPS Design
30.06.2026 - 07:43
 Marie wrote:
Beste Ik brei nog het liefst zonder rondbreinaalden. Dus gewoon voor en rugpand en mouwen apart. Daarna zet ik ze in elkaar. Kan dit met dit model van trui en wat zijn de aanpassingen? Met vriendelijke groeten Stevens M.Christine
06.06.2026 - 21:25DROPS Design answered:
Dag Marie,
Ja, daar is deze trui wel geschikt voor. De hals zul je dan wel in de rondte moeten breien.
Om een patroon aan te passen om op rechte naalden te breien hebben we een instructie gemaakt. Deze vind je hier.
08.06.2026 - 20:11
Tove wrote:
Hej! Jag undrar varför jag ska sticka kantmaskor på bakstycke och framstycke? Vad är funktionen? (Jag har inte stickat så länge så det kanske är en enkel fråga för de som vet)
02.06.2026 - 14:31DROPS Design answered:
Hej Tove. Det är de maskorna du syr ihop arbetet i när du är klar och ska montera det. Mvh DROPS Design
02.06.2026 - 14:44
 Sarah wrote:
Hi, when it says work the front as for the back until it measures 60cm, do you also include the bit at 47cm where you cast off for the armholes on the front just like the back? Thanks
23.05.2026 - 23:44DROPS Design answered:
Hi Sarah, Yes, you do. Regards, Drops Team.
26.05.2026 - 06:31
Imbi Meister wrote:
Hej! Skall man sticka framstycket i slätstickning, alltså ett varv räta och ett varv aviga på rundstickan? Jag förstår inte hur alla varv skall stickas räta om man inte stickar runt hela varvet. Och behöver man då använda rundsticka? Hälsningar, Imbi
06.05.2026 - 12:07DROPS Design answered:
Hej Imbi, ja när du stickar slätstickning fram och tillbaka på rundsticka, stickar du rät från rätsidan och avig från avigsidan: Hur man stickar slätstickning (fram och tillbaka) - Nordisk metod
07.05.2026 - 08:22
|
|
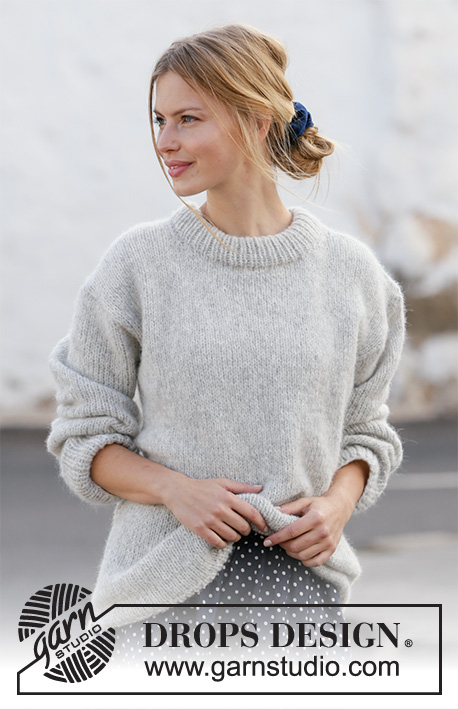
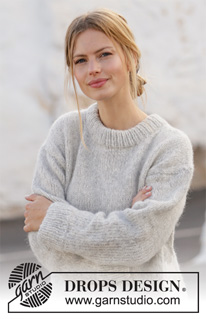
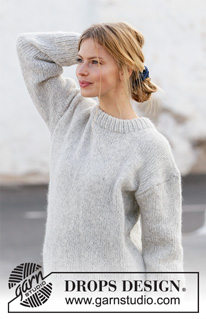
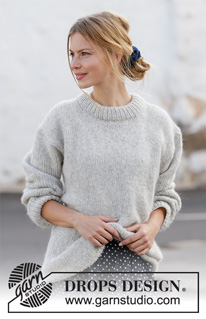
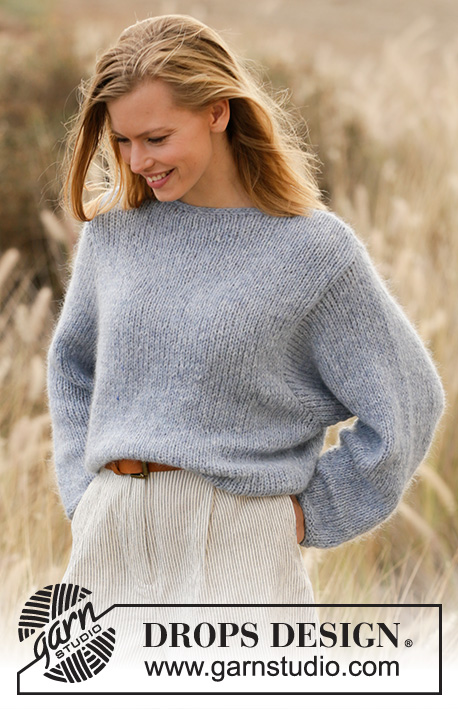
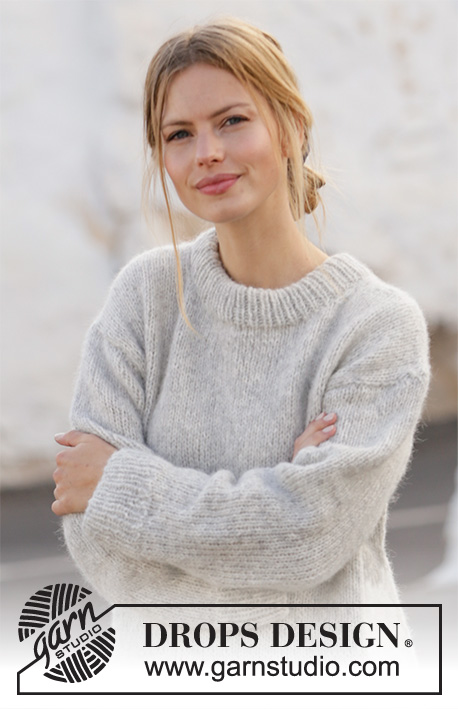
Grey Pearl#greypearlsweater |
|
 |
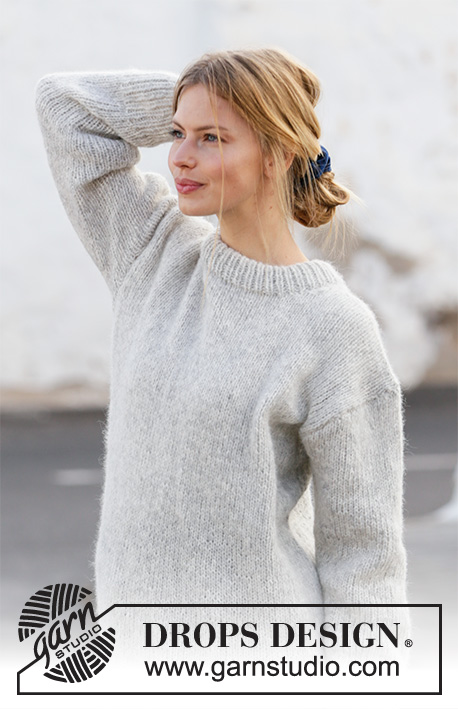 |
Knitted jumper in DROPS Air. Sizes S - XXXL.
DROPS 210-36 |
|
|
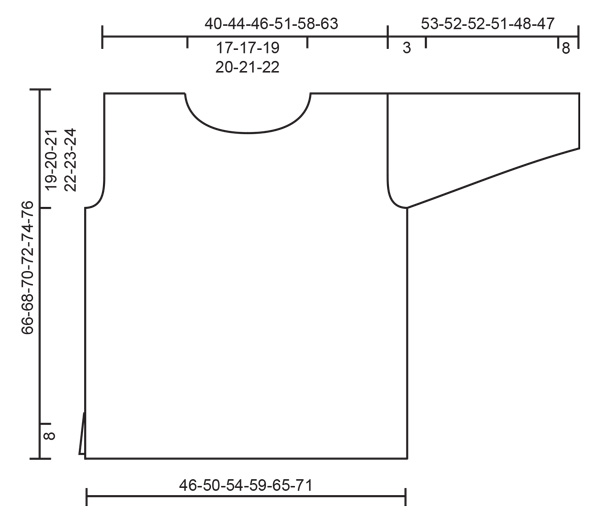
------------------------------------------------------- EXPLANATIONS FOR THE PATTERN: ------------------------------------------------------- RIDGE/GARTER STITCH (worked back and forth): Knit all rows. 1 ridge in height = Knit 2 rows. DECREASE TIP (evenly spaced): To work out how to decrease evenly, count the total number of stitches on needle (e.g. 89 stitches) and divide by number of decreases to be made (e.g. 13) = 6.8. In this example decrease by knitting together alternately each 5th and 6th stitch and each 6th and 7th stitch (approx.). INCREASE TIP (for sleeves): Start 1 stitch before the marker thread, 1 yarn over, work 2 stitches (marker thread sits between these 2 stitches), 1 yarn over. On the next round knit the yarn overs twisted to avoid holes. ------------------------------------------------------- START THE PIECE HERE: ------------------------------------------------------- JUMPER – SHORT OVERVIEW OF THE PIECE: The jumper is worked back and forth in 2 parts which are sewn together to finish. The sleeves are worked in the round with double pointed needles/short circular needle. BACK PIECE: Cast on 89-97-103-113-125-137 stitches with circular needle size 4.5 mm and Air. Purl 1 row from the wrong side then work as follows – from the right side: 2 edge stitches in GARTER STITCH – see description above, *knit 1, purl 1 *, work from *-* until there are 3 stitches left, knit 1 and 2 edge stitches in garter stitch. Continue like this until the piece measures 8 cm. Change to circular needle size 5.5 mm and knit 1 row from the right side where you decrease 13-15-15-17-19-21 stitches evenly spaced – read DECREASE TIP = 76-82-88-96-106-116 stitches. Continue with stocking stitch and 1 edge stitch in garter stitch on each side. When the piece measures 47-48-49-50-51-52 cm, cast off for the armholes on both sides at the beginning of each row as follows: Cast off 3 stitches 1-1-1-1-1-1 time, 2 stitches 1-1-1-1-1-1 time and 1 stitch 1-1-2-2-2-3 times = 64-70-74-82-92-100 stitches. Continue with stocking stitch until the piece measures 64-66-68-70-72-74 cm. Now cast off the middle 26-26-28-30-32-34 stitches for the neck and each shoulder is finished separately. Then cast off at the beginning of next row from the neck as follows: 1 stitch 1 time = 18-21-22-25-29-32 stitches on the shoulder. Continue working until the piece measures 66-68-70-72-74-76 cm and cast off. Work the other shoulder in the same way. FRONT PIECE: Cast on and work as for the back piece until the piece measures 60-62-64-66-68-70 cm. Now place the middle 20-20-22-24-26-28 stitches on 1 thread for the neck and finish each shoulder separately. Then cast off at the beginning of each row from the neck as follows: 2 stitches 1 time and 1 stitch 2 times = 18-21-22-25-29-32 stitches left on the shoulder. Continue working until the piece measures 66-68-70-72-74-76 cm, then cast off. Work the other shoulder in the same way. SLEEVE: The sleeves are worked bottom up, in the round, with double pointed needles/short circular needle. The piece is then divided and worked back and forth for the sleeve cap. Cast on 46-48-50-52-52-56 stitches with double pointed needles size 4.5 mm and Air. Knit 1 round, then work rib (knit 1 / purl 1) for 8 cm. Change to double pointed needles size 5.5 mm and continue with stocking stitch. On the first round decrease 8-8-8-8-8-10 stitches evenly spaced = 38-40-42-44-44-46 stitches. Insert a marker thread at the beginning of the round = mid under sleeve. Continue with stocking stitch, AT THE SAME TIME when the piece measures 10-10-10-10-12-12 cm, increase 1 stitch on each side of the marker thread – read INCREASE TIP. The yarn overs are worked twisted on the next round to avoid holes. Increase like this 3½-3½-3-3-2-2 cm a total of 11-12-13-13-15-15 times = 60-64-68-70-74-76 stitches. When the sleeve measures 50-49-49-48-45-44 cm, cast off 3 stitches on each side of the marker thread (= 6 stitches cast off mid under the sleeve), then continue working back and forth. Cast off for the sleeve cap at the beginning of each row on both sides as follows: 2 stitches 1 time, 3 stitches 1 time, then cast off the remaining stitches. Work the other sleeve in the same way. ASSEMBLY: Sew the shoulder seams. Sew in the sleeves and sew the side seams, inside the 1 edge stitch and until there is 8 cm left at the bottom = split. NECK: Knit up approx. 92-106 stitches with circular needle size 4,5 mm around the neck (including the stitches on the thread and the number divisible by 2). Work rib (knit 1 / purl 1) for 9 cm. Then cast off. Fold the rib at the top to the wrong side and fasten down. To avoid the neck being tight and turning outwards, make sure the seam is elastic. |
|
 |
|
Have you finished this pattern?Tag your pictures with #dropspattern #greypearlsweater or submit them to the #dropsfan gallery. Do you need help with this pattern?You'll find 20 tutorial videos, a Comments/Questions area and more by visiting the pattern on garnstudio.com. © 1982-2026 DROPS Design A/S. We reserve all rights. This document, including all its sub-sections, has copyrights. Read more about what you can do with our patterns at the bottom of each pattern on our site. |
|






With over 40 years in knitting and crochet design, DROPS Design offers one of the most extensive collections of free patterns on the internet - translated to 17 languages. As of today we count 333 catalogues and 12525 patterns translated into English (UK/cm). 12525
We work hard to bring you the best knitting and crochet have to offer, inspiration and advice as well as great quality yarns at incredible prices! Would you like to use our patterns for other than personal use? You can read what you are allowed to do in the Copyright text at the bottom of all our patterns. Happy crafting!
Post a comment to pattern DROPS 210-36
We would love to hear what you have to say about this pattern!
If you want to leave a question, please make sure you select the correct category in the form below, to speed up the answering process. Required fields are marked *.