
Popular categories
Looking for a yarn?


Comments / Questions (58)
![]() Anna wrote:
Anna wrote:
Hej, måtten på ärmen måste väl vara fel? Jag stickar XL och då borde den vara 37 cm från delningen? Det står att XXXL ska mäta 31 cm från delningen, det borde vara 39cm
11.06.2025 - 20:28DROPS Design answered:
Hej Anna, nej det stemmer, du skal strikke til ærmet måler 35 cm i din størrelse :)
12.06.2025 - 12:10
![]() Anna wrote:
Anna wrote:
Hi Ich habe ein Problem bei der Raglanabnahme. Da die Markierer hier zwischen den Maschen angebracht werden verstehe ich nicht wo ich die Umschläge machen muss. Normal kommt ein Umschlag, eine Masche stricken, ein Umschlag. Das scheint mir hier aber nicht auszugehen. Stricke ich zwei Umschläge nacheinander, ohne eine Masche dazwischen, bekomme ich löcher, auch wenn ich die Umschläge wie beschreiben verschränkt stricke. Wo müssen die Umschläge sitzen? Danke!
13.05.2025 - 10:42DROPS Design answered:
Liebe Anna, siehe auch Antwort unten - die Raglanzunahmen werden vor und/oder nach den 2 Raglan-Maschen mit dem Markierer dazwischen. Viel Spaß beim Stricken!
13.05.2025 - 20:50
![]() Anna wrote:
Anna wrote:
Verschränkt stricke wie es am Anfang beschrieben wird. Wie und an welchen Stellen arbeite ich die Umschläge? Danke für die Hilfe!
13.05.2025 - 10:37DROPS Design answered:
Liebe Anna, die Markierer befinden sich je zwischen 2 Raglan-Maschen, man wird am Anfang Rückenteil/Vorderteil/Ärmel 1 Masche nach dem Markierer und am Ende Rücken/Vorderteil/Ärmel 1 Masche vor dem Markierer zunehmen, so wenn man 8 Maschen zunimmt strickt man: 1 Umschlag, 2 Maschen (mit dem Markierer dazwischen), 1 Umschlag. Kann das helfen? Viel Spaß beim Stricken!
13.05.2025 - 20:48
![]() May-Brit wrote:
May-Brit wrote:
Hei. Jeg er på første erme, og lurer på; skal masken mellom fellingen strikkes rett hele veien, eller kun ved felling (jfr felletips)?
06.04.2025 - 16:54DROPS Design answered:
Hei May-Brit, Du fortsetter mønster A.1 fra bærestykket over alle maskene, men mønsteret må justeres under ermet ettersom du feller. Så, nei, maskene mellom fellingene skal strikkes som før i A.1. God fornøyelse!
07.04.2025 - 06:44
![]() Marie Auffret wrote:
Marie Auffret wrote:
Bonjour, Je tricote la taille S. Je suis arrivé aux côtes en bas du dos et devant.Je viens de prendre l'aiguille 2,5 mais je ne sais pas comment faire pour augmenter de 68 mailles à intervalles réguliers et pouvoir continuer les côtes ensuite ? Est ce que je dois augmenter en faisant un jeté toutes les 3 mailles ou alternativement toutes les 2 mailles puis toutes les 4 mailles ? Pouvez vous me conseiller ? Merci d'avance.
02.04.2025 - 18:56DROPS Design answered:
Bonjour Mme Auffret, utilisez la calculatrice, notre nouvel outil, que vous verrez soit tout en haut sous Explications, juste avant les techniques employées au début des explications écrites, ou bien si vous défilez la page vers le bas, vous trouverez l'icône de l'imprimante en bas à droite, cliquez dessus et indiquez les nombres pour lancer le calcul. Bon tricot!
03.04.2025 - 08:27
![]() Karoline Poppen wrote:
Karoline Poppen wrote:
Ich komme mit den Abnahmen am Ärmel nicht zurecht - das Strickmuster / Ärmel neigt sich stark zu einer Seite. Könnten Sie mir ein Video zukommen lassen, in dem gezeigt wird, wie abgenommen wird und das Muster trotzdem schön herausgearbeitet ist?
02.04.2025 - 11:13DROPS Design answered:
Liebe Frau Poppen, je nach der nächsten/vorigen Maschen werden die neuen Maschen anders gestrickt, so sollte die nächste Maschen rechts gestrickt werden, dann stricken Sie die vorige Masche rechts, sollte diese Maschen links gestrickt werden, dann stricken Sie die vorige Masche links, dann am Ende Ärmel stricken Sie die neue Masche rechts wenn die vorige Masche eine linke Masche war oder links wenn die vorige Masche eine rechte Masche war. Viel Spaß beim Stricken!
02.04.2025 - 14:07
![]() Hedvig wrote:
Hedvig wrote:
Hej, Jag tycker det är fel i mönstret, eller är det bara jag som inte förstår. För att få snyggt övergång mellan mosstickningen och raglan behöver varv som inte ökas börja och sluta med rätmaska före och efter raglanmaskorna. Det går inte om det är jämnt antal maskor på ärm/fram/bak. Har ni kollat att mönstret stämmer?
20.02.2025 - 13:45DROPS Design answered:
Hei Hedvig. Husk at når du skal strikke 1. omgang med dobbeltperlestrikk skal det også felles 4 masker. Slik står det i oppskriften: ... Sticka 1 varv dubbel moss-stickning / A.1 (raglanmaskorna på var sida om märktrådarna stickas alltid i slätstickning) samtidigt som det minskas 1 maska på varje ärm, 1 maska på framstycket och 1 maska på bakstycket (= 4 maskor minskade) = 116-124-124-132-140-148 maskor. Du vil da få et ujevnt maskeantall på ermene, forstykket og bakstykket. mvh DROPS Design
24.02.2025 - 09:49
![]() Lisbeth wrote:
Lisbeth wrote:
Jeg er nesten ferdig med genseren , men synes den « vrir « seg , både bol og ermer . Kan det «rettes opp « ved vask / damping ?
19.02.2025 - 22:21DROPS Design answered:
Hej Lisbeth, det er svært at svare på, det kommer an på hvordan den vrir sig....hvis alle raglan overgange er de rigtige steder i alle 4 hjørner, så retter det til sig når du tager genseren på :)
20.02.2025 - 13:22
![]() Marie wrote:
Marie wrote:
Bonjour, Quand on a diminué 4 mailles au début de l'empiècement doit-on commencer les augmentations pour la raglan aussitôt au rang suivant ? Merci d'avance.
17.02.2025 - 10:31DROPS Design answered:
Bonjour Marie, les augmentations du raglan commencent au tour suivant, autrement dit, on tricote d'abord 1 tour point de blé / A.1 avec les 2 m des raglans en jersey et en diminuant 4 m au total, et, au tour suivant, on commence à augmenter pour le raglan. Bon tricot!
17.02.2025 - 14:40
![]() Marie Auffret wrote:
Marie Auffret wrote:
Bonjour, Ai-je bien compris ? Pour les augmentations du raglan je fais le jeté, je tricote une maille endroit, je tricote une maille endroit et je refais un jeté ou je fais un jeté,je tricote une maille endroit et je fais un jeté et je tricote une maille endroit ? Merci d'avance.
14.02.2025 - 20:45DROPS Design answered:
Bonjour Mme Auffret, lorsque vous devez augmenter 8 mailles (dos, devant et manches), vous procédez ainsi: 1 jeté, 2 m avec le marqueur entre elles, 1 jeté (les mailles avant et après les jetés se tricotent comme avant); lorsque vous devez augmenter tous les 2 tours pour le dos/le devant, vous n'allez augmenter qu'au début/à la fin du devant et du dos, autrement dit, augmentez à la fin du dos/devant ainsi (1 jeté, 2m. avec le marqueur entre elles) et au début du devant/dos ainsi: (2 m avec le marqueur entre elles, 1 jeté). Bon tricot!
17.02.2025 - 07:41
|
|||||||
September Song#septembersongsweater |
|||||||
 |
 |
||||||
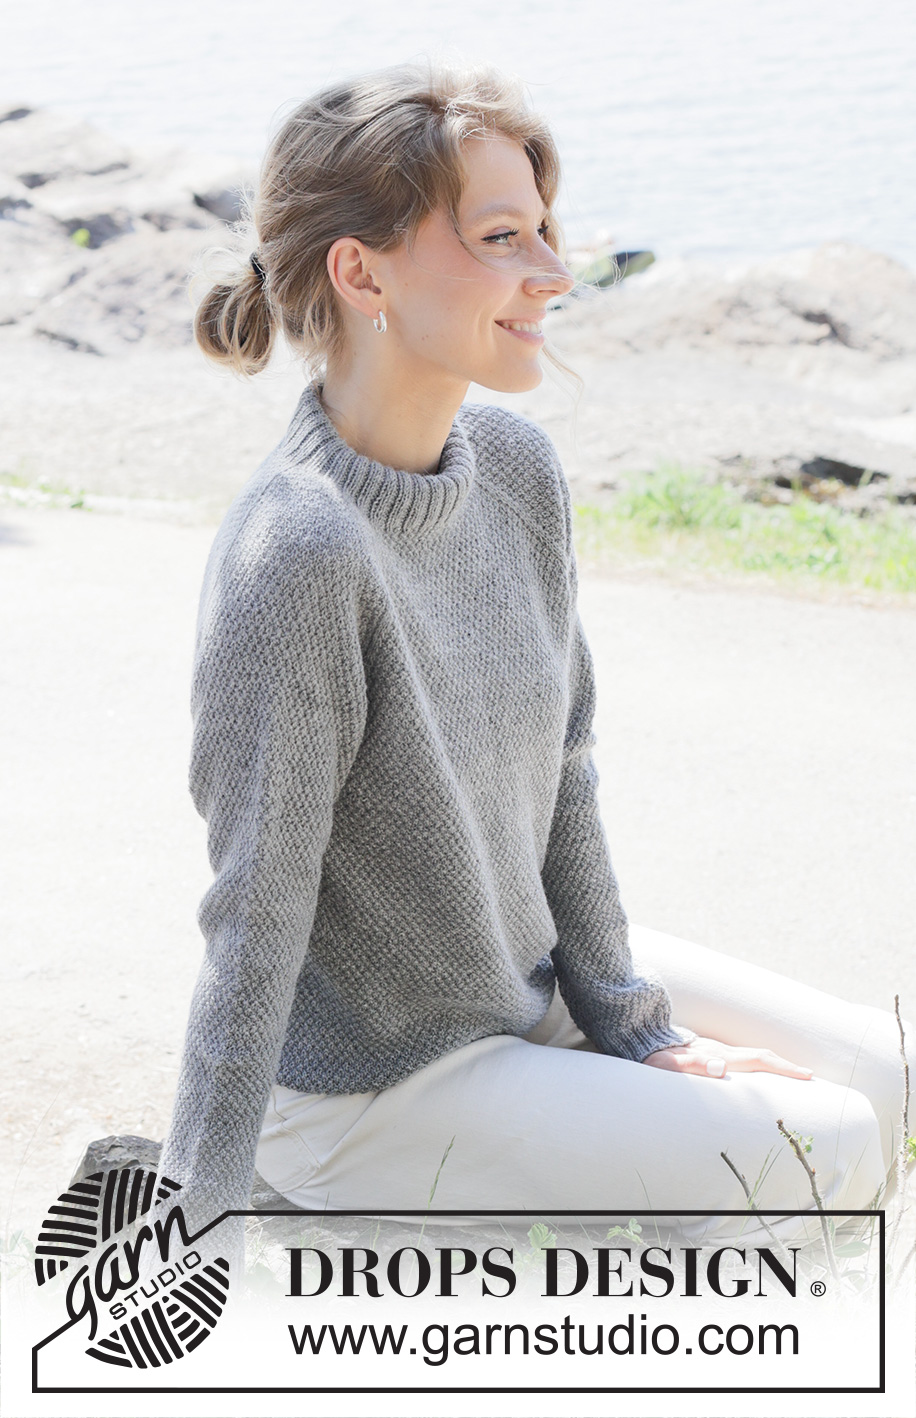
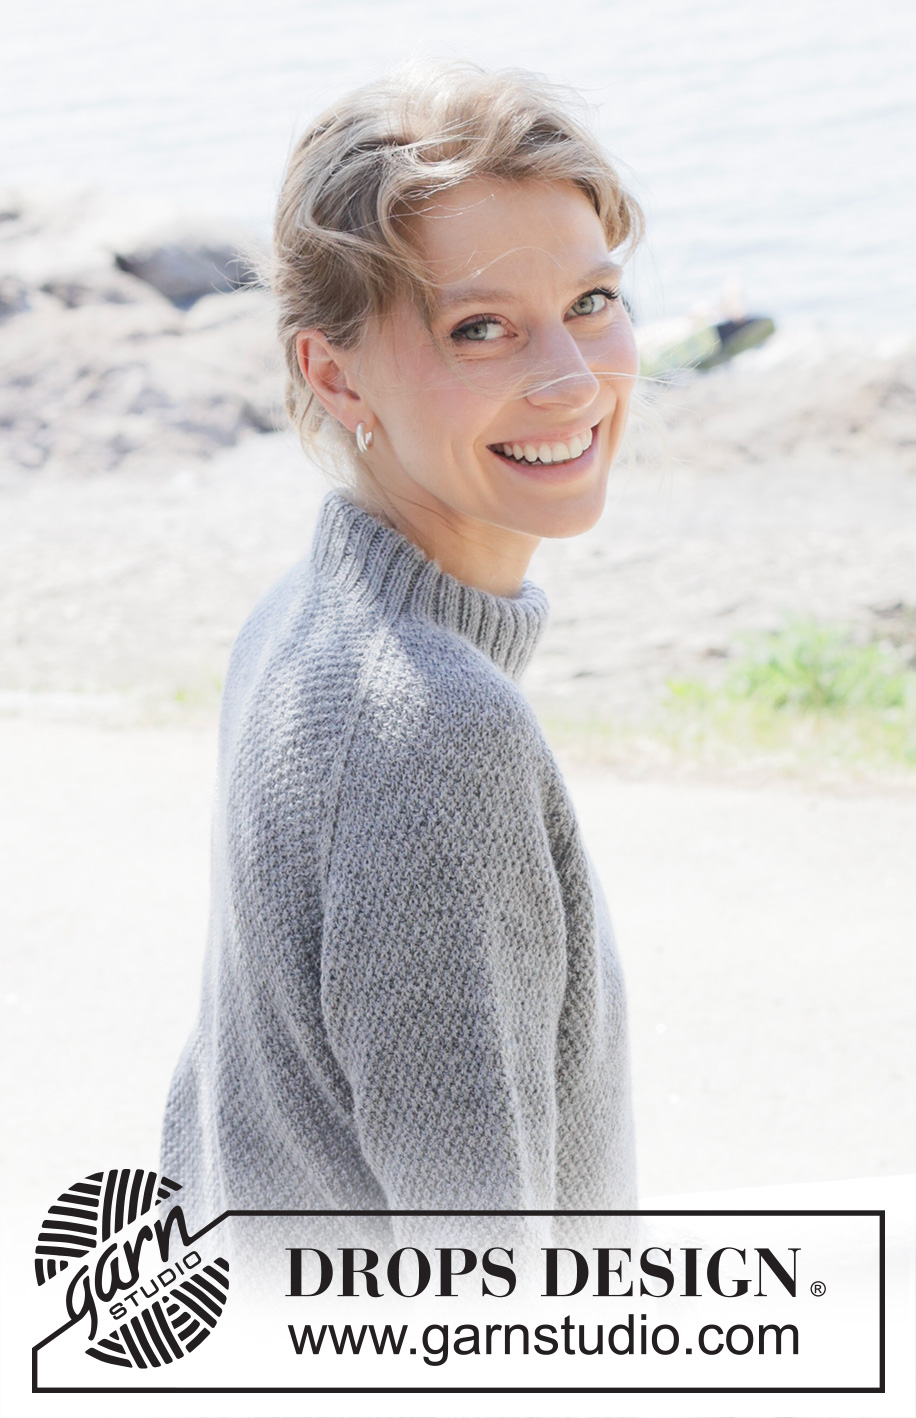
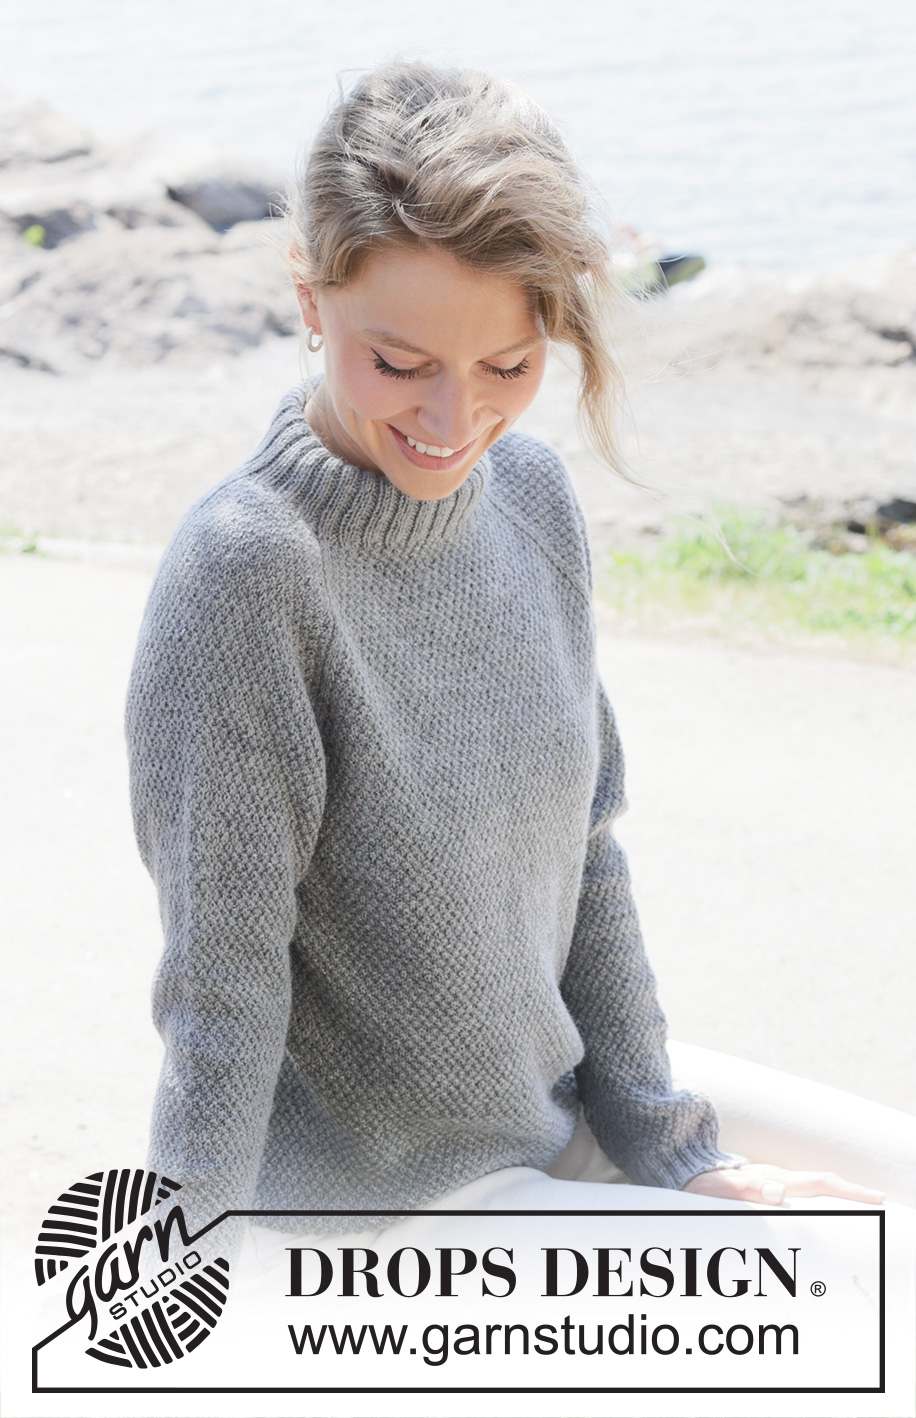
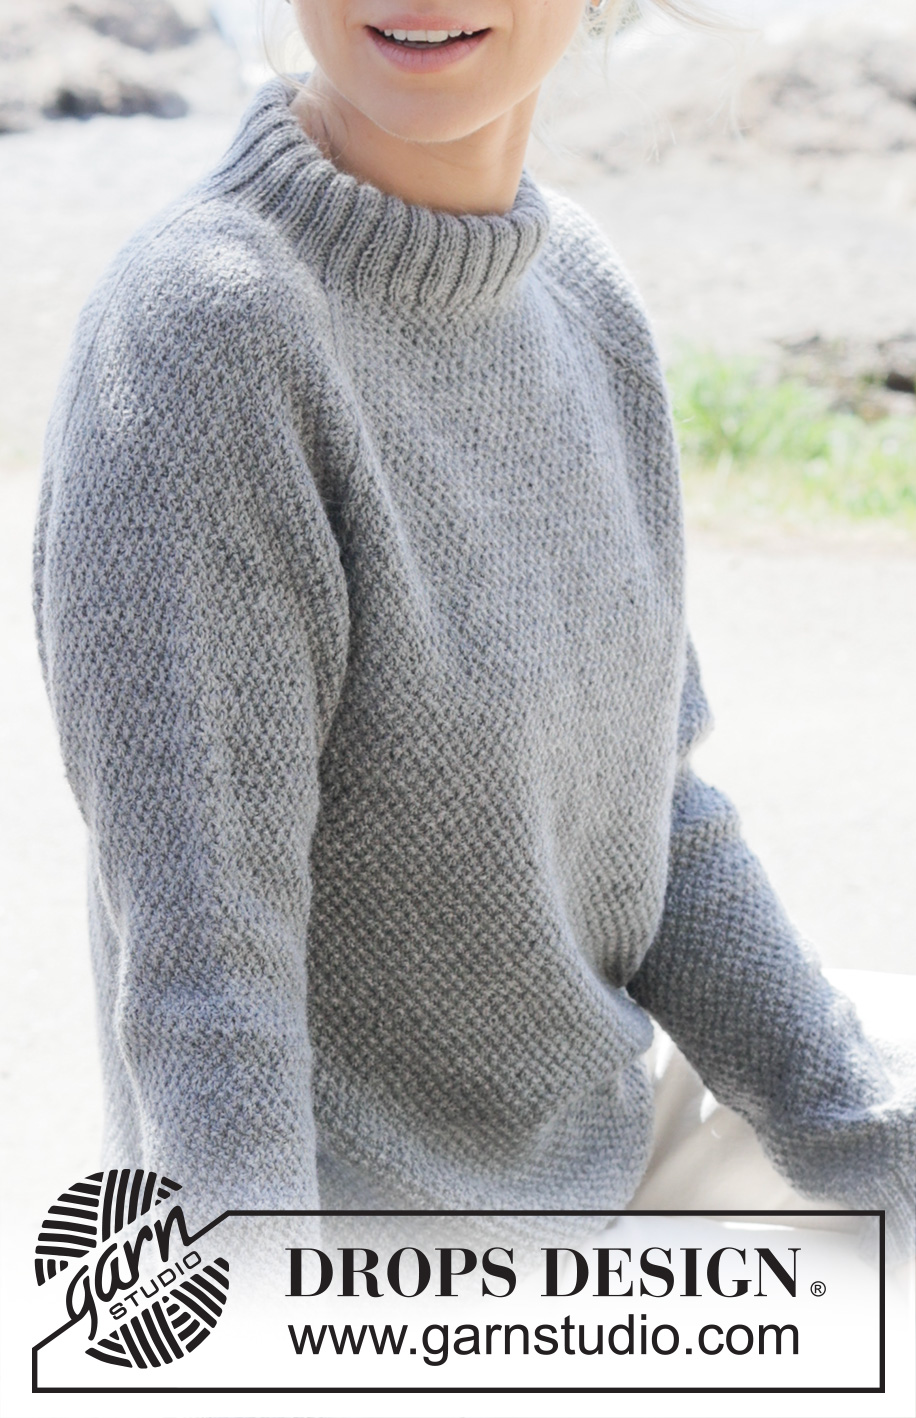
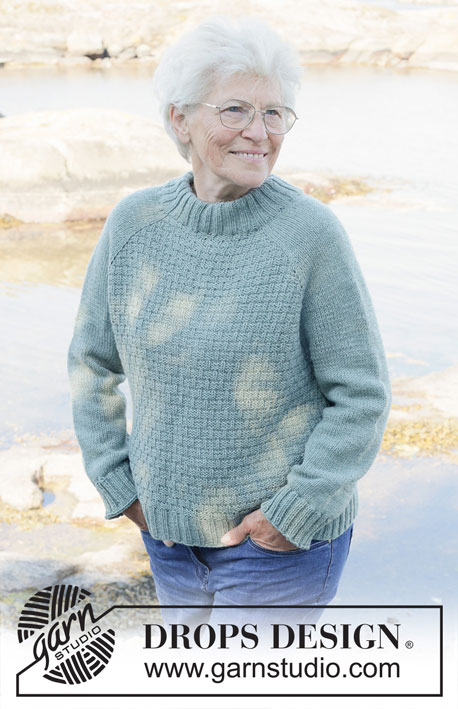
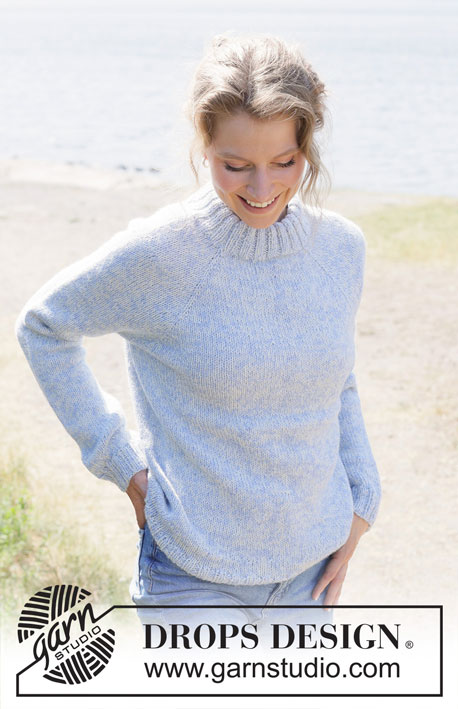
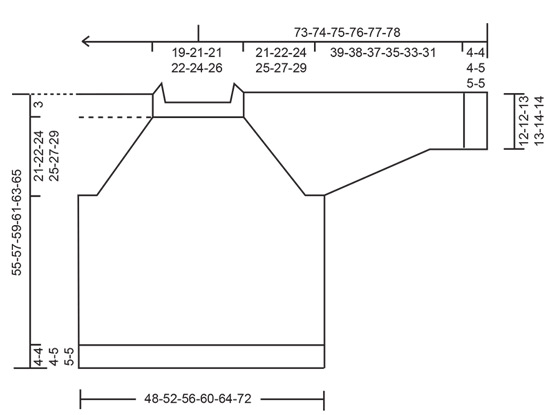
Knitted jumper in DROPS Nord or DROPS Flora. Piece is knitted top down with raglan, moss stitch and double neck edge. Size: S - XXXL
DROPS 252-21 |
|||||||
|
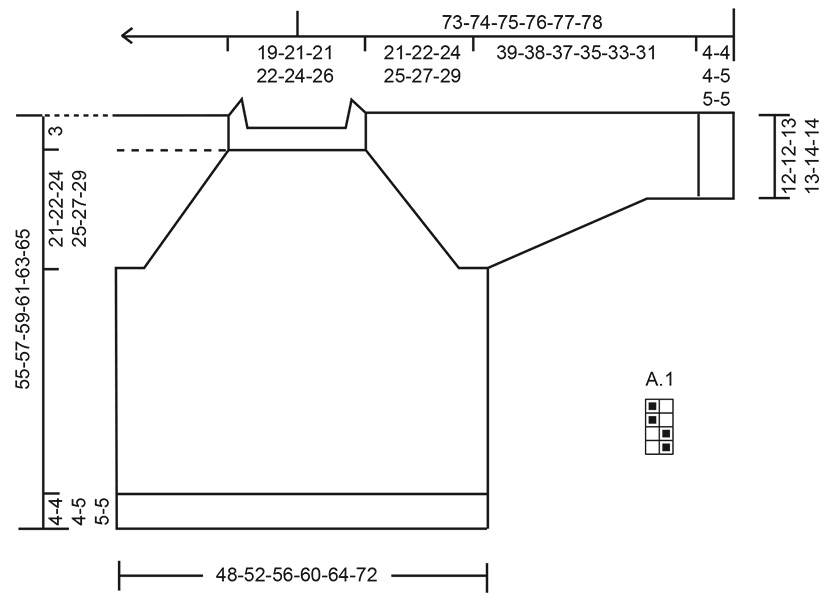
---------------------------------------------------------- EXPLANATION FOR THE PATTERN: ---------------------------------------------------------- PATTERN: See diagram A.1. RAGLAN: Increase 1 stitch by making 1 yarn over, on next round knit yarns over as explained below: BEFORE MARKER THREAD: Slip stitch off left needle and put it back on left needle but the opposite way (insert left needle in from behind when slipping it back on needle). Knit yarn overs in front loop of stitches to avoid holes. Then work the new stitches in pattern. AFTER MARKER THREAD: Knit yarn overs in back loop of stitches to avoid holes. Then work the new stitches in pattern. DECREASE TIP: Decrease 1 stitch on each side of stitch with marker as follows: Work until 2 stitches remain before stitch with marker, knit 2 together, knit 1 (= stitch with marker) slip 1 stitch knitwise, knit 1, pass slipped stitch over stitch worked (= 2 stitches decreased). Adjust the pattern after each decrease mid under sleeve. ---------------------------------------------------------- START THE PIECE HERE: ---------------------------------------------------------- JUMPER - SHORT OVERVIEW OF THE PIECE: In this pattern needles of different length have been used, begin with fitting length for number of stitches and switch as needed. Work neck edge and yoke in the round on circular needle from right shoulder back, and work top down. When yoke is done, divide piece for body and sleeves. Work body down wards in the round on circular needle while putting the sleeves aside. Then work sleeves downwards in the round on needle. Fold the neck edge double against the wrong side and fasten. NECK EDGE: Cast on 120-128-128-136-144-152 stitches on circular needle size 3.5 mm with DROPS Nord or DROPS Flora. Switch to circular needle size 2.5 mm (cast on on a larger needle to get an elastic cast-on edge). Work rib in the round as follows: Knit 1, * purl 2, knit 2 *, work from *-* until 3 stitches remain on round, finish with purl 2 and knit 1. Work until piece measures 9-9-9-11-11-11 cm. Later the neck edge is folded in towards wrong side and assembled to form a neck edge of approx. 4-4-4-5-5-5 cm. Beginning of round is at right shoulder at the back. Insert 1 marker in piece after the first 38-40-40-42-44-46 stitches on round (= approx. mid front), measures piece from this marker. YOKE: Switch to circular needle size 3.5 mm. Insert 4 marker threads in piece without working the stitches, insert marker threads between 2 knitted stitches, and these stitches are called raglan stitches and worked in stocking stitch. Insert 1st marker thread at beginning of round, count 16 stitches (= sleeve), insert 2nd marker thread before next stitch, count 44-48-48-52-56-60 stitches (= front piece), insert 3rd marker thread before next stitch, count 16 stitches (= sleeve), insert 4th marker thread before next stitch, 44-48-48-52-56-60 stitches remain after last marker thread (= back piece). Work 1 round in double moss stitch / A.1 (work raglan stitches on each side of marker thread in stocking stitch) AT THE SAME TIME decrease 1 stitch on each sleeve, 1 stitch on front piece and 1 stitch on back piece (= 4 stitches decreased) = 116-124-124-132-140-148 stitches. Continue with A.1 in the round and increase for RAGLAN on each side of the 4 marker threads - read explanation above. Increase for raglan every other round 27-29-32-36-37-40 times in total = 332-356-380-420-436-468 stitches (= 8 stitches increased on every increase round). Remember to follow the knitting tension! Increases for sleeve are now done, but continue to increase for raglan on front piece and back piece on every other round 4-4-5-3-4-5 more times = 348-372-400-432-452-488 stitches on needle (= 4 stitches increased on every increase round). Work without increasing until piece measures 21-22-24-25-27-29 cm from marker after neck edge. Now divide yoke for body and sleeves. DIVIDING FOR BODY AND SLEEVES: AT THE SAME as next round is worked divide yoke for body and sleeves as follows: Slip the first 69-73-79-87-89-95 stitches on a thread for sleeve, cast on 9-11-13-15-17-23 new stitches on needle (= in the side mid under sleeve), work 105-113-121-129-137-149 stitches as before (= front piece), slip the next 69-73-79-87-89-95 stitches on a thread for sleeve, cast on 9-11-13-15-17-23 new stitches on needle (= in the side mid under sleeve) and work the last 105-113-121-129-137-149 stitches in pattern as before (= back piece). Work body and sleeves separately. BODY: = 228-248-268-288-308-344 stitches. Begin round as before and adjust pattern over the new stitches cast on mid under sleeves. Work A.1 in the round over all stitches until piece measures 48-50-52-53-55-57 cm from marker mid front. Switch to circular needles size 2.5 mm, work rib (= knit 2/purl 2) while AT THE SAME TIME increasing 68-72-76-80-88-100 stitches evenly on 1st round = 296-320-344-368-396-444 stitches. When rib measures 4-4-4-5-5-5 cm cast off all stitches somewhat loosely. Jumper measures 52-54-56-58-60-62 cm from marker mid front and approx. 55-57-59-61-63-65 cm from the top of shoulder. SLEEVES: Slip 69-73-79-87-89-95 sleeve stitches from one thread on to circular needle size 3.5 mm and pick in addition up 1 stitch in each of the 9-11-13-15-17-23 stitches cast on under sleeve = 78-84-92-102-106-118 stitches. Insert 1 marker in the middle of the 9-11-13-15-17-23 new stitches under sleeve - round begins in this stitch. Continue A.1 from yoke in the round on needle - AT THE SAME TIME when sleeve measures 2 cm from division, decrease mid under sleeve – read DECREASE TIP and decrease as follows: Decrease 2 stitches every 4-3-2½-1½-1½-1 cm 9-12-14-19-19-25 times in total = 60-60-64-64-68-68 stitches - remember to adjust pattern when decreasing under sleeve. Work until sleeve measures 39-38-37-35-33-31 cm from division. Switch to double pointed needles size 2.5 mm and work rib (= knit 2/purl 2) while AT THE SAME TIME increasing 16-16-20-20-20-20 stitches evenly on 1st round = 76-76-84-84-88-88 stitches. When rib measures 4-4-4-5-5-5 cm cast off all stitches somewhat loosely. Sleeve measures approx. 43-42-41-40-38-36 cm from division. ASSEMBLY: Fold rib at the top of neck down on inside of garment. Fasten rib to get a double neck edge. To avoid a tight neck edge that sticks out it is important to keep the seam elastic. |
|||||||
Diagram explanations |
|||||||
|
|||||||
 |
|||||||
 |
|||||||
Have you finished this pattern?Tag your pictures with #dropspattern #septembersongsweater or submit them to the #dropsfan gallery. Do you need help with this pattern?You'll find 26 tutorial videos, a Comments/Questions area and more by visiting the pattern on garnstudio.com. © 1982-2026 DROPS Design A/S. We reserve all rights. This document, including all its sub-sections, has copyrights. Read more about what you can do with our patterns at the bottom of each pattern on our site. |
|||||||


With over 40 years in knitting and crochet design, DROPS Design offers one of the most extensive collections of free patterns on the internet - translated to 17 languages. As of today we count 324 catalogues and 12290 patterns translated into English (UK/cm). 12290
We work hard to bring you the best knitting and crochet have to offer, inspiration and advice as well as great quality yarns at incredible prices! Would you like to use our patterns for other than personal use? You can read what you are allowed to do in the Copyright text at the bottom of all our patterns. Happy crafting!
Post a comment to pattern DROPS 252-21
We would love to hear what you have to say about this pattern!
If you want to leave a question, please make sure you select the correct category in the form below, to speed up the answering process. Required fields are marked *.