
Popular categories
Looking for a yarn?


Comments / Questions (42)
![]() Silvia wrote:
Silvia wrote:
Hallo, ich hätte den Halsausschnitt gerne enger. Mir ist leider nicht klar, wie ich die Zunamen anpassen kann. Könnten Sie mir weiterhelfen. Vielen Dank und freundliche Grüße Silvia
02.03.2026 - 17:00DROPS Design answered:
Liebe Silvia, leider können wir nicht jede Anleitung nach jeder individuellen Anfrage an passen, danke im voraus für Ihr Verständnis. Sicher kann Ihnen Ihr DROPS Händler oder ein Strickforum weiterhelfen. Viel Spaß beim Stricken!
03.03.2026 - 09:24
![]() Bette wrote:
Bette wrote:
Hi Kos mange nyster vi behøver om du velgar st. XL? Mvh Päivi
09.02.2026 - 18:20DROPS Design answered:
Hej, du behöver 6 nystan, dvs 150 g.
10.02.2026 - 19:25
![]() Donna Pike wrote:
Donna Pike wrote:
When I start the garter stitch do that one stitch stay in garter and the rest and increases in stocking stitch?
24.01.2026 - 04:00DROPS Design answered:
Dear Mrs Pike, not sure what you mean here, can you please tell us where exactly you are in the pattern? Thanks for your comprehension.
27.02.2026 - 15:25
![]() Tina wrote:
Tina wrote:
Skal strikkeprøve laves med pind 4 eller 5. Det er ikke angivet i opskriften.
12.11.2025 - 08:41DROPS Design answered:
Hei Tina. Strikkefastheten er oppgitt i glattstrikk. Pinne 4 brukes til kanten, mens pinne 5 brukes til selve plagget (som strikkes i glattstrikk). Så bruk pinne 5. mvh DROPS Design
17.11.2025 - 19:58
![]() Anne wrote:
Anne wrote:
Bonjour, l’échantillon est à faire avec des aiguilles de 4 ou de 5?
20.10.2025 - 22:24
![]() CARINA EGERBO wrote:
CARINA EGERBO wrote:
Mönster 230-50. Halskant; Förstår inte hur man ska göra efter de 6 första varven. Det står"vrid maskorna på höger sticka 360 grader, lägg tråden framför arbetet , stick ner hö sticka under arbetet och upp framför arbetet". Förstår inte hur det går till. Finns video?
19.10.2025 - 15:47DROPS Design answered:
Hei Carina. Ja, det fins video. Klikk på Videor til høyre/eller under bildet og deretter klikk på videoen: Hur man börjar att sticka en rullkant. mvh DROPS Design
27.10.2025 - 11:38
![]() Julie Galdeano wrote:
Julie Galdeano wrote:
Bonjour, 125g pour la taille M? Cela me semble très peu. Erreur? Cordialement.
05.06.2025 - 19:21DROPS Design answered:
cf ci-dessous :)
06.06.2025 - 08:16
![]() Julie Galdeano wrote:
Julie Galdeano wrote:
Bonjour, 125g pour la taille M? Cela me semble très peu. Erreur? Cordialement.
05.06.2025 - 19:20DROPS Design answered:
Bonjour Mme Galdeano, c'est une quantité plutôt habituelle pour un pull tricoté en Brushed Alpaca Silk en taille M; notez que 125 grammes correspondent à 5 pelotes de 25 g DROPS Brushed Alpaca Silk. Bon tricot!
06.06.2025 - 08:03
![]() Mariagrazia wrote:
Mariagrazia wrote:
Salve, sto lavorando per una taglia L, ho finito i giri con i ferri accorciati e mi ritrovo 134 maglie. Ora devo iniziare gli aumenti, sono 4 maglie per giro, e le istruzioni dicono che dopo 21 giri mi dovrei ritrovare 178 maglie. Ma, se moltiplico 21 giri per 4 maglie aumentate a giro, mi trovo 84 maglie aumentate, che sommate alle 134 maglie iniziali fa 218 maglie e non 178! Dov\'è l\'errore? Grazie. Mariagrazia
15.05.2025 - 16:35DROPS Design answered:
Buongiorno Mariagrazia, negli aumenti sono inclusi quelli lavorati sui ferri accorciati. Buon lavoro!
15.05.2025 - 17:04
![]() Christine wrote:
Christine wrote:
Det står at man skal ha ti forkortede pinner i hver side. Og øke 2 ganger på hver pinne. Det blir, for det minste størrelsen, 40 masker økning, ikke 20, ettersom vi har to sider. Hvis jeg skal øke både før merke 1 og etter merke 4, både når jeg strikker rett og vrang, blir det altfor mange masker.
09.05.2025 - 23:14DROPS Design answered:
Hej Christine, du strikker først den ene skulder, strikker 10 forkortede pinde og tager 2 masker ud på hver pind = 20 nye masker. Det samme gør du på den anden skulder. Hvis du vil spørge mere, så skriv hvilken størrelse du strikker og hvor mange masker du har :)
20.05.2025 - 13:41
|
|
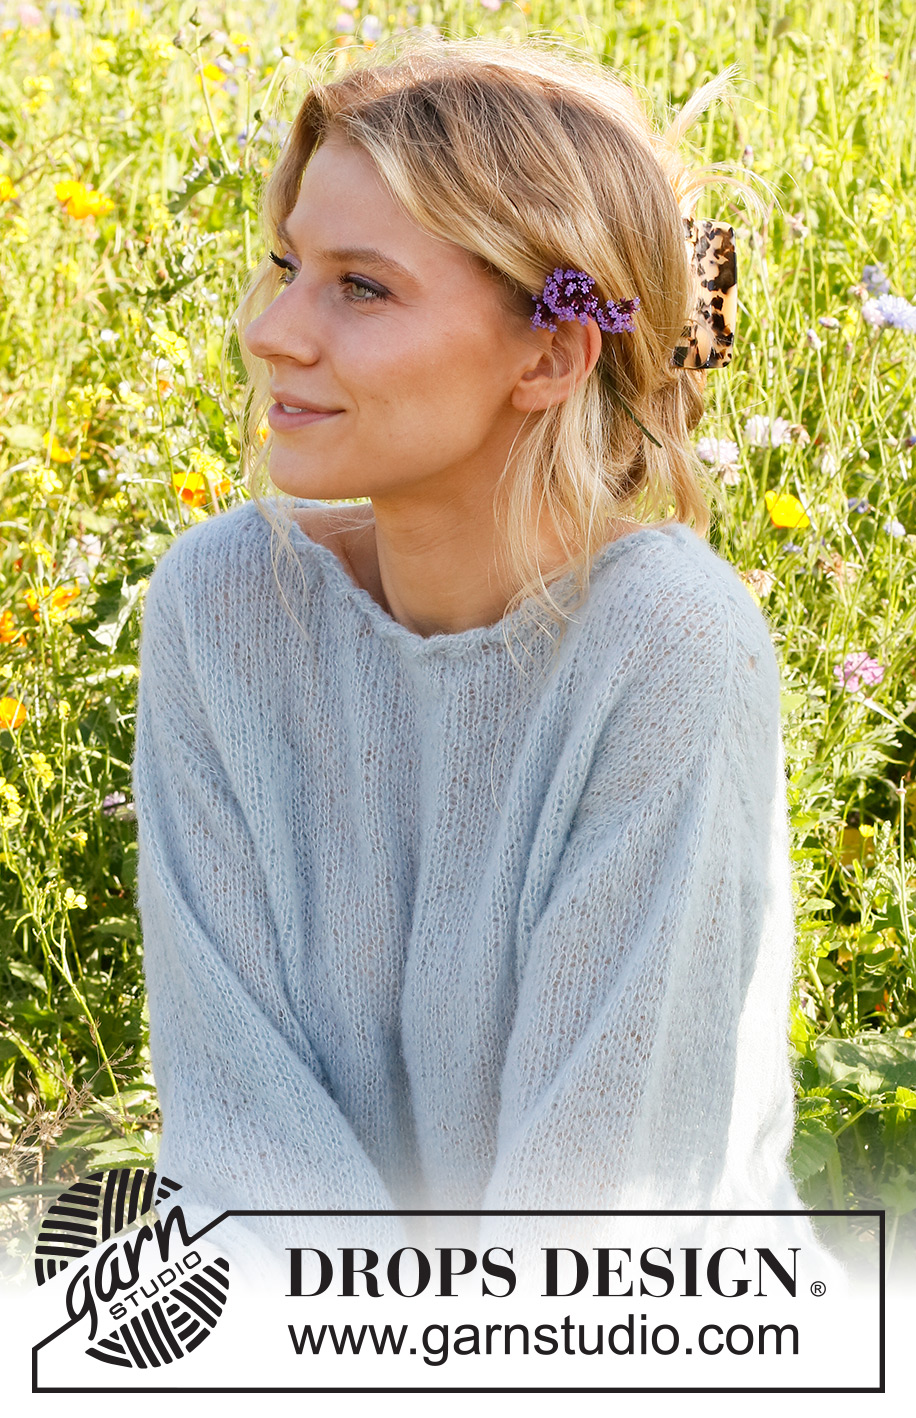
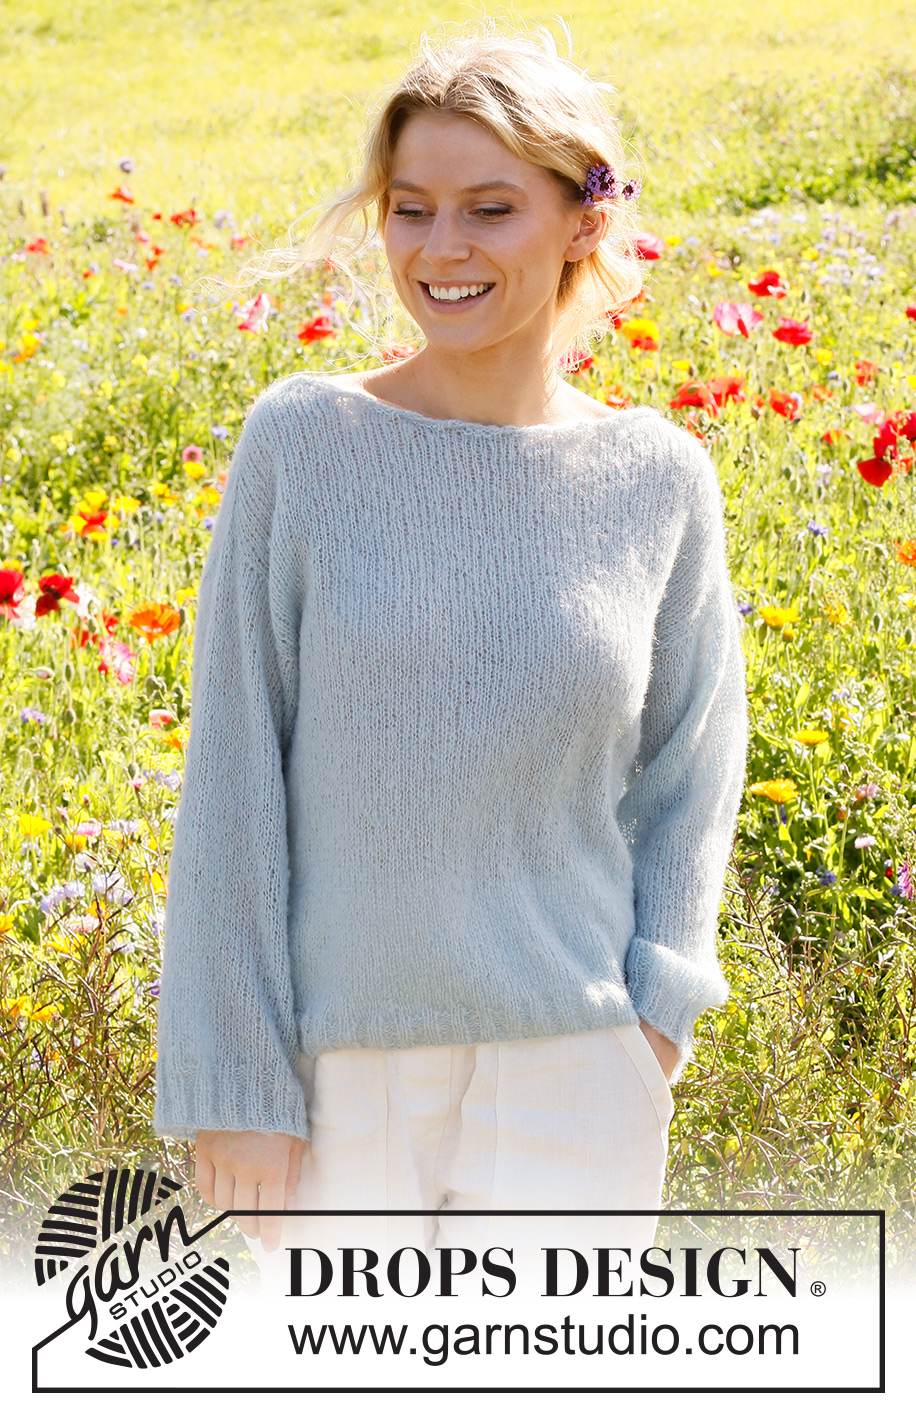
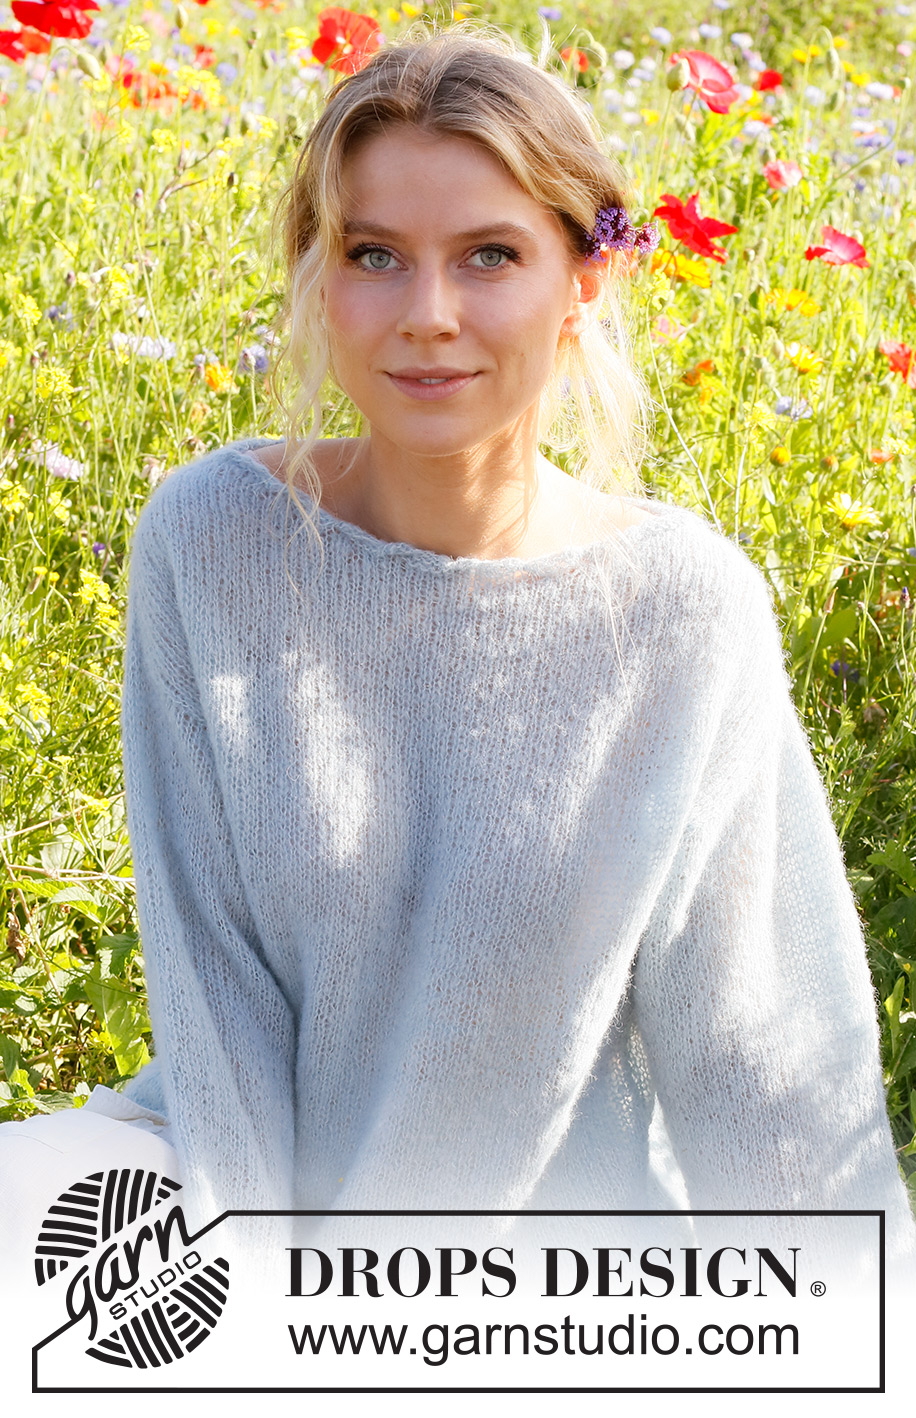
Piece of Sky#pieceofskysweater |
|
 |
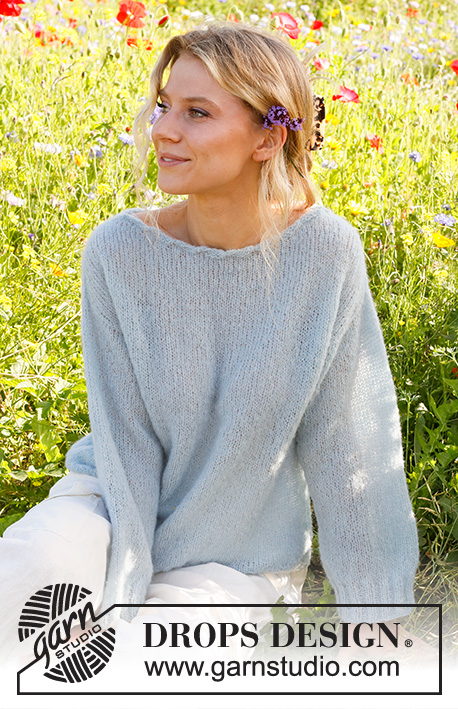 |
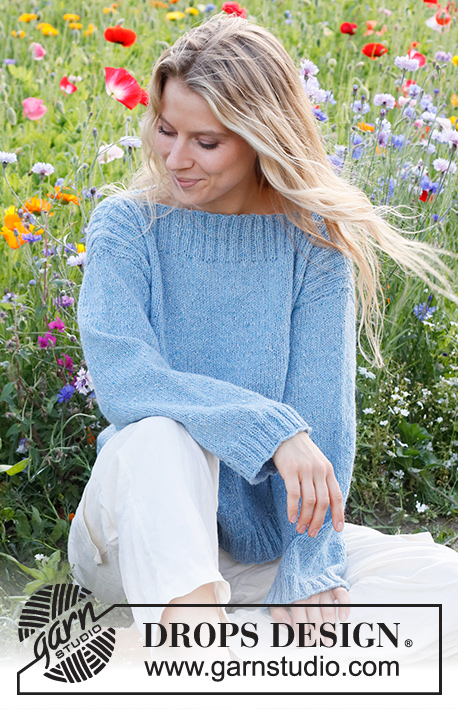
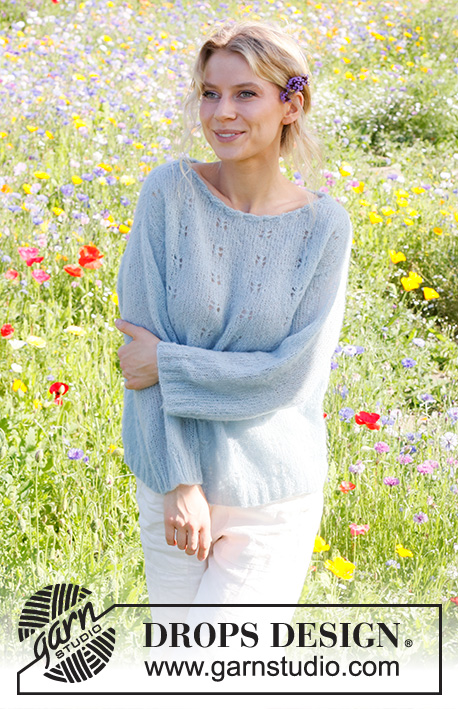
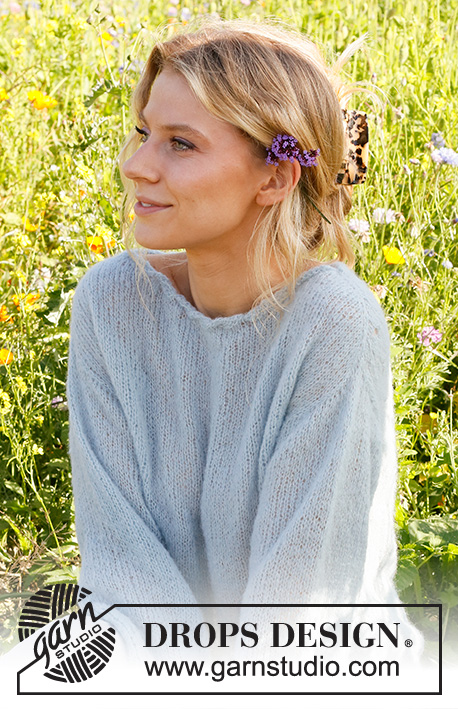
Knitted jumper in DROPS Brushed Alpaca Silk. The piece is worked top down, with increases for shoulders and decorative neck. Sizes S - XXXL.
DROPS 230-50 |
|
|
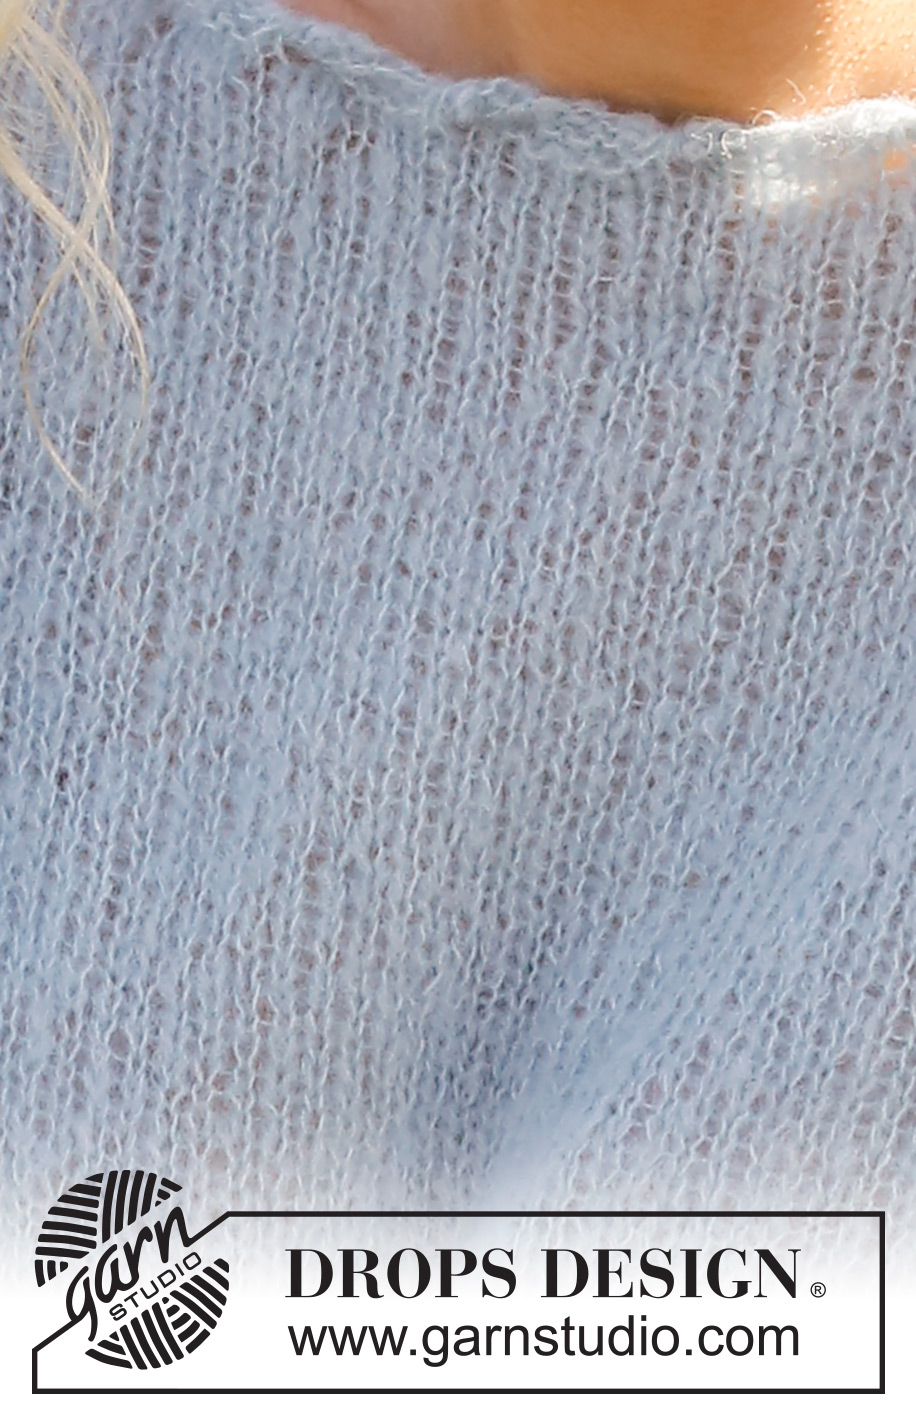
------------------------------------------------------- EXPLANATIONS FOR THE PATTERN: ------------------------------------------------------- RIDGE/GARTER STITCH (worked back and forth): Knit all rows. 1 ridge = knit 2 rows. INCREASE TIP (shoulders): RIGHT SIDE: Increase after markers 1 and 3 and before markers 2 and 4. BEFORE MARKER: The new stitch twists to the right. Use the left needle to pick up the strand between 2 stitches from the previous round/row, pick the strand up from the back and knit in the front loop. AFTER MARKER: The new stitch twists to the left. Use the left needle to pick up the strand between 2 stitches from the previous round/row, pick the strand up from the front and knit in the back loop. WRONG SIDE: Increase after markers 4 and 2 and before markers 3 and 1. BEFORE MARKER: The new stitch twists to the right. Use the left needle to pick up the strand between 2 stitches from the previous row, pick the strand up from the front and purl in the back loop. AFTER MARKER: The new stitch twists to the left. Use the left needle to pick up the strand between 2 stitches from the previous row, pick the strand up from the back and purl in the front loop. DECREASE TIP: All decreases are worked from the right side! Work 1 garter stitch, slip 1 stitch as if to knit, knit 1, pass the slipped stitch over the knitted stitch, work until there are 3 stitches left on the row, knit 2 together and 1 garter stitch. ------------------------------------------------------- START THE PIECE HERE: ------------------------------------------------------- JUMPER – SHORT OVERVIEW OF THE PIECE: The jumper is worked top down. The neck is worked back and forth, then the yoke in the round. The yoke is divided for the body and sleeves. Front and back pieces are worked separately back and forth with circular needle. The sleeves are worked back and forth with circular needle. NECK: Cast on 98-104-104-110-116-122 stitches with circular needle size 4 mm and DROPS Brushed Alpaca Silk. Work 3 RIDGES – read description above, back and forth. To create a rolling-edge work as follows from the right side: 1 edge stitch in garter stitch, knit 3, * twist the stitches on the right needle 360 degrees as follows: Take the strand to the right side and take the right needle under the piece and up to the right side, knit 6 *, work from *-* until there are 4 stitches left, knit 3 and 1 edge stitch in garter stitch. Now join the piece and continue in the round. Knit 1 round and decrease 14-16-10-12-14-16 stitches evenly spaced = 84-88-94-98-102-106 stitches. Insert 1 marker at the beginning of the round; the yoke is measured from this marker. YOKE: Change to circular needle size 5 mm. Insert 4 markers without working the stitches and insert them between 2 stitches: Count 1 stitch (shoulder-stitch), insert marker-1, count 40-42-45-47-49-51 stitches (back piece), insert marker-2, count 2 stitches (shoulder-stitches), insert marker-3, count 40-42-45-47-49-51 stitches (front piece), insert marker-4, there is 1 stitch left (shoulder-stitch). Now work short rows in stocking stitch over one shoulder AT THE SAME TIME as you increase 2 stitches for the shoulder on each row – read INCREASE TIP, as follows: Work 3 stitches past marker-1 – remember to increase on the shoulder, turn, tighten the strand and work 3 stitches past marker-4 – remember to increase, turn, tighten the strand, * work 3 stitches past the previous short row – remember to increase, turn, tighten the strand, work 3 stitches past the previous short row on the other side, turn, tighten the strand *, work from *-* until you have worked 10 short rows on each side, finish the last row at the beginning of the round (between the 2 stitches between markers 1 and 4). You have increased 10 stitches at each marker. Cut the strand. Move the start of the round to between the 2 stitches between markers 2 and 3 and work short rows here in the same way as on the first shoulder. When the short rows are finished, there are 124-128-134-138-142-146 stitches. REMEMBER THE KNITTING TENSION! Work the next round as follows (the start of the round is still between markers 2 and 3): Knit 1, increase 1 stitch for the shoulder, knit 60-62-65-67-69-71, increase 1 stitch for the shoulder, knit 2, increase 1 stitch for the shoulder, knit 60-62-65-67-69-71, increase 1 stitch for the shoulder, knit 1. Continue working and increase for the shoulders each round. The increased stitches are worked in stocking stitch. When you have increased 17-19-21-24-28-33 times (including the short rows) there are 152-164-178-194-214-238 stitches. The piece measures approx. 8-9-10-11-13-15 cm. Now divide for the front and back pieces as follows: Knit 1 stitch and place it on a thread for the sleeve, work 74-80-87-95-105-117 stitches in stocking stitch (front piece), knit 2, place these 2 stitches on a thread for the sleeve, work 74-80-87-95-105-117 stitches in stocking stitch and place these stitches on a thread for the back piece, knit 1 and place this stitch on the thread for the sleeve. Cut the strand. FRONT PIECE: = 74-80-87-95-105-117 stitches. Continue back and forth with stocking stitch and 1 edge stitch in GARTER STITCH – read description above, on each side. The front is measured from the division. When the piece measures 4 cm, decrease 1 stitch on each side – read DECREASE TIP! Decrease like this every 4 cm a total of 3-3-4-4-4-4 times = 68-74-79-87-97-109 stitches. When the piece measures 17-18-19-20-21-22 cm from the division, cast on 6 stitches at the end of the next 2 rows = 80-86-91-99-109-121 stitches. Continue with stocking stitch and 1 stitch in garter stitch on each side. When the piece measures approx. 31-32-33-34-35-36 cm from the 6 cast-on stitches, knit 1 row from the right side and increase 6-8-11-11-13-13 stitches evenly spaced = 86-94-102-110-122-134 stitches. Change to circular needle size 4 mm and work rib from the wrong side as follows: 1 garter stitch, knit 1, * purl 2, knit 2 *, work from *-* until there are 4 stitches left, purl 2, knit 1 and 1 garter stitch. Cast off when the rib measures 4 cm. BACK PIECE: Place the 74-80-87-95-105-117 stitches for the back piece on circular needle size 5 mm and work in the same way as the front piece. SLEEVES: Start at the cast-on stitches for the armhole on the back piece. Using circular needle size 5 mm, work as follows from the right side: Knit up 1 stitch in each of the 6 cast-on stitches under sleeve, knit up 23-25-26-28-30-31 stitches as far as the 2 stitches on the thread (shoulder-stitches), place these 2 stitches on the needle and knit them, knit up 23-25-26-28-30-31 stitches to the cast-on stitches under sleeve on the front piece and knit up 1 stitch in each of these 6 stitches = 60-64-66-70-74-76 stitches. Work stocking stitch back and forth, with 1 edge stitch in garter stitch on each side. When the sleeve measures 4 cm, decrease 1 stitch on each side. Decrease like this every 12-12-8-6-4-4 cm a total of 3-3-4-5-7-7 times = 54-58-58-60-60-62 stitches. When the sleeve measures 41-39-39-38-36-35 cm, knit 1 row from the right side and increase 0-0-0-2-2-0 stitches evenly spaced = 54-58-58-62-62-62 stitches. Change to circular needle size 4 mm and work rib from the wrong side as follows: 1 garter stitch, * knit 2, purl 2 *, work from *-* and 1 garter stitch. Cast off when the rib measures 6 cm. The sleeve measures approx. 47-45-45-44-42-41 cm. Work the other sleeve in the same way, but starting at the cast-on stitches for the armhole on the front piece. ASSEMBLY: Sew the sleeve and side seams in one go, inside the 1 edge stitch. Sew the neck together mid-back, inside the 1 edge stitch. |
|
 |
|
Have you finished this pattern?Tag your pictures with #dropspattern #pieceofskysweater or submit them to the #dropsfan gallery. Do you need help with this pattern?You'll find 31 tutorial videos, a Comments/Questions area and more by visiting the pattern on garnstudio.com. © 1982-2026 DROPS Design A/S. We reserve all rights. This document, including all its sub-sections, has copyrights. Read more about what you can do with our patterns at the bottom of each pattern on our site. |
|


With over 40 years in knitting and crochet design, DROPS Design offers one of the most extensive collections of free patterns on the internet - translated to 17 languages. As of today we count 324 catalogues and 12290 patterns translated into English (UK/cm). 12290
We work hard to bring you the best knitting and crochet have to offer, inspiration and advice as well as great quality yarns at incredible prices! Would you like to use our patterns for other than personal use? You can read what you are allowed to do in the Copyright text at the bottom of all our patterns. Happy crafting!
Post a comment to pattern DROPS 230-50
We would love to hear what you have to say about this pattern!
If you want to leave a question, please make sure you select the correct category in the form below, to speed up the answering process. Required fields are marked *.