
Popular categories
Looking for a yarn?


Comments / Questions (29)
![]() Stine wrote:
Stine wrote:
Guten Tag DROPS Kid-Silk, 75% Mohair, 25% Seide. Ich würde eine Alternative zum Mohair benötigen. Seide darin ist absolut ok. Ich bin Asthmaikerin und kann nur schlecht mit Mohairwolle. Können Sie mir eine Alternative aufzeigen? Liebe Grüsse aus der Schweiz. Stine
15.02.2026 - 14:38
![]() Nathalie wrote:
Nathalie wrote:
Je n\'ai pas bien compris à quel endroit commence le début des tours... Il est écrit mettre un marqueur après les 37 premières mailles...? D\'après ma compréhension, je pars du milieu dos et je compte 13m : je mets mon marqueur à cet endroit pour indiquer le début de chaque tour. Est-ce que c\'est bien cela ? Merci par avance pour votre aide, je suis un peu perdue !
19.12.2025 - 14:55DROPS Design answered:
Bonjour Nathalie, les tours commencent au niveau du raglan entre le dos et la manche droite; le marqueur placé après 37 mailles sert de repère pour mesurer (et il doit être au milieu du devant environ), pas pour commencer les tours. Bon tricot!
22.12.2025 - 17:19
![]() Belliere wrote:
Belliere wrote:
Pourquoi augmenter des mailles pour les cotes du bas pull et des poignees
25.11.2025 - 20:19DROPS Design answered:
Bonjour Mme Belliere, pour la même circonférence, il faudra davantage de mailles en côtes avec les aiguilles 3 qu'en jersey avec les aiguilles 4,5, raison pour laquelle on va augmenter juste avant de faire les côtes. Bon tricot!
26.11.2025 - 09:02
![]() Susana Bastos wrote:
Susana Bastos wrote:
Boa tarde Estou confusa quanto aos aumentos nos raglans. No tamanho M se o meio da frente e apos 38 malhas onde se coloca o marcador 1? E na 39? E que isso nao me esta a fazer sentido nenhum pq assim fica o marcador 1 do raglan fica no meio da frente. Obrigado pela ajuda que puderem dar
24.11.2025 - 23:43DROPS Design answered:
Bom dia, O 1.º marcador é colocado a meio da frente. Este marcador irá servir para tirar medidas. Os marcadores dos raglans são colocados depois: Continuar com a agulha circular 4,5 mm. Colocar, então, 4 marcadores, sem tricotar - estes marcadores devem ser colocados, cada um, numa malha (e não entre as malhas – estas são as malhas dos raglans e tricotam-se em ponto meia). Ter em atenção de que cada marcador dos raglans deve ser colocado na malha e não entre duas malhas. Bons tricôs!
25.11.2025 - 10:28
![]() Sahra wrote:
Sahra wrote:
Hallo, Es gibt einen Fehler in der Anleitung. Bei 104 (m) Anschlag Masche (m) muss der 2. Markierer bei 28 gesetzt werden. Das passt aber nicht. Diese Angabe passt für einen Abschlag mit 100 Maschen. (S) Können sie das bitte anpassen. Damit klar ist was zu m und s usw. passt? Vielen Dank! Sahra
06.10.2025 - 17:57DROPS Design answered:
Hi Sahra, it is ok. There are always 22 sts for sleeves in all sizes, the number of stitches for the front and the back increases. Happy knitting!
16.11.2025 - 09:55
![]() Doucet wrote:
Doucet wrote:
Comment rajouter des rangs raccourcis pour le dos. Merci.
19.08.2025 - 19:51DROPS Design answered:
Bonjour Mme Doucet, vous pouvez vous inspirer d'un modèle similaire de même tension avec rangs raccourcis, et / ou bien vous inspirer de cette vidéo. Bon tricot!
20.08.2025 - 07:52
![]() Vittoria wrote:
Vittoria wrote:
Buongiorno, vorrei sapere la misura il corpo dalla divisione delle maniche fino in fondo ( compresi quindi i 5cm di coste) . Grazie mille Vittoria
13.08.2025 - 00:28DROPS Design answered:
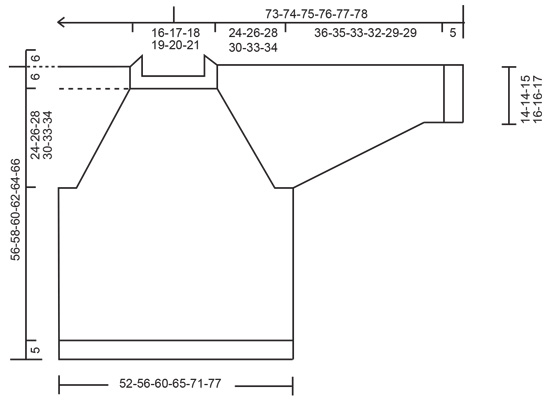
Buonasera Vittoria, può trovare lo schema delle misure in fondo alla pagina del modello. Buon lavoro!
13.08.2025 - 20:09
![]() Lindy wrote:
Lindy wrote:
Just so I completely understand, the 1st raglan marker initially was next to the beginning of round marker, butI have increased 4 stitches between the 1st raglan marker and the beginning of the round marker so there are stitches between them. So I'm assuming that now the 1st raglan marker is the beginning of the round. I'm so sorry to keep bothering you, but I don't want to do it wrong and have to open it. Thank you so much!
21.04.2025 - 14:58DROPS Design answered:
Dear Lindy, that's correct. That is why we increase last before marker 1, instead of increasing on each side of the marker at the beginning of the round. The first marker is the first stitch of the round, while the stitches increased before the marker are the last stitches of the round. Happy knitting!
26.04.2025 - 19:59
![]() Lindy wrote:
Lindy wrote:
Per my previous question regarding rounds 1-4. For round 3, why am I increasing "before raglan stitch 1" last? This means I have to knit past the beginning of the round marker (end of Round 3) to make the yarn over increase before raglan stitch 1. Essentially, I am doing a yarn over increase in Round 4? Please advise. Thank you!
20.04.2025 - 23:48DROPS Design answered:
Dear Lindy, raglan stitch 1 is the first stitch in the round. So if your last yarn over is before raglan stitch 1 then you work 1 yarn over before starting the new round. That is, you work the last yarn over after the last stitch in the round, but before starting the next round. When working the yarn overs on each side of the first stitch of the round, you start the round by working the raglan stitch, then work 1 yarn over and work the whole round as indicated, finishing the round with 1 yarn over (" the yarn over before the marker"). Happy knitting!
21.04.2025 - 00:15
![]() Lindy wrote:
Lindy wrote:
Little confused on rounds 1-4. Round 3 calls for a yarn overs on 2, 3, 4 and then 1. When repeating round 1 after round 4, I knit past the beginning of the round marker, knit a few stitches and knit the previous yarn over, then YO each side of raglan stitch. Does this make sense please ?
19.04.2025 - 16:11DROPS Design answered:
Dear Lindy, raglan stitch 1 is the first stitch in the round. So if your last yarn over is before raglan stitch 1 then you work 1 yarn over before starting the new round. That is, you work the last yarn over after the last stitch in the round, but before starting the next round. When working the yarn overs on each side of the first stitch of the round, you start the round by working the raglan stitch, then work 1 yarn over and work the whole round as indicated, finishing the round with 1 yarn over (" the yarn over before the marker"). Happy knitting!
21.04.2025 - 00:15
|
|
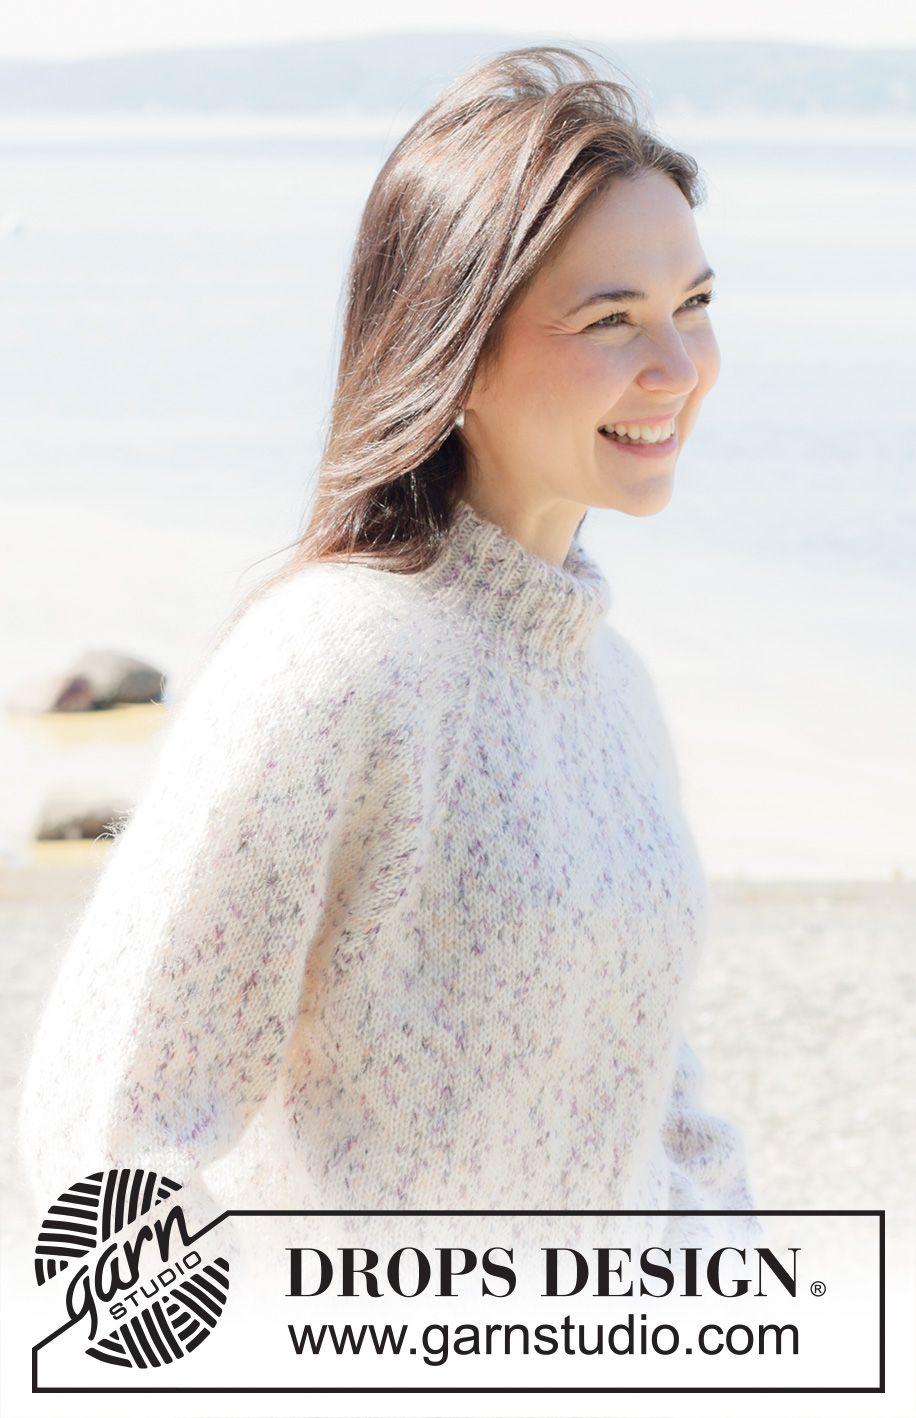
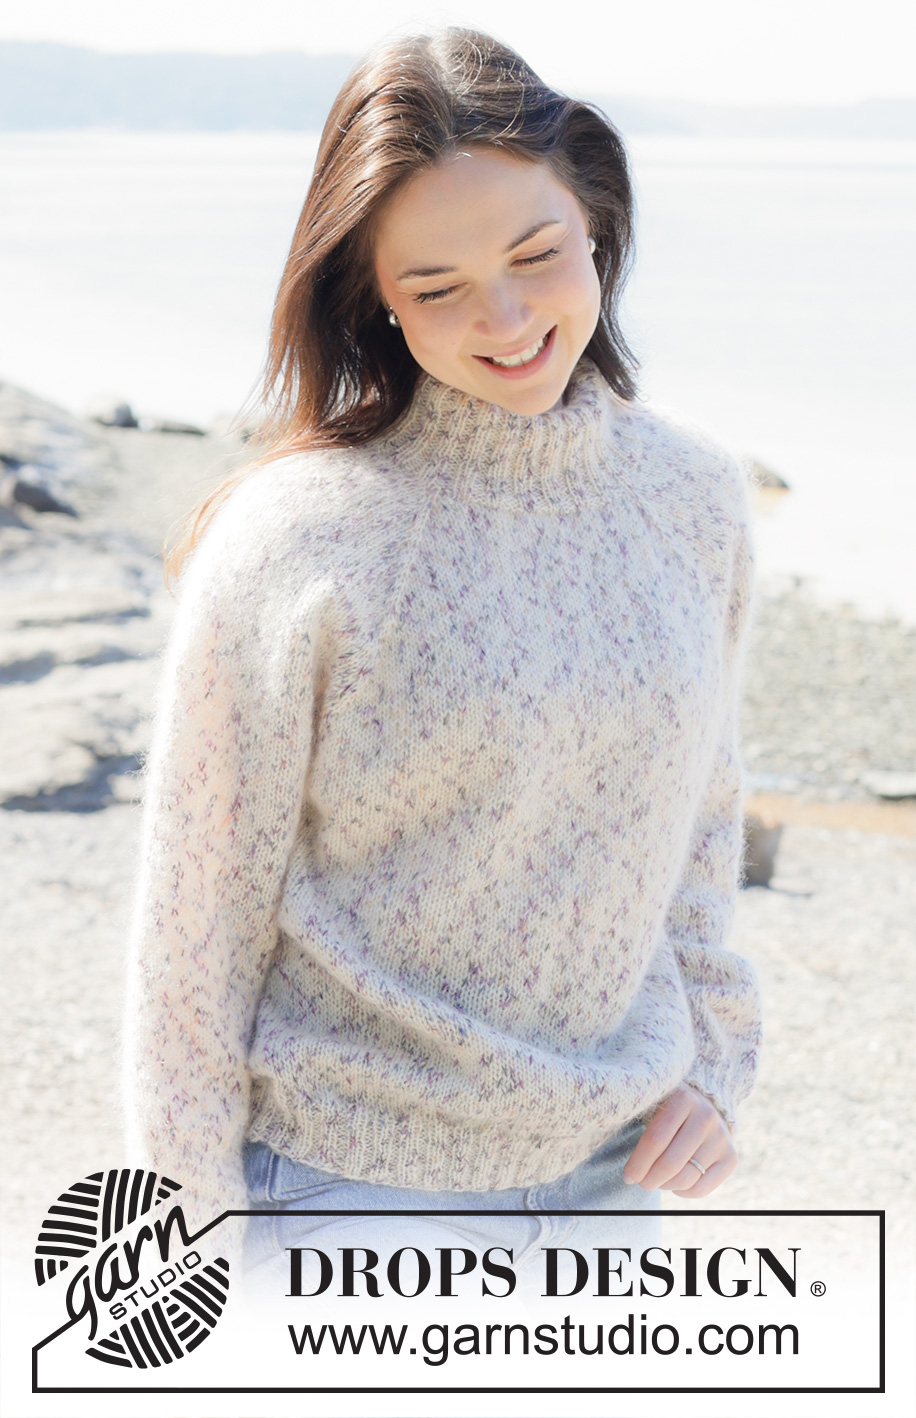
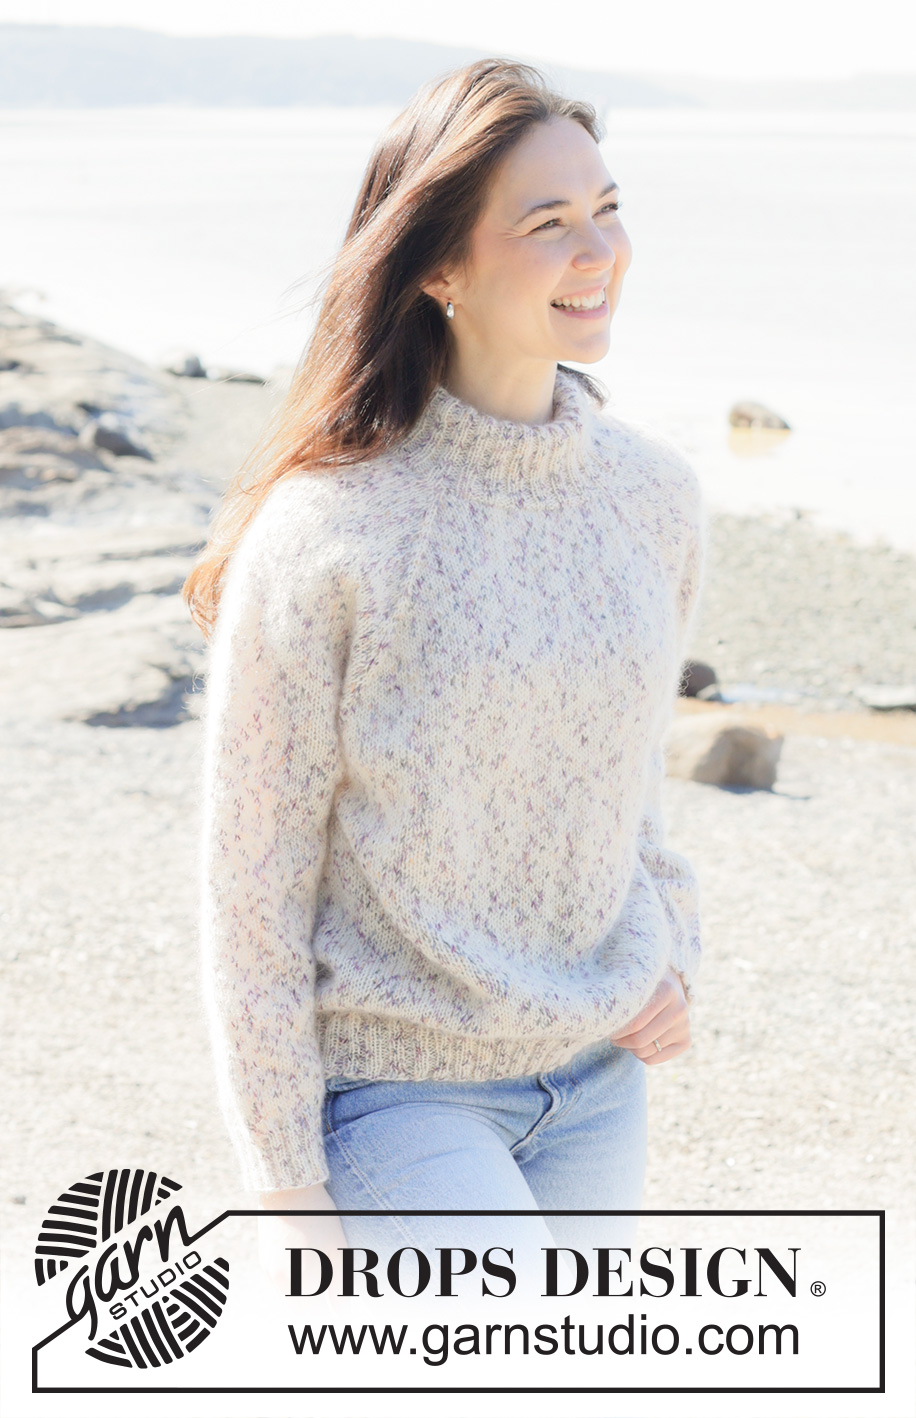
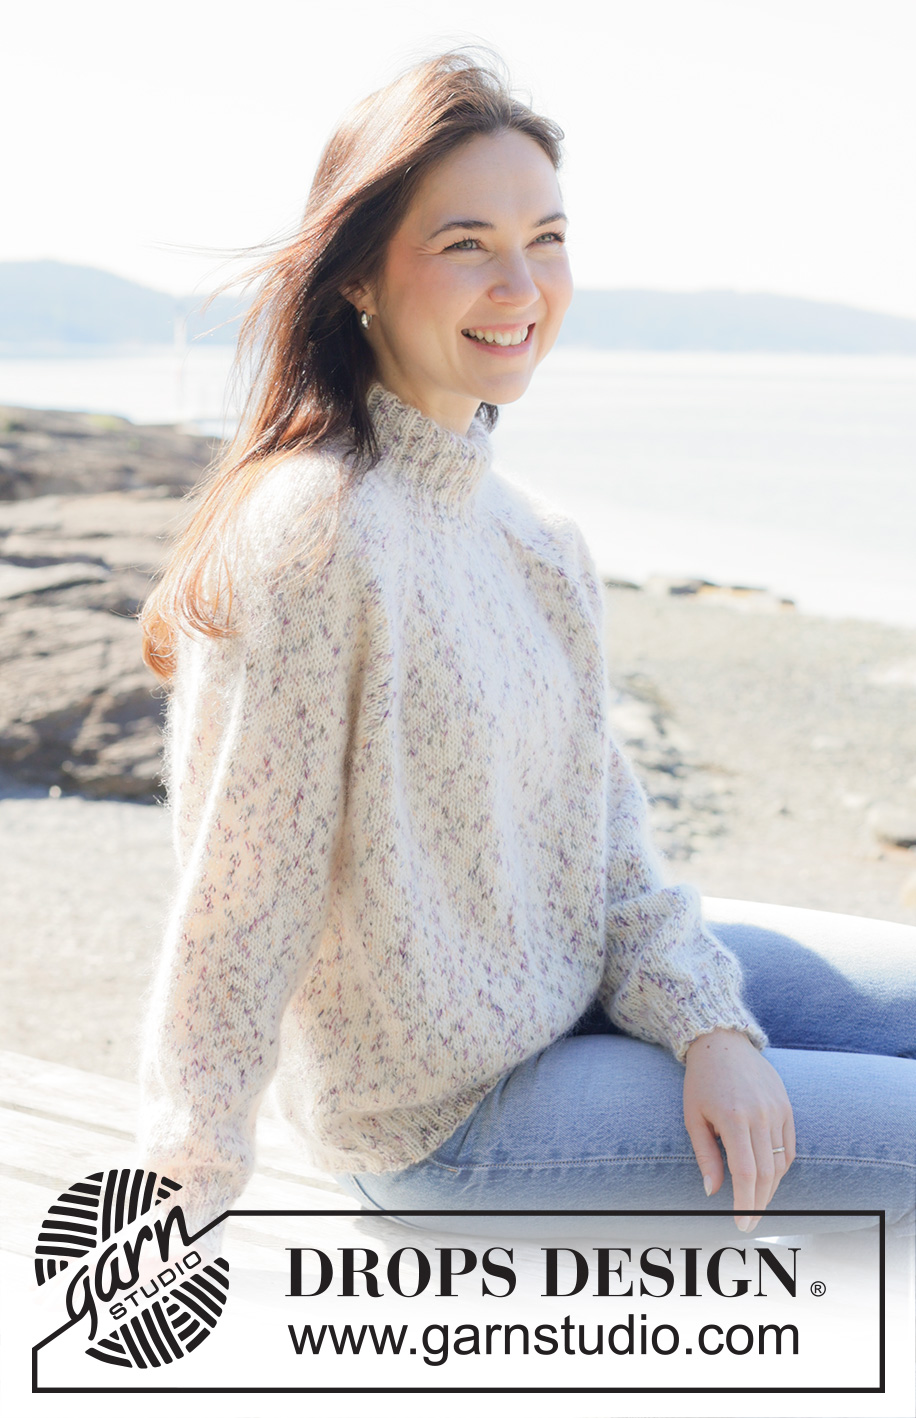
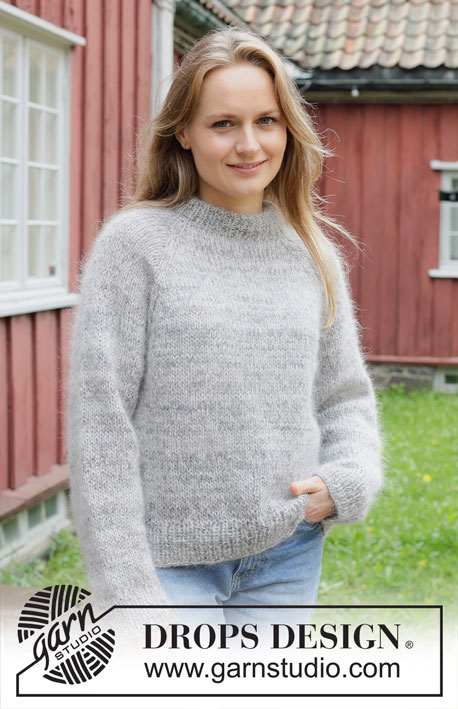
Winter Confetti#winterconfettisweater |
|
 |
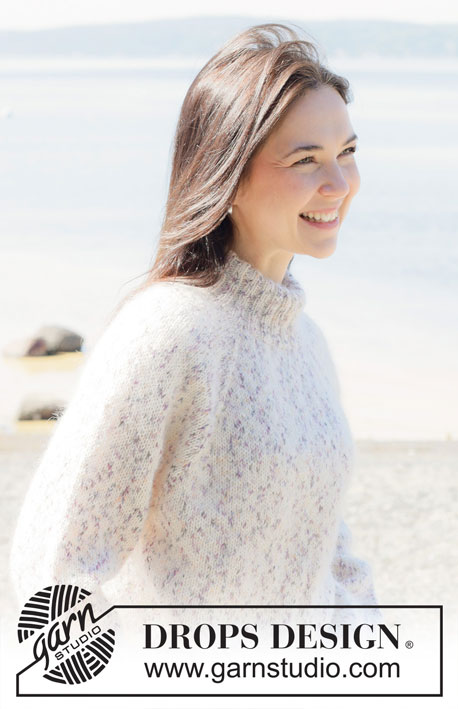 |
Knitted jumper in DROPS Fabel and DROPS Kid-Silk. The piece is worked top down with raglan and double neck. Sizes S - XXXL.
DROPS 255-33 |
|
|
------------------------------------------------------- EXPLANATIONS FOR THE PATTERN: ------------------------------------------------------- RAGLAN: Increase 1 stitch by making 1 yarn over, which is worked as follows on the next round: BEFORE RAGLAN-STITCH: Slip the yarn over off the left needle and replace it twisted (insert the left needle through the back when replacing it). Knit the front loop (the stitch twists to the right) to avoid a hole. AFTER RAGLAN-STITCH: Knit through the back loop (the stitch twists to the left) to avoid a hole. DECREASE TIP (for mid-under sleeves): Start 3 stitches before the marker-thread, knit 2 together, knit 2 (marker-thread sits between these 2 stitches), slip 1 stitch knit-wise, knit 1 and pass the slipped stitch over the knitted stitch (2 stitches decreased). ------------------------------------------------------- START THE PIECE HERE: ------------------------------------------------------- JUMPER – SHORT OVERVIEW OF THE PIECE: The pattern uses both long and short needles; start with the length which fits the number of stitches and change when necessary. The neck and yoke are worked in the round with circular needle, top down and from the right back shoulder. When the yoke is finished, it is divided for the body and sleeves and the body continued in the round, while the sleeves wait. The sleeves are worked top down, in the round. The neck is folded double and fastened to the inside and sewn down. DOUBLE NECK: Cast on 100-104-108-112-116-120 stitches with circular needle size 4.5 mm, 1 strand DROPS Fabel and 1 strand DROPS Kid-Silk. Change to circular needle size 3 mm (casting on with a larger needle size makes the cast-on edge elastic). Work rib in the round (knit 2, purl 2) for 13 cm. The neck is later folded double, leaving a neck-height of approx. 6 cm. The beginning of the round is on the right back shoulder. Insert 1 marker after the first 37-38-39-40-41-42 stitches (approx. mid-front); the piece is now measured from here. YOKE: Continue with circular needle size 4.5 mm. Insert 4 markers, without working the stitches and inserting the markers into stitches (raglan-stitches) which are continued in stocking stitch. Insert marker 1 in the first stitch, count 22 stitches (= sleeve), Insert marker 2 in the next stitch, count 26-28-30-32-34-36 stitches (= front piece), Insert marker 3 in the next stitch, count 22 stitches (= sleeve), Insert marker 4 in the next stitch, there are 26-28-30-32-34-36 stitches left (= back piece). Work stocking stitch in the round and increase for RAGLAN – read description above, as follows: ROUND 1: Make 1 yarn over before and after each raglan-stitch (= 8 increased stitches). ROUND 2: Work stocking stitch over all stitches (remember to twist the yarn overs as explained under RAGLAN). Work rounds 1 and 2 a total of 1-1-3-6-5-1 times (= 2-2-6-12-10-2 rounds worked) = 108-112-132-160-156-128 stitches. Remember to maintain the knitting tension. Continue with stocking stitch, now increasing as follows: ROUND 1: Make 1 yarn over before and after each raglan-stitch (= 8 increased stitches). ROUND 2: Work stocking stitch over all stitches. ROUND 3: Make 1 yarn over after raglan-stitch-2, 1 yarn over before raglan-stitch-3, 1 yarn over after raglan-stitch-4 and 1 yarn over before raglan-stitch-1 (= 4 increased stitches which are only on the front and back pieces, not on the sleeves). ROUND 4: Work stocking stitch over all stitches. Work rounds 1 to 4 a total of 14-15-15-15-17-20 times (56-60-60-60-68-80 rounds worked = you increase a total of 14-15-15-15-17-20 times on sleeves and 28-30-30-30-34-40 times on front and back pieces) = 276-292-312-340-360-368 stitches. All the increases for raglan are finished, with a total of 29-31-33-36-39-41 times on the front and back pieces and 15-16-18-21-22-21 times on the sleeves. Continue with stocking stitch, but without further increases, until the yoke measures 24-26-28-30-33-34 cm from the marker mid-front. Now divide for the body and sleeves. DIVIDE FOR BODY AND SLEEVES: Work the next round as follows: Knit the first stitch, place the next 52-54-58-64-66-64 stitches on a thread for the sleeve, cast on 8-8-10-12-14-18 stitches (= in side mid-under sleeve), knit 86-92-98-106-114-120 (= front piece), place the next 52-54-58-64-66-64 stitches on a thread for the sleeve, cast on 8-8-10-12-14-18 stitches (= in side mid-under sleeve), knit the last 85-91-97-105-113-119 stitches (= back piece). The body and sleeves are finished separately, beginning the new round in the side under the sleeve. BODY: = 188-200-216-236-256-276 stitches. Continue with stocking stitch in the round until the piece measures 45-47-49-51-53-55 cm from the marker mid-front. Change to circular needle size 3 mm. Work rib (knit 2, purl 2), AT THE SAME TIME increase 20-24-24-24-28-32 stitches evenly on the first round = 208-224-240-260-284-308 stitches. When the rib measures 5 cm, cast off. The jumper measures approx. 50-52-54-56-58-60 cm from the marker mid-front and 56-58-60-62-64-66 cm from top of shoulder. SLEEVES: Place the 52-54-58-64-66-64 sleeve-stitches from the thread on one side of the piece on circular needle size 4.5 mm and knit up 1 stitch in each of the 8-8-10-12-14-18 stitches cast on under the sleeve = 60-62-68-76-80-82 stitches. Insert a marker-thread in the middle of the 8-8-10-12-14-18 stitches under the sleeve. Start at the marker-thread and work stocking stitch in the round. When the sleeve measures 3 cm, decrease 2 stitches under the sleeve – read DECREASE TIP. Decrease like this every 6-6-4-3-2-2 cm a total of 5-5-7-10-11-11 times = 50-52-54-56-58-60 stitches. Continue working until the sleeve measures 36-35-33-32-29-29 cm from the division. Change to double pointed needles size 3 mm. Work rib (knit 2, purl 2), AT THE SAME TIME increase 6-8-6-8-6-8 stitches evenly on the first round = 56-60-60-64-64-68 stitches. When the rib measures 5 cm, cast off. The sleeve measures approx. 41-41-38-37-34-34 cm. ASSEMBLY: Fold the neck double to the inside and sew down. To avoid the neck being tight and rolling outwards, it is important that the seam is elastic. |
|
 |
|
Have you finished this pattern?Tag your pictures with #dropspattern #winterconfettisweater or submit them to the #dropsfan gallery. Do you need help with this pattern?You'll find 28 tutorial videos, a Comments/Questions area and more by visiting the pattern on garnstudio.com. © 1982-2026 DROPS Design A/S. We reserve all rights. This document, including all its sub-sections, has copyrights. Read more about what you can do with our patterns at the bottom of each pattern on our site. |
|


With over 40 years in knitting and crochet design, DROPS Design offers one of the most extensive collections of free patterns on the internet - translated to 17 languages. As of today we count 324 catalogues and 12290 patterns translated into English (UK/cm). 12290
We work hard to bring you the best knitting and crochet have to offer, inspiration and advice as well as great quality yarns at incredible prices! Would you like to use our patterns for other than personal use? You can read what you are allowed to do in the Copyright text at the bottom of all our patterns. Happy crafting!
Post a comment to pattern DROPS 255-33
We would love to hear what you have to say about this pattern!
If you want to leave a question, please make sure you select the correct category in the form below, to speed up the answering process. Required fields are marked *.