
Catégories populaires
Vous cherchez un fil?


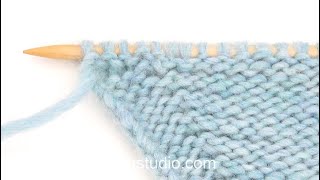
Comment augmenter pour le raglan en tricotant en même temps des rangs raccourcis

On commence maintenant à tricoter à partir du côté gauche de l'encolure (quand on porte le pull). En commençant sur l'endroit, 2 mailles avant la maille avec le marqueur-3, on tricote (en jersey ou en point fantaisie) en augmentant pour le raglan avant et après les 4 marqueurs jusqu'à 2 mailles après celle maille avec le marqueur-2 (on augmente 8 mailles pour le raglan).
On tourne, on serre le fil et on tricote sur l'envers jusqu'à 2 mailles après le début du rang raccourci au marqueur-3.
On continue les rangs raccourcis comme indiqué dans les explications, et quand ils sont terminés, on coupe le fil pour commencer de nouveau au milieu dos. Tricoter les jetés / les augmentations comme indiqué dans les explications du modèle et rappelez-vous que les jetés / les augmentations se tricotent différemment avant/après le marqueur et sur l'endroit/sur l'envers.
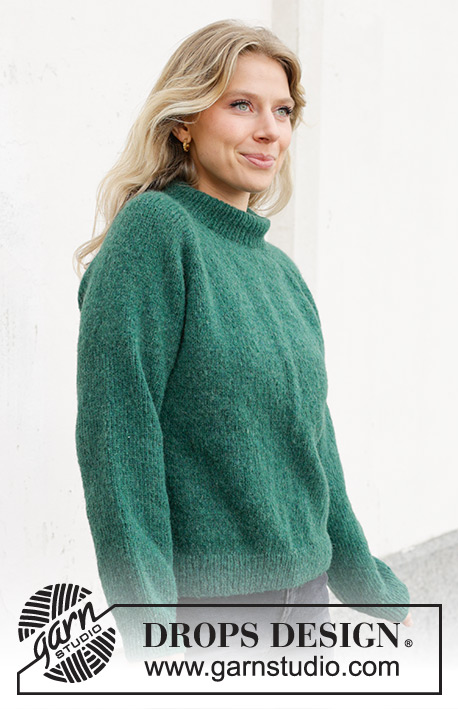
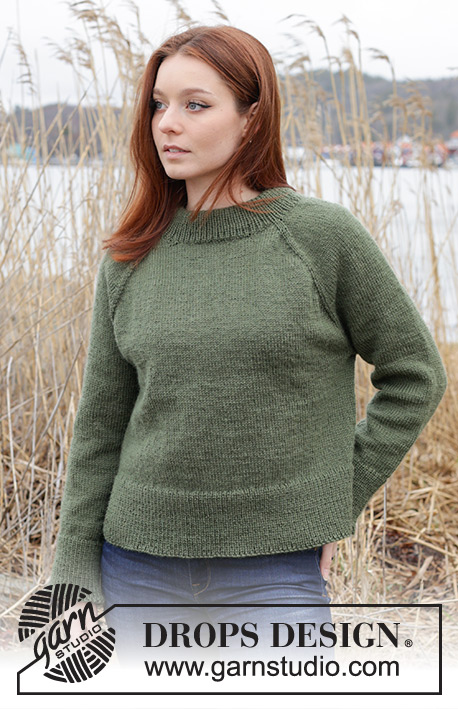
Nous utilisons DROPS Snow dans la vidéo. Il vous faudra lire les explications d'un modèle (et regarder le diagramme) pour suivre la vidéo. Vous trouverez des modèles utilisant cette technique en cliquant sur les photos ci-dessous.
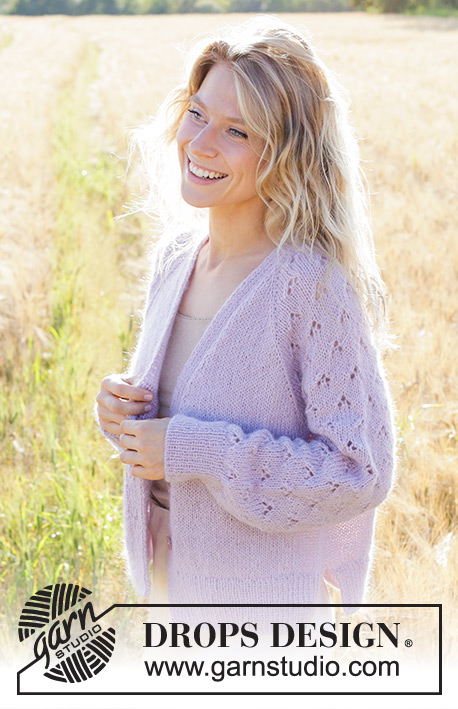
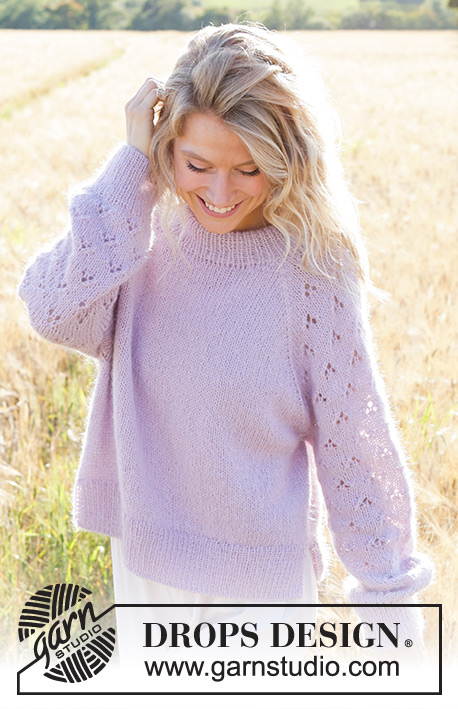
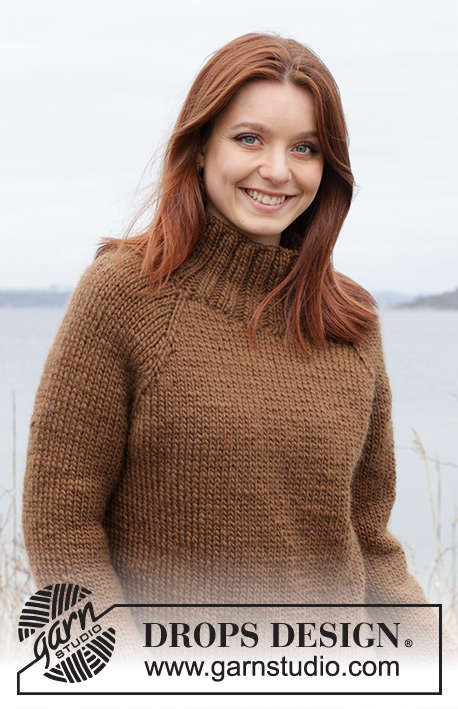
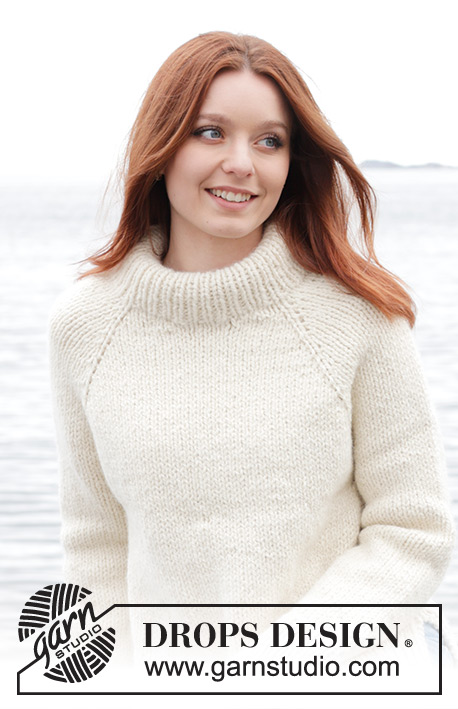
Modèles utilisant cette technique
Vidéo #1735, classé dans: Apprendre à tricoter, Emmanchures Raglan, Raglan de haut en bas
Nos vidéos n'ont pas de son. Nous sommes une entreprise internationale et nos vidéos sont regardées par des personnes parlant différentes langues et beaucoup d'entre elles ne comprennent pas le français. Comme on ne peut utiliser aucune langue déterminée, nous avons des instructions écrites pour accompagner la vidéo, et il n'y a pas de son perturbant lorsque vous regardez la vidéo.
Vous pouvez ajuster la vitesse de la vidéo en cliquant sur l'icône sur la barre de lecture.
Écrire un commentaire ou une question à propos de cette vidéo
Votre adresse mail ne sera pas publiée. Les champs obligatoires sont indiqués par une *.
Vous pourriez aussi aimer...


Avec plus de 40 ans dans la conception de modèles tricot et crochet, DROPS Design offre l'une des plus vastes collections de modèles gratuits sur internet - traduits dans 17 langues. À ce jour, on compte 324 catalogues et 12291 modèles en français.
Nous nous efforçons de vous apporter le meilleur de ce que le tricot et le crochet peuvent vous offrir, inspiration et conseils mais également des fils de haute qualité à des prix incroyables! Vous souhaiteriez utiliser nos modèles autrement que pour un usage personnel? Vous pouvez lire ce que vous êtes autorisés à faire dans le Copyright en bas de page de chacun de nos modèles. Bon tricot!
Hii, ich wenn man wie hier gezeigt einfach nur wendet, entsteht doch ein Loch? Ich möchte den Candy Harvest Sweather stricken und da wird gesagt man soll die verkürzten Reihen so wie hier im Video machen. Ist es auch möglich german short rows zu machen? Bin Anfängerin
15.01.2026 - 23:54DROPS Design :
Liebe Josephine, ja gerne können Sie diese Technik für die verkürzten Reihen stricken. Viel Spaß beim Stricken!
20.01.2026 - 11:03Hallo, ich verstehe die Zunahme der Raglanmaschen am rumpfteil nicht. Welche der 4 Markierer sind die des Rumpfteils und welche die vom Ärmel?
22.09.2025 - 16:50DROPS Design :
Liebe Jutta, vielleicht können Sie Ihre Frage unter das gestrickt Modell stellen? So können wir am besten zusammen schauen. Danke im voraus für Ihr Verständnis. Viel Spaß beim Stricken!
24.09.2025 - 17:09Hallo, ich verstehe die Strickrichtung nicht, wenn ich mir die nummerierten Markierer ansehe. Wenn ich mit einer rechts gestrickten Reihe beginne, dann kann ich doch nur von Markierer 3 in Richtung Markierer 2 stricken, würde dann aber ja den vorderen Hals höher stricken. Wenn ich die Nummerierungen so lasse, wie hier gezeigt, dann würde ich doch eher beim 2. Markierer anfangen, und über 1 und 4 bis zum 3. stricken, und dann wenden und die linke Rückreihe stricken…?
10.01.2025 - 09:14Michaela :
Hallo, mir ist mein Denkfehler bezüglich Strickrichtung klar geworden! Bitte beachten Sie meine vorherige Frage nicht! Viele Grüße
10.01.2025 - 10:46Hello. In the video, I can see you are making a yarn over in the the stitch marked. Does every product need to be made like that?(I am sorry if my grammar or vocabulaty is bad)
16.05.2024 - 17:12DROPS Design :
Dear Steven, depending on the pattern you might have to increase a different way as there are many techniques to increase, so just make sure to follow the pattern and if you have doubts, feel free to ask your question under the pattern you are working on so that we can check together. Happy knitting!
17.05.2024 - 09:58236-16...Early. Morning Mist: : Explanation for the pattern: RAGLAN says: Increase for the body BEFORE markers 1 and 3 and AFTER markers 2 and 4 when working from the right side/after markers 1 and 3 and before markers 2 and 4 when working from the wrong side.........Does this mean you only increase 1 stitch at each marker? ?? Because in the instructions further down for the neckline you say to " increase to RAGLAN – read description above, on EACH SIDE. side of the 4 marker-stitches ".
28.04.2024 - 12:32DROPS Design :
Dear Susan, you should have the piece as follows: half back piece, marker 1, sleeve, marker 2, front piece, marker 3, sleeve, marker 4, half back piece. Sometimes, you increase both for the sleeves and body pieces; therefore, you increase on each side of the marker (= 8 increased stitches). However, when you want to increase only for the body pieces or sleeves you will only increase on the sides of the markers which will affect the desired part; for the sleeves after markers 1 and 3 and before markers 2 and 4 and for the body before markers 1 and 3 and after markers 2 and 4. So you increase only 4 stitches in each of those cases. Happy knitting!
29.04.2024 - 00:23Het filmpje gaat veel te snel bij het meerderen, het is niet te volgen. Jammer
26.04.2024 - 09:04About the markers. Do the markers go between the two stitches, at beg and end of raglan, so on raglan there are 16 sts in all on 4 th size. I really have no idea what is happening on video, I’m afraid, so will increase sts my own way. Neither pattern or video help ful in this case
09.04.2024 - 22:13DROPS Design :
Dear Frances, this might depend on the pattern, feel free to ask your question at the bottom of the related pattern or tell us which pattern number you are working on. Thanks for your comprehension.
10.04.2024 - 07:58I can't get the sound or the captions to work on this video. Really need it - please help, Annie
08.03.2024 - 20:17DROPS Design :
Dear Annie, our videos have no sound since they are used for all our different languages. Some of them may have captions but most of them rely on either the text under the video (with the video as an example of the text) or the pattern you are working (so you may open them side by side and watch while reading the pattern instructions). Happy knitting!
10.03.2024 - 19:44The Forest Trails Jumper references a Diagram A-1. I am having trouble finding this diagram as the only diagram I see is the size/measurement diagram. Can you please let me know where I can find the diagram referenced in this pattern? Thank you
17.01.2024 - 11:45DROPS Design :
Dear Marcia, in this pattern you will find the diagram A.1 next to measurement chart, on the right side, below sleeve. It's a small diagram over 2 sts and 2 rows. Happy knitting!
18.01.2024 - 09:08Bonjour Je viens de commencer le gilet children47-3 Je ne comprends pas les augmentations de l'encolure en rangs raccourcis Merci pour votre aide Cordialement S Guevel
27.12.2023 - 12:09DROPS Design :
Bonjour Mme Guevel, on tricote des rangs raccourcis pour que l'encolure dos soit plus haute, en commençant sur l'envers, vous tricotez d'abord jusqu'à 2 mailles après le fil marqueur-1, puis vous tournez et tricotez sur l'endroit jusqu'à 2 mailles après le fil marqueur 4 en même temps, vous augmentez pour le raglan comme indiqué sous RAGLAN, tournez et continuez ainsi en tricotant 2 m en plus à la fin de chaque rang de chaque côté et en augmentant tous les rangs sur l'endroit pour le raglan jusqu'à ce que vous ayez tricoté les 7 rangs de l'encolure. Vous avez alors augmenté 3 fois (3 rangs sur l'endroit). Bon tricot!
09.01.2024 - 08:12