
Popular categories
Looking for a yarn?


Comments / Questions (20)
![]() Juergen wrote:
Juergen wrote:
In welcher Reihenfolge werden die Streifen gestrickt? Warum werden nach dem Bund 25 Maschen abgenommen? Werden die Ärmel einfarbig oder in Streifen gestrickt?
31.05.2026 - 15:00DROPS Design answered:
Lieber Juergen, die Streifen werden nach 20-25 cm (siehe Größe) beim Vorder-/Rückenteil gestrickt - man braucht mehr Maschen für Bündchen mit Nadeln Nr 4 als fürs glattrechts mit Nadelnd Nr 5, deshalb soll man nach Bündchen abnehmen. Die Ärmel werden einfarbig gestrickt. Viel Spaß beim Stricken!
01.06.2026 - 09:30
![]() Robyn wrote:
Robyn wrote:
Hello, I am knitting the dusky rose sweater, pattern ai-393. For the sleeve construction it states ‘work the sleeve cap back and forth from mid-under the sleeve for 3-4-5-6-7-10 cm’ but there is no sleeve cap? I can’t find any tutorials on your page or on YouTube to help with this.
01.04.2026 - 22:47DROPS Design answered:
Hi Robyn, The sleeve cap begins when you change from working in the round to working back and forth (begin by turning when you reach the end of the round and work back from the wrong side to the beginning of the round, turn and work back from the right side. Continue like this to the correct length. Happy Easter! Regards, Drops Team.
03.04.2026 - 07:34
![]() Aletta wrote:
Aletta wrote:
Wanneer ik 5 steken voor de armsgaten afkant, heb ik dan geen insprong van 2 cm? Ik zie dat de totale onderbreedte 49 cm is en de totale bovenbreedte 45 cm (voor maat S); op het patroon staat een insprong van 3 cm of moet ik dit anders lezen? Is het naadje onder de oksel 2 of 3 cm?
31.03.2025 - 09:18DROPS Design answered:
Dag Aletta,
Het is inderdaad niet helemaal duidelijk. De 3 cm die bovenaan staat aangegeven is voor de 'mouwkop' (Het laatste stuk heen en weer breien op de mouw). De inspring bij het pand is 2 a 3 cm.
02.04.2025 - 10:10
![]() Aga wrote:
Aga wrote:
Dzień dobry, mam problem, aby przerobic pierwszy rzad na lewej stronie robótki. Mój pierwszy rzad po narzucie jest na prawo i nie wiem jak to zmienić? Pozdrawiam
23.03.2025 - 23:32DROPS Design answered:
Witaj Aga, nie wiem czy dobrze rozumiem, po narzuceniu/nabraniu oczek należy przerobić 1-szy rząd na prawo (to będzie lewa strona robótki). Kolejny rząd będzie znajdował się już na prawej stronie o wtedy przerabiasz ściągacz jak w opisie - zaznacz sobie prawą stronę markerem. Napisz czy to jest dla Ciebie jasne. Pozdrawiamy!
25.03.2025 - 10:00
![]() Helena Strand wrote:
Helena Strand wrote:
Hei. Antall masker stemmer ikke overens med cm. Uansett hvilken pinne jeg bruker får jeg 10 cm på 17 masker og variabel høyde på 22 pinner. Jeg begynte på str.m. Den har minimum 11 masker for mye i forhold til at 17 masker blir 10 cm. Jeg skal ha 54 cm i bredden på str.m. Det går ikke da det skal legges opp 113 masker, dette blir ca 62-64cm. For å få 54 cm må man ha rundt 85-90 masker vel.
30.01.2025 - 03:19
![]() Cecilie wrote:
Cecilie wrote:
Hei, jeg lurer på hvilken størrelse modellen på bildet bruker? (dusky rose)
12.11.2024 - 23:08DROPS Design answered:
Hei Cecilie, Du finner en målskisse på bunnen av oppskriftene, med alle mål til de forskjellige størrelsene. Hvis du strikke etter riktige mål/størrelsen får du fasongen på genseren som visst på bildet. God fornøyelse!
15.11.2024 - 07:01
![]() Olivia Asserholt wrote:
Olivia Asserholt wrote:
Hej! Jag skulle vilja sticka denna tröja men jag vill använda annat garn. Tänkte antingen använda kid silk och Daisy eller brushed alpaca och Daisy. Hur blir det då? Har försökt läsa på och förstå vad jag kan kombinera utan att behöva göra allt för stora regleringar i mönstret. Behöver jag använda större stickor och göra färre maskor om jag gör på något av ovanstående sätt? Tack så jättemycket på förhand för svar!
16.10.2024 - 20:41DROPS Design answered:
Hej Olivia. Du ska kunna sticka denna i DROPS Daisy och DROPS Kidsilk utan att behöva justera mönstret. Se bara till att få den stickfasthet som uppges i mönstret och att beräkna riktig garnåtgång! Lycka till!
17.10.2024 - 07:45
![]() Vivian Eersels wrote:
Vivian Eersels wrote:
Welke maat draagt het model?
08.10.2024 - 17:04DROPS Design answered:
Dag Vivian,
Het model op de foto draagt maat S.
08.10.2024 - 20:46
![]() Gunhild wrote:
Gunhild wrote:
Heihei, jeg skjønner dessverre ikke hvordan jeg skal felle i halsen. Det kan jo umulig gjøres likt, altså at skuldrene skal strikkes og felles likt, de er jo "motsatt"? På den ene siden er halsen jo da på slutten av pinnen, og på den andre på begynnelsen? Det er jo inn mot halsen jeg skal felle? På forhånd takk for hjelpen!
02.07.2024 - 19:26DROPS Design answered:
Hej Gunhild, ja så på den ene side følger du forklaringen til højre skulder og på den anden side følger du forklaringen til venstre skulder. FELLETIPS (gjelder halsen): Alle fellingene gjøres fra retten! FELL 1 MASKE PÅ BEGYNNELSEN AV PINNEN SLIK (høyre skulder): Strikk 1 kantmaske i rille, strikk 1 maske rett, ta 1 maske løs av pinnen som om den skulle strikkes rett, strikk 1 rett, løft den løse masken over masken som ble strikket (= 1 maske felt). FELL 1 MASKE PÅ SLUTTEN AV PINNEN SLIK (venstre skulder): Strikk til det gjenstår 4 masker på pinnen, strikk 2 masker rett sammen (= 1 maske felt), strikk 1 maske rett, 1 kantmaske i rille.
03.07.2024 - 07:52
![]() Nadya wrote:
Nadya wrote:
Hi! i have a question regarding the decreases, if i were to do the size L, how many decreases should i do and i dont understand how often i should do it (row wise), could you please explain the alternating decrease rows? thank you! (im fairly new to knitting)
16.12.2023 - 10:04DROPS Design answered:
Dear Nadya, if you are referring to the decreases for the neck you need to decrease 1 stitch six times. So, on the next 6 rows from the right side decrease 1 stitch. Since you work each shoulder separately, you will decrease for the neck in each shoulder, but it is worked differently in each of them. When you are working the right shoulder, the decrease is worked at the beginning of the row. When you are working the left shoulder, the decrease is worked at the end of the row. Happy knitting!
17.12.2023 - 18:56
|
||||
Dusky Rose#duskyrosesweater |
||||
 |
 |
|||
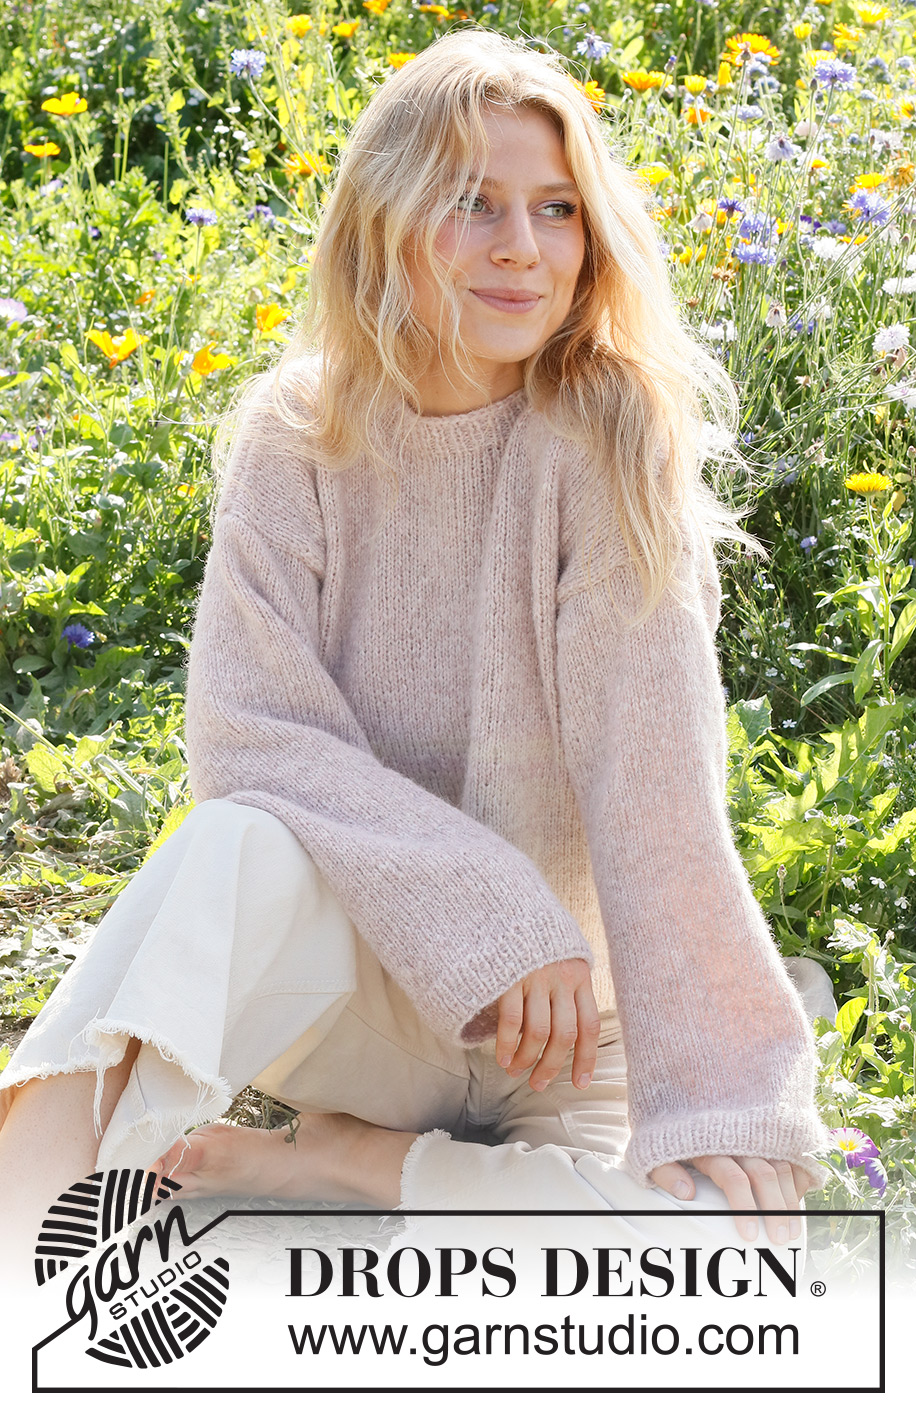
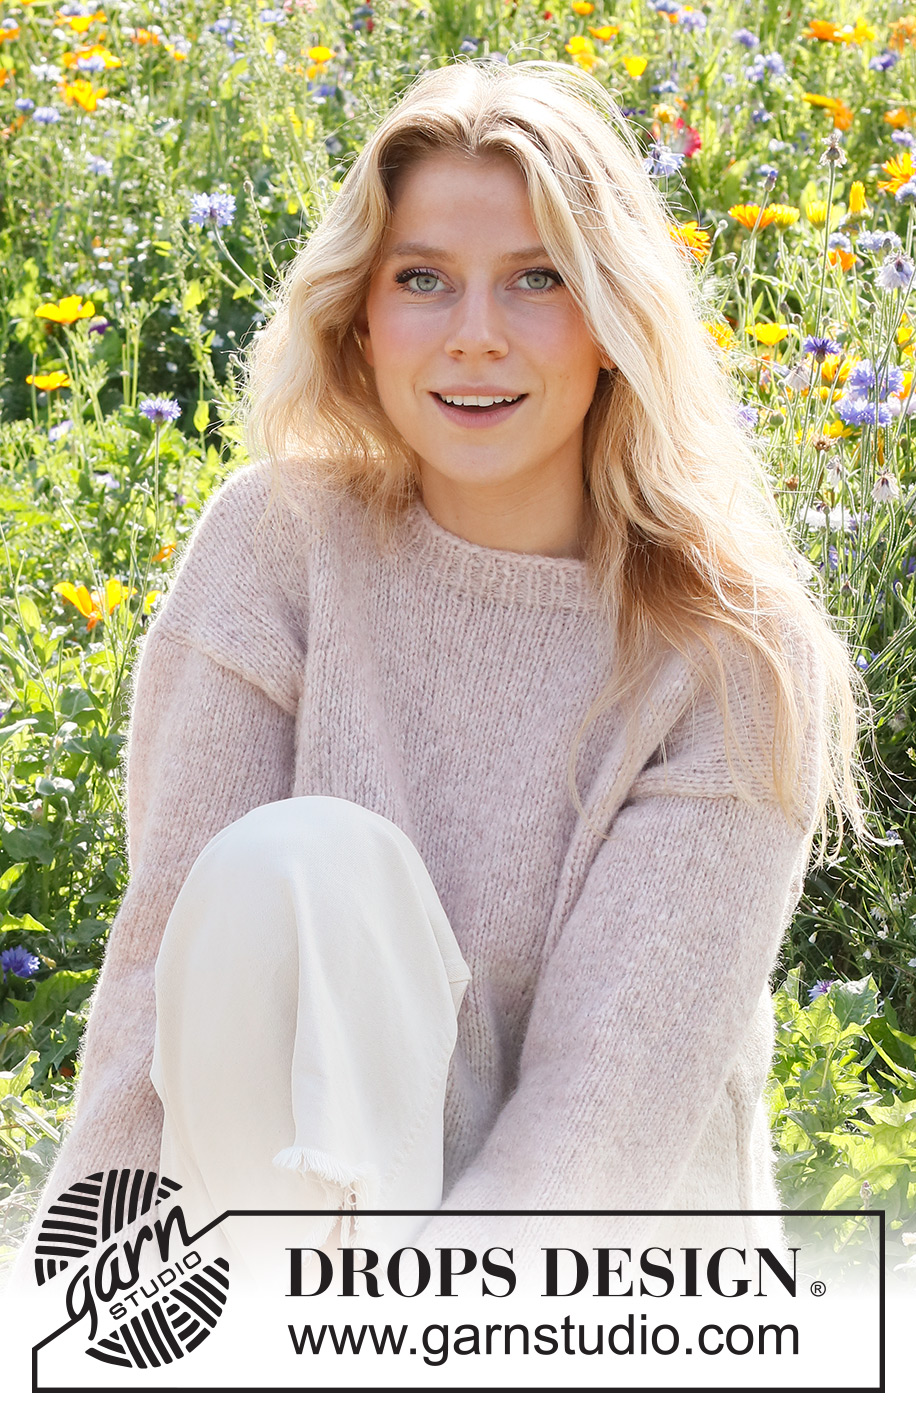
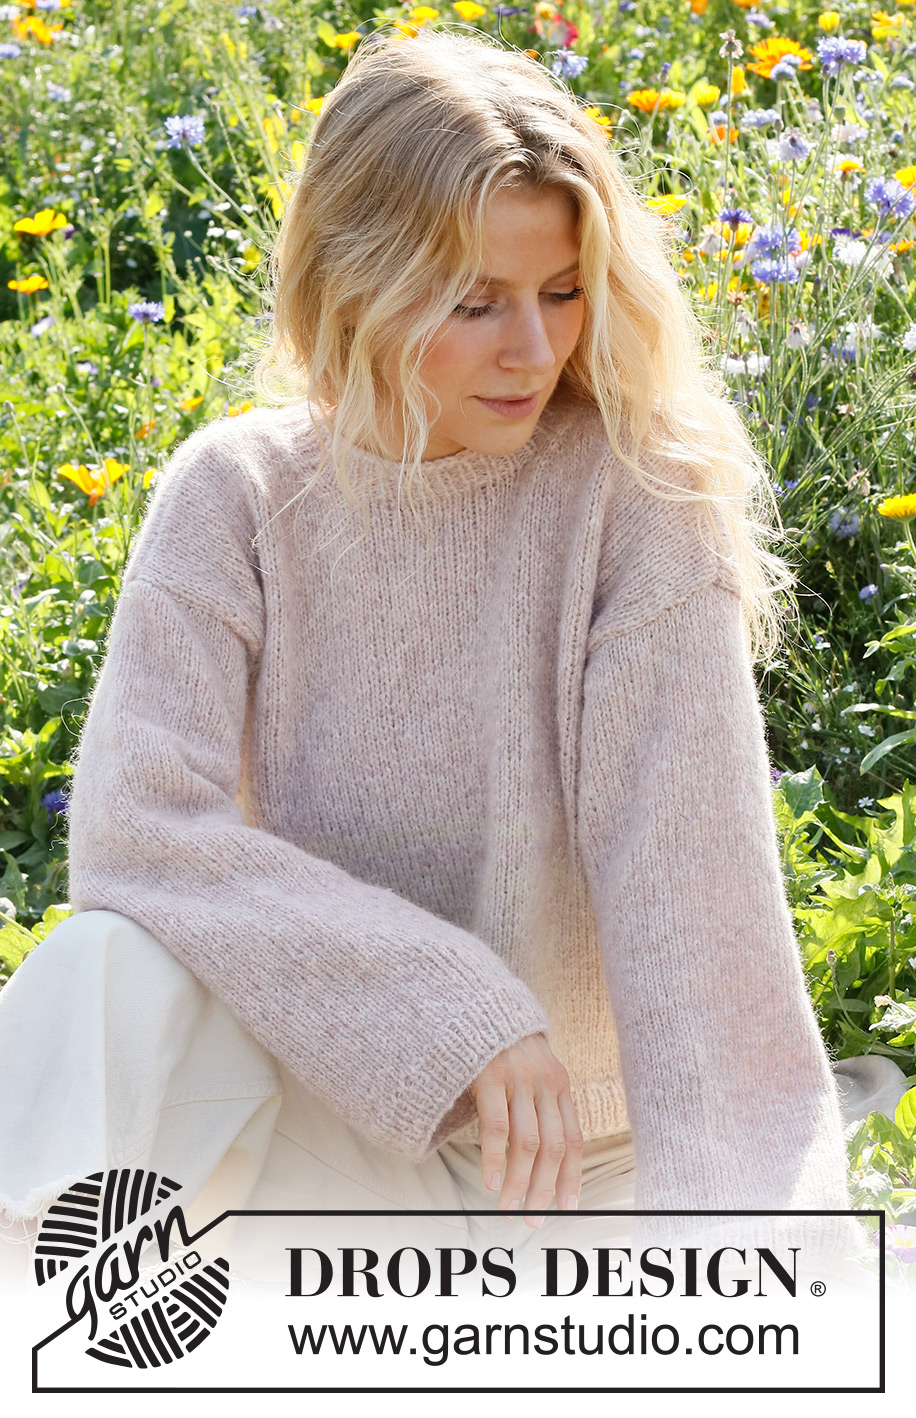
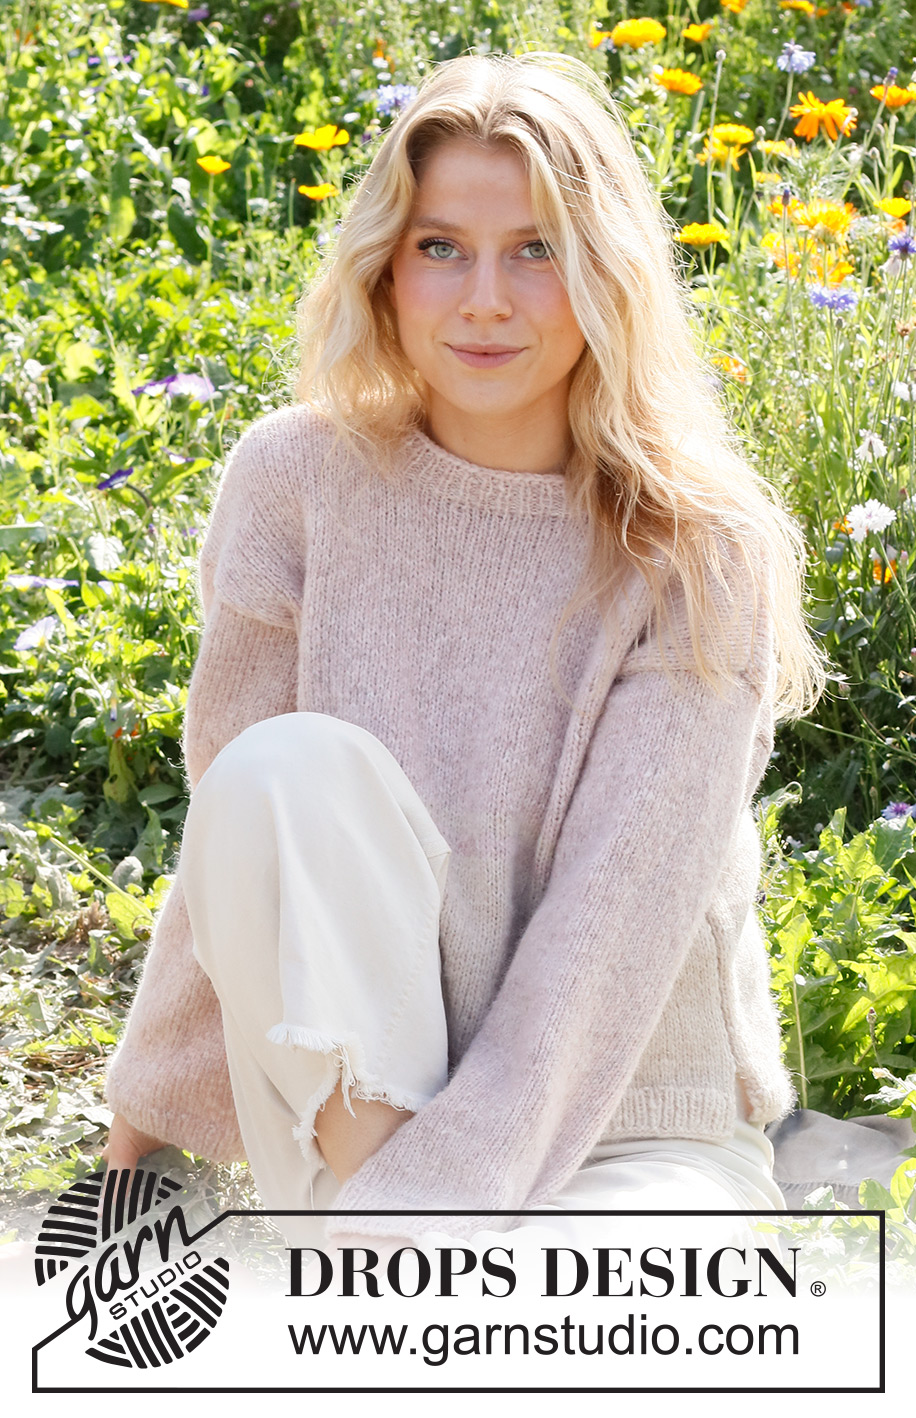
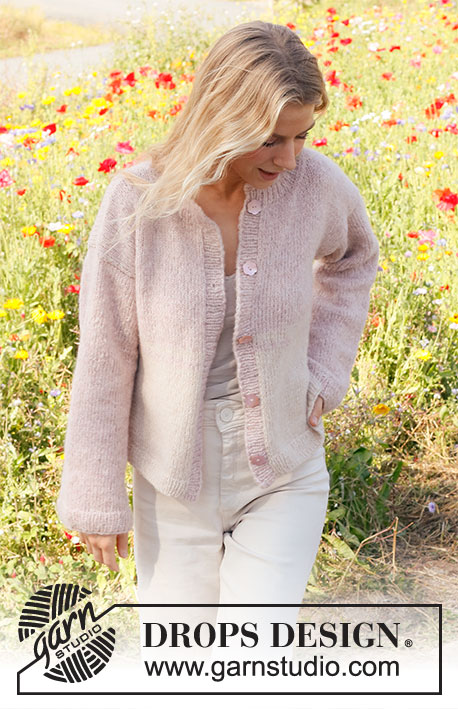
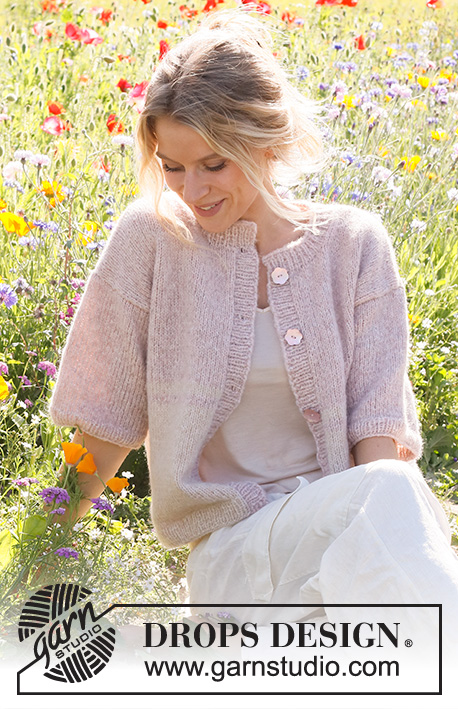
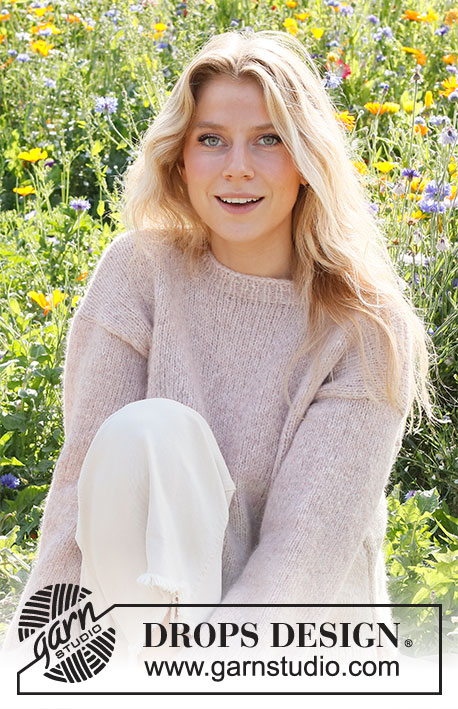
Knitted jumper in DROPS Air. The piece is worked bottom up with stripes. Sizes S - XXXL.
DROPS 232-34 |
||||
|
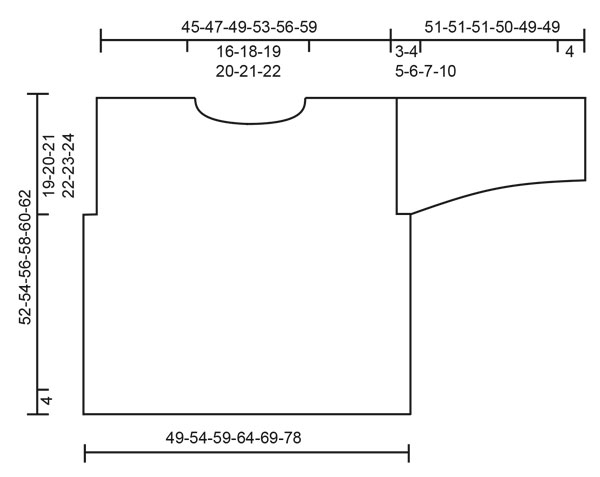
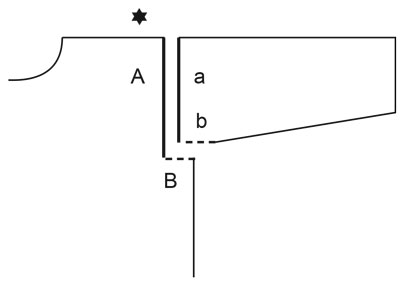
------------------------------------------------------- EXPLANATIONS FOR THE PATTERN: ------------------------------------------------------- RIDGE/GARTER STITCH (worked back and forth): Knit all rows. 1 ridge = knit 2 rows. DECREASE TIP (neck): All decreases are worked from the right side! DECREASE AT THE BEGINNING OF THE ROW (right shoulder): Work 1 edge stitch in garter stitch, knit 1, slip 1 stitch as if to knit, knit 1 and pass the slipped stitch over the knitted stitch (= 1 stitch decreased). DECREASE AT THE END OF THE ROW (left shoulder): Work until there are 4 stitches left, knit 2 together, knit 1 and 1 edge stitch in garter stitch (= 1 stitch decreased). INCREASE TIP (sleeves): Work until there are 2 stitches left before the marker, make 1 yarn over, knit 4 (the marker sits in the middle of these 4 stitches), 1 yarn over. On the next round knit the yarn overs twisted to avoid holes. Then work the new stitches in stocking stitch. ------------------------------------------------------- START THE PIECE HERE: ------------------------------------------------------- JUMPER - SHORT OVERVIEW OF THE PIECE: The back and front pieces are worked separately, back and forth and bottom up. The sleeves are worked in the round with double pointed needles/short circular needle. The neck is worked to finish. BACK PIECE: Cast on 103-113-123-133-145-161 stitches with circular needle size 4 mm and DROPS Air in colour wheat. Knit 1 row from the wrong side. Then work rib from the right side as follows: 1 edge stitch in GARTER STITCH – read description above, * knit 1, purl 1 *, work from *-* until there are 2 stitches left, knit 1 and 1 edge stitch in garter stitch. When the rib measures 4 cm, change to circular needle size 5 mm. Work 1 row of stocking stitch where you decrease 17-19-21-23-25-27 stitches evenly spaced = 86-94-102-110-120-134 stitches. Continue with stocking stitch and 1 edge stitch in garter stitch on each side. REMEMBER THE KNITTING TENSION! When the piece measures 20-21-22-23-24-25 cm, work 4 rows with colour pink sand, 4 rows with colour wheat, then finish the piece with colour pink sand. When the piece measures 33-34-35-36-37-38 cm cast off 5-7-9-10-12-17 stitches at the beginning of the next 2 rows for the armholes = 76-80-84-90-96-100 stitches. When the piece measures 48-50-52-54-56-58 cm, cast off the middle 26-28-30-32-34-36 stitches for the neck and finish each shoulder separately. Cast off 1 stitch on the next row from the neck = 24-25-26-28-30-31 stitches on the shoulder. Cast off when the piece measures 52-54-56-58-60-62 cm. Work the other shoulder in the same way. FRONT PIECE: Cast on 103-113-123-133-145-161 stitches with circular needle size 4 mm and DROPS Air in colour wheat. Knit 1 row from the wrong side. Then work rib from the right side as follows: 1 edge stitch in garter stitch, * purl 1, knit 1 *, work from *-* until there are 2 stitches left, purl 1 and 1 edge stitch in garter stitch. When the rib measures 4 cm, change to circular needle size 5 mm. Work 1 row of stocking stitch where you decrease 17-19-21-23-25-27 stitches evenly spaced = 86-94-102-110-120-134 stitches. Continue with stocking stitch and 1 edge stitch in garter stitch on each side. When the piece measures 20-21-22-23-24-25 cm, work 4 rows with colour pink sand, 4 rows with colour wheat, then finish the piece with colour pink sand. When the piece measures 33-34-35-36-37-38 cm cast off 5-7-9-10-12-17 stitches at the beginning of the next 2 rows for the armholes = 76-80-84-90-96-100 stitches. When the piece measures 46-48-49-51-52-53 cm, cast off the middle 16-18-20-22-24-26 stitches for the neck and finish each shoulder separately. Continue to decrease for the neck on every row from right side as follows: Decrease 1 stitch 6 times – read DECREASE TIP = 24-25-26-28-30-31 stitches on the shoulder. Cast off when the piece measures 52-54-56-58-60-62 cm. Work the other shoulder in the same way. SLEEVES: Cast on 64-66-68-70-72-74 stitches with double pointed needles size 4 mm and colour pink sand. Knit 1 round then work rib in the round (knit 1, purl 1) for 4 cm. Change to double pointed needles size 5 mm and continue with stocking stitch. Work 1 round where you decrease 6 stitches evenly spaced = 58-60-62-64-66-68 stitches. Insert 1 marker at the beginning of the round = mid-under sleeve. When the sleeve measures 32-30-28-26-24-22 cm, increase 1 stitch on each side of the marker – read INCREASE TIP. Increase like this every 4-3½-3-3-2½-2 cm a total of 4-5-6-6-7-8 times = 66-70-74-76-80-84 stitches. When the sleeve measures 48-47-46-44-42-39 cm, work the sleeve cap back and forth from mid-under the sleeve for 3-4-5-6-7-10 cm. Cast off. Work the other sleeve in the same way. ASSEMBLY: Sew the shoulder seams. Sew the sleeve cap to the armhole, then the split to the bottom of the armhole – see sketch. Sew the side seams. NECK: Start at one shoulder seam and knit up 68 to 88 stitches around the neck, with circular needle size 4 mm and colour pink sand; the number of stitches should be divisible by 2. Work rib in the round (knit 1, purl 1) for 4 cm. Cast off. |
||||
Diagram explanations |
||||
|
||||
 |
||||
 |
||||
Have you finished this pattern?Tag your pictures with #dropspattern #duskyrosesweater or submit them to the #dropsfan gallery. Do you need help with this pattern?You'll find 30 tutorial videos, a Comments/Questions area and more by visiting the pattern on garnstudio.com. © 1982-2026 DROPS Design A/S. We reserve all rights. This document, including all its sub-sections, has copyrights. Read more about what you can do with our patterns at the bottom of each pattern on our site. |
||||


With over 40 years in knitting and crochet design, DROPS Design offers one of the most extensive collections of free patterns on the internet - translated to 17 languages. As of today we count 325 catalogues and 12298 patterns translated into English (UK/cm). 12298
We work hard to bring you the best knitting and crochet have to offer, inspiration and advice as well as great quality yarns at incredible prices! Would you like to use our patterns for other than personal use? You can read what you are allowed to do in the Copyright text at the bottom of all our patterns. Happy crafting!
Post a comment to pattern DROPS 232-34
We would love to hear what you have to say about this pattern!
If you want to leave a question, please make sure you select the correct category in the form below, to speed up the answering process. Required fields are marked *.