
Popular categories
Looking for a yarn?


Comments / Questions (37)
![]() Elisabeth Bergqvist wrote:
Elisabeth Bergqvist wrote:
Hur gör man för att få 8 m.ökning? Det är ju 4 markeringar så man behöver göra 2 ökningar vid varje markering men man börjar ju vid startmarkeringen och den ska man ju sticka förbi en maska, så då blir det bara 7 m.ökning. //Elisabeth
02.11.2022 - 09:53DROPS Design answered:
Hej Elisabeth, du ökar på varje sida. Läs RAGLAN: Det ökas till raglan på varje sida av 2 maskor slätstickning vid varje markör så här: Sticka 1 maska förbi den första markören, gör 1 omslag om stickan. Sticka tills det återstår 1 maska före nästa markör, gör 1 omslag om stickan. Öka så vid varje markör. De ökade maskorna stickas vridet räta på nästa varv. Sedan stickas de nya maskorna in i mönstret.
02.11.2022 - 14:48
![]() Christina wrote:
Christina wrote:
I oppskriften står det "Mønsteret vil ikke nødvendigvis gå opp hele veien rundt, 2 masker på hver side av hvert merke strikkes i glattstrikk og de resterende maskene tilpasses i forhold til mønsteret på forstykket og bakstykket." Betyr det at de 4 maskene skal strikkes i glattstrikk hele veien, altså hver omgang, eller bare første omgang?
07.10.2022 - 21:34DROPS Design answered:
Hei Christina, 4 masker i hver side (2 masker på hver side av begge merkene) er strikket i glattstrikk hver omgang. God fornøyelse!
10.10.2022 - 06:57
![]() Baconnet wrote:
Baconnet wrote:
Bonjour Comment adapter le modèle en XS pour notamment pour la largeur ? Ou auriez-vous le schéma de ce pull avec ses mesures comme c’est le cas souvent pour vos patrons ? Bien cordialement. Françoise
02.10.2022 - 19:43DROPS Design answered:
Bonjour Mme Baconnet, nous ne sommes malheureusement pas en mesure de pouvoir adapter chacun de nos modèles à chaque demande, vous trouverez toutefois tous nos modèles de pulls avec ce type de tension et en taille XS ici, cela pourra probablement vous aider à adapter à la bonne taille. Bon tricot!
03.10.2022 - 09:53
![]() Jennifer A wrote:
Jennifer A wrote:
Hej, ser att diagram 1. saknas i mönsterbeskrivningen. Kan ni lägga in detta igen?
19.09.2022 - 09:41DROPS Design answered:
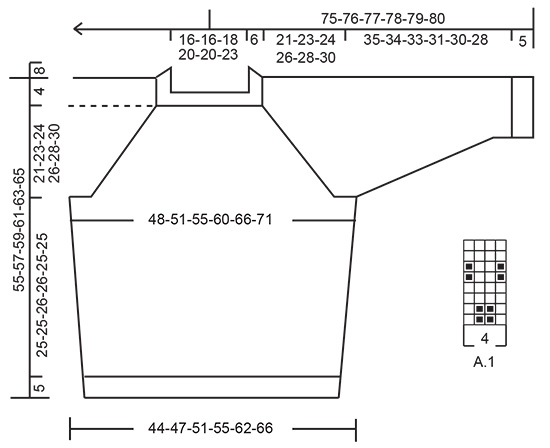
Hej Jennifer, jo Diagram A.1 ligger till höger om måttskissen :)
20.09.2022 - 15:16
![]() Nancy Gardner wrote:
Nancy Gardner wrote:
I am knitting your Provence Dream sweater and at the point where it says to divide for the body and sleeves, it says cast on 6 stitches UNDER THE SLEEVE. What does this mean? I am an experienced knitter and I have never seen this particular instruction and have no idea how to do this. Can you explain please?
17.09.2022 - 23:12DROPS Design answered:
Dear Nancy, it's a very common technique when working in the round. You can check how to work these stitches in the following video; after casting on, continue working the stitches in the next part of the body. https://www.garnstudio.com/video.php?id=94&lang=en. Happy knitting!
18.09.2022 - 18:40
![]() Alixandra wrote:
Alixandra wrote:
I'm a UK 8-10 what size would I need to knit it in ? I can't seem to find the measurements for the sizes?
02.09.2022 - 15:50DROPS Design answered:
Dear Alixandra, you can find the measurements in cm for each size under the pattern instructions, in the measurement schematic drawing. You can check how to read this drawing here: https://www.garnstudio.com/lesson.php?id=24&cid=19. Happy knitting!
02.09.2022 - 18:13
![]() Marion wrote:
Marion wrote:
Hej, på garnet står det att man ska handtvätta garnet i 30 grader, kan man tvätta sin färdiga tröja i tvättmaskinen på handtvättsprogrammet 30 grader?
04.08.2022 - 16:18DROPS Design answered:
Hej Marion, ja på eget ansvar og hvis du er sikker på din maskine :) man kan altid prøve med en lille strikkeprøve. Sørg for at vaske separat med ull-tvättmedel (inget sköljmedel) :)
05.08.2022 - 12:07
![]() Stephanie Hannah wrote:
Stephanie Hannah wrote:
Is the sweater a bit oversized or is the model wearing a size that is too big for her. I like the sweater,but prefer it to have a more standard fit.
04.08.2022 - 00:26DROPS Design answered:
Hi Stephanie, There is a size chart at the bottom of the pattern so you can choose the size you wish to make. Happy crafting!
04.08.2022 - 07:16
![]() Helga Eitel wrote:
Helga Eitel wrote:
Nachdem ich nun mehrmals bis zum Doppelkragen aufgeribbelt habe muss ich noch eine Frage zu den Raglanzunahmen stellen die in jeder 2. Reihe erfolgen sollen: Zählt die Zunahmereihe als 1. Reihe? Die zweite wäre dann die Reihe in welcher ich die Umschläge verschränkt stricken muss. In dieser Reihe wieder Umschläge stricken? Dann doch eher in der 3. Reihe, oder sehe ich das falsch? Bitte helfen Sie mir nochmals. Vielen Dank dafür.
28.05.2022 - 10:02DROPS Design answered:
Liebe Frau Eitel, Sie stricken zuerste die 1. Runde der Passe mit Muster und Markierer, dann bei der 2. Reihe in A.1 beginnen die Raglanzunahmen. So werden die Raglanzunahmen in jede gerade Reihe in A.1 (2. 4. 6. usw Reihe) entstehen. Diese Maschen stricken Sie im Muster, so daß das Muster sich verbreiten wird (die Zunahmen am Anfang dem Teil wird wie die vorrige Masche im Diagram gestrickt werden und die Zunahmen am Ende dem Teil wird wie die nächste Masche im Diagram gestrickt werden). Viel Spaß beim stricken!
30.05.2022 - 07:51
![]() Helga Eitel wrote:
Helga Eitel wrote:
Ich habe mit Musterzeichnungen meine Probleme, daher meine Frage: Was bedeutet die 4 unterhalb der Zeichnung? Ist es richtig dass es sich um das große Perlmuster handelt welches hier 2 M. Re., 2 M. li, 2 Reihen rechte Maschen und dann versetzt gestrickt wird? Vielen Dank.
25.05.2022 - 09:21DROPS Design answered:
Liebe Frau Eitel, es bedeutet, daß das Muster über 4 Maschen gestrickt bzw wiederholt wird. A.1 wird bei der 1. bzw 2. Runde so gestrickt: 1 re, 2 li, 1 re, bei der 3. + 4. Runde stricken Sie alle Maschen rechts, bei der 5. + 6. Runde stricken Sie: 1 li, 2 re, 1 li, bei der 7. + 8. Runde stricken Sie alle Maschen rechts; diese 8 Runden wiederholen Sie so. Viel Spaß beim stricken!
25.05.2022 - 16:22
|
|||||||
Provence Dream#provencedreamsweater |
|||||||
 |
 |
||||||
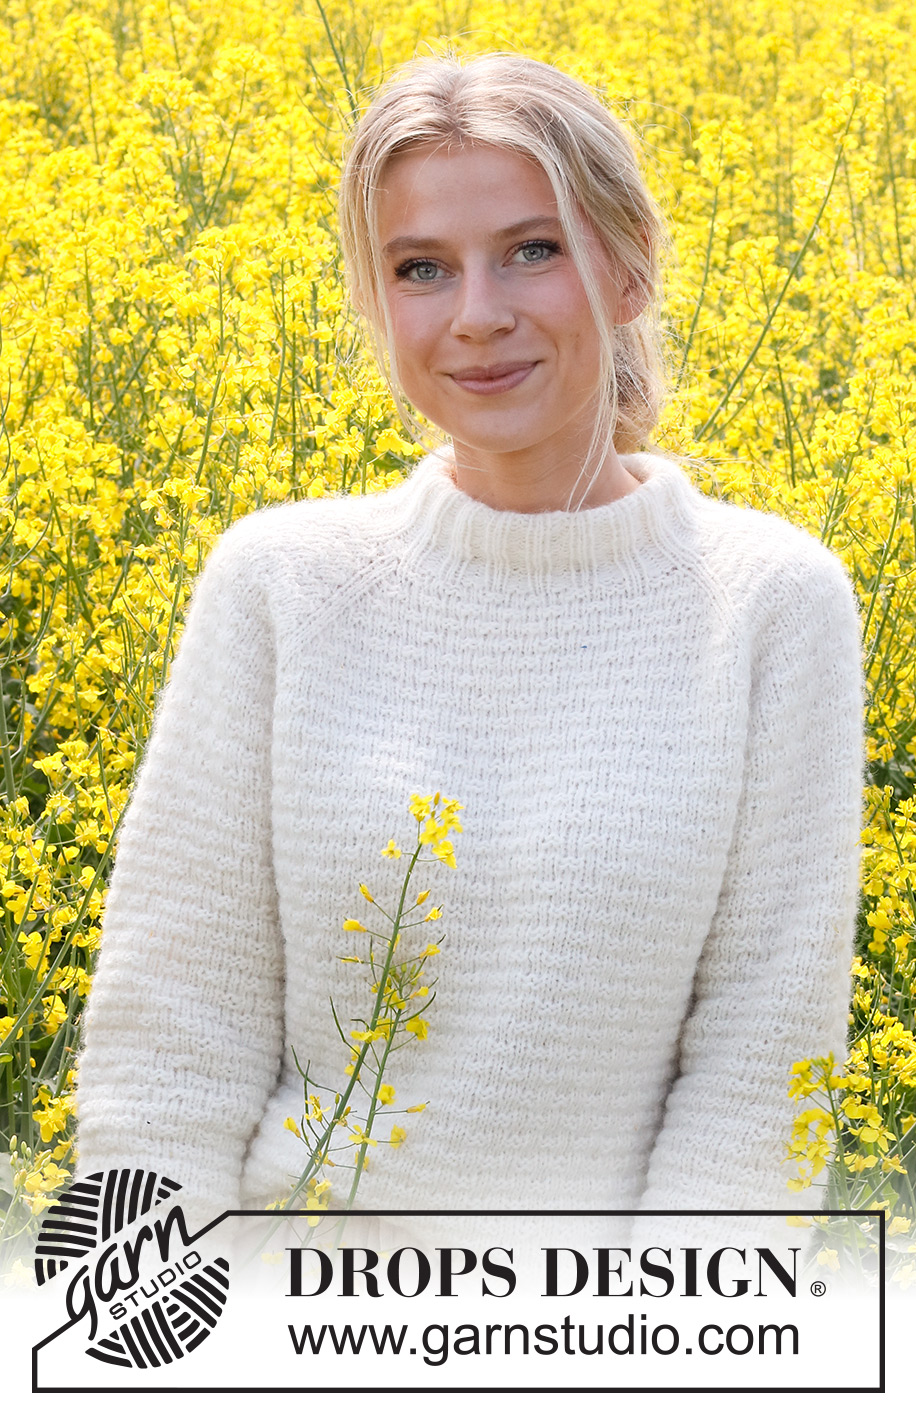
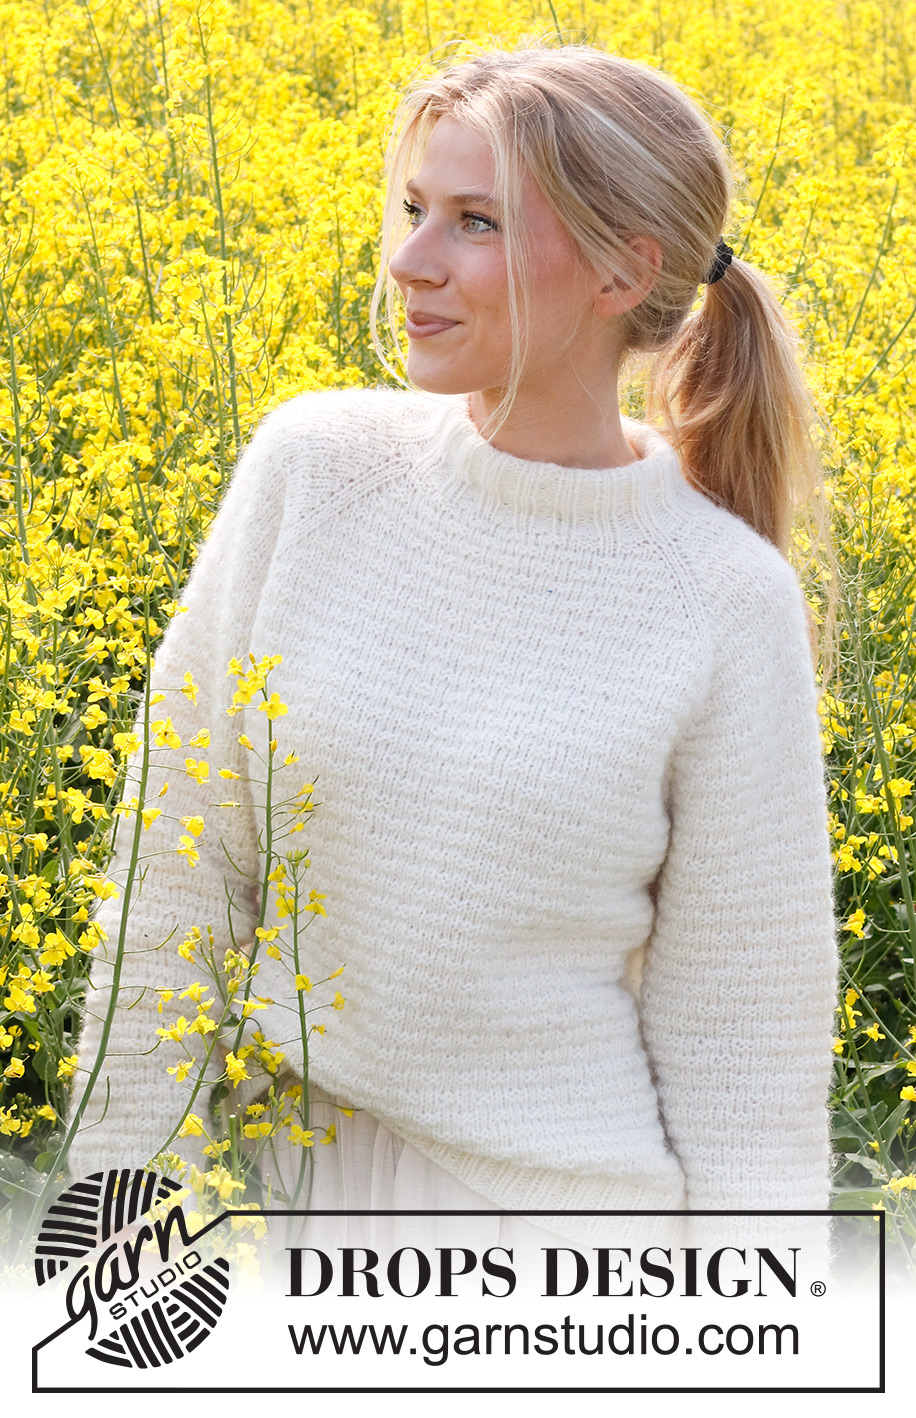
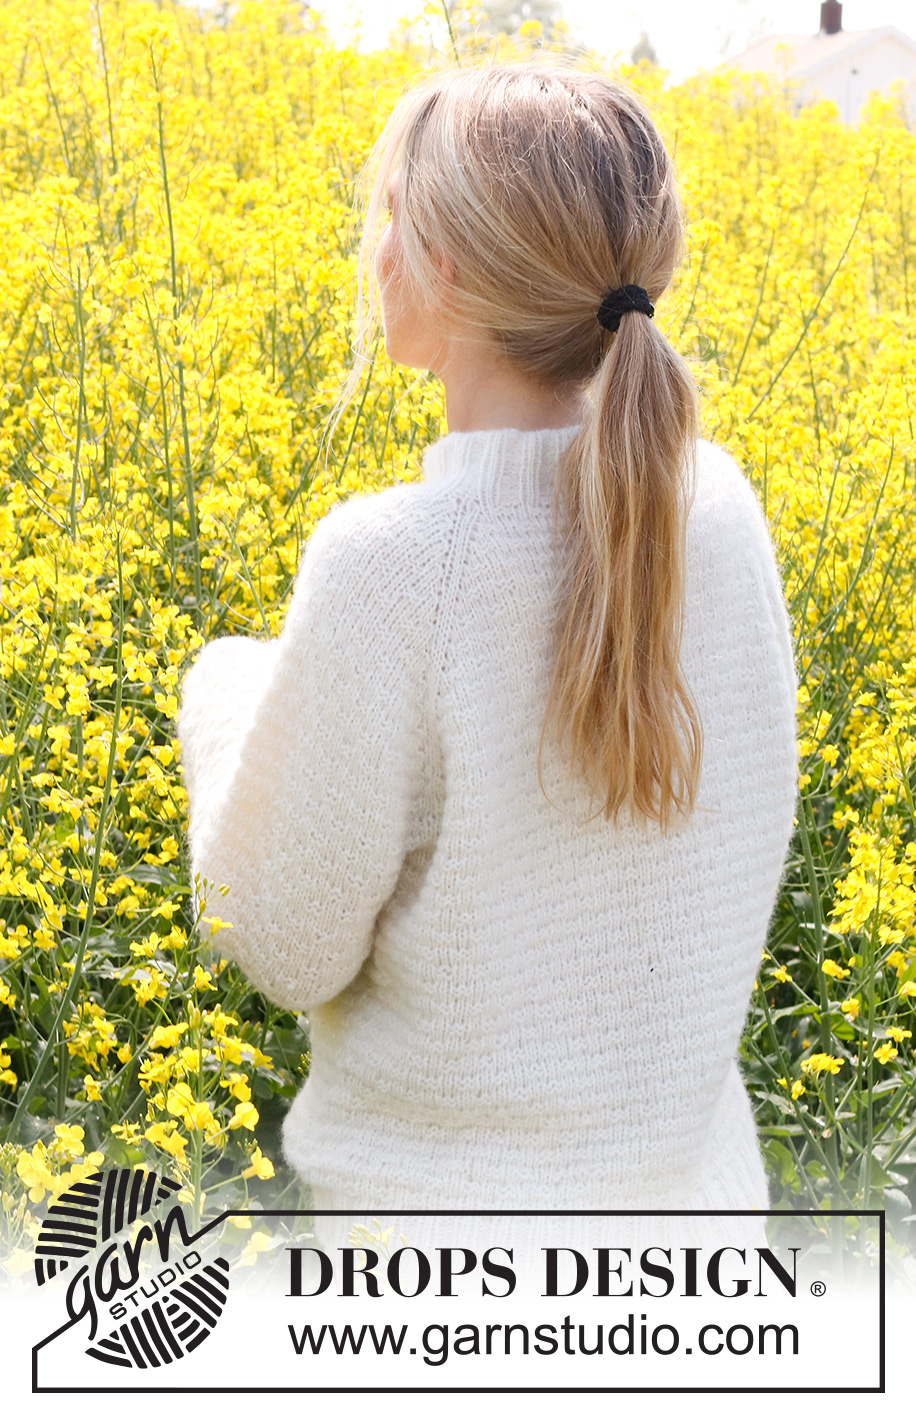
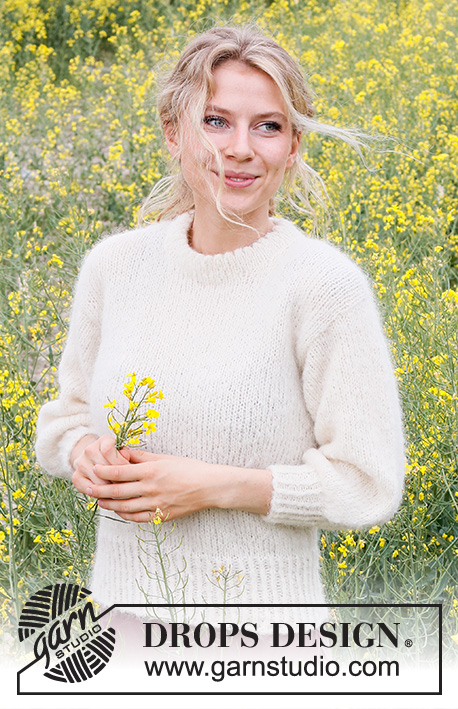
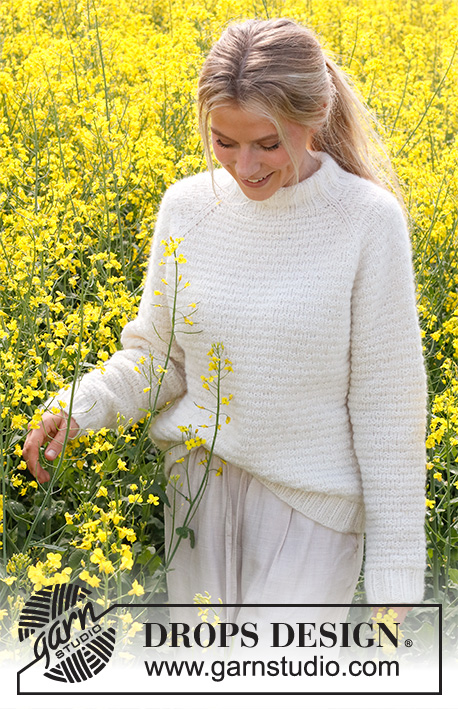
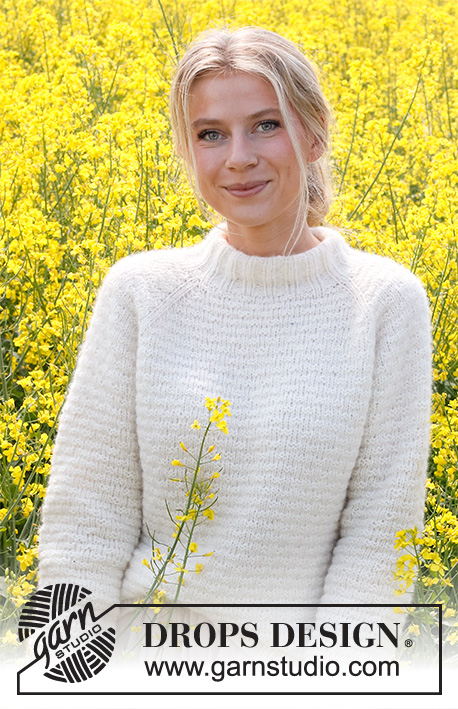
Knitted jumper in DROPS Air. The piece is worked top down with raglan, moss stitch and double neck. Sizes S - XXXL.
DROPS 230-15 |
|||||||
|
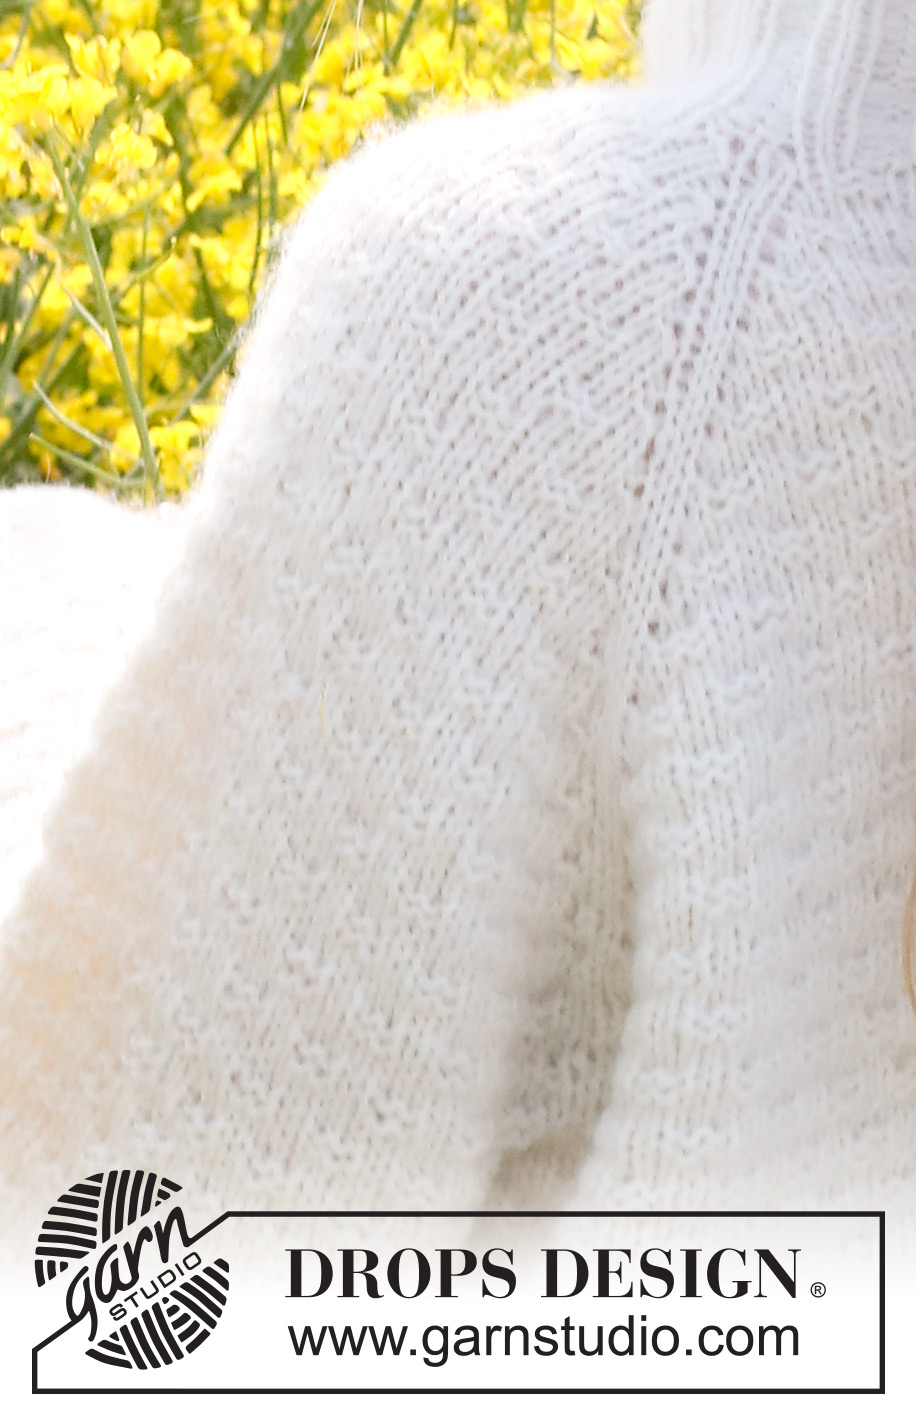
------------------------------------------------------- EXPLANATIONS FOR THE PATTERN: ------------------------------------------------------- PATTERN: See diagram A.1. RAGLAN: Increase to raglan on each side of the 2 knitted stitches at each marker: Work 1 stitch past the first marker, make 1 yarn over. Work until there is 1 stitch left before the next marker, make 1 yarn over. Increase like this at each marker. The increased stitches are knitted twisted on the next round then worked into the pattern. DECREASE TIP: Decrease 1 stitch on each side of the marker as follows: Work until there are 3 stitches left before the marker, knit 2 together, knit 2 (marker sits between these 2 stitches), slip 1 stitch as if to knit, knit 1 and pass the slipped stitch over the knitted stitch. ------------------------------------------------------- START THE PIECE HERE: ------------------------------------------------------- JUMPER – SHORT OVERVIEW OF THE PIECE: The neck and yoke are worked in the round with circular needle, top down. The yoke is divided for the body and sleeves and the body is continued in the round. The sleeves are worked in the round, with short circular needle/double pointed needles, top down. DOUBLE NECK: Cast on 100-100-110-120-120-130 stitches with circular needle size 4.5 mm and DROPS Air. Work rib in the round (knit 3, purl 2) for 4 cm. Work the next round and decrease as follows: * Knit 1, knit 2 together, purl 2 *, work from *-* to the end of the round = 80-80-88-96-96-104 stitches. Continue the new rib (knit 2, purl 2) until the neck measures 16 cm. Knit 1 round. YOKE: Change to circular needle size 5 mm. Insert 1 marker at the beginning of the round. The yoke is measured from this marker! Insert 4 markers while working the stitches as follows: Insert 1 marker at the beginning of the round, knit 1, work 12 stitches in pattern A.1 (sleeve), knit 2 and insert 1 marker between these 2 stitches, work 24-24-28-32-32-36 stitches in pattern A.1 (front piece), knit 2 and insert 1 marker between these 2 stitches, work 12 stitches in pattern A.1 (sleeve), knit 2 and insert 1 marker between these 2 stitches, work 24-24-28-32-32-36 stitches in pattern A.1 (back piece), knit 1. READ THE NEXT SECTION BEFORE CONTINUING! On the next round begin to increase to RAGLAN – read description above, while continuing with A.1. REMEMBER THE KNITTING TENSION! Increase to raglan every 2nd round a total of 21-24-26-28-31-33 times = 248-272-296-320-344-368 stitches. Continue the pattern without further increases until the yoke measures 21-23-24-26-28-30 cm from the marker. Now divide for the body and sleeves as follows: Work 4-3-2-2-4-4 stitches (part of the back piece), place the next 48-56-62-66-68-72 stitches on a thread (sleeve), cast on 6-6-8-8-8-8 stitches under the sleeve, work 76-80-86-94-104-112 stitches (front piece), place the next 48-56-62-66-68-72 stitches on a thread (sleeve), cast on 6-6-8-8-8-8 stitches under the sleeve, work the last 72-77-84-92-100-108 stitches (a total of 76-80-86-94-104-112 stitches on the back piece). BODY: = 164-172-188-204-224-240 stitches. Insert 1 marker in the middle of the cast-on stitches under each sleeve. Continue in the round with pattern A.1. If the pattern does not fit under the sleeves, knit 2 stitches on each side of each marker; the other stitches should follow on from the pattern on the yoke. When the body measures 4 cm, decrease 1 stitch on each side of both markers - read DECREASE TIP. Repeat this decrease every 6-7-6-6-7-5 cm a total of 4-3-4-4-3-4 times = 148-160-172-188-212-224 stitches. Work until the body measures 25-25-26-26-25-25 cm from the division - adjust to finish with 2 rounds of stocking stitch (or to desired length, there is 5 cm left). Change to circular needle size 4 .5 mm and work rib (knit 2, purl 2) for 5 cm. Loosely cast off with knit over knit and purl over purl. The piece measures approx. 55-57-59-61-63-65 cm from the shoulder down. SLEEVES: Place the 48-56-62-66-68-72 stitches from the thread on the one side of the piece on short circular needle/double pointed needles size 5 mm and knit up 1 stitch in each of the 6-6-8-8-8-8 stitches cast on under the sleeve = 54-62-70-74-76-80 stitches. Insert a marker in the middle of the 6-6-8-8-8-8 stitches under the sleeve. Start at the marker and work A.1 in the round. If the pattern does not fit under the sleeve, knit 2 stitches on each side of the marker, the other stitches continue the pattern from the yoke. When the sleeve measures 3 cm, decrease 2 stitches under the sleeve – remember DECREASE TIP. Decrease like this every 4-2½-1½-1½-1½-1 cm a total of 7-11-15-15-16-18 times = 40-40-40-44-44-44 stitches. Continue working until the sleeve measures 35-34-33-31-30-28 cm - adjust to finish with 2 rounds of stocking stitch (or to desired length, there is approx. 5 cm left). Change to double pointed needles size 4.5 mm and work rib (knit 2, purl 2) for 5 cm. Loosely cast off with knit over knit and purl over purl. Work the other sleeve in the same way. ASSEMBLY: Fold the neck double to the inside and sew down. To avoid the neck being tight and rolling outwards, it is important that the seam is elastic. |
|||||||
Diagram explanations |
|||||||
|
|||||||
 |
|||||||
Have you finished this pattern?Tag your pictures with #dropspattern #provencedreamsweater or submit them to the #dropsfan gallery. Do you need help with this pattern?You'll find 25 tutorial videos, a Comments/Questions area and more by visiting the pattern on garnstudio.com. © 1982-2026 DROPS Design A/S. We reserve all rights. This document, including all its sub-sections, has copyrights. Read more about what you can do with our patterns at the bottom of each pattern on our site. |
|||||||


With over 40 years in knitting and crochet design, DROPS Design offers one of the most extensive collections of free patterns on the internet - translated to 17 languages. As of today we count 324 catalogues and 12290 patterns translated into English (UK/cm). 12290
We work hard to bring you the best knitting and crochet have to offer, inspiration and advice as well as great quality yarns at incredible prices! Would you like to use our patterns for other than personal use? You can read what you are allowed to do in the Copyright text at the bottom of all our patterns. Happy crafting!
Post a comment to pattern DROPS 230-15
We would love to hear what you have to say about this pattern!
If you want to leave a question, please make sure you select the correct category in the form below, to speed up the answering process. Required fields are marked *.