
Popular categories
Looking for a yarn?


Comments / Questions (14)
![]() Angelique wrote:
Angelique wrote:
If the stitch markers should be moved to the first stitch and last stitch of A2 then i will need 8 stitch makers, meaning i will increase 16 stitches in one row, if i have to increase 1 stitch on each side of the stitch marker. Please help me as i understand NONE of the yoke increase. I have knitted plenty of sweaters and this is the first time im battling so much. The pattern is not making sense
13.08.2025 - 14:42DROPS Design answered:
Dear Angelique, you should increase only 8 sts for yoke, just as for a raglan; the raglan stitches are now the first stitch at the beginning of the sleeve and the last stitch at the end of the sleeve and you will increase on each side of these stitches = 8 sts per round. Happy knitting!
14.08.2025 - 08:32
![]() Angelique wrote:
Angelique wrote:
Read the first sentence of the YOKE INCREASE! It makes no sence. The stitch markers according to that sentence should stay in the arm increase. Should it not move to the yoke for increasing?
12.08.2025 - 07:58DROPS Design answered:
Dear Angelique, the markers should now be moved in the first stitch + in the last stitch each A.2, and you will now increase 1 stitch on each side of the stitch with a marker in (for both front/back pieces and sleeves). Happy knitting!
12.08.2025 - 09:19
![]() Angelique wrote:
Angelique wrote:
I have no idea what to do with the stitch markers in YOKE INCREASE. It makes no sence to me. Please help?
11.08.2025 - 20:33DROPS Design answered:
Hi Angelique, The stitch markers follow your work onwards, so when you have increased before the marker (as described in Increase Tip-1), it is moved onto the right needle before increasing after the marker. This is repeated for all 4 markers. Regards, Drops team.
12.08.2025 - 06:45
![]() Carine Batta wrote:
Carine Batta wrote:
Bonjour! Pour les augmentations des manches, elles se font après les 1er et 3ème marqueurs inclinées vers la gauche et avant les 2ème et 4ème marqueurs inclinées vers la droite. C'est bien ça? De même que pour les augmentations empiècement: avant chaque marqueur l'augmentation sera inclinée vers la droite et après chaque marqueur elle sera inclinée vers la gauche?
06.02.2025 - 17:19DROPS Design answered:
Bonjour Mme Batta, lorsque vous augmentez avant les marqueurs, les augmentations doivent être inclinées à droite et lorsque vous augmentez après les marqueurs, elles doivent être inclinées à gauche - cf AUGMENTATIONS-1: au début des explications. Bon tricot!
07.02.2025 - 08:11
![]() Megan wrote:
Megan wrote:
Under Yoke section, "Work 1 round with knit over knit, purl over purl and last row in A.1 over A.1. Then increase for saddle shoulder as explained below," how many rounds are there all together? A1 itself has two rounds, plus "knit over knit, purl over purl," that's 3 rounds. What does "last row in A.1 over A.1" mean? I believe for this section of the garment, you are only supposed to increase 20 stitches for size small. Thank you.
21.07.2024 - 02:55DROPS Design answered:
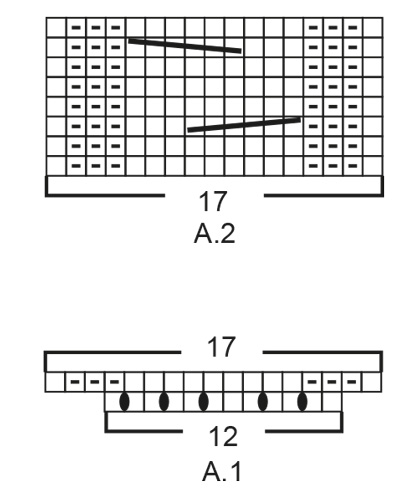
Dear Megan, there is only 1 round. In the previous round, you worked the first row in chart A.1 and the rest of the stitches were worked in stocking stitch. Since you had 4 A.1 repeats and there are 5 increases in each chart of A.1, you should have increased 20 stitches, from 104 to 124 stitches in size S. Then, work the next round as follows: work as the previous round but knit over the knitted stitches of the previous round, purl over the purled stitches in the previous round and work the second round of A.1 (with 17 stitches) over the stitches of each repeat of A.1 of the previous round. Happy knitting!
22.07.2024 - 01:46
![]() Megan wrote:
Megan wrote:
Hi, For the first occasion to increase stitches at the end of the neckline, is there a recommended method? I mean to increase 24 stitches in one round for size Small. Should we follow the increase tip for before and after marker? Thank you.
10.07.2024 - 23:43DROPS Design answered:
Dear Megan, the increase tip-1 is for the saddle shoulders. For the neckline, you can increase evenly simply making yarn overs, like in this video: https://www.garnstudio.com/video.php?id=12&lang=en. Remember to spread the increases. Happy knitting!
15.07.2024 - 01:12
![]() Ginette wrote:
Ginette wrote:
Je vous recontacte autre question aux augmentations de l empiècement vous dites augmenter 8 mailles puis après 6 fois 8 mailles pour la taille S du coup le nombre de mailles totales ne sera pas de 272 m mais 280 m, y a t il une erreur dans les explications ou c est moi qui me trompe. Merci d avance Cordialement Ginette
17.01.2024 - 14:03DROPS Design answered:
Bonjour Ginette, avant les augmentations de l'empiècement, vous avez 224 mailles en taille S, vous augmentez ensuite 6 fois (au total, pas 1 fois + 6 fois) 8 mailles soit 48 mailles, vous avez ainsi 244+48= 272 mailles. Bon tricot!
18.01.2024 - 08:27
![]() Ginette wrote:
Ginette wrote:
Je suis surprise de n avoir pas eu de réponse à ma demande du 22.12.23 .Je la réitère donc. J ai fait le col et les augmentations en faisant 4 fois A1 je ne comprends pas le tour suivant et surtout le dernier rang de A1 au dessus de A1. Il n y a bien qu une torsade sur le devant gauche ? Merci de m aider svp. Cordialement Ginette
02.01.2024 - 18:55DROPS Design answered:
Bonjour Ginette, au 1er rang de A.1 vous allez augmenter 5 mailles (les 5 jetés), au 2ème rang de A.1 vous allez tricoter les 17 mailles obtenues ainsi: 1 maille endroit, 3 mailles envers, 9 mailles endroit, 3 mailles envers, 1 maille endroit - au 3ème tour, vous commencez A.2. Les torsades commencent au 3ème tour de A.2 (5ème tour y compris A.1). Quand A.2 est terminé, vous répétez A.2 en hauteur, A.1 ne se fait qu'une seule fois pour augmenter le nombre de mailles pour les torsades. Vous avez bien 4 A.1 donc 4 torsades = 1 à chaque raglan. Bon tricot!
03.01.2024 - 08:27
![]() Heidi wrote:
Heidi wrote:
This pattern has 17sts/10cm and the body part is supposed to be 2*53=106cm in size M. It has 200 sts, which is 200)17=116,7cm, an extra 10cm. Then another 8 stitches are added, supposed to be 110cm but 208/17=122cm. Can you please tell me is there any way to fix this so that I could make the size it was supposed to be? I've only knit one top down pullover before and it had yoke. Please answer soon, I' hoping to finish this on Wednesday on a 8hours car ride up north
11.02.2023 - 00:01DROPS Design answered:
Dear Heidi, the number of stitches is correct. The cable pattern usually tightens the garment, so the gauge (which had been calculated in normal stocking stitch) will increase (there will be more sts per cm). To counter it, we add more stitches for the body in advance, so that the measurements will match the final measurements. Happy knitting!
13.02.2023 - 00:11
![]() Lynda Staley wrote:
Lynda Staley wrote:
How many balls / weight / meters of category C yarn needed for size small and size medium?
20.12.2022 - 17:56DROPS Design answered:
Hi Linda Stanley! You can use our yarn calculator here Happy knitting!
20.12.2022 - 22:26
|
||||||||||||||||||||||||||||
Cabled Bliss#cabledblisssweater |
||||||||||||||||||||||||||||
 |
 |
|||||||||||||||||||||||||||
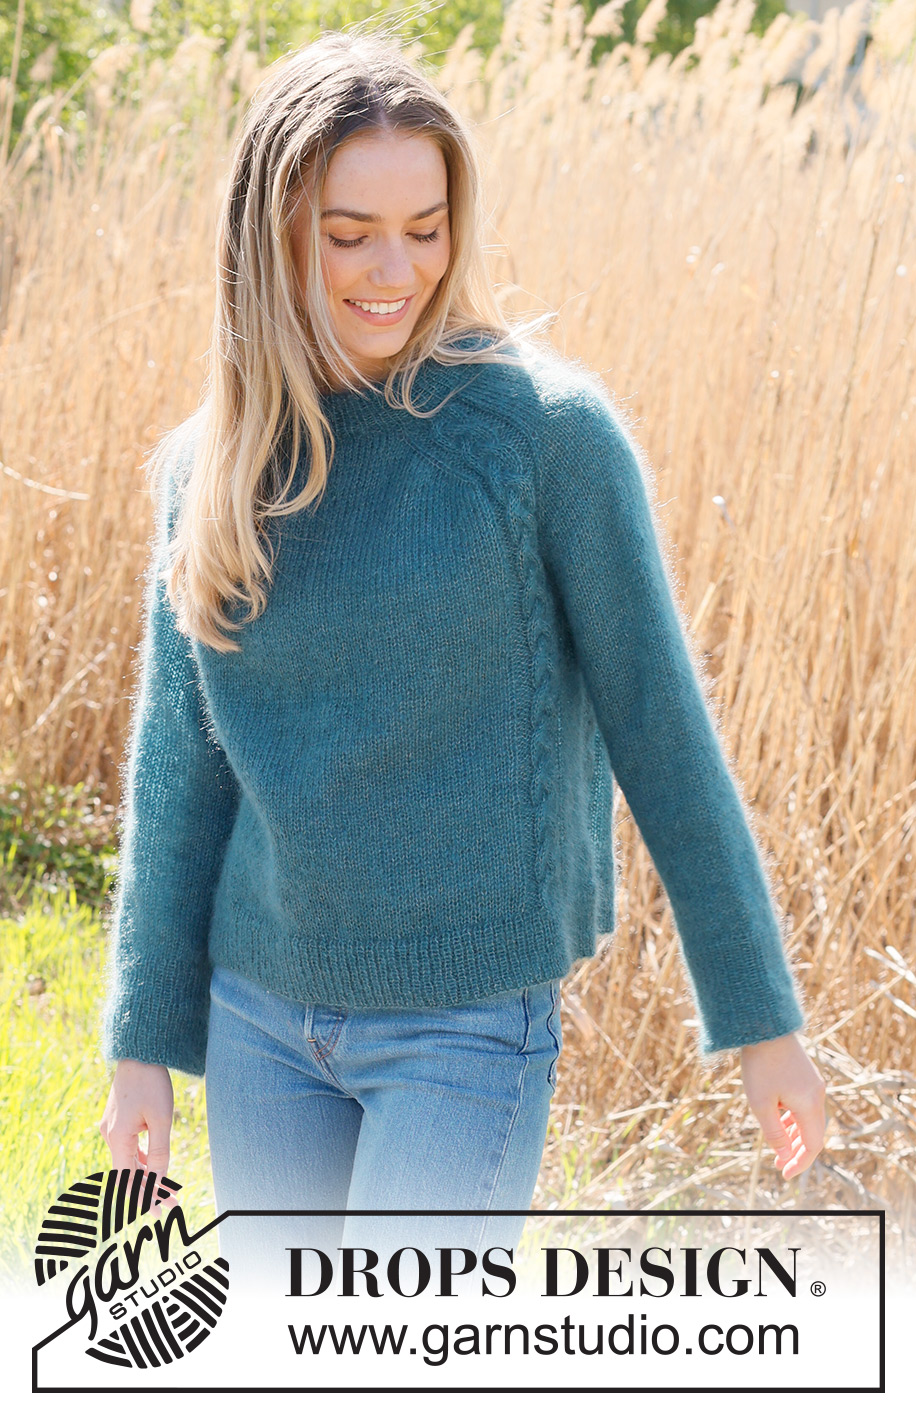
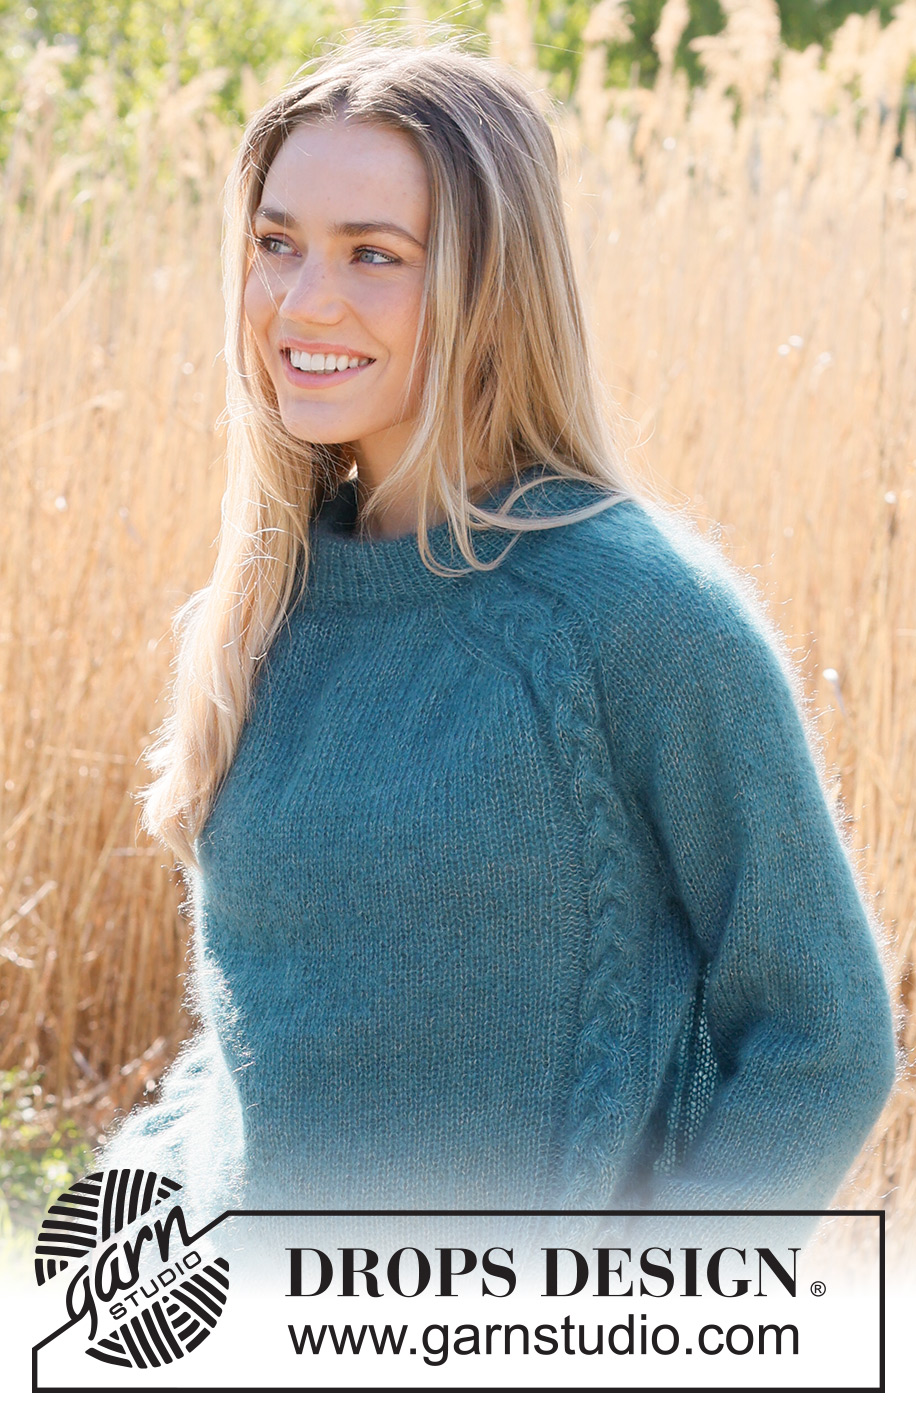
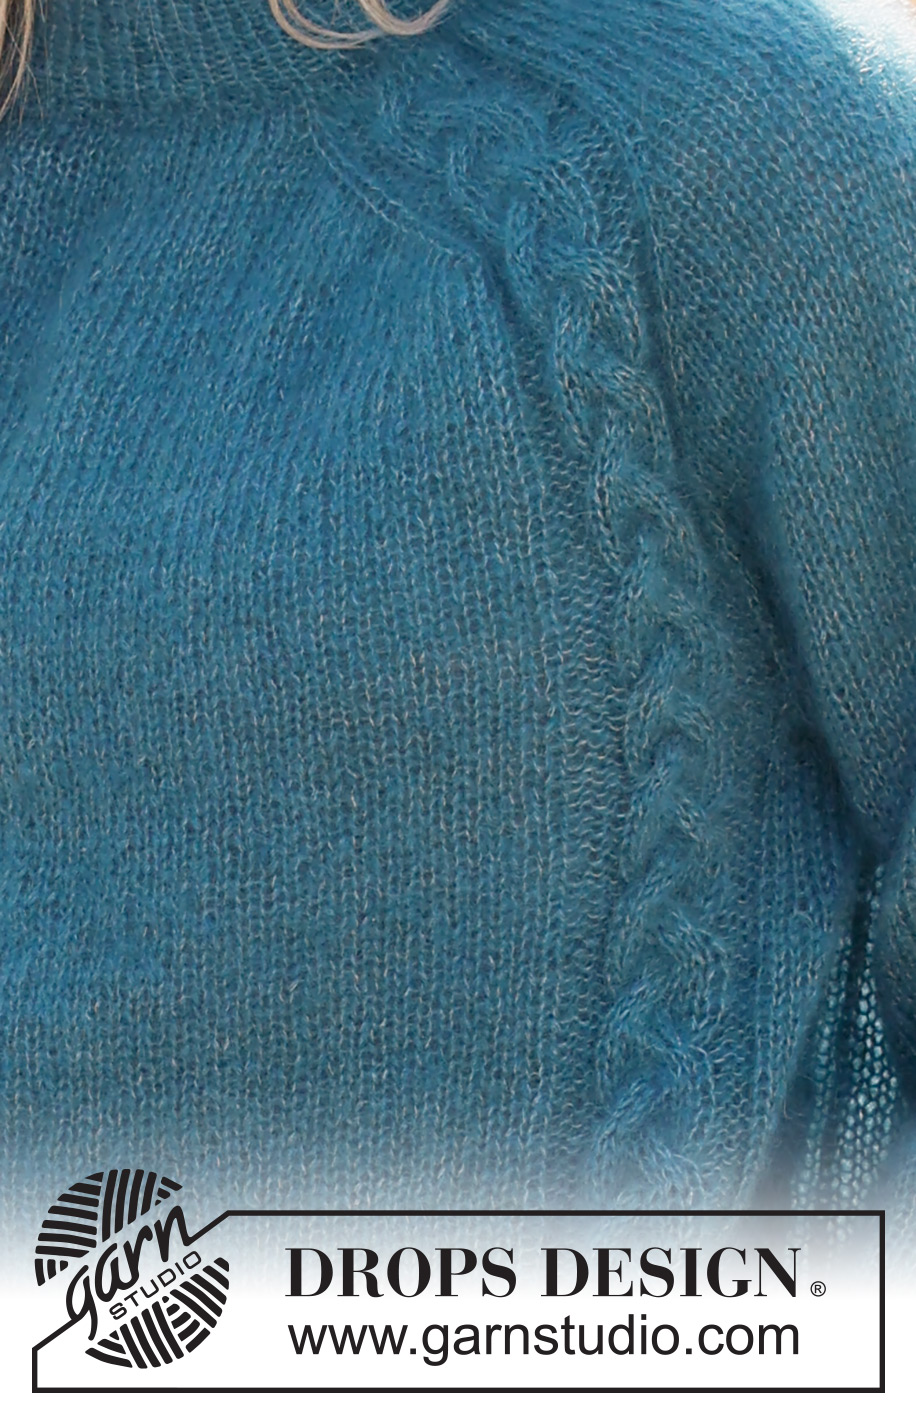
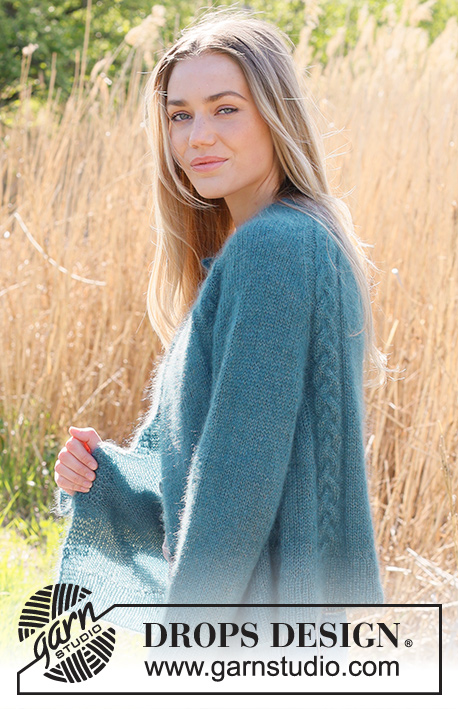
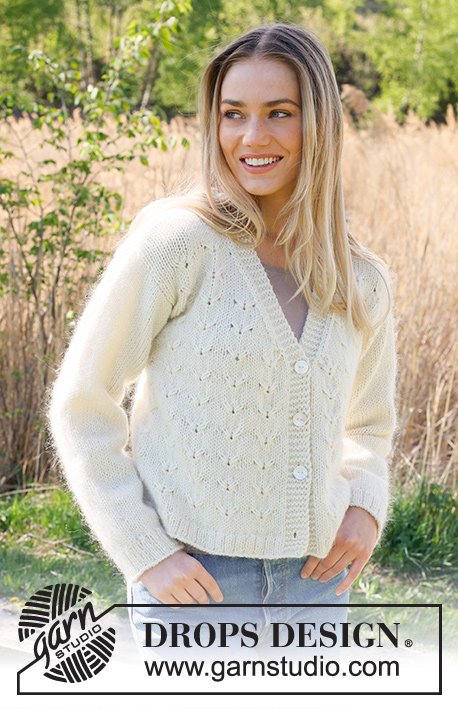
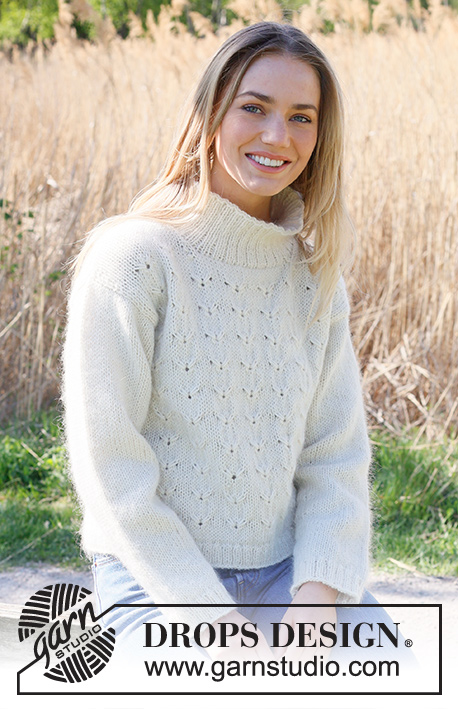
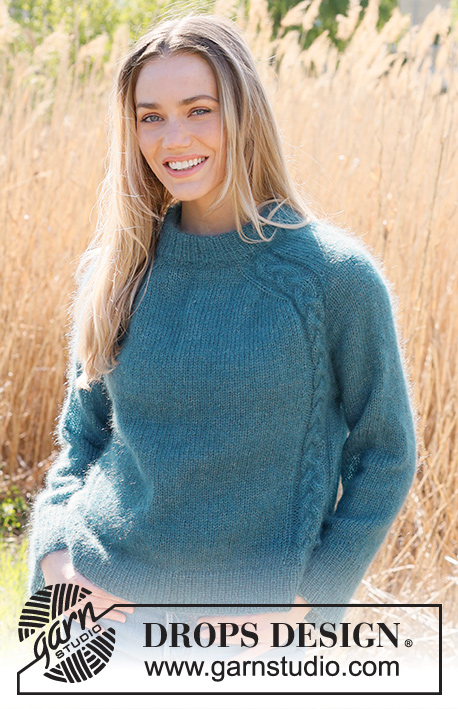
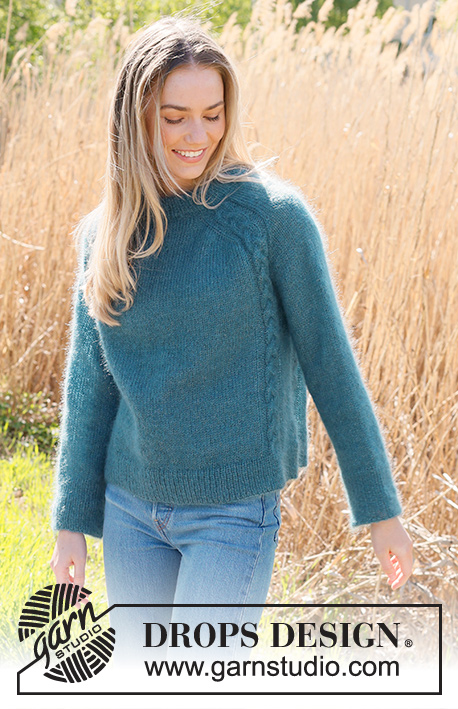
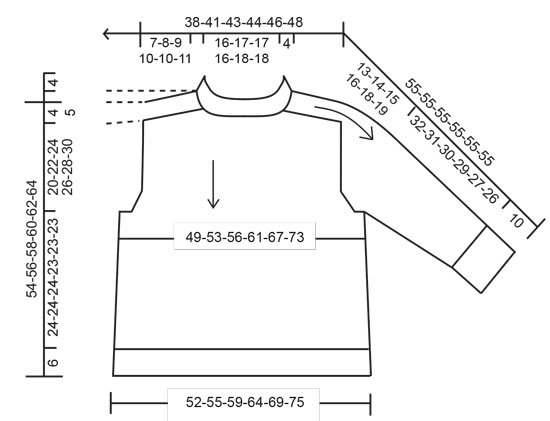
Knitted jumper in 2 strands DROPS Kid-Silk. Piece is knitted top down with double neck edge, saddle shoulders and cables. Size: S - XXXL
DROPS 236-25 |
||||||||||||||||||||||||||||
|
---------------------------------------------------------- EXPLANATION FOR THE PATTERN: ---------------------------------------------------------- PATTERN: See diagrams A.1 and A.2. INCREASE TIP-1: BEFORE MARKER: The new stitch is twisted towards the right as follows: Use left needle to pick up yarn between 2 stitches from round below, pick up yarn from the back and knit stitch in front loop of stitch. AFTER MARKER: The new stitch is twisted towards the left as follows: Use left needle to pick up yarn between 2 stitches from round below, pick up yarn from the front and knit stitch in back loop of stitch. INCREASE TIP-2 (applies to sides of body): Work until 3 stitches remain before marker thread, make 1 yarn over, knit 6 (marker thread is in the middle of these 6 stitches), make 1 yarn over (= 2 stitches increased at marker thread). On next round knit yarns over twisted to avoid holes. Then work the new stitches in stocking stitch. DECREASE TIP (applies to mid under sleeves): Begin 3 stitches before marker thread, slip 1 stitch knitwise, knit 1, pass slipped stitch over stitch worked, knit 2 (marker is in the middle of these 2 stitches), knit 2 together (= 2 stitches decreased). ---------------------------------------------------------- START THE PIECE HERE: ---------------------------------------------------------- JUMPER - SHORT OVERVIEW OF THE PIECE: Work double neck edge and yoke in the round on circular needle from mid back, top down. Increase stitches for saddle shoulders, then increase stitches for sleeves, and increase stitches for yoke. Now divide yoke for body and sleeves. Work the body in the round on circular needle. Work sleeves in the round on double pointed needles/a short circular needle. DOUBLE NECK EDGE: Cast on 80-84-86-90-94-96 stitches on a short circular needle size 5 mm with 1 strand of colour north sea and 2 strands of colour denim blue (3 strands). Remove one strand of colour denim blue. Switch to a short circular needle size 4 mm. Work the rest of garment with 1 strand in each colour in DROPS Kid-Silk (2 strands). Knit 1 round. Work rib (= knit 1/purl 1) for 9 cm. Then knit 1 round while increasing 24-24-26-26-26-28 stitches evenly = 104-108-112-116-120-124 stitches. Insert 1 marker after the first 26-27-28-29-30-31 stitches on needle (in the middle of one shoulder). Work yoke as explained below - measure yoke from this marker! YOKE: Switch to circular needle size 5 mm. Insert 4 new markers in piece as explained below – without working the stitches. Use these markers when increasing stitches for saddle shoulders, sleeves and yoke. They should be in a different colour than the marker inserted on the shoulder. 1st marker: Begin mid back, count 7-8-9-9-10-11 stitches (½ back piece), insert 1st marker before next stitch. 2nd marker: Count 38-38-38-40-40-40 stitches from 1st marker (shoulder stitches), insert 2nd marker before next stitch. 3rd marker: Count 14-16-18-18-20-22 stitches from 2nd marker (front piece), insert 3rd marker in next stitch. 4th marker: Count 38-38-38-40-40-40 stitches from 3rd marker (shoulder stitches), insert 4th marker before next stitch. 7-8-9-9-10-11 stitches remain on back piece after last marker. Move these 4 markers upwards when working, increase at each of these markers later. Work next round as follows: 7-8-9-9-10-11 stitches in stocking stitch, A.1, 14-14-14-16-16-16 stitches in stocking stitch, A.1, 14-16-18-18-20-22 stitches in stocking stitch, A.1, 14-14-14-16-16-16 stitches in stocking stitch, A.1, 7-8-9-9-10-11 stitches in stocking stitch. There are now 124-128-132-136-140-144 stitches on needle. Work 1 round with knit over knit, purl over purl and last row in A.1 over A.1. Then increase for saddle shoulder as explained below: SADDLE SHOULDER INCREASE: Read all of the following section before continuing! Continue piece in stocking stitch on front piece, back piece and over shoulder stitches and A.2 over A.1 (repeat A.2 vertically). AT THE SAME TIME on first round increase 4 stitches for saddle shoulder as follows: Increase BEFORE 1st and 3rd marker (i.e. before A.2) and increase AFTER 2nd and 4th marker (i.e. After A.2) – read INCREASE TIP-1. Increase only on front piece and back piece and number of shoulder stitches stays the same. Continue the pattern like this, and increase the same way on EVERY round 12-14-16-18-18-20 times in total, then increase every other round 2 times in total - work the increased stitches in stocking stitch. REMEMBER THE KNITTING TENSION! After last increase there are 180-192-204-216-220-232 stitches on the needle and piece measures approx. 7-8-9-10-10-11 cm from marker at the neck. Then increase for sleeves as explained below. SLEEVE INCREASE: Move the 4 markers from increase for saddle shoulder so that they are placed on each side of the middle 14-14-14-16-16-16 stitches on each shoulder (i.e. in opposite side of A.2). Continue pattern as before. AT THE SAME TIME on next round increase 4 stitches for sleeves as follows: Increase AFTER 1st and 3rd marker and increase BEFORE 2nd and 4th marker – remember INCREASE TIP-1. Increase now only on sleeves and number of stitches on front piece and back piece stays the same. Increase like this every other round 11-13-13-14-14-14 times in total, and then every round 0-0-3-3-0-0 times in total. After last increase there are 224-244-268-284-276-288 stitches on the needle and piece measures approx. 17-20-22-24-23-24 cm from marker at the neck. Then increase for yoke as explained below. YOKE INCREASE: Move the 4 markers from increase for sleeves so that they are place in outermost stitch in stocking stitch in each side on sleeves, i.e. in first/last stitch in A.2. Continue pattern as before. AT THE SAME TIME on next round increase 8 stitches for yoke by increasing both before and after each of the 4 stitches with markers - remember INCREASE TIP-1. Work the increased stitches in stocking stitch. Increase like this every other round 0-0-0-0-4-4 times in total, and then every round 6-5-4-5-4-5 times in total. After last increase there are 272-284-300-324-340-360 stitches on the needle and piece measures approx. 20-22-24-26-28-30 cm from marker at the shoulder. If the garment is shorter than this, continue as before (without increases) until correct measurements. On next round divide piece for body and sleeves as follows: Work the first 44-46-48-51-55-59 stitches as before (½ back piece), slip the next 48-50-54-60-60-62 stitches on a thread for sleeve, cast on 6-8-10-12-14-16 new stitches on row (in the side under sleeve), work 88-92-96-102-110-118 stitches as before (front piece), slip the next 48-50-54-60-60-62 stitches on a thread for sleeve, cast on 6-8-10-12-14-16 new stitches on row (in the side under sleeve) and work the last 44-46-48-51-55-59 stitches as before (= ½ back piece). Finish body and sleeves separately. NOW MEASURE PIECE FROM HERE! BODY: = 188-200-212-228-248-268 stitches. Insert 1 marker thread in each side on body – in the middle of the 6-8-10-12-14-16 stitches that were cast on under each sleeve. Move the marker threads upwards when working; they should be used for increase later in the sides on body. Work in stocking stitch in the round, and continue A.2 as before. When piece measures 6 cm from division, increase 1 stitch on each side of marker threads - read INCREASE TIP-2. Repeat increase when piece measures 15 cm from division = 196-208-220-236-256-276 stitches. Work until piece measures 24-24-24-23-23-23 cm from division. Knit 1 round while increasing 42-44-46-50-54-58 stitches evenly = 238-252-266-286-310-334 stitches. Switch to circular needle size 4 mm. Work rib (knit 1/purl 1) for 6 cm. Loosely cast off. Jumper measures approx. 54-56-58-60-62-64 cm from shoulder and down. SLEEVES: Slip the 48-50-54-60-60-62 stitches from stitch holder in one side of piece on double pointed needles or a short circular needle size 5 mm and pick in addition up 1 stitch in each of the 6-8-10-12-14-16 new stitches cast on under sleeve = 54-58-64-72-74-78 stitches. Insert 1 marker thread mid under sleeve, i.e. in the middle of the 6-8-10-12-14-16 stitches that were cast on under sleeves. Begin round at the marker thread and work stocking stitch in the round. When sleeve measures 8-6-4-3-3-3 cm from division, decrease 2 stitches mid under sleeve - read DECREASE TIP. Decrease like this every 8-6-4-2½-2½-2 cm 3-4-6-10-10-11 times in total = 48-50-52-52-54-56 stitches. Work until sleeve measures 32-31-30-29-27-26 cm from division. 10 cm remain until finished measurements. Try the jumper and work to desired length before rib. Knit 1 round while increasing 16-16-16-18-18-20 stitches evenly = 64-66-68-70-72-76 stitches. Switch to double pointed needles size 4 mm. Work rib (knit 1/purl 1) for 10 cm. Loosely cast off. Sleeve measures approx. 42-41-40-39-37-36 cm from division. Work the other sleeve the same way. ASSEMBLY: Fold rib at the top of neck double in towards wrong side of garment. Fasten the rib. To avoid a tight neck edge that sticks out it is important to keep the seam elastic. |
||||||||||||||||||||||||||||
Diagram explanations |
||||||||||||||||||||||||||||
|
||||||||||||||||||||||||||||
 |
||||||||||||||||||||||||||||
 |
||||||||||||||||||||||||||||
 |
||||||||||||||||||||||||||||
Have you finished this pattern?Tag your pictures with #dropspattern #cabledblisssweater or submit them to the #dropsfan gallery. Do you need help with this pattern?You'll find 33 tutorial videos, a Comments/Questions area and more by visiting the pattern on garnstudio.com. © 1982-2026 DROPS Design A/S. We reserve all rights. This document, including all its sub-sections, has copyrights. Read more about what you can do with our patterns at the bottom of each pattern on our site. |
||||||||||||||||||||||||||||


With over 40 years in knitting and crochet design, DROPS Design offers one of the most extensive collections of free patterns on the internet - translated to 17 languages. As of today we count 324 catalogues and 12290 patterns translated into English (UK/cm). 12290
We work hard to bring you the best knitting and crochet have to offer, inspiration and advice as well as great quality yarns at incredible prices! Would you like to use our patterns for other than personal use? You can read what you are allowed to do in the Copyright text at the bottom of all our patterns. Happy crafting!
Post a comment to pattern DROPS 236-25
We would love to hear what you have to say about this pattern!
If you want to leave a question, please make sure you select the correct category in the form below, to speed up the answering process. Required fields are marked *.