Comments / Questions (8)
![]() Hanne wrote:
Hanne wrote:
Det står at bolen strikkes rundt på rundpinne, men i oppskriften står det at bakstykket strikke frem og tilbake først, og deretter forstykket frem og tilbake. Og at delene skal syes sammen etterpå.
31.03.2022 - 11:25DROPS Design answered:
Hei Hanne, Ja, du har rett at bolen er strikket i deler, fram og tilbake etter bærestykket er delt for ermehullene. Sidesømmene er sydd til slutt. God fornøyelse!
01.04.2022 - 06:58
![]() Sabine Adam wrote:
Sabine Adam wrote:
Vielen Dank!
22.03.2022 - 22:20
![]() Sabine Adam wrote:
Sabine Adam wrote:
Vielen Dank für Ihre schnelle Antwort! Hestetømmekant oder Hestetømmeaflukning stammt aus einer dänischen Strickanleitung und es handelt sich glaube ich um das Arbeiten eines Randes (kant = Kante), wie ich in YouTube gesehen habe. Ich wüsste gerne, wie das auf Deutsch heißt. Viele Grüße
18.03.2022 - 21:46DROPS Design answered:
Liebe Sabine, es handelt sich dabei um den I-Cord-Rand, mit dem abgekettet wird. Im Deutschen nennt sich die I-Cord auch Strickkordel. Auf unserer Homepage finden Sie unter Videotutorials -> Strickvideos -> Abketten das Video "Wie man mit einem Kordel-Rand (I-Cord-Rand) abkettet". Viel Spaß beim Stricken!
22.03.2022 - 20:14
![]() Sabine Adam wrote:
Sabine Adam wrote:
Danke, aber das soll ein Strickmuster sein..........
18.03.2022 - 15:25DROPS Design answered:
Liebe Frau Adam, was meinen Sie hier? Es gibt kein Diagram für dieses Modell, es wird - wie in der Anleitung geschrieben - mit Rippenmuster (1 Masche rechts verschränkt / 2 Maschen links) oder glat rechts gestrickt. Oder misverstehe ich Ihre Frage?
18.03.2022 - 15:27
![]() Sabine Adam wrote:
Sabine Adam wrote:
Guten Tag, können Sie mir sagen, was 'Hestetømmeaflukning' oder 'Hestetømme' (dänisch) auf Deutsch bedeutet? Vielen Dank. Sabine Adam
17.03.2022 - 23:07DROPS Design answered:
Liebe Frau Adam - nach Google Übersetzer bedeutet das "Pferdeentleerung".
18.03.2022 - 09:38
![]() Sonja wrote:
Sonja wrote:
Hübsches Modell. Watercolors
08.02.2022 - 19:50
![]() Nina wrote:
Nina wrote:
En rigtig stor trøje Navn BEDST
17.01.2022 - 17:10
![]() Drahomíra Rezlerová wrote:
Drahomíra Rezlerová wrote:
Pruhované rolo
16.01.2022 - 16:47
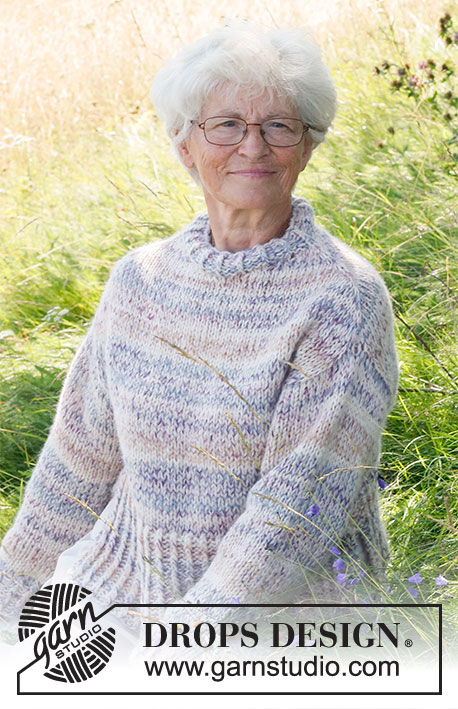
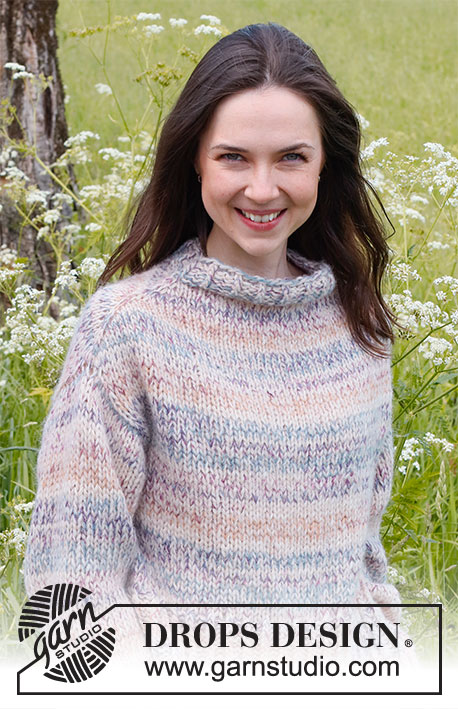
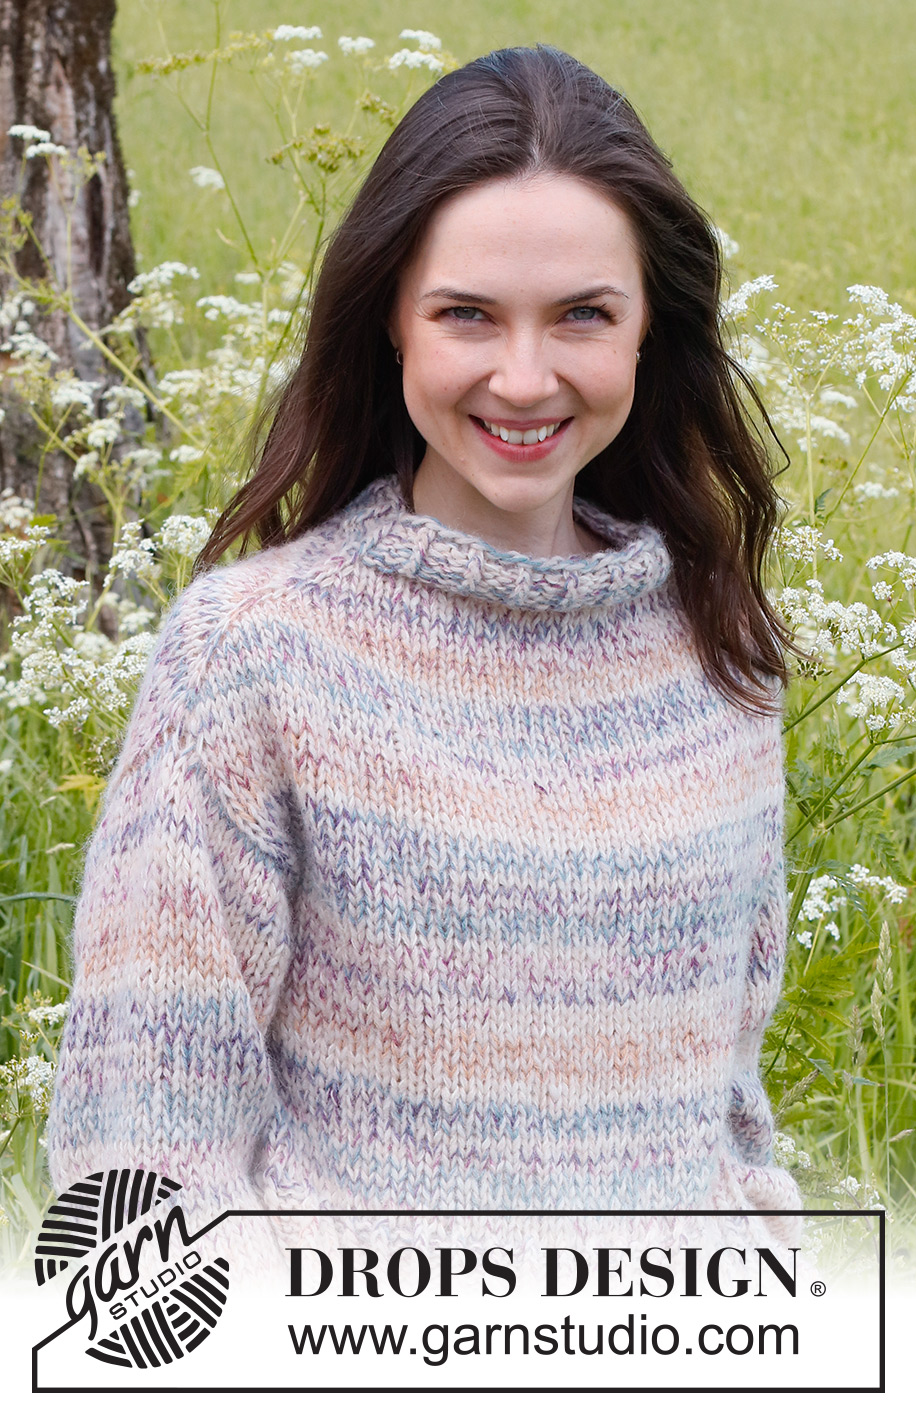
Dawn Mist#morningdawnsweater |
|
 |
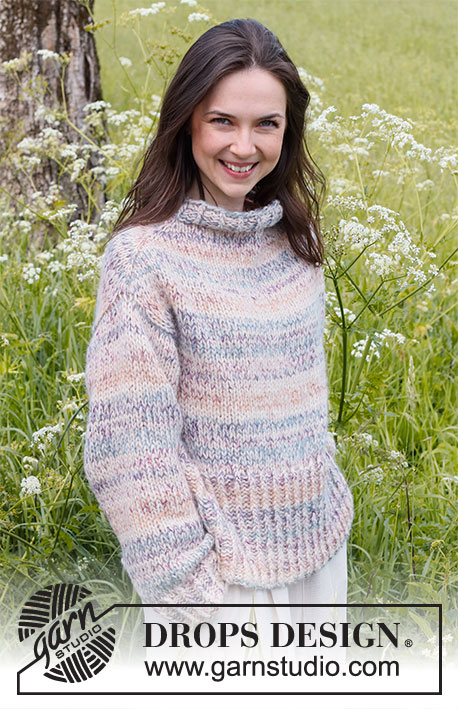 |
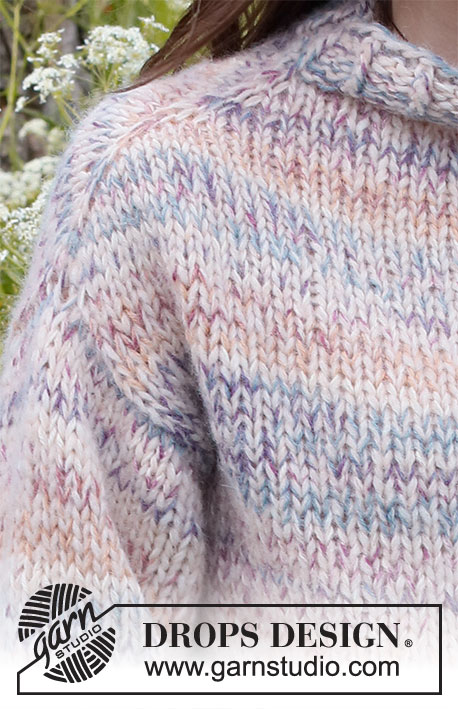
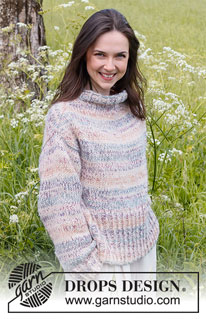
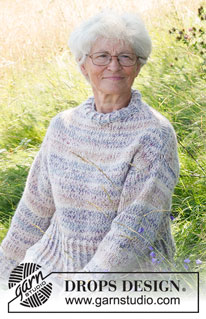
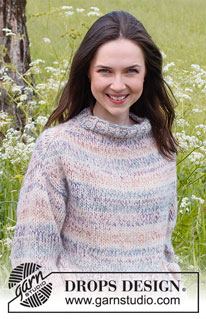
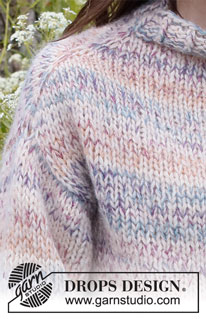
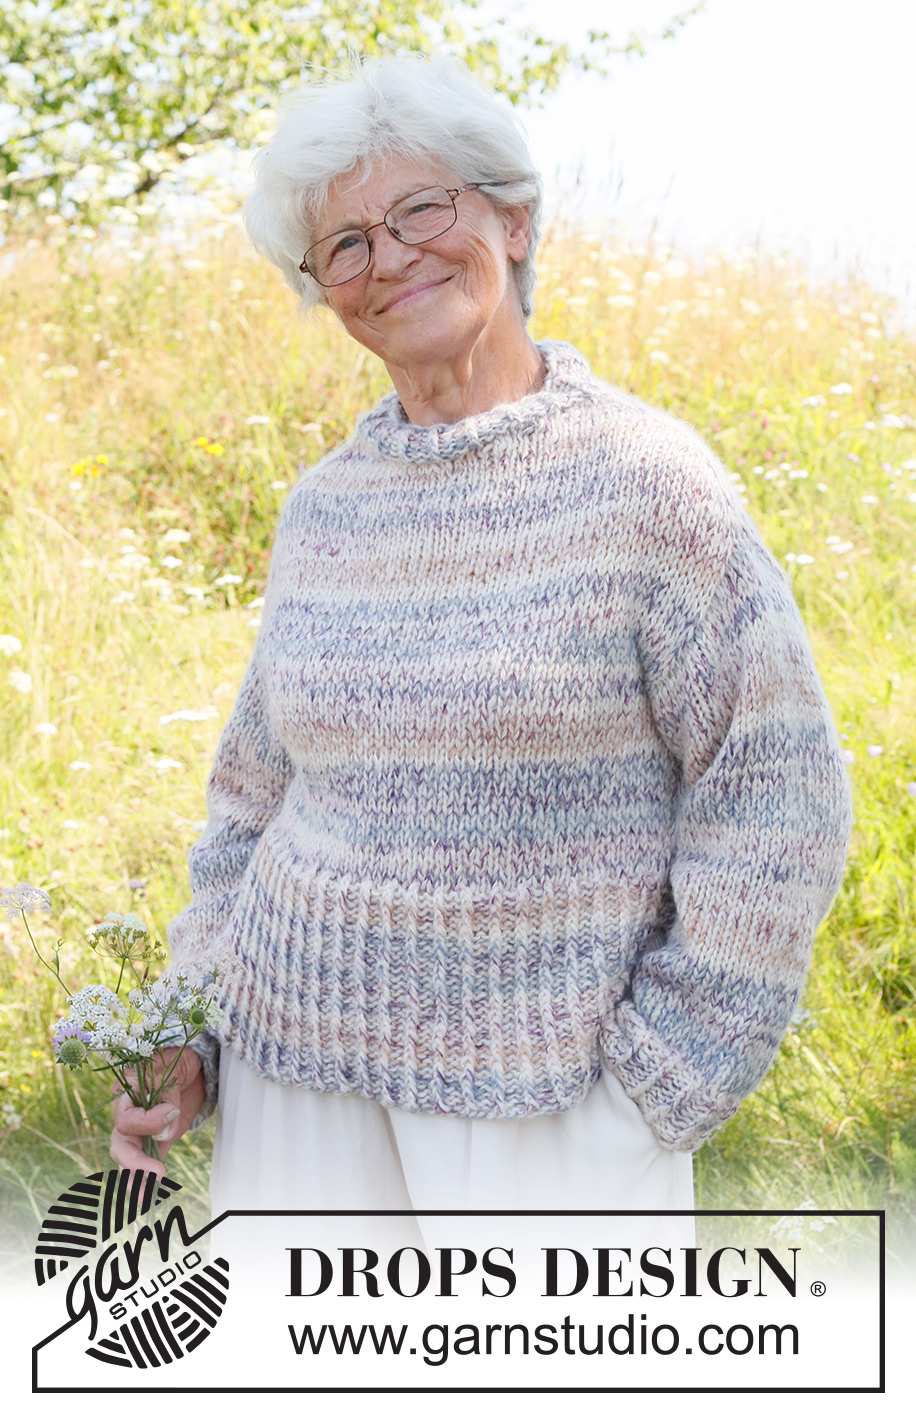
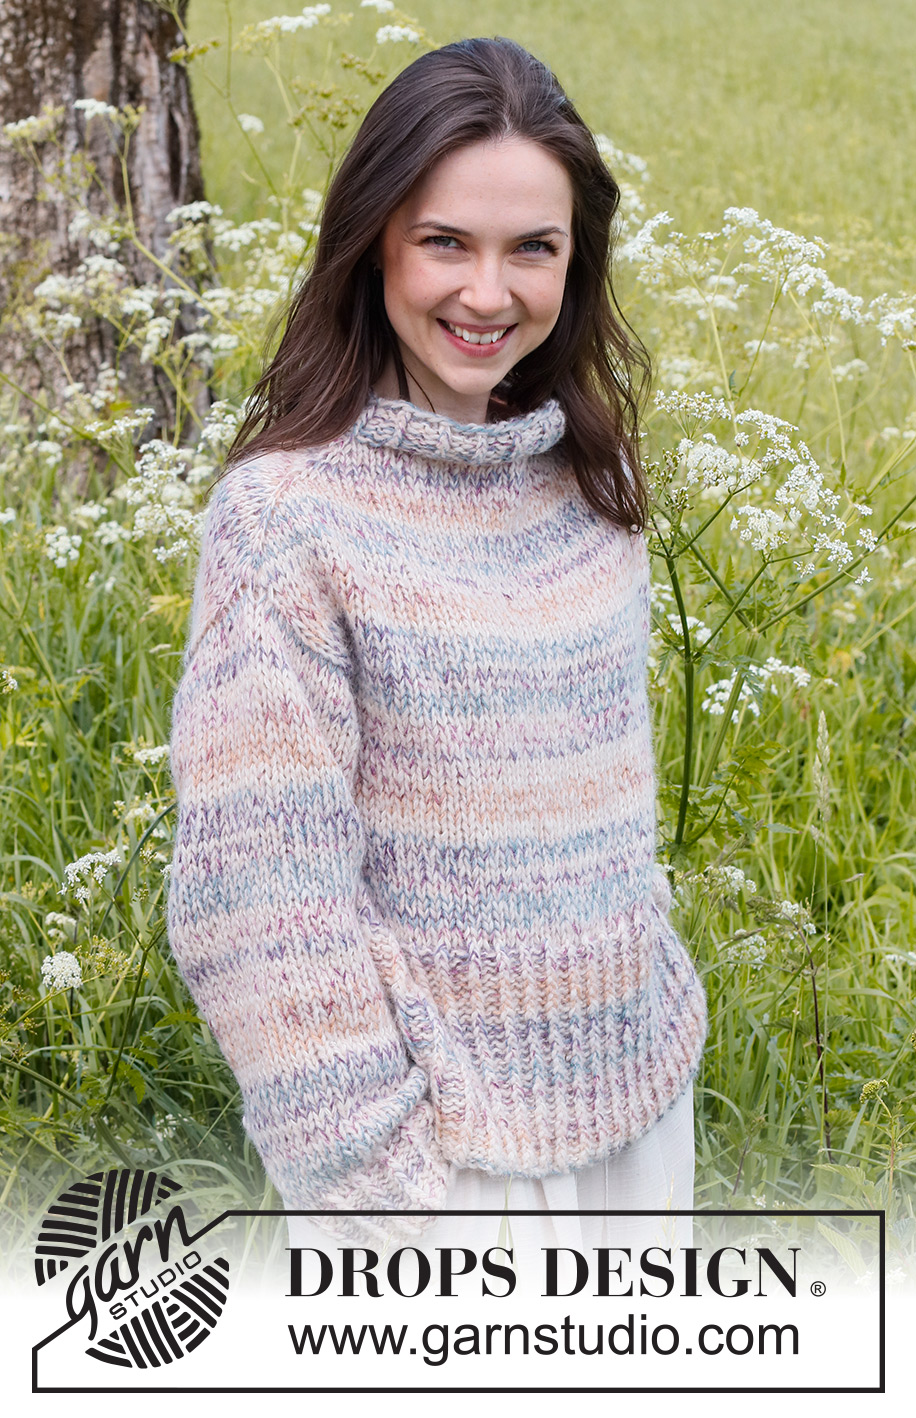
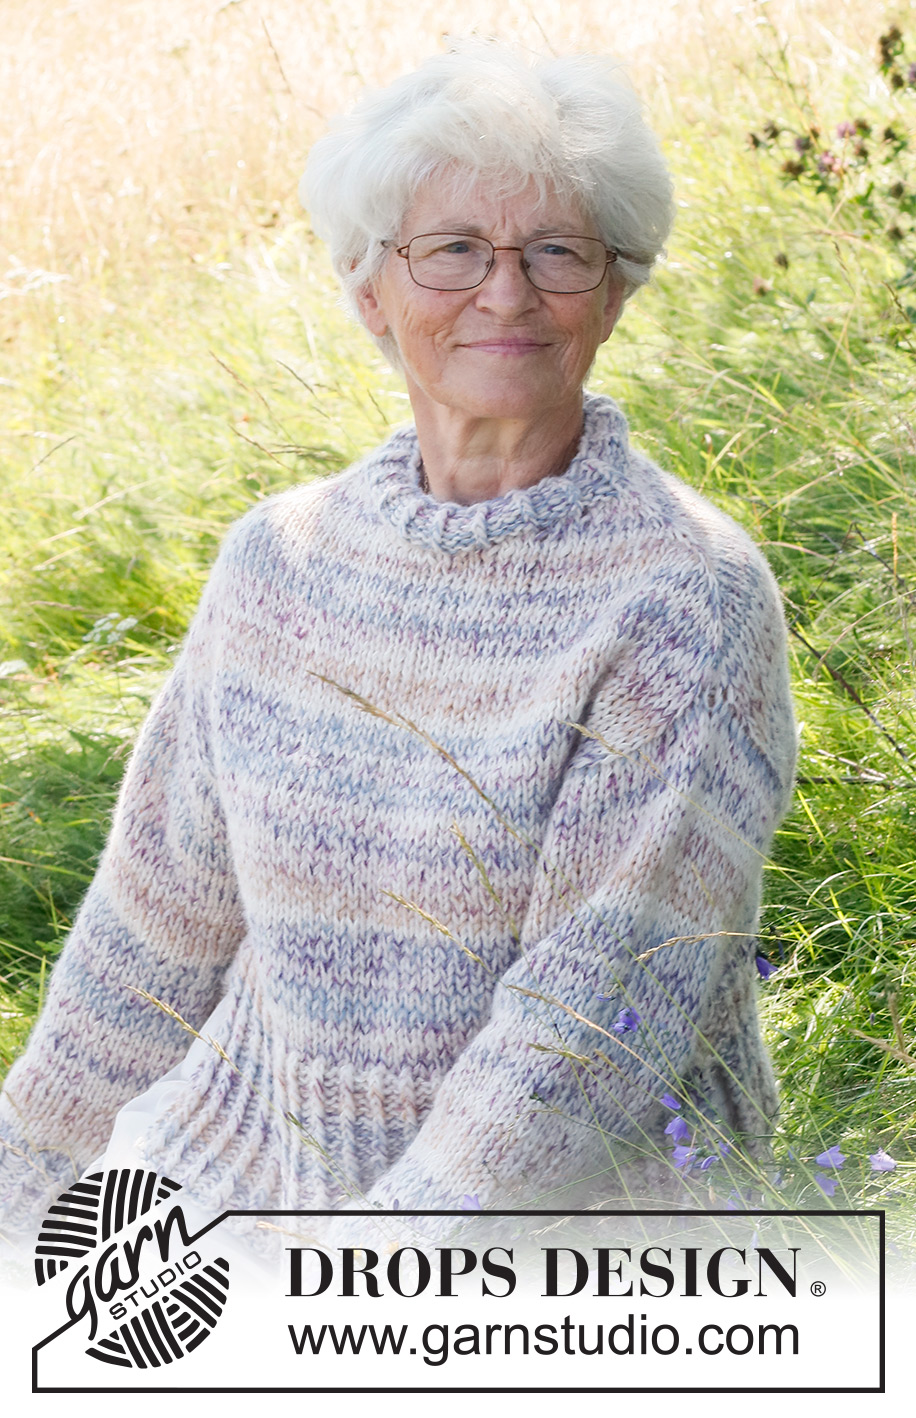
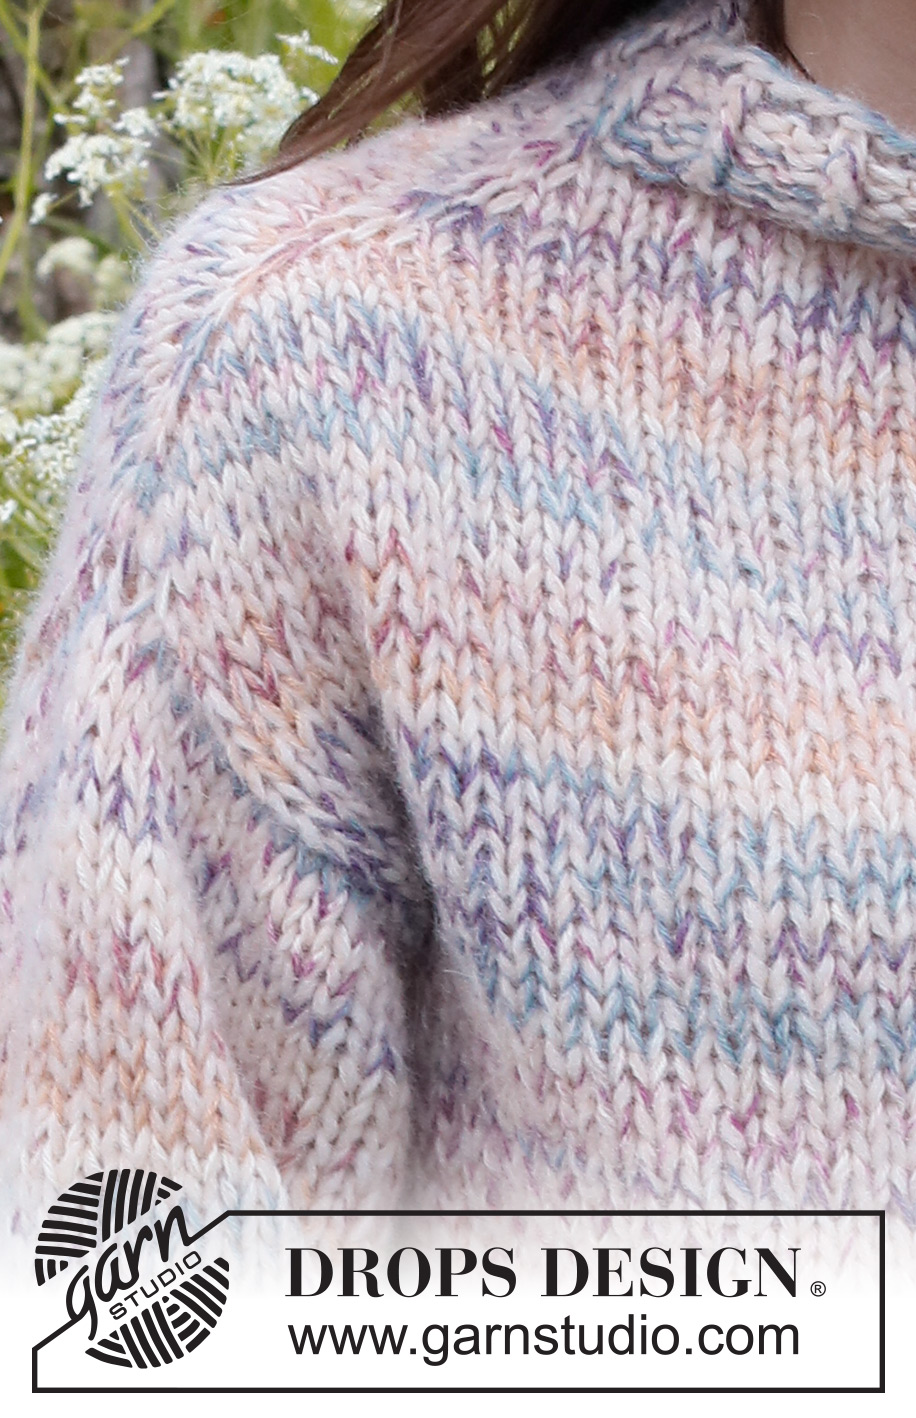
Knitted jumper in DROPS Fabel and DROPS Air. The piece is worked top down with increases on shoulders and stocking stitch. Sizes S - XXXL.
DROPS 232-50 |
|
|
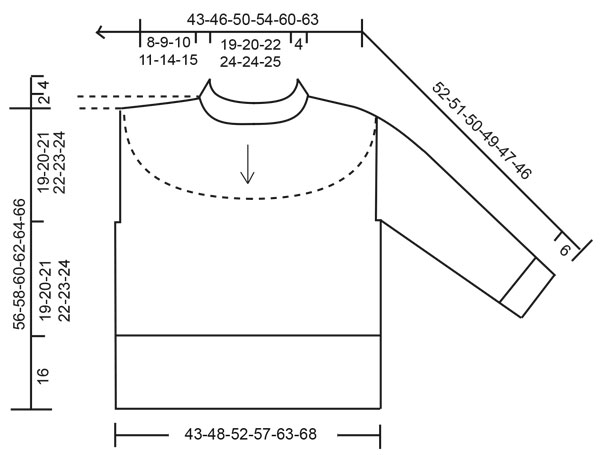
------------------------------------------------------- EXPLANATIONS FOR THE PATTERN: ------------------------------------------------------- RIDGE/GARTER STITCH (worked back and forth): Knit all rows. 1 ridge = knit 2 rows. ELEVATION (back of neck): Start from the right side at the marker-thread mid-back, knit 6-6-7-7-7-8, turn, tighten the strand, purl 12-12-14-14-14-16 turn, tighten the strand, knit 18-18-21-21-21-24, turn, tighten the strand, purl 24-24-28-28-28-32, turn, tighten the strand, knit 30-30-35-35-35-40 (here you must also increase for the shoulder as described in the text – the increased stitches are not counted). Turn, tighten the strand, purl 36-36-42-42-42-48 (remember to increase for the shoulder). Turn, tighten the strand and knit to the marker-thread mid-back (remember to increase for the shoulder). The elevation is now finished and you have increased 2 times for the shoulders (8 stitches). Now work the yoke as described in the text. INCREASE TIP-1 (from right side): BEFORE THE MARKER: The new stitch twists to the right. Use left needle to pick up thread between 2 stitches from round/row below, pick up thread from behind and knit stitch in front loop. AFTER THE MARKER: The new stitch twists to the left. Use left needle to pick up thread between 2 stitches from round/row below, pick up thread from from front and knit stitch in back loop. INCREASE TIP-2 (from wrong side – when working the elevation): BEFORE THE MARKER: The new stitch twists to the right. Use left needle to pick up thread between 2 stitches from row below, pick up thread from from front and purl stitch in back loop. AFTER THE MARKER: The new stitch twists to the left. Use left needle to pick up thread between 2 stitches from row below, pick up thread from behind and purl stitch in front loop. DECREASE TIP (for sleeves): Decrease 1 stitch on either side of the marker as follows: Work until there are 3 stitches left before the marker, knit 2 together, knit 2 (marker sits between these 2 stitches), slip 1 stitch as if to knit, knit 1 and pass the slipped stitch over the knitted stitch (2 stitches decreased). ------------------------------------------------------- START THE PIECE HERE: ------------------------------------------------------- JUMPER – SHORT OVERVIEW OF THE PIECE: The neck and yoke are worked in the round with circular needle, from mid back and top down. You can work an elevation at the back of the neck if you wish. The yoke is divided for body and sleeves and the body is continued in the round with circular needle. The sleeves are worked with short circular needle/double pointed needles. NECK: Cast on 57-60-63-66-69-72 stitches with circular needle size 6 mm and 1 strand DROPS Fabel and 1 strand DROPS Air. Knit 1 round, then work rib in the round (knit 1 twisted, purl 2) for 4 cm. Knit 1 round where you decrease 3-2-1-0-3-2 stitches evenly spaced = 54-58-62-66-66-70 stitches. Insert 1 marker in the middle of the round (mid-front) – the yoke is measured from this marker! YOKE: Change to circular needle size 7 mm. Insert 1 marker-thread at the beginning of the round (mid-back). Insert 2 more markers without working the stitches and inserting them in stitches. These markers are used when increasing for the shoulders and should be of a different colour to the marker mid-front. Marker 1: Start mid-back, count 13-14-15-16-16-17 stitches (½ back piece), insert marker in the next stitch. Marker 2: Count 26-28-30-32-32-34 stitches from marker 1 (front piece), insert marker in the next stitch. There are 13-14-15-16-16-17 stitches left after marker 2. Allow these 2 markers to follow your work onwards. You can now work an ELEVATION at the back of the neck – read description above. Note the increases to shoulders are worked at the same time as the last 3 rows in the elevation – read INCREASES TO SHOULDERS and INCREASE TIP-2 (when working from the wrong side). If you do not want an elevation, go straight to INCREASES TO SHOULDERS. INCREASES TO SHOULDERS: Work in the round, in stocking stitch. AT THE SAME TIME on the first round increase 4 stitches as follows: Increase BEFORE and AFTER marker-stitches 1 and 2 – read INCREASE TIP-1. Increase like this on every round a total of 13-15-16-18-22-24 times = 106-118-126-138-154-166 stitches. REMEMBER THE KNITTING TENSION! Knit 1 round where you cast off the marker-stitches = 104-116-124-136-152-164 stitches. Cut the strands. Keep the stitches for the back piece on the needle (stitches between markers 1 and 2) and place the other stitches on a thread for the front piece. 52-58-62-68-76-82 stitches on the needle for the back piece and 52-58-62-68-76-82 stitches on the thread for the front piece. BACK PIECE: Work stocking stitch back and forth for 19-20-21-22-23-24 cm. Cast on 1 edge stitch on each side = 54-60-64-70-78-84 stitches. Insert 1 marker in each side (used when working the sleeves). Continue working until the piece measures 38-40-42-44-46-48 cm from the division. Purl 1 row from the wrong side where you increase 11-11-13-13-17-17 stitches evenly spaced = 65-71-77-83-95-101 stitches. Change to circular needle size 6 mm and work as follows from the right side: 2 stitches in GARTER STITCH – see description above, * knit 1 twisted, purl 2 *, work from *-* until there are 3 stitches left, knit 1 twisted and 2 stitches in garter stitch. Continue this rib for 16 cm, cast off with knit over knit and purl over purl. The piece measures approx. 56-58-60-62-64-66 cm from the shoulder down. FRONT PIECE: Place the stitches from the thread on circular needle size 7 mm and work in the same way as the back piece. SLEEVES: The sleeves are worked top down. Start at the marker on the front piece and knit up 22-24-26-27-28-29 stitches up to the shoulder, then 22-24-26-27-28-29 stitches down to the marker on the back piece = 44-48-52-54-56-58 stitches. Work stocking stitch in the round. Insert 1 marker mid-under the sleeve. When the piece measures 4 cm decrease 1 stitch on each side of the marker – read DECREASE TIP. Decrease like this every 7½-6½-5-4½-4½-3½ cm a total of 6-7-8-9-9-10 times = 32-34-36-36-38-38 stitches. Continue working until the sleeve measures 46-45-44-43-41-40 cm, knit 1 round where you increase 4-2-3-6-4-7 stitches evenly spaced = 36-36-39-42-42-45 stitches. Change to double pointed needles size 6 mm and work rib (knit 1 twisted, purl 2) for 6 cm. Cast off. The sleeve measures 52-51-50-49-47-46 cm. Work the other sleeve in the same way, but knit up stitches from the back piece first, up to the shoulder then down the front piece. ASSEMBLY: Sew the side seams leaving 18 cm at the bottom = split |
|
 |
|
Have you finished this pattern?Tag your pictures with #dropspattern #morningdawnsweater or submit them to the #dropsfan gallery. Do you need help with this pattern?You'll find 28 tutorial videos, a Comments/Questions area and more by visiting the pattern on garnstudio.com. © 1982-2026 DROPS Design A/S. We reserve all rights. This document, including all its sub-sections, has copyrights. Read more about what you can do with our patterns at the bottom of each pattern on our site. |
|





Post a comment to pattern DROPS 232-50
We would love to hear what you have to say about this pattern!
If you want to leave a question, please make sure you select the correct category in the form below, to speed up the answering process. Required fields are marked *.