
Popular categories
Looking for a yarn?


Comments / Questions (24)
![]() Simone wrote:
Simone wrote:
Hallo, was passiert mit den 9 stillgelegten Maschen an den Vorderteilen Halsausschnitt? Vielen Dank und viele Grüße Simone
06.05.2026 - 15:47DROPS Design answered:
Liebe Simone, diese Maschen strickt man wieder später bei der Halskante, wenn man die Maschen um den Halsausschnitt auffasst. Viel Spaß beim Stricken!
06.05.2026 - 17:12
![]() Diane wrote:
Diane wrote:
Bonjour, j’aimerais savoir pour la manche, il est écrit de tricoter en jersey pendant 6 cm. est ce 6 cm à partir du bord de la manche ou après avoir tricoter les 4 cm. de la bordure. merci
17.01.2026 - 15:35DROPS Design answered:
Bonjour Diane, c'est a partir du bord de la manche. Bon tricot!
19.01.2026 - 08:59
![]() Fei wrote:
Fei wrote:
Hello, what is the recommended positive ease for this garment?
03.01.2026 - 02:11DROPS Design answered:
Hi Fei, we don't give this information in our patterns. Each client can do it personally. How to do that/decide about size and ease is available in the lesson DROPS HERE. Happy knitting!
03.01.2026 - 08:31
![]() Spelters Annnita wrote:
Spelters Annnita wrote:
Zou het kunnen dat er een foutje zit in de uitleg rechter voorpand ? Namelijk na het op een hulpnaald zetten van de steken voor de hals, zijn er minderingen te doen voor de halsuitsnijding alsvolgt: 1 kantsteek, 1 steek recht afhalen, 1 recht, afgehaalde steek over de rechte steek halen, maar dan heb je de bewerking over slechts 3 steken, terwijl in het linker voorpand met 4 steken gewerkt wordt voor de halsmindering.
21.09.2025 - 08:20
![]() Francine wrote:
Francine wrote:
Hi, I love DROPS Rose Dream cardigan (pattern 232-14), but would like to make it in cotton or cotton/linen yarn. Would that yarn work with this pattern? Many thanks, Francine
14.05.2025 - 05:46DROPS Design answered:
Dear Francine, use the yarn converter to see alternatives such as Paris (Cotton) or Bomull-Lin (Cotton / Linen) as well as new required amount. Happy knitting!
14.05.2025 - 09:38
![]() Alice wrote:
Alice wrote:
Det står såhär på vänster framstycke: "sätts de första 9-10-11-12-13-14 maskorna mot mitt fram på en tråd (sticka dem först)" och förstår inte om det ska vara i slutet på varvet så att det hamnar mot halsen, magen, eller på samma sida som man minskade de 5 maskorna innan.
07.05.2025 - 14:57DROPS Design answered:
Hei Alice. De 5 maskene du først felte av (om du strikker str. S), var til ermhullet. Så strikker du til arb måler 31 cm, så setter du de 9 første maske (mot midt foran / motsatt side av der du felt de 5 maskene til ermhull) på 1 tråd etter at du har strikket dem, strikk de resterende masken (30 masker). Deretter følg oppskriften. mvh DROPS Design
12.05.2025 - 11:22
![]() Alice wrote:
Alice wrote:
Det står såhär på vänster framstycke: "sätts de första 9-10-11-12-13-14 maskorna mot mitt fram på en tråd (sticka dem först)" och förstår inte om det ska vara i slutet på varvet så att det hamnar mot halsen, magen, eller på samma sida som man minskade de 5 maskorna innan.
07.05.2025 - 14:55
![]() Magie wrote:
Magie wrote:
I might be missing it, but what is the sizing in reference to? I.e what does a size XL mean? And how much ease does the pattern call for?
07.05.2025 - 11:08DROPS Design answered:
Dear Magie, to find out which size you should choose, measure a similar garment you have and like the shape and compare these measurements to the one in the chart; this will help you to find out which size/ease fits best. Read more here. Happy knitting!
07.05.2025 - 13:07
![]() Eileen wrote:
Eileen wrote:
I thought I sent this the day before yesterday. I am a beginner and want to start with my swatch for tension. Do I use the 4mm or 5mm needle size? Thank you
18.04.2025 - 18:39DROPS Design answered:
Hi Eileen, The swatch is worked with size 5 mm needles. Happy Easter!
19.04.2025 - 17:14
![]() Ellen B Christiansen wrote:
Ellen B Christiansen wrote:
Hva skal man gjøre med de 12 maskene på en tråd? gjelder begge forstykkene....dette gir jo ingen mening?? Det står ingen ting om det maskene noe sted!
01.04.2025 - 06:09DROPS Design answered:
Hei Ellen. Når du skal strikke halskanten, strikker du opp ca 77-99 masker rundt halsen. Da er de maskene du satte på en tråd inkludert i disse 77-99 maskene. mvh DROPS Design
07.04.2025 - 08:52
|
||||
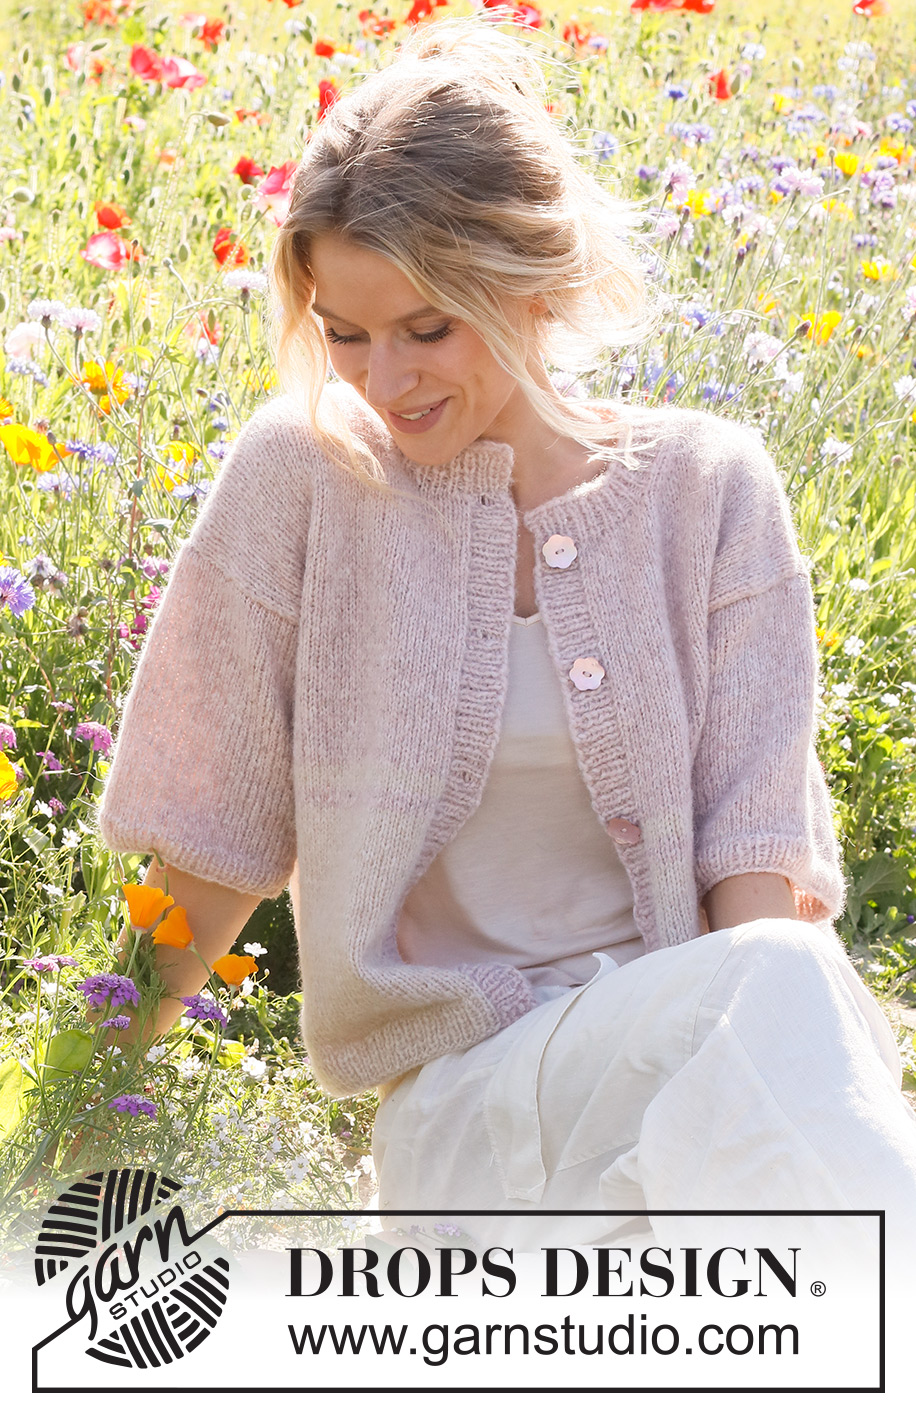
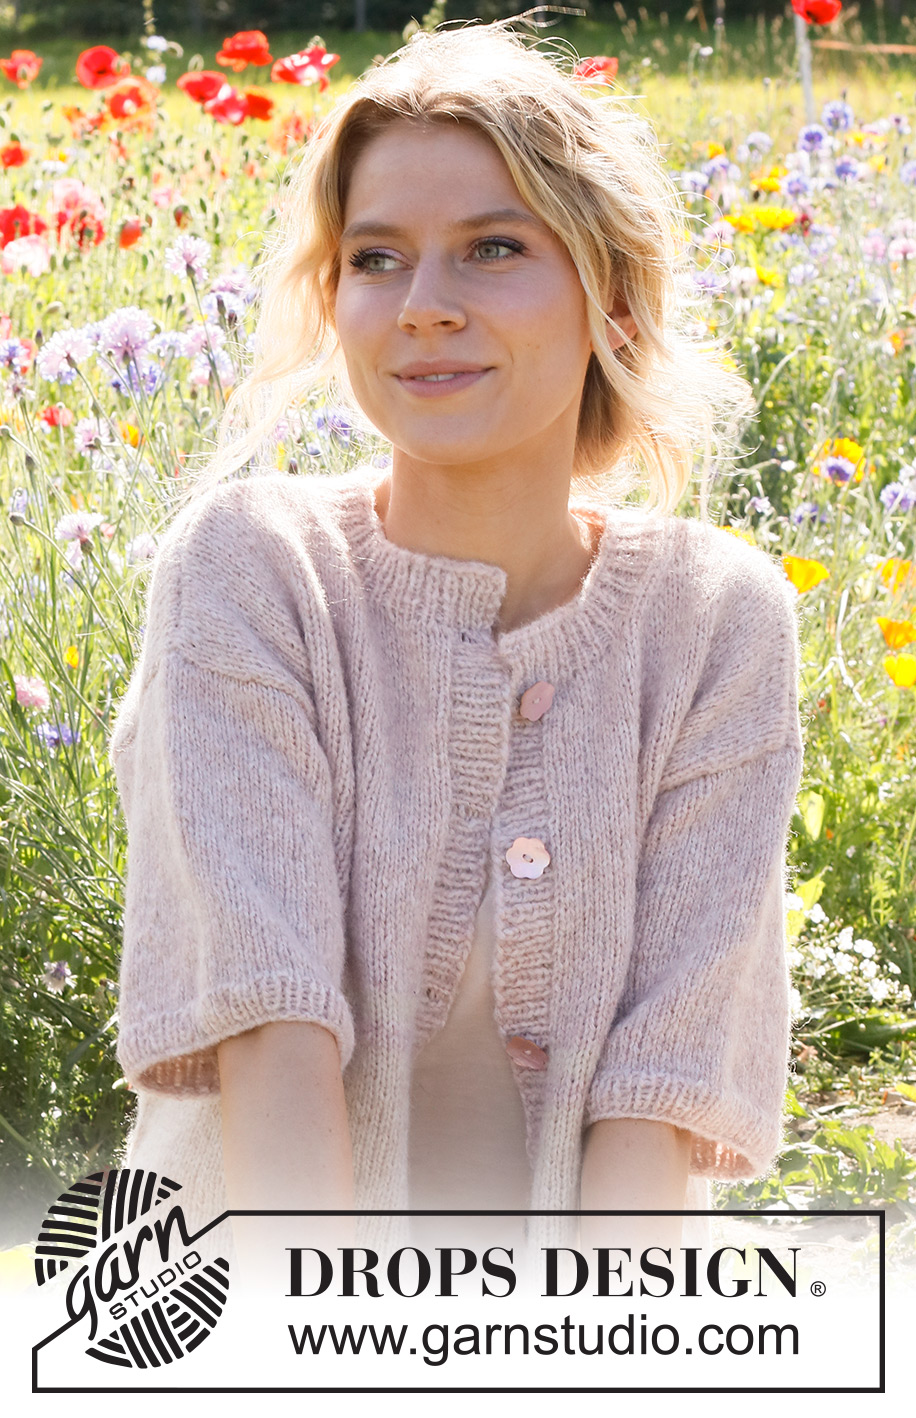
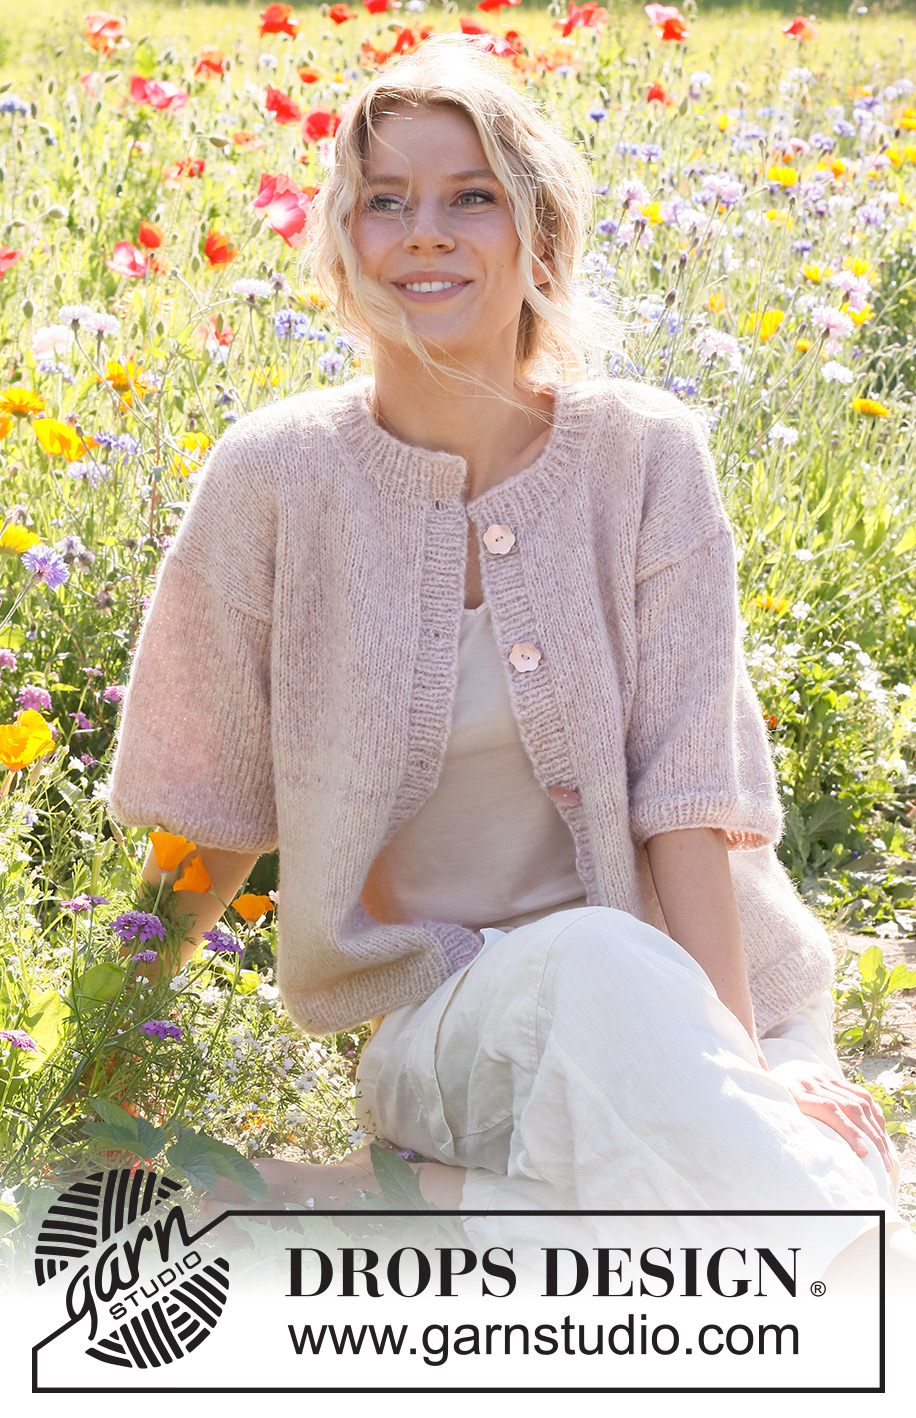
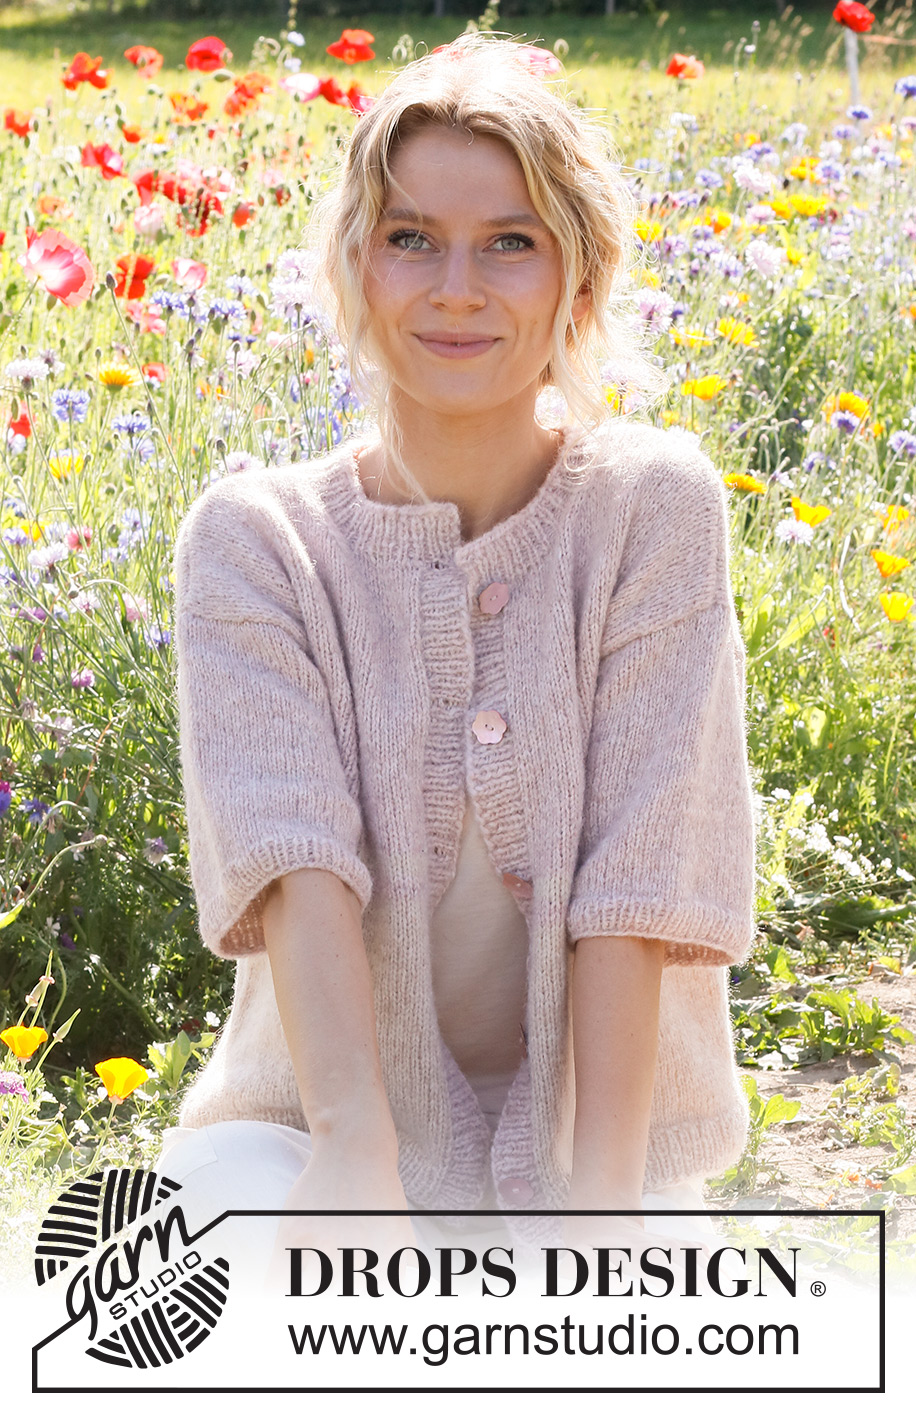
Dream in Rose Cardigan#dreaminrosecardigan |
||||
 |
 |
|||
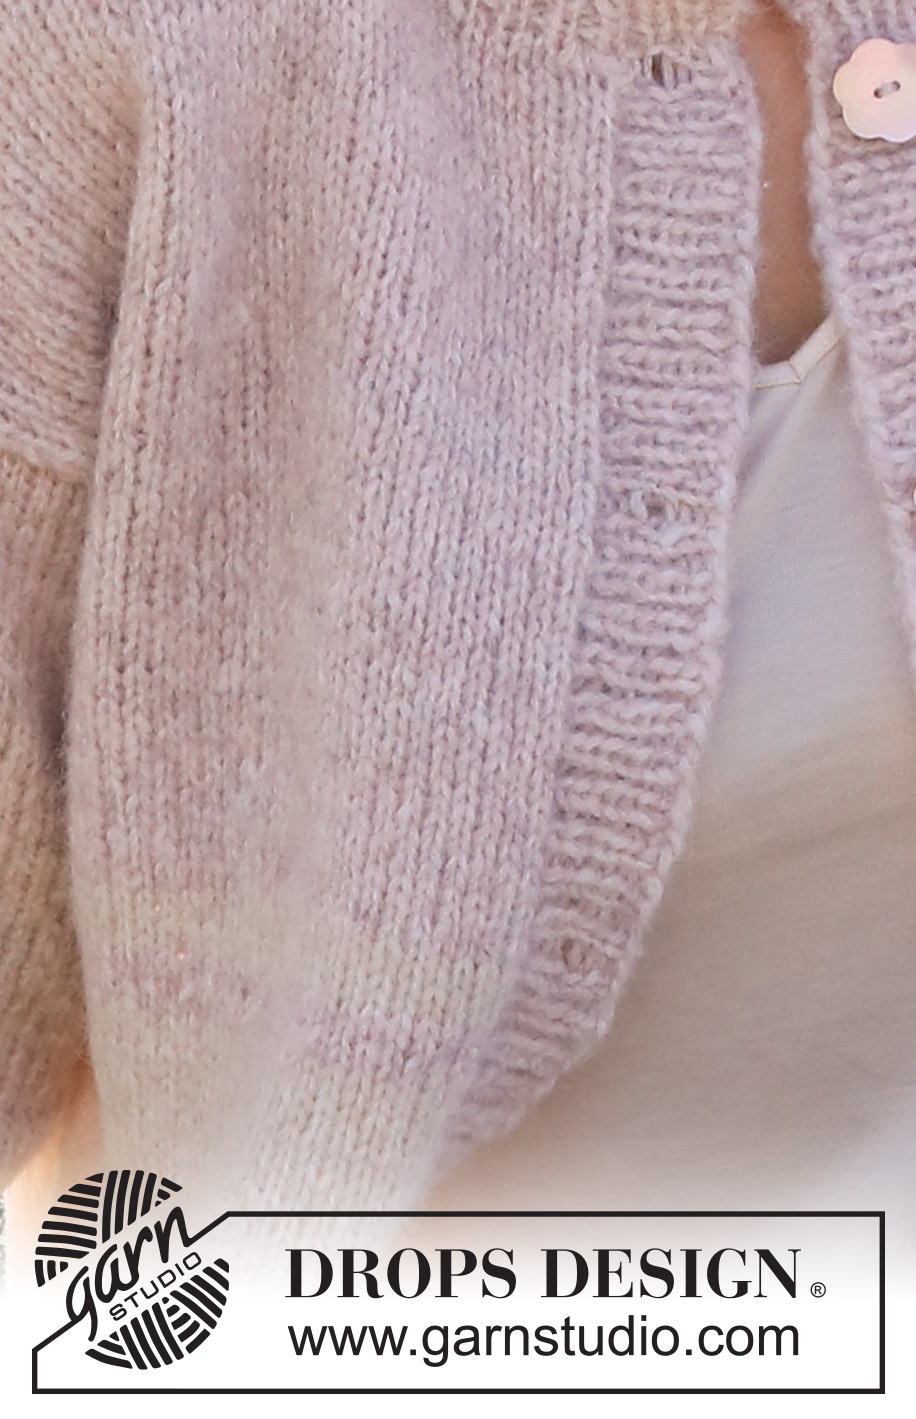
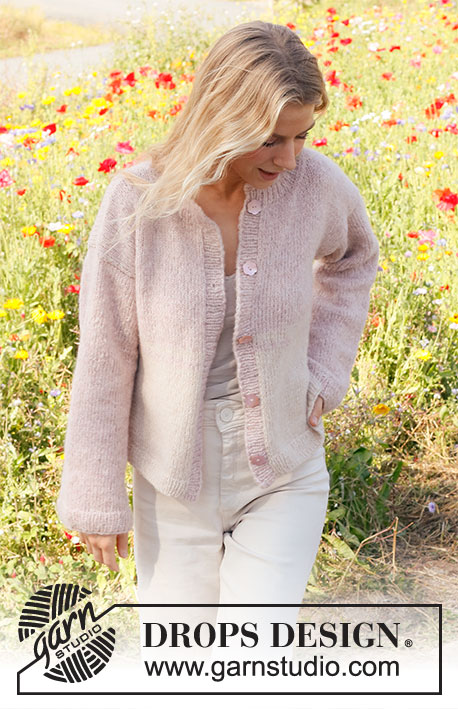
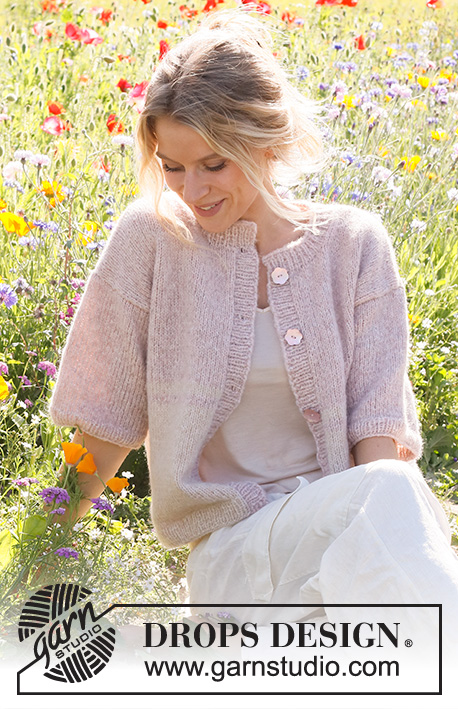
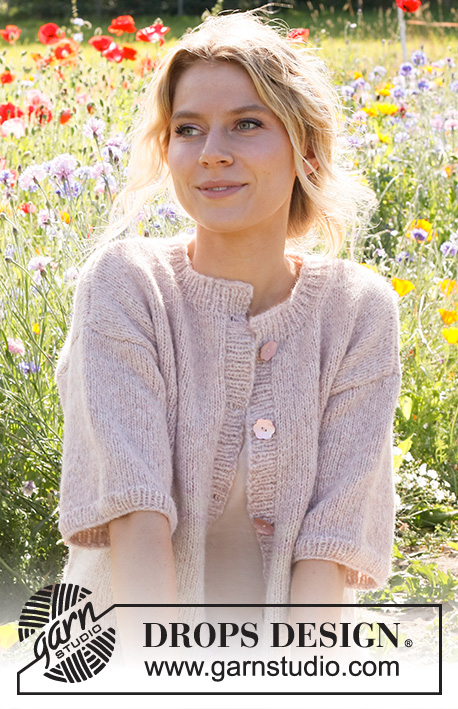
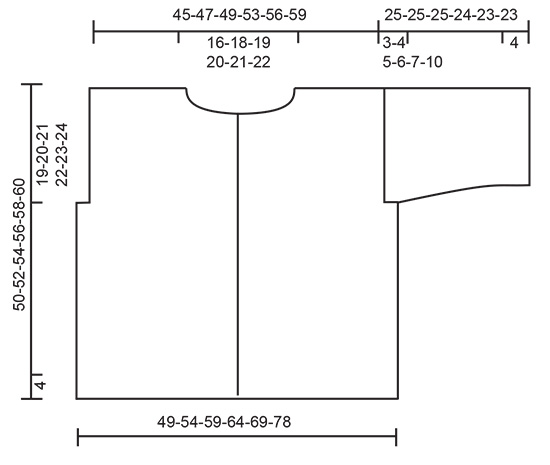
Knitted jacket in DROPS Air. The piece is worked bottom up with stripes and ¾-length sleeves. Sizes S - XXXL.
DROPS 232-14 |
||||
|
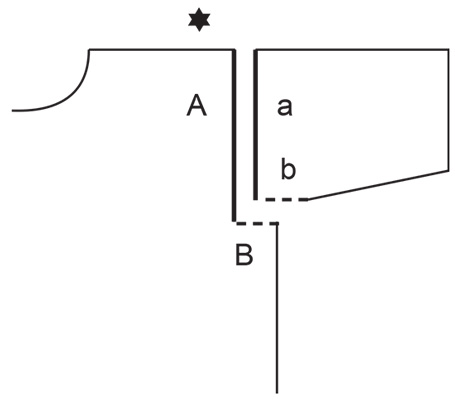
------------------------------------------------------- EXPLANATIONS FOR THE PATTERN: ------------------------------------------------------- RIDGE/GARTER STITCH (worked back and forth): Knit all rows. 1 ridge = knit 2 rows. INCREASE TIP (sleeves): Work until there are 2 stitches left before the marker, make 1 yarn over, knit 4 (the marker sits in the middle of these 4 stitches), 1 yarn over. On the next round knit the yarn overs twisted to avoid holes. Then work the new stitches in stocking stitch. ------------------------------------------------------- START THE PIECE HERE: ------------------------------------------------------- JACKET - SHORT OVERVIEW OF THE PIECE: The back and front pieces are worked separately, back and forth and bottom up. The bands are worked on the front pieces. The sleeves are worked in the round with short circular needle. The neck is worked to finish. BACK PIECE: Cast on 103-113-123-133-145-161 stitches with circular needle size 4 mm and DROPS Air in colour wheat. Knit 1 row from the wrong side. Then work rib from the right side as follows: 1 edge stitch in GARTER STITCH – read description above, * knit 1, purl 1 *, work from *-* until there are 2 stitches left, knit 1 and 1 edge stitch in garter stitch. When the rib measures 4 cm, change to circular needle size 5 mm. Work 1 row of stocking stitch where you decrease 17-19-21-23-25-27 stitches evenly spaced = 86-94-102-110-120-134 stitches. Continue with stocking stitch and 1 edge stitch in garter stitch on each side. REMEMBER THE KNITTING TENSION! When the piece measures 20-21-22-23-24-25 cm, work 4 rows with colour pink sand, 4 rows with colour wheat, then finish the piece with colour pink sand. When the piece measures 31-32-33-34-35-36 cm cast off 5-7-9-10-12-17 stitches at the beginning of the next 2 rows for the armholes = 76-80-84-90-96-100 stitches. When the piece measures 46-48-50-52-54-56 cm, cast off the middle 26-28-30-32-34-36 stitches for the neck and finish each shoulder separately. Cast off 1 stitch on the next row from the neck = 24-25-26-28-30-31 stitches on the shoulder. Cast off when the piece measures 50-52-54-56-58-60 cm. Work the other shoulder in the same way. LEFT FRONT PIECE: Cast on 54-58-62-68-74-82 stitches with circular needle size 4 mm and DROPS Air in colour wheat. Knit 1 row from the wrong side. Then work rib from the right side as follows: 1 edge stitch in garter stitch, * purl 1, knit 1 *, work from *-* until there is 1 stitch left and 1 edge stitch in garter stitch. When the rib measures 4 cm, change to circular needle size 5 mm. Work 1 row of stocking stitch where you decrease 10-10-10-12-13-14 stitches evenly spaced = 44-48-52-56-61-68 stitches. Continue with stocking stitch and 1 edge stitch in garter stitch on each side. When the piece measures 20-21-22-23-24-25 cm, work 4 rows with colour pink sand, 4 rows with colour wheat, then finish the piece with colour pink sand. When the piece measures 31-32-33-34-35-36 cm cast off 5-7-9-10-12-17 stitches at the beginning of the next row from the right side for the armhole = 39-41-43-46-49-51 stitches. When the piece measures 44-46-47-49-50-52 cm, place the first 9-10-11-12-13-14 stitches towards mid-front on a thread for the neck (work them first) and finish each shoulder separately. On each row from the right side decrease as follows: Work until there are 4 stitches left, knit 2 together, knit 1 and 1 edge stitch in garter stitch. Decrease like this a total of 6 times = 24-25-26-28-30-31 stitches on the shoulder. Cast off when the piece measures 50-52-54-56-58-60 cm. LEFT BAND: Knit up from the right side 90 to 106 stitches with colour pink sand and circular needle size 4 mm, inside the 1 edge stitch and down the left front piece (number of stitches should be divisible by 2). Work as follows from the bottom and wrong side: 2 edge stitches in garter stitch, * purl 1, knit 1 *, work from *-* until there are 2 stitches left, purl 1 and 1 edge stitch in garter stitch. Continue this rib back and forth for 4 cm. Cast off. RIGHT FRONT PIECE: Cast on 54-58-62-68-74-82 stitches with circular needle size 4 mm and colour wheat. Knit 1 row from the wrong side. Then work rib from the right side as follows: 1 edge stitch in garter stitch, * knit 1, purl 1 *, work from *-* until there is 1 stitch left and 1 edge stitch in garter stitch. When the rib measures 4 cm, change to circular needle size 5 mm. Work 1 row of stocking stitch where you decrease 10-10-10-12-13-14 stitches evenly spaced = 44-48-52-56-61-68 stitches. Continue with stocking stitch and 1 edge stitch in garter stitch on each side. When the piece measures 20-21-22-23-24-25 cm, work 4 rows with colour pink sand, 4 rows with colour wheat, then finish the piece with colour pink sand. When the piece measures 31-32-33-34-35-36 cm cast off 5-7-9-10-12-17 stitches at the beginning of the next row from the wrong side for the armhole = 39-41-43-46-49-51 stitches. When the piece measures 44-46-47-49-50-52 cm, place the first 9-10-11-12-13-14 stitches towards mid-front on a thread for the neck (work them first) and finish each shoulder separately. On each row from the right side decrease as follows: Work 1 edge stitch in garter stitch, slip 1 stitch as if to knit, knit 1 and pass the slipped stitch over the knitted stitch, work to the end of the row. Decrease like this a total of 6 times = 24-25-26-28-30-31 stitches on the shoulder. Cast off when the piece measures 50-52-54-56-58-60 cm. RIGHT BAND: Knit up from the right side 90 to 106 stitches with colour pink sand and circular needle size 4 mm, inside the 1 edge stitch and up the right front piece (number of stitches should be divisible by 2). Work as follows from the top and wrong side: 1 edge stitch in garter stitch, * purl 1, knit 1 *, work from *-* until there are 3 stitches left, purl 1 and 2 edge stitches in garter stitch. Continue this rib back and forth for 2 cm. Now work 5-5-5-6-6-6 buttonholes evenly along the band. The bottom buttonhole is positioned 6 cm up from the bottom edge and the top buttonhole just below the top edge. Work the buttonholes by making 1 yarn over and working 2 stitches together. Continue the rib for another 2 cm, then cast off. SLEEVES: Cast on 60-64-68-70-72-74 stitches with short circular needle size 4 mm and colour pink sand. Knit 1 round then work rib in the round (knit 1, purl 1) for 4 cm. Change to short circular needle size 5 mm and continue with stocking stitch. Insert 1 marker at the beginning of the round = mid-under sleeve. When the sleeve measures 6 cm, increase 1 stitch on each side of the marker – read INCREASE TIP. Increase like this every 10-10-10-9-4-2 cm a total of 2-2-2-2-3-4 times = 64-68-72-74-78-82 stitches. When the sleeve measures 22-21-20-18-16-13 cm, work the sleeve cap back and forth from mid-under the sleeve for 3-4-5-6-7-10 cm. Cast off. Work the other sleeve in the same way. ASSEMBLY: Sew the shoulder seams. Sew the sleeve cap to the armhole, then the split to the bottom of the armhole – see sketch. Sew the side seams. NECK: Knit up 77 to 99 stitches around the neck, with circular needle size 4 mm and colour pink sand (including over the bands and the stitches from the threads); the number of stitches should be divisible by 2 + 1. Work as follows from the wrong side: 1 edge stitch in garter stitch, purl 1, * knit 1, purl 1 *, work from *-* until there is 1 stitch left, work 1 edge stitch in garter stitch. Work this rib back and forth for 4 cm. Loosely cast off with knit. ASSEMBLY-2: Sew the buttons onto the left band. |
||||
Diagram explanations |
||||
|
||||
 |
||||
 |
||||
Have you finished this pattern?Tag your pictures with #dropspattern #dreaminrosecardigan or submit them to the #dropsfan gallery. Do you need help with this pattern?You'll find 28 tutorial videos, a Comments/Questions area and more by visiting the pattern on garnstudio.com. © 1982-2026 DROPS Design A/S. We reserve all rights. This document, including all its sub-sections, has copyrights. Read more about what you can do with our patterns at the bottom of each pattern on our site. |
||||


With over 40 years in knitting and crochet design, DROPS Design offers one of the most extensive collections of free patterns on the internet - translated to 17 languages. As of today we count 325 catalogues and 12298 patterns translated into English (UK/cm). 12298
We work hard to bring you the best knitting and crochet have to offer, inspiration and advice as well as great quality yarns at incredible prices! Would you like to use our patterns for other than personal use? You can read what you are allowed to do in the Copyright text at the bottom of all our patterns. Happy crafting!
Post a comment to pattern DROPS 232-14
We would love to hear what you have to say about this pattern!
If you want to leave a question, please make sure you select the correct category in the form below, to speed up the answering process. Required fields are marked *.