
Popular categories
Looking for a yarn?


Comments / Questions (129)
![]() Tina Jones wrote:
Tina Jones wrote:
Hello, I haven\'t used circular needles before but it looks like I can make this vest using regular needles. Is this correct? Thank you for your help, Tina
28.07.2024 - 08:59DROPS Design answered:
Dear Mrs Jones, yes you can as circular needles are here used to get enough room for all stitches, note that you might then have to sew first one shoulder then work the neck edge back and forth instead of in the round then sew 2nd shoulder + neck edge together. Happy knitting!
01.08.2024 - 09:18
![]() Helle wrote:
Helle wrote:
Strikkefasthed .. hvilken pind størrelse er der anvendt for at måle de 10 cm med mvh Helle
20.06.2024 - 13:16DROPS Design answered:
Hej Helle, Vi har brugt pind 4,5, men brug den som giver dig 20 masker på 10 cm :)
25.06.2024 - 12:31
![]() Dot wrote:
Dot wrote:
Diagram symbols = knit-twisted from right side, purl-twisted from wrong side symbols = purl from right side, knit from wrong side I am unsure what this means…how do you twist the stitches???
18.05.2024 - 07:41DROPS Design answered:
Dear Dot, you knit/ purl twisted by working in the back loop instead of the front one. You can see how to knit twisted here: https://www.garnstudio.com/video.php?id=32&lang=en and how to purl twisted here: https://www.garnstudio.com/video.php?id=33&lang=en. Happy knitting!
19.05.2024 - 23:45
![]() Claudia Serrin wrote:
Claudia Serrin wrote:
Warum werden nach Fertigstellung des Bündchens Maschen abgenommen?
16.04.2024 - 13:34DROPS Design answered:
Liebe Frau Serrin, man braucht mehr Maschen für Bündchen mit den kleineren Nadeln als fürs Glatt rechts mit den grösseren Nadeln für dieselbe Breite, deshalb wird man abnehmen. Viel Spaß beim Stricken!
16.04.2024 - 15:43
![]() Lena Westerlund wrote:
Lena Westerlund wrote:
Kan jag strunta i mönstret (A1) och sticka slipovern i slätstickning över hela stycket?
01.04.2024 - 17:56DROPS Design answered:
Hej Lena, ja det kan du, men ribben trækker arbejdet lidt sammen, så det er muligt at vesten bliver lidt bredere hvis du kun strikker glatstrik :)
05.04.2024 - 10:52
![]() Audrey wrote:
Audrey wrote:
Casting on so size small. The directions say to cast on “103 sts (including 1 edge stitch on each side)” Do I cast on just the 103 stitches or do I cast on 105 stitches?
01.04.2024 - 02:24DROPS Design answered:
Dear Audrey, you should cast on 103 stitches. Happy Knitting!
01.04.2024 - 06:56
![]() Barbro Efraimsson wrote:
Barbro Efraimsson wrote:
Hej, sände en fråga i måndags, men har fortfarande inte fått svar??
21.03.2024 - 10:25DROPS Design answered:
Hej Barbro. Se svar nedan. Mvh DROPS Design
22.03.2024 - 07:56
![]() Barbro Efraimsson wrote:
Barbro Efraimsson wrote:
Detta gäller stickad väst- Visit Vienna i Drops Puma. Bakstycke- När arbetet mäter 22-23- osv. stickas mönster. - när det återstår 13-13-osv. maskor på varvet, står att man ska sticka en avig maska?? innan A1. Stämmer detta, tycker det blir konstigt varven därpå? Mvh Barbro
18.03.2024 - 08:48DROPS Design answered:
Hej Barbro. Du fortsätter att sticka den maskan avig från rätsidan och rät från avigsidan på varven under också, Det är för att mönstret ska bli likadant på båda sidor. Mvh DROPS Design
22.03.2024 - 07:56
![]() Patricia wrote:
Patricia wrote:
Which type of cast on do you recommend for this sweater?
06.03.2024 - 21:56DROPS Design answered:
Dear Patricia, use the technique you like, just make sure your cast on edge is not that tight; we most often use the continental method. Happy knitting!
07.03.2024 - 08:09
![]() María wrote:
María wrote:
¿Sería posible encontrar tallas más grandes? La talla más grande de este patrón no me vale. Gracias!
05.01.2024 - 10:45DROPS Design answered:
Hola María, en caso de que la talla más grande no te valga tendrías que calcular el patrón tú misma. Puedes leer la siguiente página para más información sobre cómo calcular y adaptar el patrón: https://www.garnstudio.com/lesson.php?id=25&cid=23.
07.01.2024 - 15:18
|
|||||||
Visit Vienna#visitviennaslipover |
|||||||
 |
 |
||||||
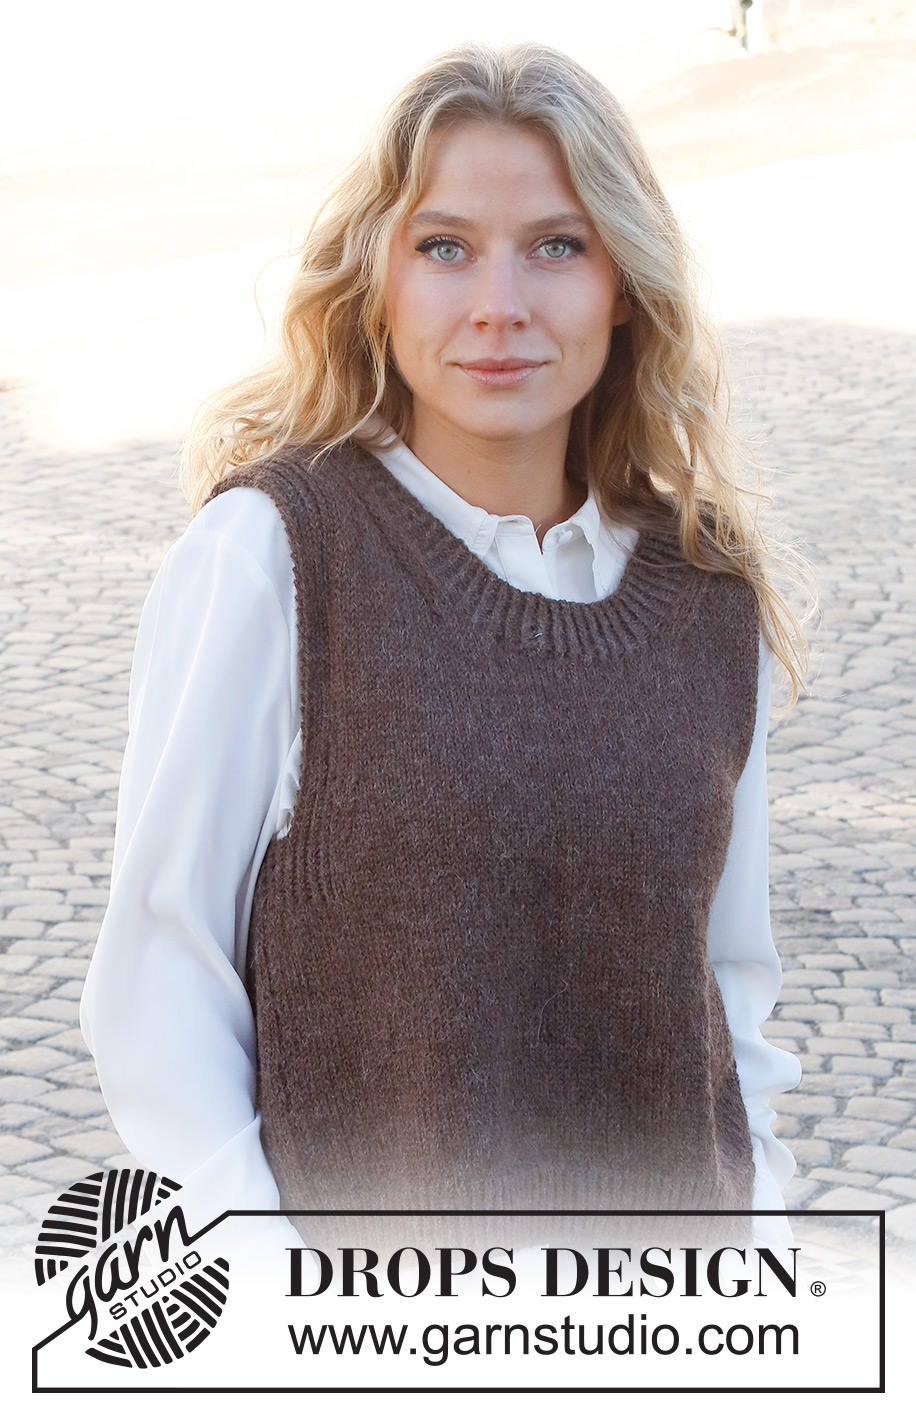
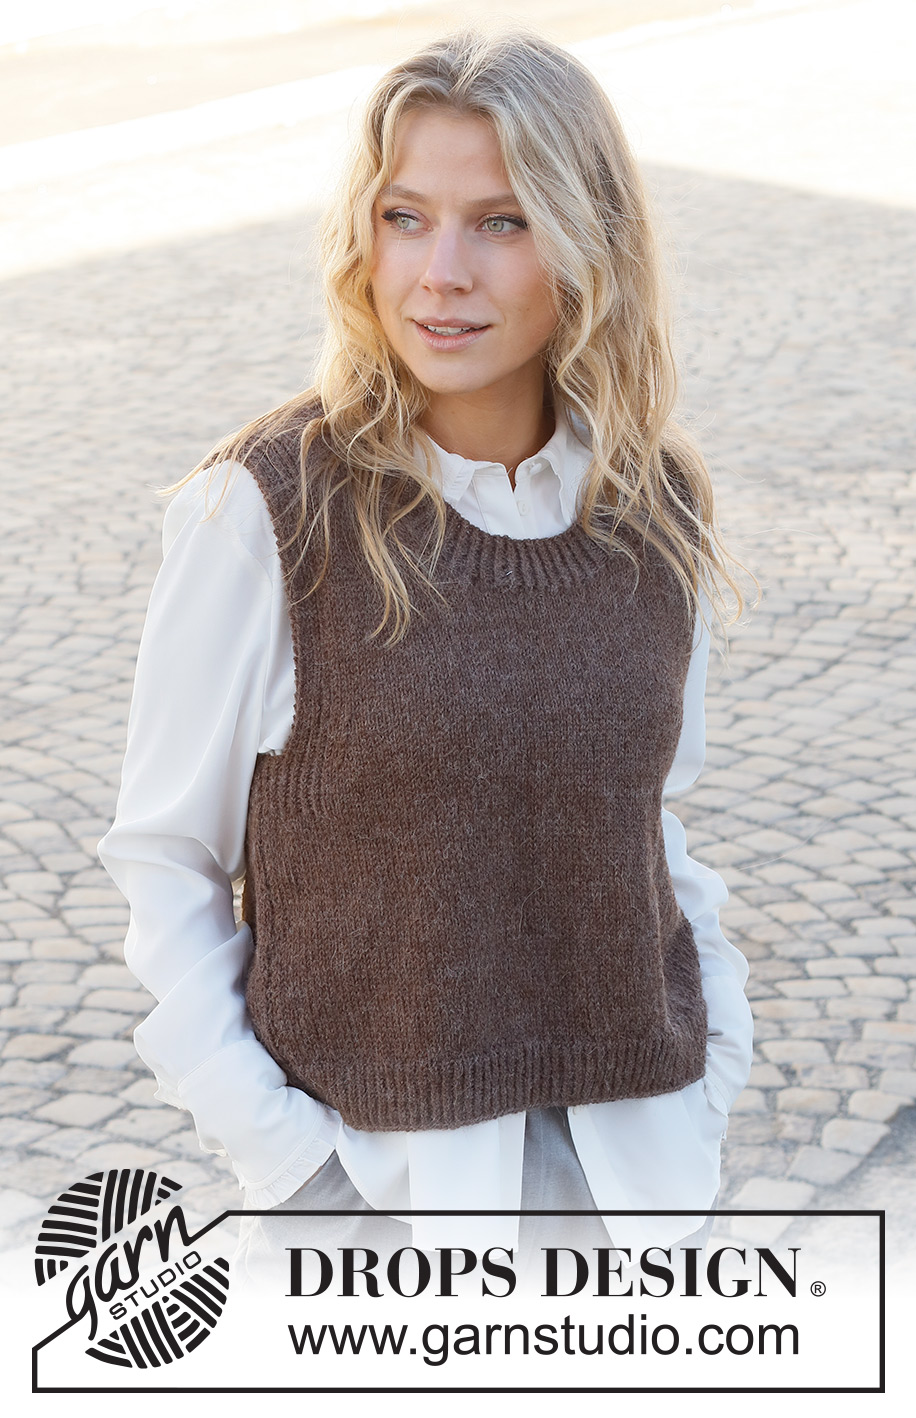
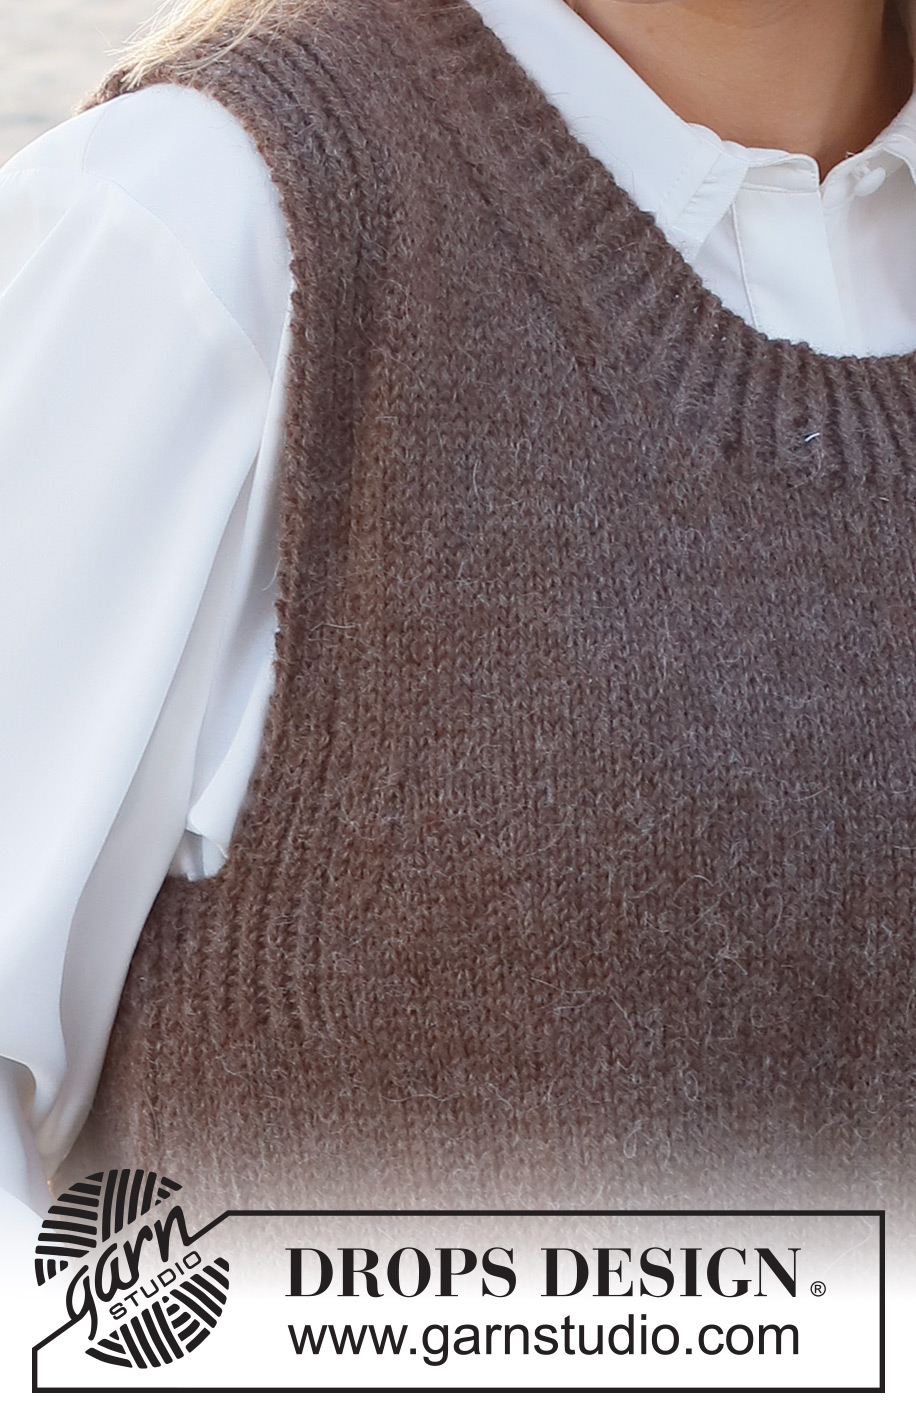
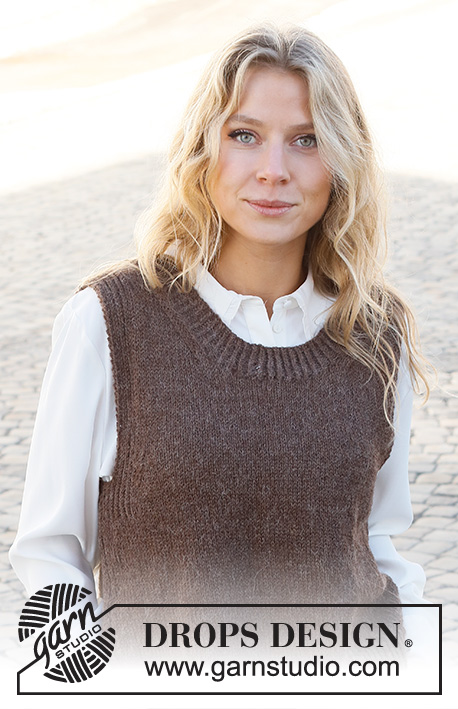
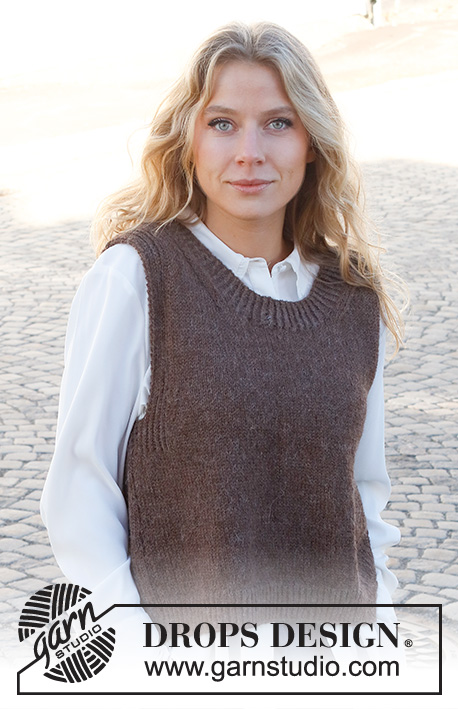
Knitted vest / slipover in DROPS Puna. The piece is worked with ribbed edges. Sizes S - XXXL.
DROPS 227-9 |
|||||||
|
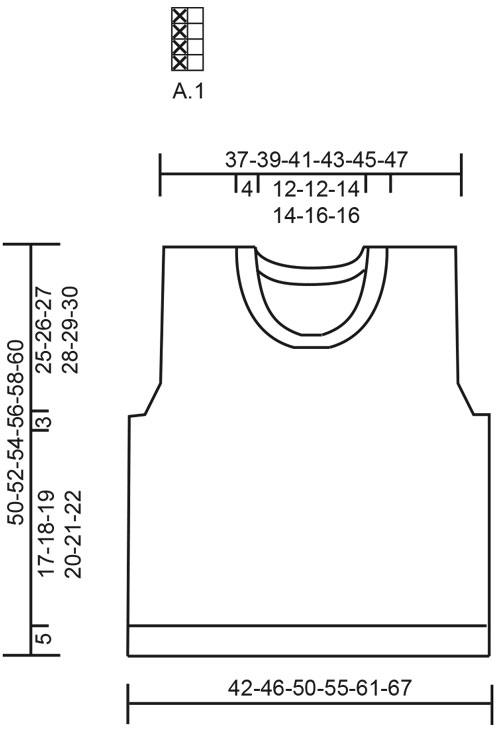
------------------------------------------------------- EXPLANATIONS FOR THE PATTERN: ------------------------------------------------------- RIDGE/GARTER STITCH (worked back and forth): Knit all rows. 1 ridge = knit 2 rows PATTERN: See diagram A.1. The diagram shows all rows in the pattern from the right side. DECREASE TIP-1 (evenly spaced): To work out how to decrease evenly, count the total number of stitches on needle (e.g. 103 stitches) minus the edge stitches (e.g. 2 stitches) and divide the remaining stitches by the number of decreases to be made (e.g. 17) = 5.9. In this example decrease by knitting together approx. each 5th and 6th stitch. Do not decrease the edge stitches. DECREASE TIP-2 (armholes): All decreases are worked from the right side! Decrease at the beginning of row: Work the first 11 stitches as before, slip 1 stitch as if to knit, knit 1 and pass the slipped stitch over the knitted stitch (= 1 stitch decreased). Decrease at the end of row: Work until there are 13 stitches left, knit 2 together and work to end of row (= 1 stitch decreased). DECREASE TIP-3 (neck): All decreases are worked from the right side! After the neck: Work 1 edge stitch in garter stitch, 2 stitches in stocking stitch, slip 1 stitch as if to knit, knit 1 and pass the slipped stitch over the knitted stitch (= 1 stitch decreased). Before the neck: Work until there are 5 stitches left, knit 2 together and work to end of row (= 1 stitch decreased). CASTING-OFF TIP: To avoid the cast-off edge being tight you can cast off with a larger size needle. If the edge is still tight, make 1 yarn over after approx. each 4th stitch at the same time as casting off; the yarn overs are cast off as normal stitches. ------------------------------------------------------- START THE PIECE HERE: ------------------------------------------------------- VEST – SHORT OVERVIEW OF THE PIECE: The piece is worked in sections, back and forth on the needle and then sewn together. The neck is worked to finish. BACK PIECE: Cast on 103-113-121-133-149-163 stitches (including 1 edge stitch on each side) with circular needle size 3.5 mm and DROPS Puna. Purl 1 row from the wrong side, then work rib from the right side as follows: 1 edge stitch in GARTER STITCH – read description above, work A.1 until there are 2 stitches left, work the first stitch in A.1 (so the pattern is symmetrical) and 1 edge stitch in garter stitch. Continue this rib back and forth for 5 cm – adjust so the next row is from the right side. Knit 1 row where you decrease 17-19-19-21-25-27 stitches evenly spaced – read DECREASE TIP-1 = 86-94-102-112-124-136 stitches. Change to circular needle size 4.5 mm. Purl 1 row from the wrong side. Continue with stocking stitch and 1 edge stitch in garter stitch on each side. REMEMBER THE KNITTING TENSION! When the piece measures 22-23-24-25-26-27 cm, work pattern as follows from the right side: 1 edge stitch in garter stitch, A.1 over the next 12-12-12-14-16-18 stitches, stocking stitch until there are 13-13-13-15-17-19 stitches left, purl 1, A.1 over the next 11-11-11-13-15-17 stitches and 1 edge stitch in garter stitch. Continue this pattern. When the piece measures 25-26-27-28-29-30 cm (the rib on each side measures 3 cm – adjust to work next row from the right side), work as follows: Cast off the first 4-4-4-6-8-10 stitches for the armholes at the beginning of the next 2 rows (cast off with knit) = 78-86-94-100-108-116 stitches. The next row from the right side is worked as follows: 1 edge stitch in garter stitch, pattern as before over the next 8 stitches, work stocking stitch until there are 9 stitches left, pattern over the next 8 stitches and 1 edge stitch in garter stitch. Continue this pattern. On the next row from the right side, decrease 1 stitch on each side for the armholes – read DECREASE TIP-2! Decrease like this each row from the right side a total of 1-3-5-6-8-10 times = 76-80-84-88-92-96 stitches. When the piece measures 46-48-50-52-54-56 cm, cast off the middle 36-36-40-40-44-44 stitches for the neck and each shoulder (= 20-22-22-24-24-26 stitches) is finished separately. On the next row from the right side, decrease 1 stitch for the neck – read DECREASE TIP-3! Decrease like this each row from the right side a total of 2 times = 18-20-20-22-22-24 stitches. Continue with pattern and stocking stitch until the piece measures 50-52-54-56-58-60 cm. Cast off with knit over knit and purl over purl. Work the other shoulder in the same way. FRONT PIECE: Cast on and work as for the back piece. When the piece measures 35-37-37-39-39-41 cm (there are 76-80-84-88-92-96 stitches on the needle), place the middle 18-18-20-20-24-24 stitches on a thread for the neck and each shoulder (= 29-31-32-34-34-36 stitches) is finished separately On the next row from the right side, decrease 1 stitch for the neck – remember DECREASE TIP-3! Decrease like this each row from the right side a total of 11-11-12-12-12-12 times = 18-20-20-22-22-24 stitches. Continue with pattern and stocking stitch until the piece measures 50-52-54-56-58-60 cm. Cast off with knit over knit and purl over purl. Work the other shoulder in the same way. ASSEMBLY: Sew the shoulder seams inside the cast-off edge. Sew the side seams inside the 1 edge stitch. NECK: Start from the right side at one shoulder seam and knit up 120 to 148 stitches (including the stitches from the thread) inside the 1 edge stitch, with short circular needle size 3.5 mm and DROPS Puna. The number of stitches must be divisible by 2; make sure the neck is neither too loose nor too tight. Work A.1 in the round over all stitches for 4½ cm. Cast off with knit-twisted over knit-twisted and purl over purl – read CASTING-OFF TIP. |
|||||||
Diagram explanations |
|||||||
|
|||||||
 |
|||||||
Have you finished this pattern?Tag your pictures with #dropspattern #visitviennaslipover or submit them to the #dropsfan gallery. Do you need help with this pattern?You'll find 28 tutorial videos, a Comments/Questions area and more by visiting the pattern on garnstudio.com. © 1982-2026 DROPS Design A/S. We reserve all rights. This document, including all its sub-sections, has copyrights. Read more about what you can do with our patterns at the bottom of each pattern on our site. |
|||||||


With over 40 years in knitting and crochet design, DROPS Design offers one of the most extensive collections of free patterns on the internet - translated to 17 languages. As of today we count 324 catalogues and 12290 patterns translated into English (UK/cm). 12290
We work hard to bring you the best knitting and crochet have to offer, inspiration and advice as well as great quality yarns at incredible prices! Would you like to use our patterns for other than personal use? You can read what you are allowed to do in the Copyright text at the bottom of all our patterns. Happy crafting!
Post a comment to pattern DROPS 227-9
We would love to hear what you have to say about this pattern!
If you want to leave a question, please make sure you select the correct category in the form below, to speed up the answering process. Required fields are marked *.