
Popular categories
Looking for a yarn?












































Comments / Questions (5)
 Kristina wrote:
Hej! Jag förstår inte ökningarna vid raglan. Vad innebär raglanmarkören? Är det vid markören jag ska göra ökningen på varv 3? Det står i beskrivningen att jag ska sticka diagrammet och göra ökningar. I diagrammet finns ökningar inritade. Ska jag göra fler ökningar än de som står i diagrammet?
12.10.2026 - 09:32DROPS Design answered:
Hej Kristina, du starter nederst i diagrammet og tager ud på 1.pind og 3. pind ifølge diagrammet som består af 6 pinde og ialt 8 udtagninger ifølge diagrammet. Når du har strikket alle 6 pinde starter du nederst i diagrammet igen :)
15.10.2026 - 14:13
 Michele Pike wrote:
Good afternoon, again!! I found my error!! There is an increase along with the cable. I'm good to go! Thank you! Michele Pike
07.10.2026 - 21:40DROPS Design answered:
Hi Michele, That's good news :)
08.10.2026 - 05:23
 Karin wrote:
Ich habe eine Frage zum Ärmel: Wenn ich A1 und A2 14mal stricken und jeweils 2 Maschen innerhalb des Mustersatzes zunehme komme ich nicht auf 76 Ärmel-Maschen. Was mache ich falsch?
02.10.2026 - 17:24DROPS Design answered:
Liebe Karin, es sind 20 Maschen am Anfang in XL und XXL für jeden Ärmel (4 M A.1 +12 M glatt + 4 M A.2); man soll A.1/A.2 insgesamt 14 Mal in der Höhe stricken und so wird man jeweils 2 Maschen x 2 (A.1 + A.2) x 14 Mal = 56 Maschen zunehmen + die 20 M vom Anfang an = 76 Maschen. Kann das helfen? Viel Spaß beim Stricken!
05.10.2026 - 07:14
Monika wrote:
Jag förstår inte hur jag ska tolka mönstret när det gäller raglanökningarna. På första varvet sätts fyra markörer i arbetet som kallas "raglanmaskor". Hur ofta ska ökningar göras runt dessa? På diagrammen görs ökningar vart 6:e varv på andra ställen som inte stämmer med "raglanmaskorna". Kan ni vara snälla och förklara hur det ska vara.
29.09.2026 - 22:28DROPS Design answered:
Hei Monica. Det skal økes på hver side av de 4 raglansmerkene. Det økes ulikt på for/bakstykket og til ermene. På forstykkene og på bakstykket økes det ved å lage 1 kast om pinnen på HVER pinne fra retten – Husk les RAGLAN i oppskriften på hvordan disse maskene skal økes og strikkes. På ermene strikkes og økes det etter diagram A.1/A.2 = når diagrammene er strikket 1 gang i høyden er det økt med 2 masker i hvert diagram (= 1 økt maske på 1. pinne i diagrammet og 1 økt maske på 3. pinne i diagrammet). Når diagrammene gjentas i høyden, blir det økt på hver 6. pinne. mvh DROPS Design
05.10.2026 - 08:29
Anne-Marie wrote:
Hej! I vilken storlek är koftan stickad i som modellen har på sig och vilken storlek är "normal" storlek för modellen i vanliga fall? (Frågar eftersom koftan är stickad i oversize och har rejält med extra vidd).
20.09.2026 - 11:02DROPS Design answered:
Hei Anne-Marie. Koftane er nok strikket i str. S eller M, modellen bruker vanligvis XS eller S. For å finne riktig størrelse til deg, anbefales det å se på målene som er oppgitt på målskissen til plagget. Finn et plagg du allerede har og liker oversize passformen på og sammenlign med målene i målskissen med det plagget for å finne den størrelsen du ønsker å strikke etter. mvh DROPS Design
21.09.2026 - 11:33
|
||||||||||||||||
Evening Secret Cardigan#eveningsecretcardigan |
||||||||||||||||
 |
 |
|||||||||||||||
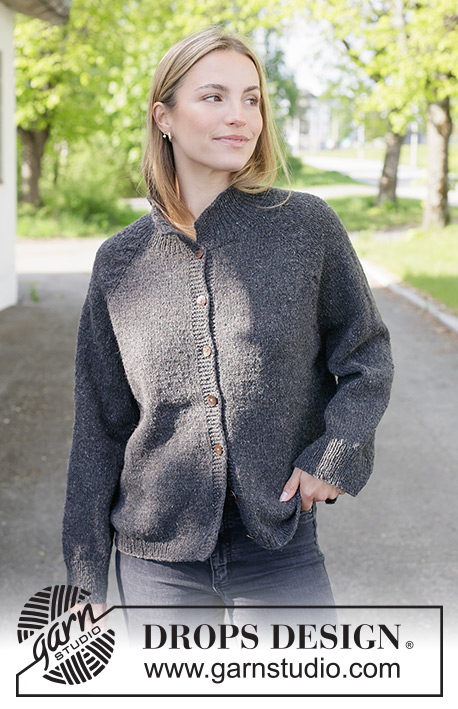
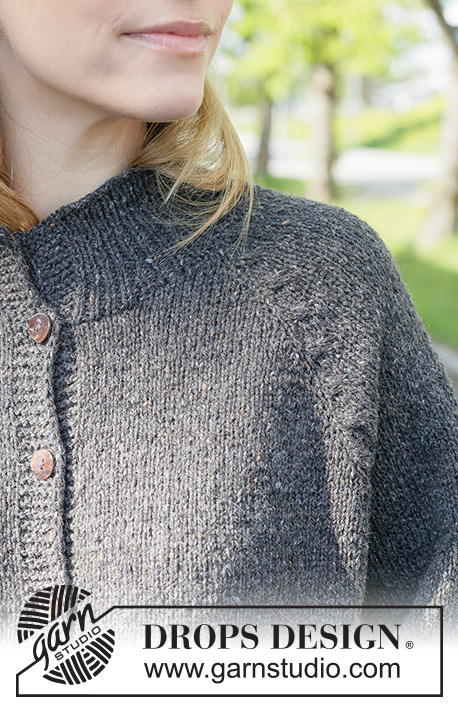
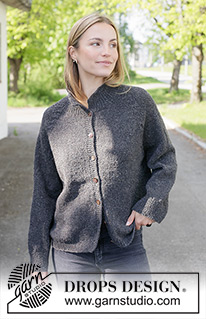
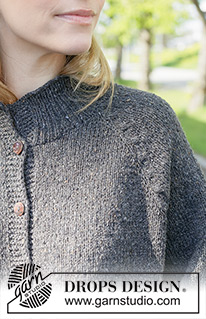
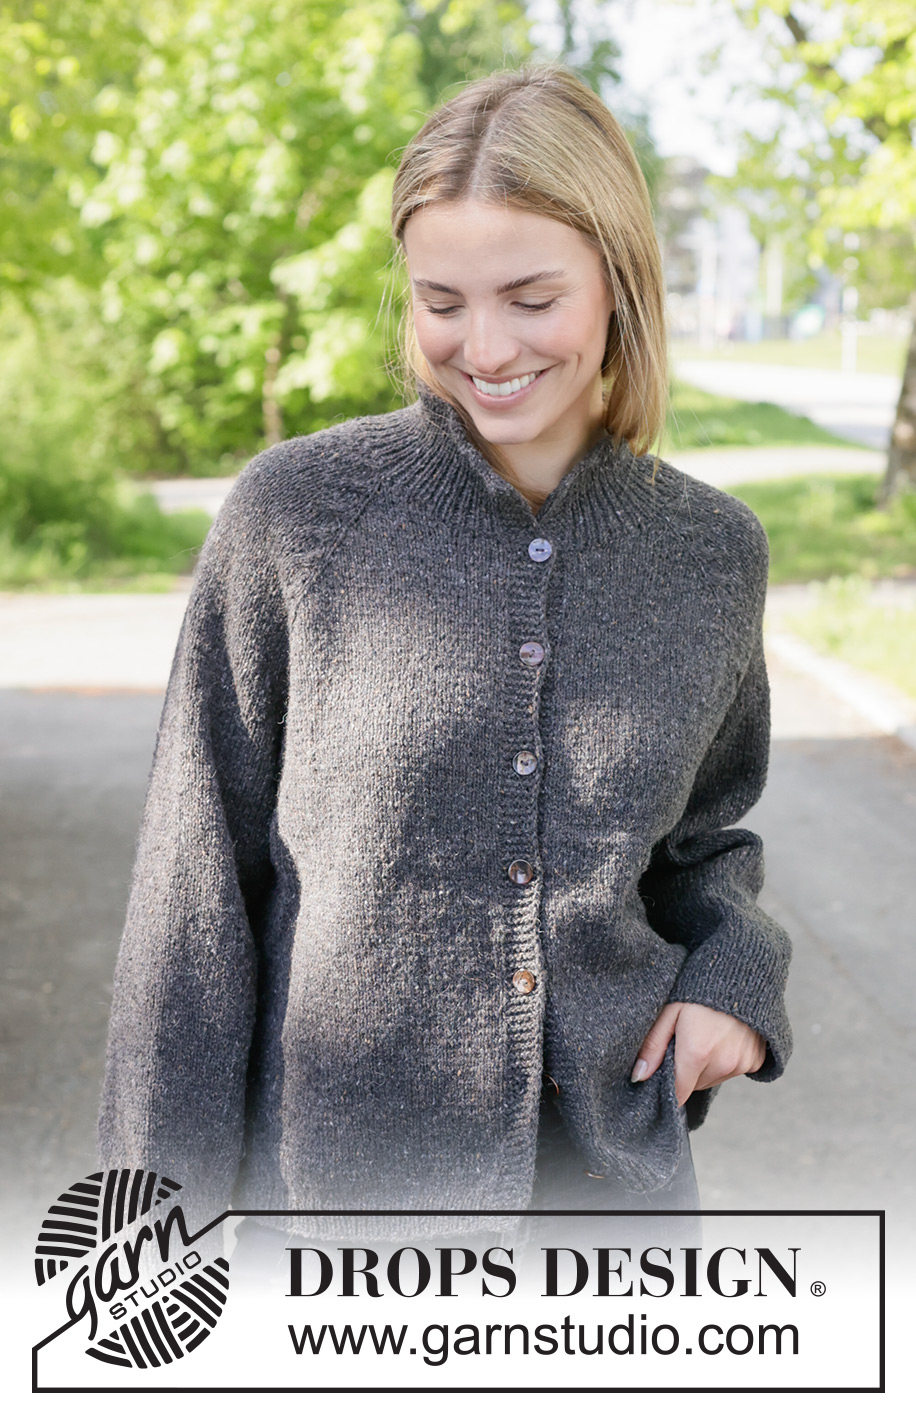
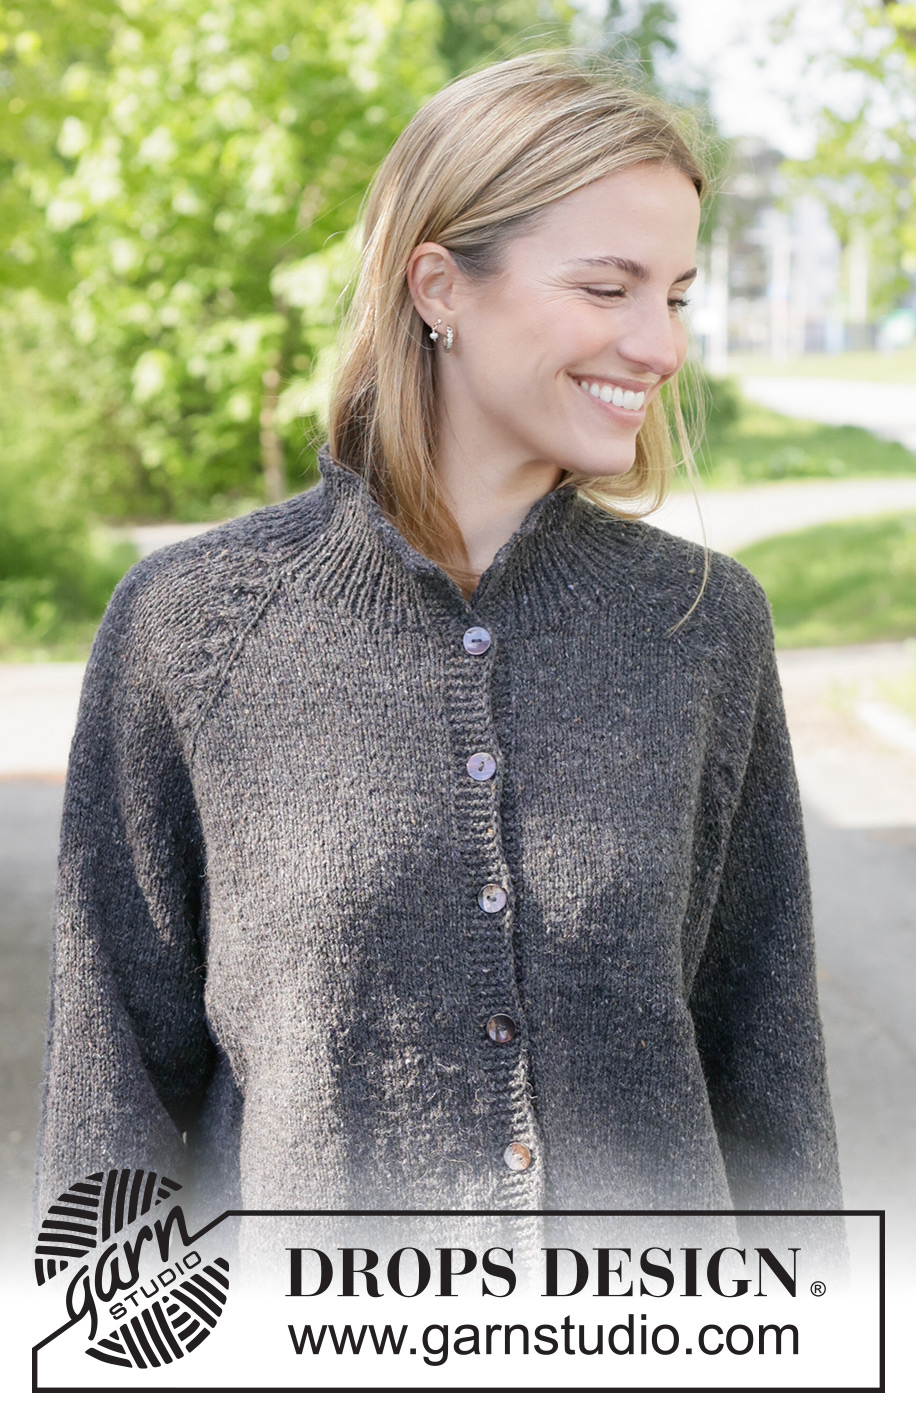
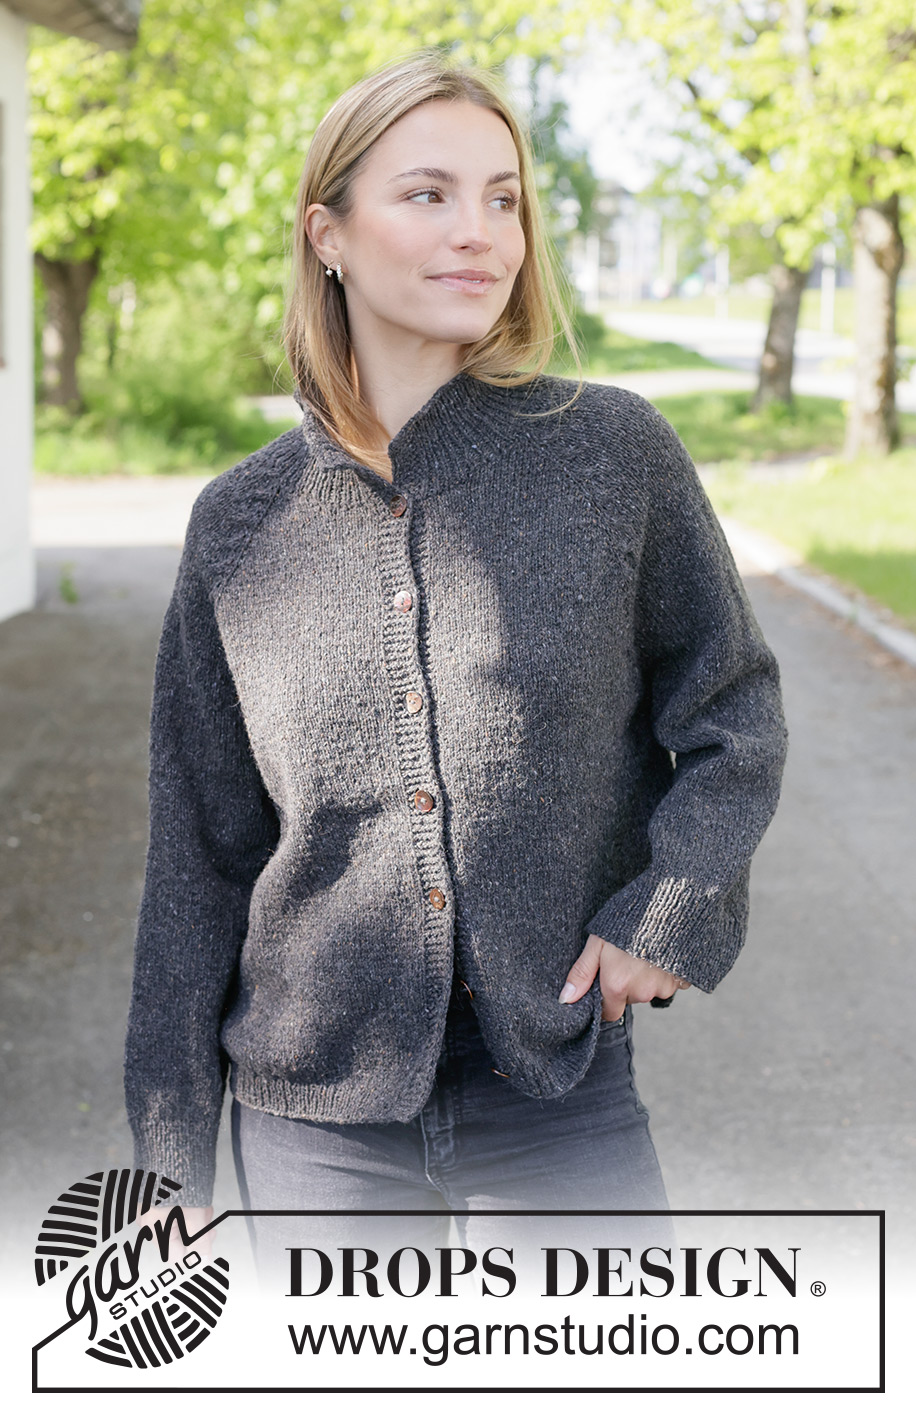
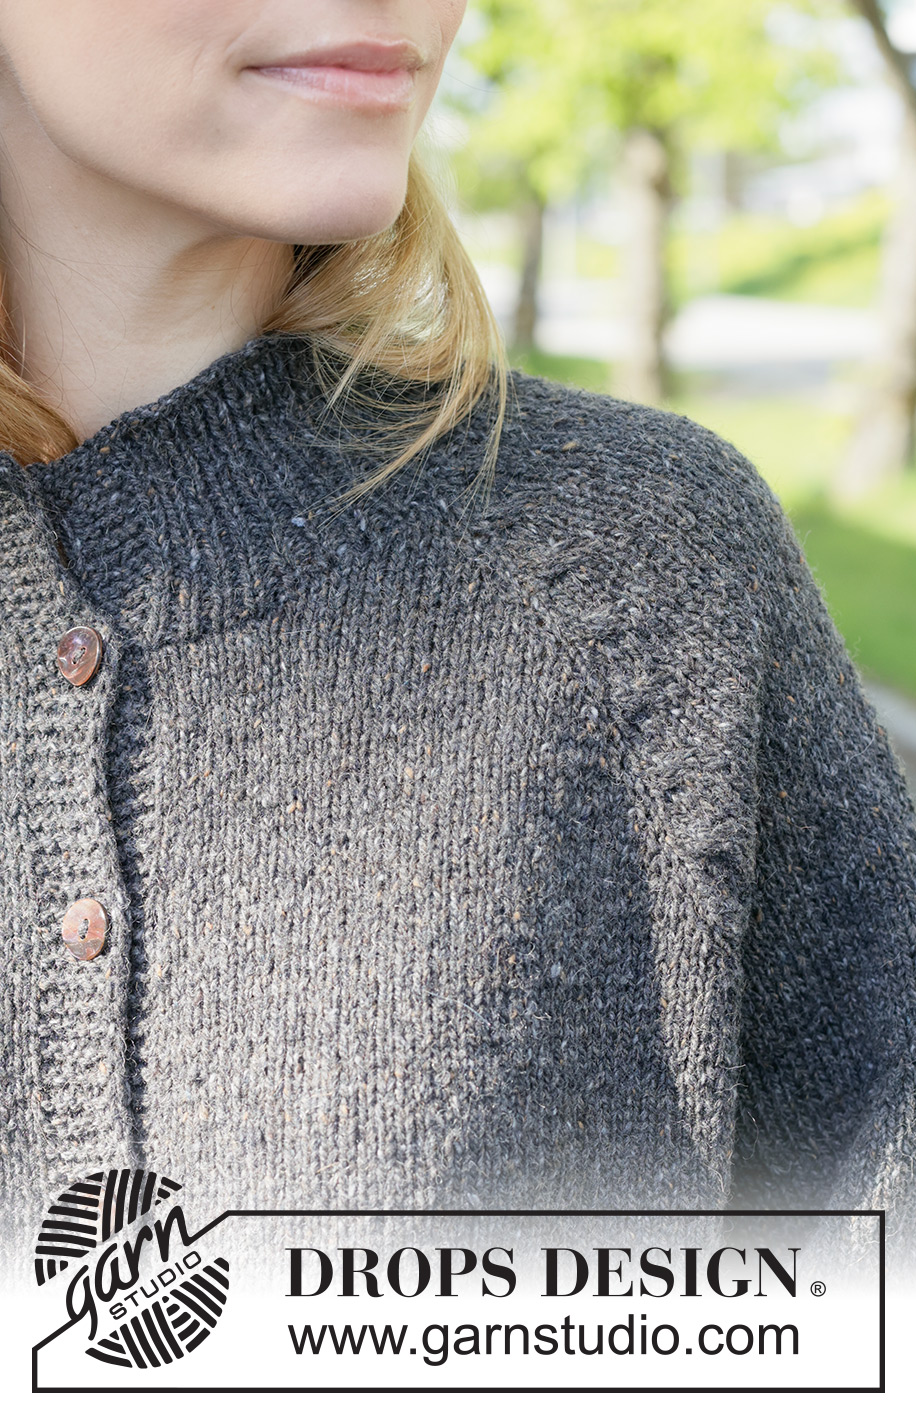
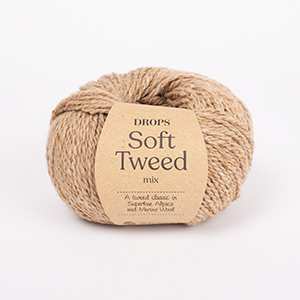
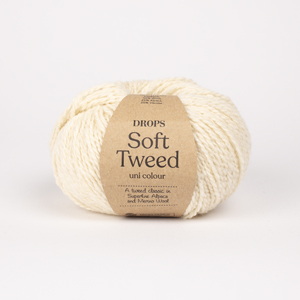
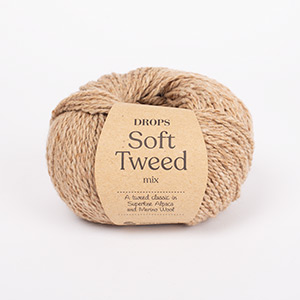
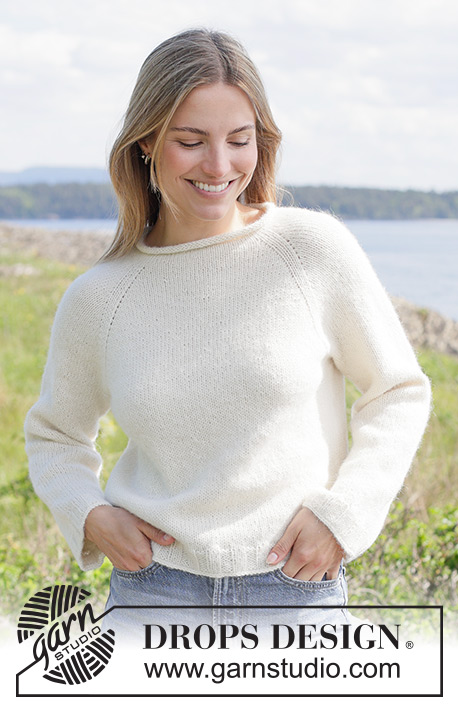
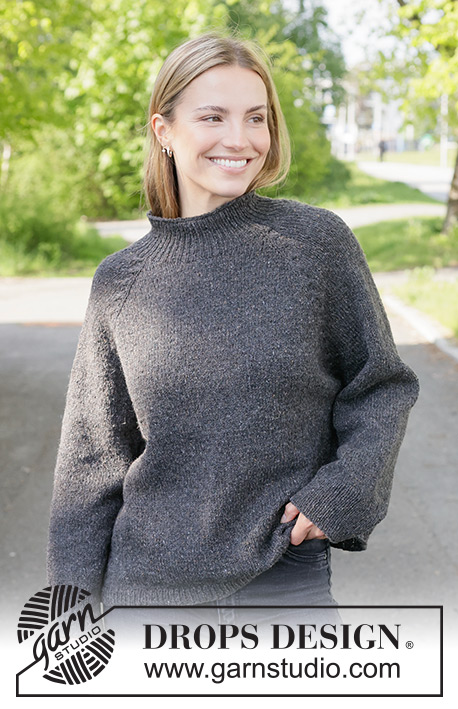
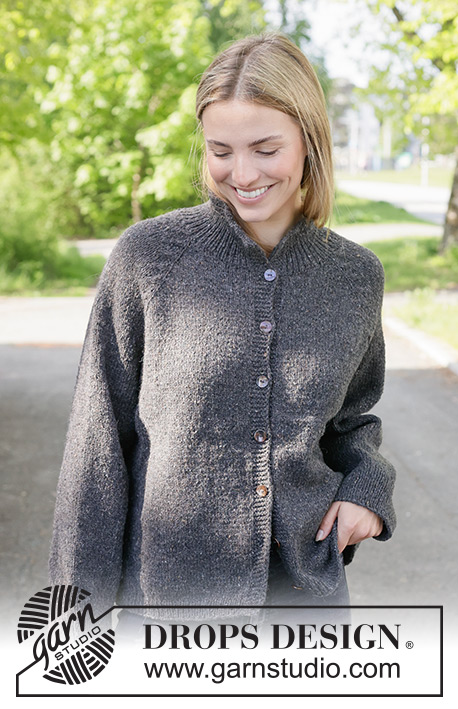
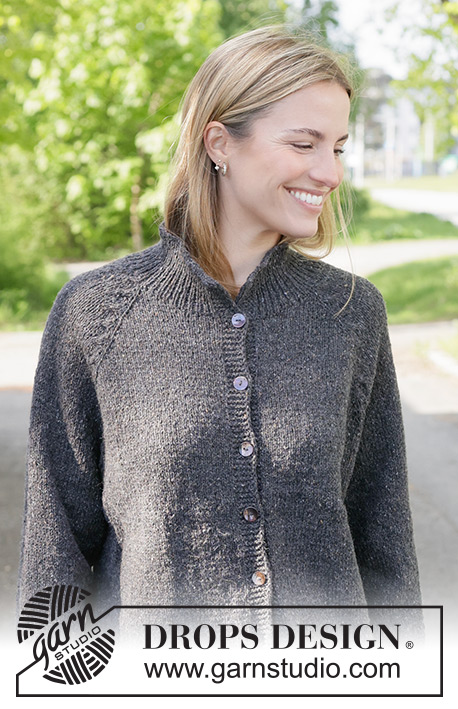
Knitted, oversized jacket in DROPS Soft Tweed. Piece is knitted top down in stocking stitch with raglan and cables. Size XS – XXXL.
DROPS 271-24 |
||||||||||||||||
|
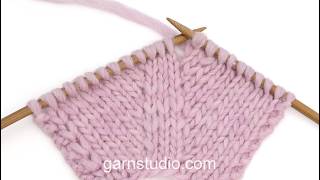
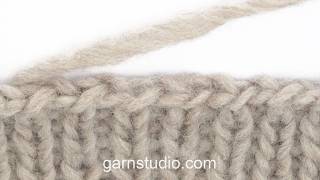
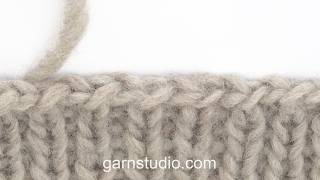
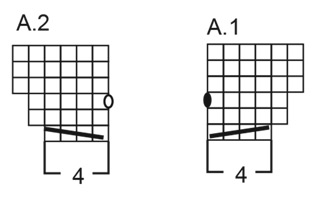
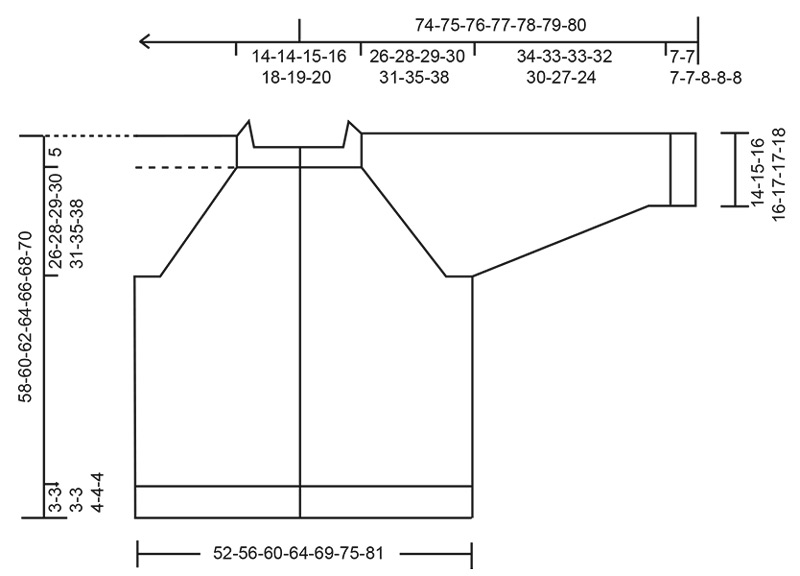
---------------------------------------------------------- EXPLANATION FOR THE PATTERN: ---------------------------------------------------------- GARTER STITCH: Knit on all rows, i.e. knit from right side and knit from wrong side. 1 ridge vertically = knit 2 rows. RAGLAN: All increases are done from right side. Increase 1 stitch by making 1 yarn over. On next row from wrong side work yarn overs as explained below: BEFORE RAGLAN STITCHES (= twist yarn over towards the left): Purl yarn over in stitch loop behind the needle - to avoid holes. Work the new stitches in stocking stitch. AFTER RAGLAN STITCHES (= twist yarn over towards the right): Move yarn over from left needle to right needle purlwise, slip yarn over back on left needle by inserting left needle from behind in yarn over (yarn over is now twisted). Purl yarn over in stitch loop that is in front the needle - to avoid holes. Work the new stitches in stocking stitch BAND WITH I-CORD: BEGINNING OF ROW: Work band as follows (= 7 stitches): Slip 1 stitch purlwise with strand in front of piece, knit 1 and work 5 stitches in garter stitch. END OF ROW: Work band as follows (= 7 stitches): Work until 7 stitches remain on row, work 5 stitches in garter stitch, slip 1 stitch purlwise with strand in front of piece, knit 1. Continue like this from both right side and wrong side. PATTERN: See diagrams A.1 and A.2. Read the diagram from right to left when working from right side and from left to right when working from wrong side. BUTTONHOLES: Decrease for buttonholes on right band (when garment is worn). Decrease from right side when 5 stitches remain on row as follows: ROW 1 (= right side): Make 1 yarn over, knit 2 together, knit 1, slip 1 stitch purlwise with strand in front of piece, knit 1. ROW 2 (= wrong side): Work band as before and knit yarn over to make a buttonhole. Decrease for first buttonhole on first row from right side after stitches for neck edge have been cast on. Then decrease the next 6-7-7-7-7-7-7 buttonholes, approx. 8-7-7½-8-8-8-8½ cm apart. Adjust so that bottom buttonhole is placed approx. in the transition between stocking stitch and rib on body. SLEEVE TIP: When picking up stitches mid under sleeve, there will be a small hole in the transition between stitches on body and sleeves. The holes can be closed by picking up the strand between two stitches - work this strand twisted together with the first stitch between body and sleeve to close the hole. DECREASE TIP: Decrease 1 stitch on each side of marker as follows: Work until 3 stitches remain before marker, knit 2 together, knit 2 (marker thread is between these 2 stitches) slip 1 stitch knitwise, knit 1, pass slipped stitch over stitch worked (= 2 stitches decreased). ---------------------------------------------------------- START THE PIECE HERE: ---------------------------------------------------------- JACKET - SHORT OVERVIEW OF THE PIECE: In this pattern needles of different length have been used, begin with fitting length for number of stitches and switch as needed. Worked top down. Cast on stitches for neck and work back and forth on circular needle with increases in raglan, AT THE SAME TIME cast on new stitches in each side to form a neckline. Work yoke back and forth on circular needle from mid front, work top down. When yoke is done, divide piece for body and sleeves. Work body downwards back and forth on circular needle while putting the sleeves aside. Then work sleeves downwards in the round on needle. Finish by picking up stitches along the neck and work the neck edge back and forth. NECKLINE: Cast on 74-74-76-78-82-84-86 stitches on circular needle size 4 mm with DROPS Soft Tweed. Purl 1 row from wrong side. Insert 4 markers in piece while working next row, insert markers in a stitch, these stitches are called raglan stitches and increase is done for raglan on each side of raglan stitches. On front pieces and back piece increase by making 1 yarn over on every row from right side - read RAGLAN. On the sleeves work and increase according to diagram A.1/A.2. ROW 1 (= from right side): Knit 1, make 1 yarn over, knit 1 and insert 1 marker in this stitch (= raglan stitch), A.1 (=4 stitches), knit 12 (= sleeve), A.2 (= 4 stitches), knit 1 and insert 1 marker in this stitch (= raglan stitch), make 1 yarn over, knit 28-28-30-32-36-38-40 (= back piece), make 1 yarn over, knit 1 and insert 1 marker in this stitch (= raglan stitch), A.1, knit 12 (= sleeve), A.2, knit 1 and insert 1 marker in this stitch (= raglan stitch), make 1 yarn over, knit 1 and cast on 2 new stitches at the end of row = 84-84-86-88-92-94-96 stitches. ROW 2 (= from wrong side): Purl over all stitches (remember to work yarn overs as explained in RAGLAN and as explained in A.1/A.2), cast on 2 new stitches at the end of row = 86-86-88-90-94-96-98 stitches. ROW 3 (= from right side): Work in stocking stitch and A.1/A.2 and increase for raglan on front pieces and back piece as before, cast on 2 new stitches at the end of row = 96-96-98-100-104-106-108 stitches. ROW 4 (= from wrong side): Purl over all stitches, cast on 2 new stitches at the end of row = 98-98-100-102-106-108-110 stitches. ROW 5 (= from right side): Work in stocking stitch and A.1/A.2 and increase for raglan on front pieces and back piece, there are no increases in A.1/A.2 on this row, cast on 2 new stitches at the end of row = 104-104-106-108-112-114-116 stitches. ROW 6 (= from wrong side): Purl over all stitches, cast on 2 new stitches at the end of row = 106-106-108-110-114-116-118 stitches. 3 increases for raglan have been done on front pieces and back piece, 2 times in each side of each sleeve and 6 new stitches have been cast on in each side for neck. Then work as follows from right side: ROW 1 (from right side): Work in stocking stitch and increase for raglan as explained above (sleeves work first row in A.1, knit 16, first row in A.2), cast on 14-14-15-16-18-19-20 new stitches at the end of row = 128-128-131-134-140-143-146 stitches. ROW 2 (from wrong side): Work 7 stitches BAND WITH I-CORD - read explanation above, purl the rest of row, cast on 14-14-15-16-18-19-20 new stitches at the end of row = 142-142-146-150-158-162-166 stitches. There are now 36-36-38-40-44-46-48 stitches on back piece and 26 stitches on each sleeve, 25-25-26-27-29-30-31 stitches on each front piece, and 1 stitch in each raglan line. Continue with bands, pattern and stocking stitch, and increase for raglan on each side of raglan stitches. On sleeves increase with A.1 at beginning of sleeve and A.2 at the end of sleeve (= 2 stitches increased in each side every 6th row). On front pieces and back piece increase with yarn overs on every row from right side as before (= 2 stitches increased on back piece and 1 stitch increased on each front piece every other row). Decrease for BUTTONHOLES on right band - read explanation above. Continue until 20-24-26-26-28-28-30 increases have been done on sleeves (including increases when the neck was formed), A.1 and A.2 have been worked 10-12-13-13-14-14-15 times in total vertically. Increases on sleeves are now done, cables are done, continue in stocking stitch. Continue increases on front pieces and back piece as before until 36-39-41-42-44-49-53 increases have been done (including increases when the neck was formed) = 338-366-386-394-418-442-470 stitches on needle. There are now 100-106-112-116-124-136-146 stitches on back piece, 60-68-72-72-76-76-80 stitches on each sleeve, 57-60-63-65-69-75-80 stitches on each front piece, and 1 stitch in each raglan line. Now divide yoke for body and sleeves. DIVIDING FOR BODY AND SLEEVES: AT THE SAME TIME as next row is worked divide yoke for body and sleeves as follows: Work 58-61-64-66-70-76-81 stitches as before (= front piece), slip the next 60-68-72-72-76-76-80 stitches on a thread for sleeve, cast on 8-10-12-16-18-20-22 new stitches on row (= in the side mid under sleeve), work 102-108-114-118-126-138-148 stitches as before (= back piece), slip the next 60-68-72-72-76-76-80 stitches on a thread for sleeve, cast on 8-10-12-16-18-20-22 new stitches on row (= in the side mid under sleeve), and work the last 58-61-64-66-70-76-81 stitches as before (= front piece). Finish body and sleeves separately. BODY: = 234-250-266-282-302-330-354 stitches. Work in stocking stitch with bands in each side until piece measures 50-52-54-56-57-59-61 cm from pick-up edge, finish with a row from wrong side. On next row from right side begin rib while AT THE SAME TIME increasing 25-25-27-29-31-33-35 stitches evenly on 1st row (do not increase over bands) = 259-275-293-311-333-363-389 stitches, work as follows: Switch to circular needle size 3 mm and work band as before, work rib (= knit 1 and purl 1 - remember increase) until 8 stitches remain, knit 1 and work band as before. When rib measures 3-3-3-3-4-4-4 cm, cast off with knit over knit and purl over purl. Jacket measures approx. 53-55-57-59-61-63-65 cm from mid back and 58-60-62-64-66-68-70 cm from the shoulder. SLEEVES: Slip 60-68-72-72-76-76-80 sleeve stitches from one thread on to circular needle size 4 mm and pick in addition up 1 stitch in each of the 8-10-12-16-18-20-22 stitches cast on under sleeve– read SLEEVE TIP = 68-78-84-88-94-96-102 stitches. Insert 1 marker in the middle of the 8-10-12-16-18-20-22 new stitches under sleeve - round begins at the marker. Work stocking stitch in the round on needle - AT THE SAME TIME on first round after division decrease mid under sleeve – read DECREASE TIP and decrease as follows: Decrease 2 stitches every 3-3-2½-2½-2-2-1½ cm 5-7-9-10-12-12-14 times in total = 58-64-66-68-70-72-74 stitches. Work until sleeve measures 34-33-33-32-30-27-24 cm from division. Switch to double pointed needles size 3 mm and work rib (= knit 1 and purl 1) while AT THE SAME TIME increasing 12-12-14-14-14-14-14 stitches evenly on 1st round = 70-76-80-82-84-86-88 stitches. When rib measures 7-7-7-7-8-8-8 cm, cast off with knit over knit and purl over purl. Sleeve measures approx. 41-40-40-39-38-35-32 cm from division. NECK EDGE: Use circular needle size 3 mm, begin from right side mid front and pick up 1 stitch in each of the 7 band stitches, pick up approx. 99 to 125 stitches on the neck inside cast-on edge, finish by picking up 1 stitch in each of the last 7 band stitches = approx. 113 to 139, number of stitches must be divisible by 2 + 1. Work next row as follows from wrong side: 7 stitches band as before, work rib (= purl 1 and knit 1) until 8 stitches remain, purl 1, work 7 stitches band as before. Work rib back and forth for 8-8-8-8-9-9-9 cm. Purl 1 row from wrong side with bands as before. Cast off knitting from right side. ASSEMBLY: Sew the buttons on to the left band. |
||||||||||||||||
Diagram explanations |
||||||||||||||||
|
||||||||||||||||
 |
||||||||||||||||
 |
||||||||||||||||
Have you finished this pattern?Tag your pictures with #dropspattern #eveningsecretcardigan or submit them to the #dropsfan gallery. Do you need help with this pattern?You'll find 28 tutorial videos, a Comments/Questions area and more by visiting the pattern on garnstudio.com. © 1982-2026 DROPS Design A/S. We reserve all rights. This document, including all its sub-sections, has copyrights. Read more about what you can do with our patterns at the bottom of each pattern on our site. |
||||||||||||||||






With over 40 years in knitting and crochet design, DROPS Design offers one of the most extensive collections of free patterns on the internet - translated to 17 languages. As of today we count 333 catalogues and 12525 patterns translated into English (UK/cm). 12525
We work hard to bring you the best knitting and crochet have to offer, inspiration and advice as well as great quality yarns at incredible prices! Would you like to use our patterns for other than personal use? You can read what you are allowed to do in the Copyright text at the bottom of all our patterns. Happy crafting!
Post a comment to pattern DROPS 271-24
We would love to hear what you have to say about this pattern!
If you want to leave a question, please make sure you select the correct category in the form below, to speed up the answering process. Required fields are marked *.