
Popular categories
Looking for a yarn?


Comments / Questions (18)
![]() Rox wrote:
Rox wrote:
Bonjour, j'ai du mal avec le biais des épaules du dos. (Je fais le modèle en S) Quand j'arrive au moment de tricoter les 31m en rang envers, j'ai un gros trou au niveau de la transition. Il est écrit "relever le fil entre 2m". J'ai relevé 1 seule maille, est ce que c'est ça qu'il fallait faire ? Merci d'avance.
20.02.2026 - 17:08DROPS Design answered:
Bonjour Mme Rox, tout à fait, pour éviter les trous aux transitions des mailles mises en attente, vous relevez 1 maille = le fil entre les rangs raccourcis et vous placez ce fil torse sur l'aiguille gauche, vous tricotez ensuite cette nouvelle maille et la maille suivante ensemble. Retrouvez dans cette vidéo comment tricoter le dernier rang des épaules (autre modèle, autre nombre de mailles, mais technique identique). Bon tricot!
23.02.2026 - 07:29
![]() Gwen wrote:
Gwen wrote:
Bonjour, je ne suis pas sure de comprendre: le modèle est annoncé en point mousse mais il est écrit dans les explications dos et manche de tricoter en jersey. Pouvez-vous m'eclairer ? Merci beaucoup Gwen
04.09.2025 - 23:48DROPS Design answered:
Bonjour Gwen, au tout début, nous expliquons juste comment tricoter du point mousse, comment diminuer pour l'encolure, comment augmenter etc... mais le pull se tricote ensuite comme indiqué dans les explications, autrement dit, en jersey et avec des mailles lisières au point mousse tricotées comme indiqué au début du texte. Bon tricot!
05.09.2025 - 07:26
![]() Terry Bend wrote:
Terry Bend wrote:
Kan jag sticka fram och bakstycket på rundstickor utan att sticka var för sig.
23.07.2024 - 18:29DROPS Design answered:
Hej, ja det må du gerne gøre, det er bare at sætte stykkerne sammen :)
01.08.2024 - 08:34
![]() Pinçon wrote:
Pinçon wrote:
Je viens de terminer ce modèle et je m'aperçois sur la bande de pelote qu'il ne faut pas repasser cette laine. Comment faire pour que le tricot soit uniforme et pour aplanir les coutures des emmanchures ? merci de me donner la solution. Cordialement
18.04.2024 - 16:37DROPS Design answered:
Bonjour Mme Pinçon, maintenant le blocage est necessaire. Vous devez placer le pull dans l'eau tiède jusqu'à ce qu'il soit bien trempé. Presser délicatement pour évacuer l'excès d'eau - ne pas tordre. Le rouler ensuite dans un torchon ou une serviette pour retirer l'excédent d'eau – il doit être maintenant seulement humide. Le mettre en forme et laisser sécher. Le blocage lisse la fibre et fera disparaître quasi toutes les imperfections de votre tricot. Bon travail!
18.04.2024 - 17:02
![]() Carmen wrote:
Carmen wrote:
No entiendo por qué el delantero es más corto que la espalda, cuando en tela por ejemplo es justo al contrario. De hacerlo así el delantero será 4 cm más corto que la espalda. En las fotos parece que la costura del hombro queda en su sitio, no cae hacia delante para salvar los -4 cm que le falta al delantero.agradecería su ayuda lo antes posible. Gracias
17.01.2024 - 01:00
![]() Karin Westerdiep wrote:
Karin Westerdiep wrote:
Volgens mij zijn de naalddiktes omgedraaid bij de mouwen: beginnen met 3,5 mm, daarna 4,5 mm.
09.05.2023 - 12:21
![]() Francesca wrote:
Francesca wrote:
Buongiorno! Vorrei sapere cosa significa l'indicazione "mettere 6 maglie in sospeso per 4 volte". Si intende per 4 ferri, mentre si lavorano le rimanenti? Grazie!
21.10.2022 - 15:17
![]() Toos Ganzevoort wrote:
Toos Ganzevoort wrote:
Excuus Ik zie de tekening toch wel,
14.10.2022 - 20:41
![]() Toos Ganzevoort wrote:
Toos Ganzevoort wrote:
Ik denk dat de aangegeven naald dikte bij de mouwen omgewisseld is. Ik mis de schematische tekening met de maten van alle onderdelen
14.10.2022 - 20:40
![]() Victoria wrote:
Victoria wrote:
Hola! se puede evitar hacer las disminuciones denominadas como "bies del hombro"? en ese caso terminaría el hombro recto sin hacer disminuciones en diagonal. quedará muy distinto al patrón original? gracias!
20.07.2022 - 02:39DROPS Design answered:
Hola Victoria, sí, el resultado final será muy diferente porque las disminuciones aportan al hombro esa forma pegada al hombro y pueden afectar a la posición de la manga.
20.07.2022 - 17:23
|
|
Camomile#camomilesweater |
|
 |
 |
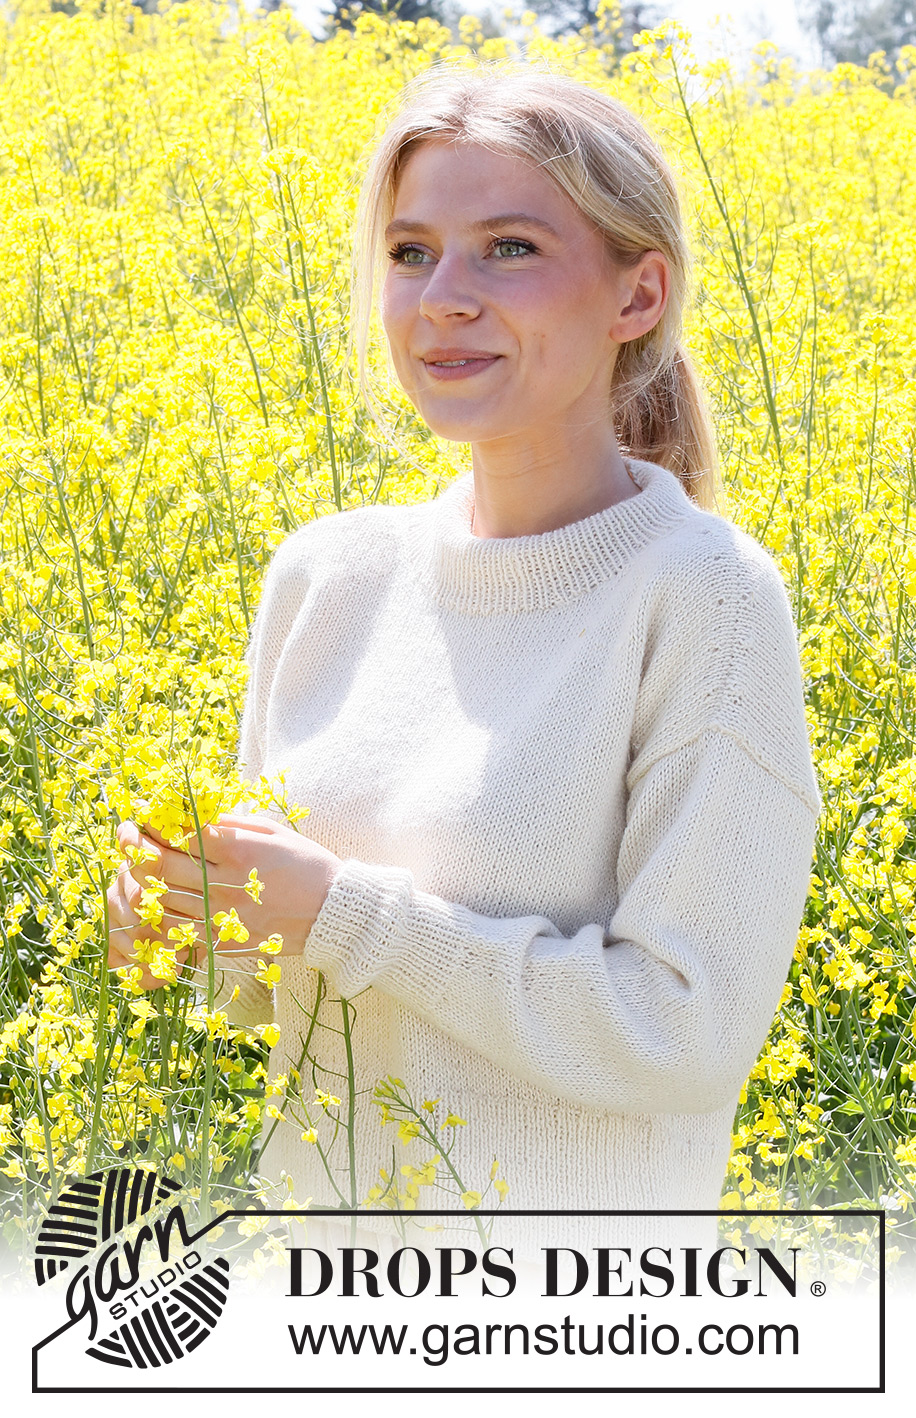
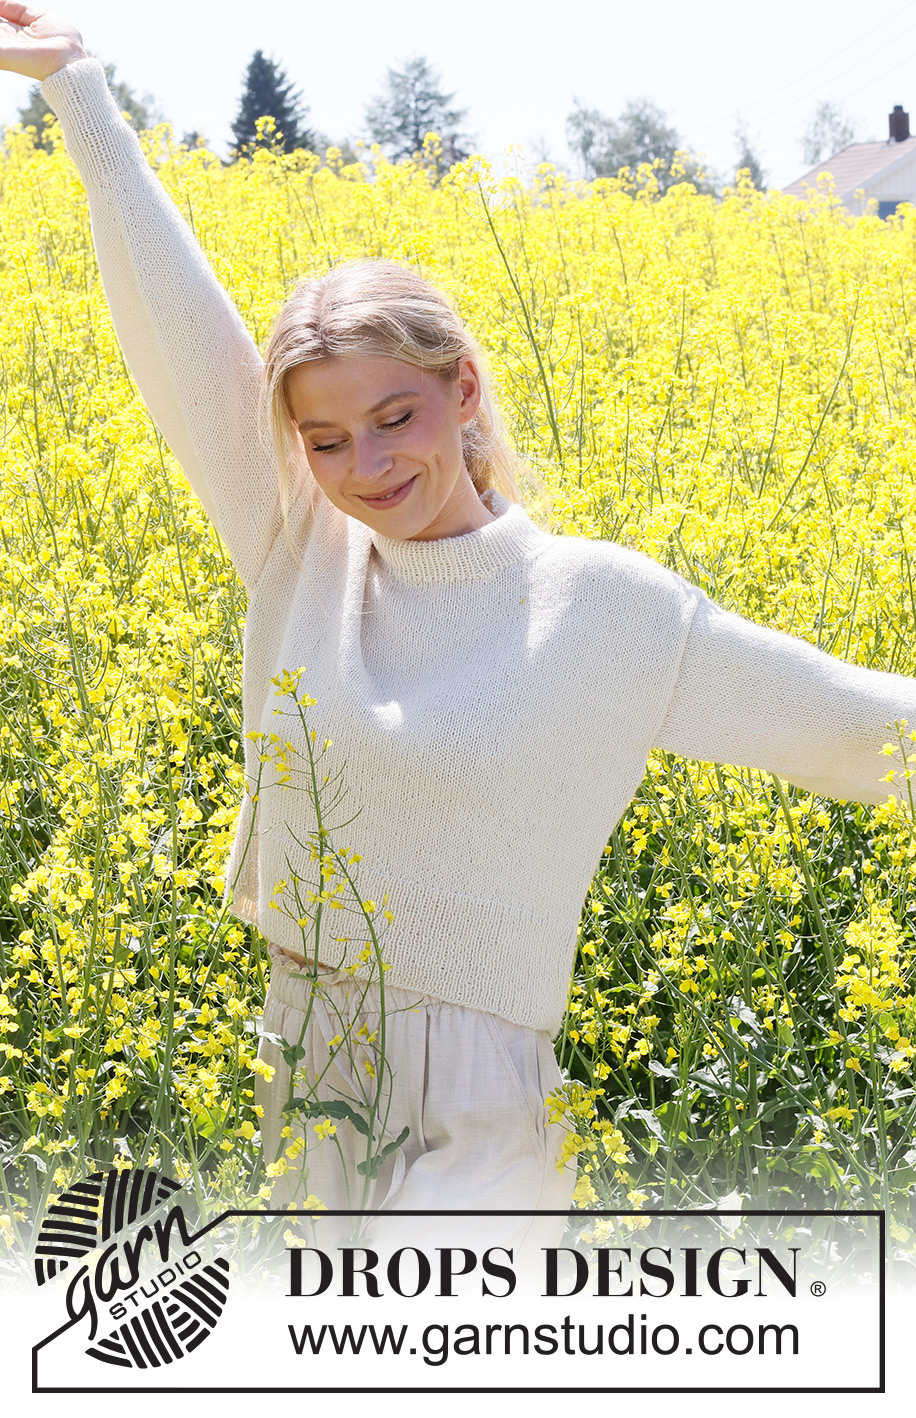
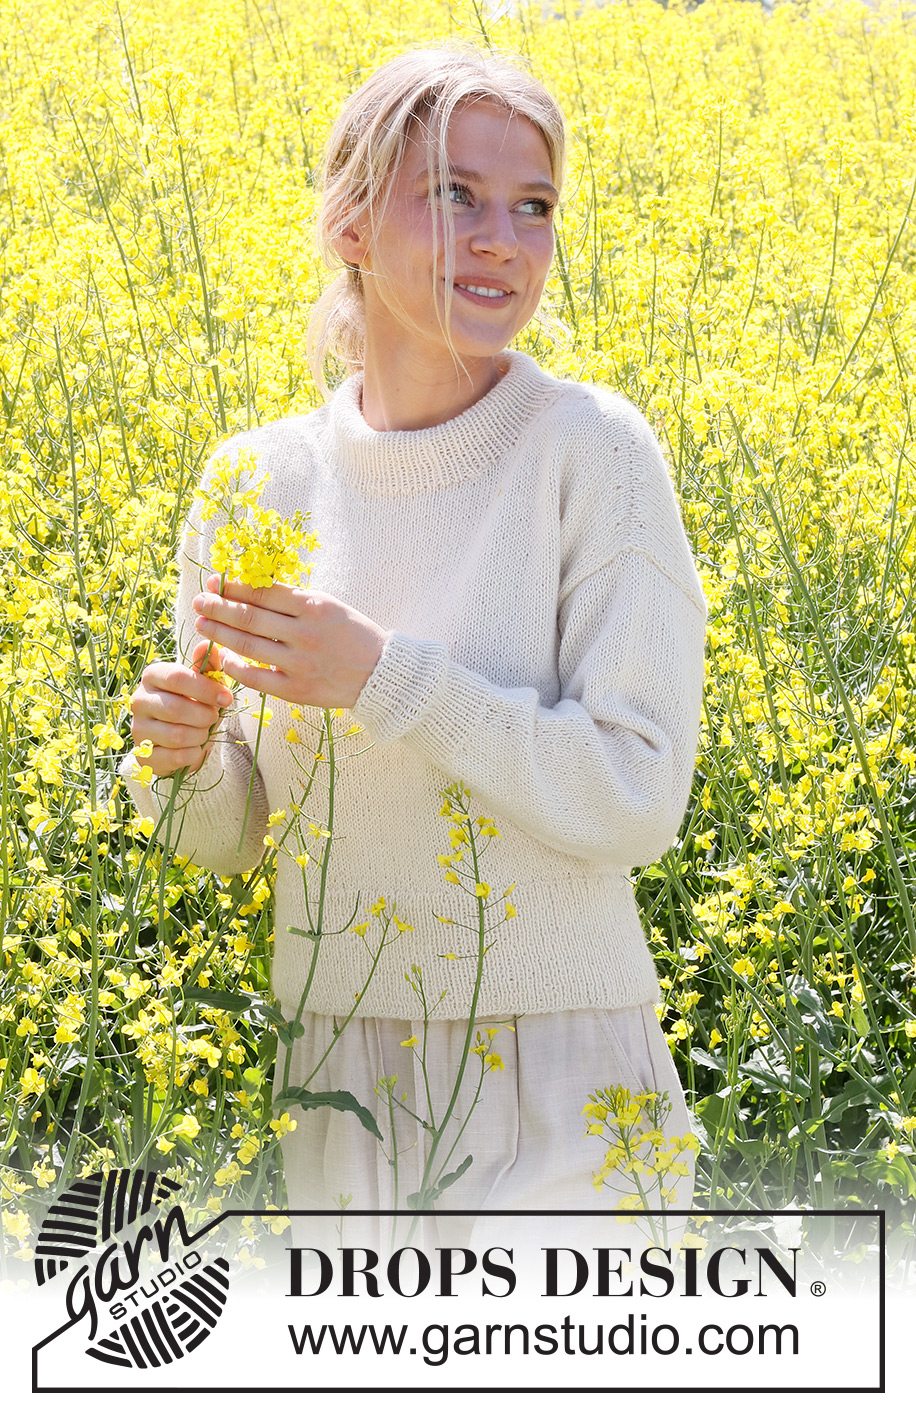
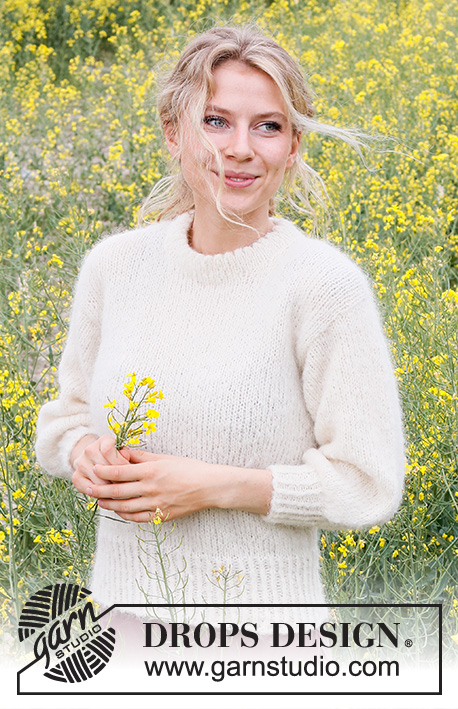
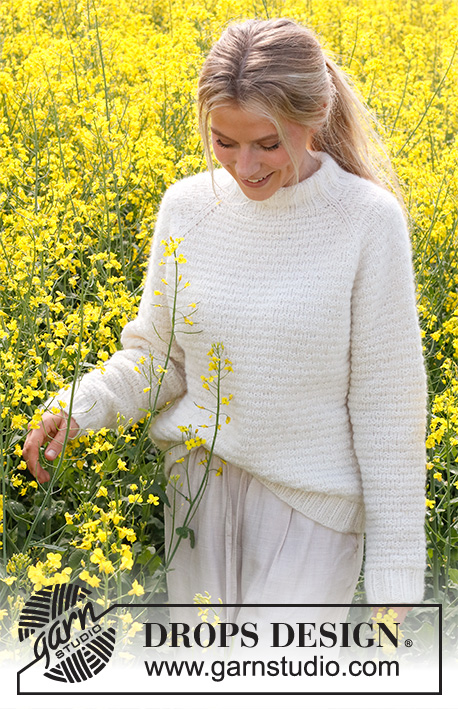
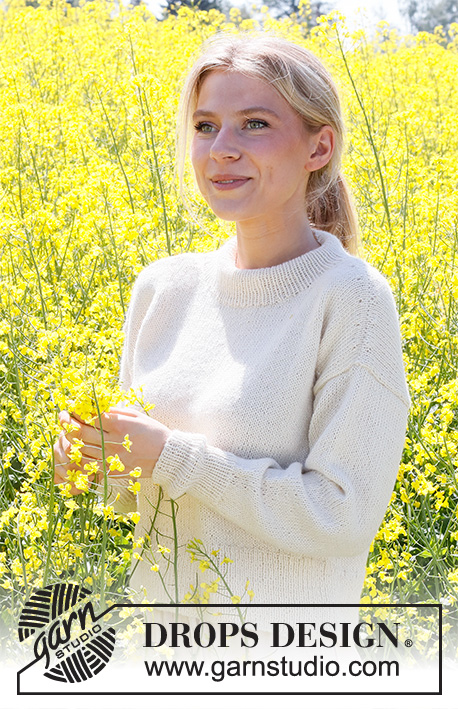
Knitted jumper in DROPS Puna. The piece is worked bottom up, with double neck. Sizes S - XXXL.
DROPS 230-16 |
|
|
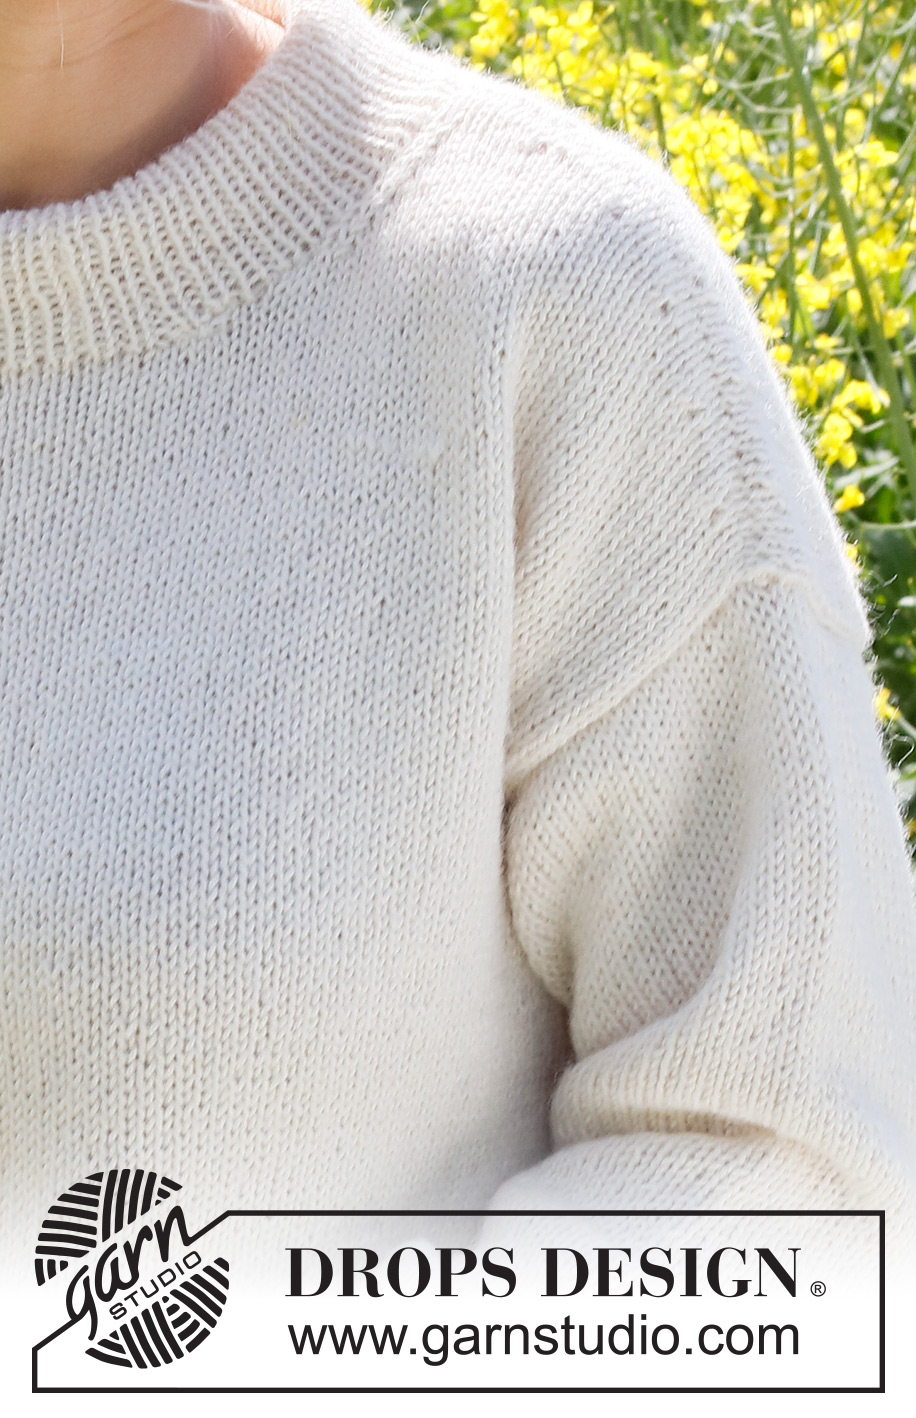
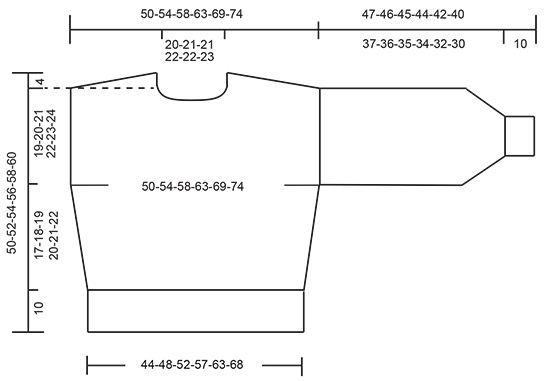
------------------------------------------------------- EXPLANATIONS FOR THE PATTERN: ------------------------------------------------------- RIDGE/GARTER STITCH (worked back and forth): Knit all rows. 1 ridge = knit 2 rows. DECREASE TIP (neck when decreasing 1 stitch): Decrease from the right side inside the 3 stocking stitches. AFTER 3 STOCKING STITCHES: Slip 1 stitch as if to knit, knit 1 and pass the slipped stitch over the knitted stitch (= 1 stitch decreased). BEFORE 3 STOCKING STITCHES: Work until there are 5 stitches left by the neck, knit 2 together, work 3 stocking stitches (= 1 stitch decreased). INCREASE TIP-1 (for sides of body): Make 1 yarn over inside the 2 outermost stitches on each side; the yarn over is worked twisted on the next row to avoid a hole. INCREASE TIP-2 (bottom of sleeves): Start the round at the first marker thread, knit 2, 1 yarn over, knit until there are 2 stitches left before the second marker thread, 1 yarn over, knit 4 (marker thread sits in the middle of these 4 stitches), 1 yarn over. Knit until there are 2 stitches left before the first marker thread, 1 yarn over, knit 2 = 4 stitches increased. On the next round knit the yarn overs twisted to avoid holes. INCREASE TIP-3 (sleeves): Start the round at the marker thread, knit 1, 1 yarn over, knit until there is 1 stitch left before the marker thread, 1 yarn over, knit 1 = 2 stitches increased. On the next round knit the yarn overs twisted to avoid holes. CASTING-OFF TIP: To avoid the cast-off edge being tight you can cast off with a larger size needle. If the edge is still tight, make 1 yarn over after approx. each 4th stitch at the same time as casting off; the yarn overs are cast off as normal stitches. ------------------------------------------------------- START THE PIECE HERE: ------------------------------------------------------- JUMPER – SHORT OVERVIEW OF THE PIECE: The front and back pieces are worked separately, back and forth and bottom up. The sleeves are worked in the round with double pointed needles, bottom up (change to circular needle when you have enough stitches). The piece is sewn together and the neck worked in the round to finish. BACK PIECE: Cast on 124-136-146-160-176-194 stitches with circular needle size 3.5 mm and DROPS Puna. Work rib back and forth (knit 1, purl 1) with 1 edge stitch in GARTER STITCH on each side – read description above. Work rib for 10 cm and with the next row from the right side. Change to circular needle size 4.5 mm. Knit 1 row and decrease 36-40-42-46-50-58 stitches evenly spaced = 88-96-104-114-126-136 stitches. Continue with stocking stitch over all stitches. REMEMBER THE KNITTING TENSION! When the piece measures 12 cm from the cast-on edge, increase 1 stitch on each side - read INCREASE TIP-1. Increase like this every 2 cm a total of 6 times on each side = 100-108-116-126-138-148 stitches. Continue working until the piece measures 27-28-29-30-31-32 cm. On the next 2 rows cast on 1 stitch at the end of each row; used when sewing in the sleeves = 102-110-118-128-140-150 stitches. Continue with stocking stitch until the piece measures 46-48-50-52-54-56 cm. On the next row cast off the middle 30-32-32-34-34-36 stitches for the neck and finish each shoulder separately. OVERVIEW OF THE NEXT SECTION: Decrease for the neck and place stitches on a thread for the diagonal shoulder as described below. Read NECK and DIAGONAL SHOULDER before continuing. NECK: Decrease 1 stitch on each row from the right side 5 times - read DECREASE TIP. DIAGONAL SHOULDER: AT THE SAME TIME place the outermost stitches by the armhole on a thread for the shoulder, working them first to avoid cutting the strand. Place 6-7-8-9-10-11 stitches on the thread 4 times, then place the last 7-6-6-6-8-8 stitches on the thread. All the stitches are now either decreased or on the thread. Place the 31-34-38-42-48-52 stitches from the thread back on circular needle size 4.5 mm. Purl 1 row from the wrong side; to avoid a hole where you turned in the middle of the piece, pick up the loop between 2 stitches and purl it twisted together with the first stitch on the left needle. Cast off with knit, a little loosely, from the right side. Work the other shoulder in the same way. FRONT PIECE: Cast on and work in the same way as the back until the piece measures 42-44-45-47-48-50 cm. On the next row place the middle 18-18-18-20-20-20 stitches on a thread for the neck and finish each shoulder separately. OVERVIEW OF THE NEXT SECTION: Decrease for the neck and place stitches on a thread for the diagonal shoulder as described below. Read NECK and DIAGONAL SHOULDER before continuing. NECK: Cast off as follows: 3 stitches 1 time and 2 stitches 2 times, then decrease 1 stitch 4-5-5-5-5-6 times – read DECREASE TIP. DIAGONAL SHOULDER: AT THE SAME TIME when the piece measures 46-48-50-52-54-56 cm, place the outermost stitches by the armhole on a thread for the shoulder, working them first to avoid cutting the strand. Place 6-7-8-9-10-11 stitches on the thread 4 times, then place the last 7-6-6-6-8-8 stitches on the thread. All the stitches are now either decreased or on the thread. Place the 31-34-38-42-48-52 stitches from the thread back on circular needle size 4.5 mm. Purl 1 row from the wrong side; to avoid a hole where you turned in the middle of the piece, pick up the loop between 2 stitches and purl it twisted together with the first stitch on the left needle. Cast off with knit, a little loosely, from the right side. Work the other shoulder in the same way. SLEEVES: Cast on 48-50-52-54-56-58 stitches with double pointed needles size 3.5 mm and DROPS Puna. Work rib in the round (knit 1, purl 1) for 10 cm. Change to double pointed needles size 4.5 mm. Knit 1 round where you decrease 6 stitches evenly spaced = 42-44-46-48-50-52 stitches. Insert 1 marker thread at the beginning of the round and 1 marker thread after 21-22-23-24-25-26 stitches. Allow the threads to follow your work onwards – they are used when increasing. Work stocking stitch and increase 1 stitch on each side of both marker threads - read INCREASE TIP-2. Increase like this every 4th round a total of 7 times = 70-72-74-76-78-80 stitches. Remove the 2nd marker thread, keeping the first thread under the sleeve. Continue with stocking stitch. When the piece measures 28-26-25-24-24-23 cm, increase 2 stitches under the sleeve – read INCREASE TIP-3. Increase like this every 7-5-4-3-2½-2 cm a total of 3-4-5-6-7-8 times = 76-80-84-88-92-96 stitches. Cast off when the sleeve measures 47-46-45-44-42-40 cm. Work the other sleeve in the same way. ASSEMBLY: Sew the shoulder seams. Sew the side seams, starting where the 1 stitch was cast on and sewing inside a half stitch down as far as the rib. The rib is then sewn in the outermost loop of the outermost stitch. Sew in the sleeves, inside the 1 edge stitch on the armholes. NECK: Use short circular needle size 3.5 mm and knit up 120-124-128-132-136-140 stitches around the neck (including the stitches from the thread in front – the number of stitches should be divisible by 2). Work rib in the round (knit 1, purl 1) for 11 cm. Read CASTING-OFF TIP and cast off loosely, with knit over knit and purl over purl. Fold the neck double to the inside and sew down. To avoid the neck being tight and rolling outwards, it is important that the seam is elastic. |
|
 |
|
Have you finished this pattern?Tag your pictures with #dropspattern #camomilesweater or submit them to the #dropsfan gallery. Do you need help with this pattern?You'll find 36 tutorial videos, a Comments/Questions area and more by visiting the pattern on garnstudio.com. © 1982-2026 DROPS Design A/S. We reserve all rights. This document, including all its sub-sections, has copyrights. Read more about what you can do with our patterns at the bottom of each pattern on our site. |
|


With over 40 years in knitting and crochet design, DROPS Design offers one of the most extensive collections of free patterns on the internet - translated to 17 languages. As of today we count 324 catalogues and 12290 patterns translated into English (UK/cm). 12290
We work hard to bring you the best knitting and crochet have to offer, inspiration and advice as well as great quality yarns at incredible prices! Would you like to use our patterns for other than personal use? You can read what you are allowed to do in the Copyright text at the bottom of all our patterns. Happy crafting!
Post a comment to pattern DROPS 230-16
We would love to hear what you have to say about this pattern!
If you want to leave a question, please make sure you select the correct category in the form below, to speed up the answering process. Required fields are marked *.