Comentarios / Preguntas (429)
![]() Laura Tesse escribió:
Laura Tesse escribió:
Non riesco a trovare on line nei siti con traduzione in italiano questo materiale con questa descrizione - in particolare i ferri per i calzini: Ferri a doppia punta e ferri circolari piccoli DROPS n° 3 Ferri circolari DROPS n° 4 (40 cm - ferri per calzini, per la taglia più piccola)
17.09.2025 - 15:00DROPS Design respondió:
Buongiorno Laura, dai rivenditori DROPS può trovare i ferri a doppia punta e i ferri circolari da 40 cm. Buon lavoro!
19.09.2025 - 15:59
![]() Jenny escribió:
Jenny escribió:
Bonjour et merci pour vos super modèles ! L'échantillon se fait-il sur des aiguilles 3 ou 4, et avec quel point ? J'ai deux fils de couleurs différentes : un motif à tresses permet-il judiceusement une alternance de couleur à chaque tour ? Ou chaque deux tours ? Merci d'avance pour vos réponses
27.08.2025 - 16:11DROPS Design respondió:
Bonjour Jenny, l'échantillon se tricote ici avec les aiguilles 4 - si vous souhaitez des rayures, vous pouvez choisir à quel niveau les faire notez que toutes les torsades ne se répètent pas au même rythme, par ex tous les 4 rang dans M.2 tout comme celle au milieu de M.1 mais celles des côtes se répètent sur davantage de rangs et celles de M.3 + les petites de M.1 (de chaque côté + après la grande du milieu) se tricotent tous les 2 rangs. Tricotez un échantillon et choisissez la fréquence des rayures qui vous convient. Bon tricot!
28.08.2025 - 18:49
![]() Boust Ghislaine escribió:
Boust Ghislaine escribió:
Peut on réaliser ce modèle avec des aiguilles droites et coudre sous le ventre ?
26.08.2025 - 21:20DROPS Design respondió:
Bonjour Mme Boust, probablement, cette leçon vous donnera quelques astuces; celle-ci pourra éventuellement vous aider également car on y montre comment on tricote ce pull. Bon tricot!
27.08.2025 - 07:50
![]() Natashia escribió:
Natashia escribió:
Jeg er i gang med str. M. Og ja jeg har set videoen. Men der mangler et *.
04.07.2025 - 06:30
![]() Natashia escribió:
Natashia escribió:
Jeg er gået igang. Men i opskriften står der til sidst i diagrammet, M1 (= midt på rygge M3 *, gentag fra *-* 3 gange. Men der mangler en *. Og hvis jeg regner det sammen får jeg 142.
01.07.2025 - 18:09DROPS Design respondió:
Hej Natashia, hvilken størrelse strikker du? Har du set vores video hvor vi strikker hele hundeblusen? 102-43
03.07.2025 - 12:17
![]() Sara Murray escribió:
Sara Murray escribió:
I'm just starting this pattern, and it reads in a very confusing way. I see there are other knitters who have commented the same. Might I suggest that you add a diagram to show the overall shape of the coat, as well as putting the cable pattern in the instructions rather than just the diagram. Most cable patterns I have seen have both options so knitters can choose whether they follow the diagram or pattern. I'm not used to following a diagram personally.
25.06.2025 - 06:24
![]() Claudine De Braekeleer escribió:
Claudine De Braekeleer escribió:
Hallo kan ik een iets duidelijker patroon krijgen AUB
20.04.2025 - 15:13
![]() Sue Evans escribió:
Sue Evans escribió:
So sorry but I've never followed such a confusing pattern before!! I have just put 22 stitches on a stitch holder and don't understand if I'm continuing on the round needle in pattern or changing to normal needles and knitting garter stitch or pattern? Please help
20.02.2025 - 15:35DROPS Design respondió:
Dear Mrs Evans, after you have slipped the middle 22 stitches for stomach you continue each part separately back and forth in pattern as before; when you have reached the desired height on back piece, slip these stitches on a thread then work the 22 sts to the same height then you will work these stitches in the round again to finish sweater. In this lesson we show how to work this jumper in the smaller size but the technique will be the same, this should be able to help you visualizing how to do. Happy knitting!
21.02.2025 - 08:10
![]() Nicole Chapdelaine escribió:
Nicole Chapdelaine escribió:
Aiguille circulaire DROPS n° 4 (40 cm – aiguille à chaussettes dans la plus petite taille) (+ ou – grosse pour obtenir l'échantillon) Je ne comprend pourquoi deux sortes d'aiguille pour l'échantillon Merci
16.02.2025 - 01:16DROPS Design respondió:
Bonjour Mme Chapdelaine, il faut juste des aiguilles 4 pour l'échantillon, mais soit une aiguille circulaire de 40 cm pour les grandes tailles soit juste des aiguilles doubles pointes pour la petite taille. Bon tricot!
17.02.2025 - 09:15
![]() Nea He escribió:
Nea He escribió:
Teen M kokoista villapaitaa ja päätin juuri mahakappaleen 28 silmukkaa. En ymmärrä kuinka seuraava vaihe tapahtuu. Tehdäänkö joka 2. krs kaikki nämä 1 x 3 s, 2-3-4 x 2 s, 2-3-4 x 1 s, 2-3-4 x 2 s ja 1 x 3 s päättämiset vai joka kierroksella vain yksi näistä? Mihin kohtaan päätökset tulevat?
15.01.2025 - 13:55DROPS Design respondió:
Hei, kummastakin reunasta päätetään aluksi 3 silmukkaa kerran, sitten kummastakin reunasta päätetään 2 silmukkaa 2-3-4 kertaa, tämän jälkeen kummastakin reunasta päätetään 1 silmukka 2-3-4 kertaa jne. Silmukat päätetään joka 2.kerros (eli päätä kerroksen alusta ensin 3 simukkaa, neulo kerros loppuun ja päätä sitten seuraavan kerroksen alusta 3 silmukkaa, neulo kerros loppuun, päätä seuraavan kerroksen alusta 2 silmukkaa jne).
17.01.2025 - 17:39
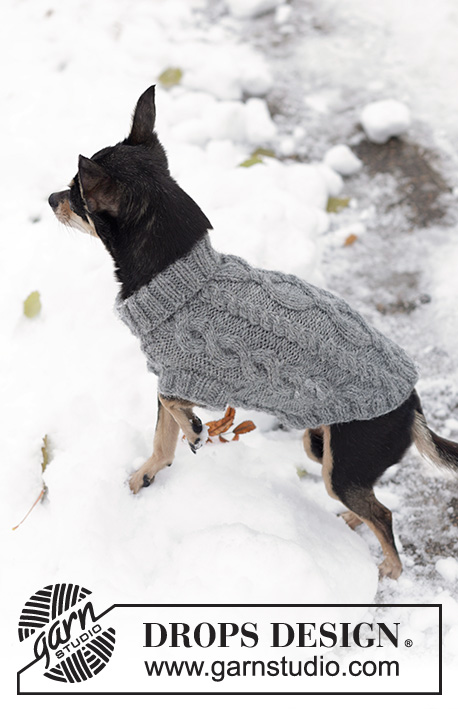
The Lookout |
|||||||||||||||||||
 |
 |
||||||||||||||||||
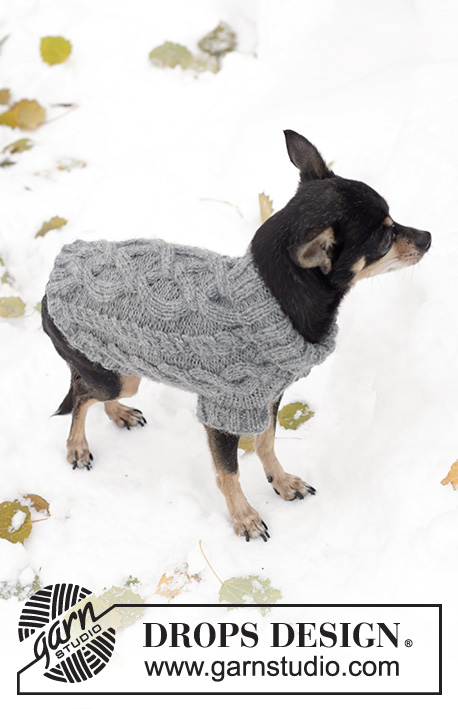
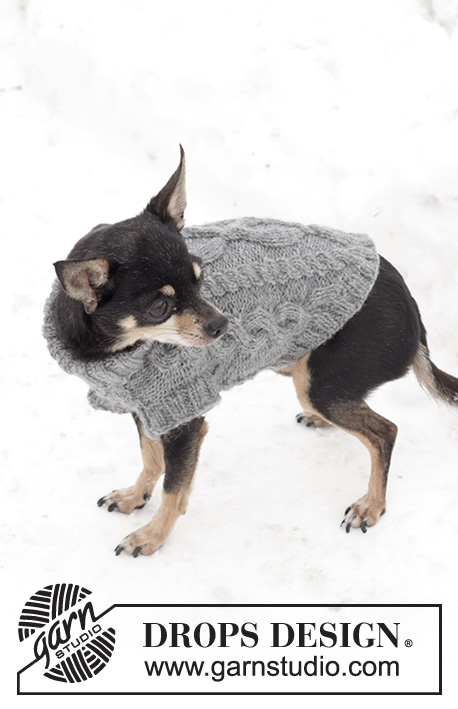
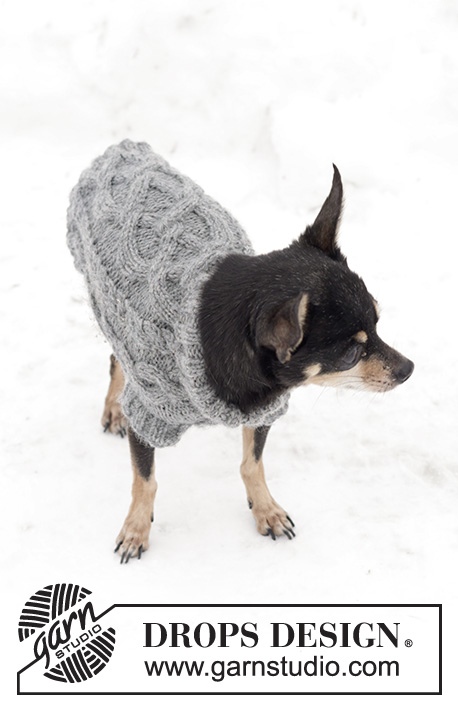
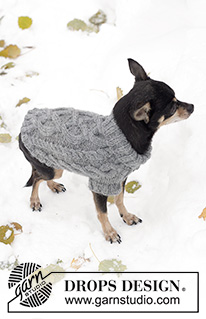
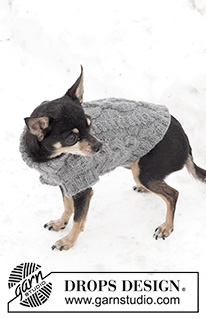
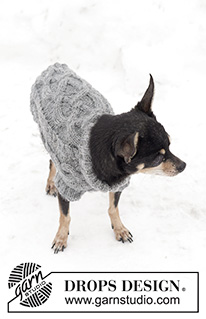
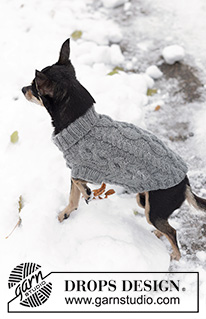
Pulóver DROPS para perro tejido con patrón de torsadas en “Karisma”.
DROPS 102-43 |
|||||||||||||||||||
|
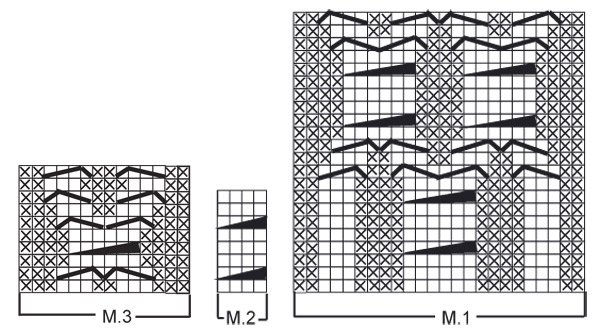
Muestra: 21 pts x 28 vtas en pt jersey = 10 x 10 cm. Patrón: Ver diagramas M.1 a M.3. Los diagramas son vistos por el LD. Resorte: * 2d, 2r *, repetir de *a*. ------------------------------------------------------ PULÓVER: Tejido en redondo del escote para abajo. Mon 60-80-100 pts con ag de doble punta tamaño 3 mm y gris medio. Tejer en resorte por 8-10-12 cm (= cuello, que más adelante es doblado en dos). Cambiar a la ag circular tamaño 4 mm (agujas de doble punta para el tamaño XS). Tejer 1 vta de derecho y, al mismo tiempo, aum 16-32-54 pts distribuidos equitativamente = 76-112-154 pts. Continuar el patrón de la manera sig: Tamaño XS: M.2, 2r, M.2, 3r, M.3, M.2, M.1 (= centro de la espalda), M.2, M3 y 3r. Talla S: * M.2, 2r *, repetir de *a* 2 veces, M.2, * M.3, M.2 *, repetir de *a* 2 veces, M.1 (= centro de la espalda), * M.2, M.3 *, repetir de *a* 2 veces. Talla M: * M.2, 2r *, repetir de *a* 3 veces, M.2, * M.3, M.2 *, repetir de *a* 3 veces, M.1 (= centro de la espalda), * M.2, M.3 *, repetir de *a* 3 veces. Al mismo tiempo, cuando la pieza mida 12-16-20 cm, dividir la pieza para las patas delanteras de la manera sig: Colocar 10-16-22 pts en un hilo o en un gancho o seguro aux (= vientre), rem 1 pt revés, continuar tejiendo sobre la pieza de la espalda y rem el último pt del otro lado = 64-94-130 pts (= pieza de la espalda). Tejer de ida y vuelta sobre estos pts por 6-8-10 cm (la pieza mide 18-24-30 cm en total). Colocar los pts en un hilo o en un gancho o seguro aux y colocar los pts del hilo o del gancho o seguro aux del vientre de regreso en la ag. Mon 1 pt nuevo de cada lado de estos pts = 12-18-24 pts. Continuar tejiendo el patrón de ida y vuelta con 1 pt revés de cada lado. Cuando haya tejido 6-8-10 cm, colocar todos los pts en la ag = 76-112-154 pts. Cuando la pieza mida 24-31-38 cm, rem 12-20-28 pts del centro del vientre. Ahora tejer la pieza de ida y vuelta en la ag – al mismo tiempo, rem de cada lado en vtas alternas: 3 pts 1 vez, 2 pts 2-3-4 veces, 1 pt 2-3-4 veces, 2 pts 2-3-4 veces y 3 pts 1 vez = 32-50-74 pts restantes. La pieza mide aprox 30-39-48 cm. Terminación: Colocar los pts restantes en la ag circular tamaño 3 mm y levantar pts alrededor de la orilla de rem para un total de aprox 84-108-140 pts. Tejer resorte por 2-3-4 cm, rem flojamente. Pata: Levantar aprox 36-44-52 pts en las ag de doble punta tamaño 3 mm alrededor de 1 de las aberturas. Tejer resorte por 2-3-4 cm, rem flojamente con derecho sobre derecho y revés sobre revés. Repetir en la otra abertura. |
|||||||||||||||||||
Explicaciones del diagrama |
|||||||||||||||||||
|
|||||||||||||||||||
 |
|||||||||||||||||||
¿Terminaste este patrón?Entonces, etiqueta tus fotos con #dropspattern o envíalas a la galería #dropsfan. ¿Necesitas ayuda con este patrón?Encontrarás 24 videos tutoriales, un espacio para comentarios/preguntas y más visitando la página del patrón en garnstudio.com © 1982-2026 DROPS Design A/S. Todos los derechos reservados. Este documento, incluyendo todas sus sub-secciones, está protegido por los derechos de autor (copyright). Lee más acerca de lo que puedes hacer con nuestros patrones en la parte de abajo de cada patrón de nuestro sitio. |
|||||||||||||||||||





Escribe un comentario sobre DROPS 102-43
¡Nos encantaría saber qué piensas acerca de este patrón!
Si quieres escribir una pregunta referente al patrón, por favor asegúrate de elegir la categoría correcta en el formulario debajo, para acelerar el proceso de respuesta. Los campos obligatorios están marcados con un *.