
Popular categories
Looking for a yarn?





































Comments / Questions (1)
 Inga-lill Augustsson wrote:
Måste man sticka uppifrån och ner? Varför kan man inte sticka på det vanliga sätte nerifrån och upp
25.10.2026 - 11:54DROPS Design answered:
Hei Inga-lill. Noen vil påstå at det vanliga sätte er nerifrån och upp, mens andre vil påstå det motsatte, vi prøver å tilfredstille alle våre brukere. Noen ønsker plagg som er strikket uppifrån och ner, andre nerifrån och upp. Denne modellen er valgt å skrive uppifrån och ner og vil da få den pene effekten til raglan økningen /fletten. Men du kan fint bruke vårt søke filter og søk på plagg som kun er strikket nerifrån och upp. mvh DROPS Design
26.10.2026 - 08:15
|
|||||||||||||
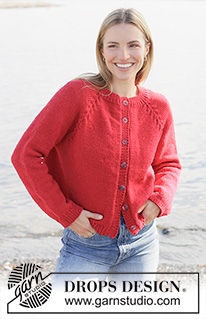
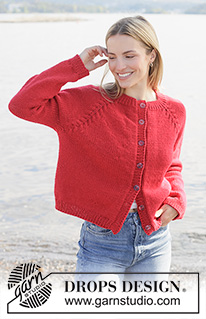
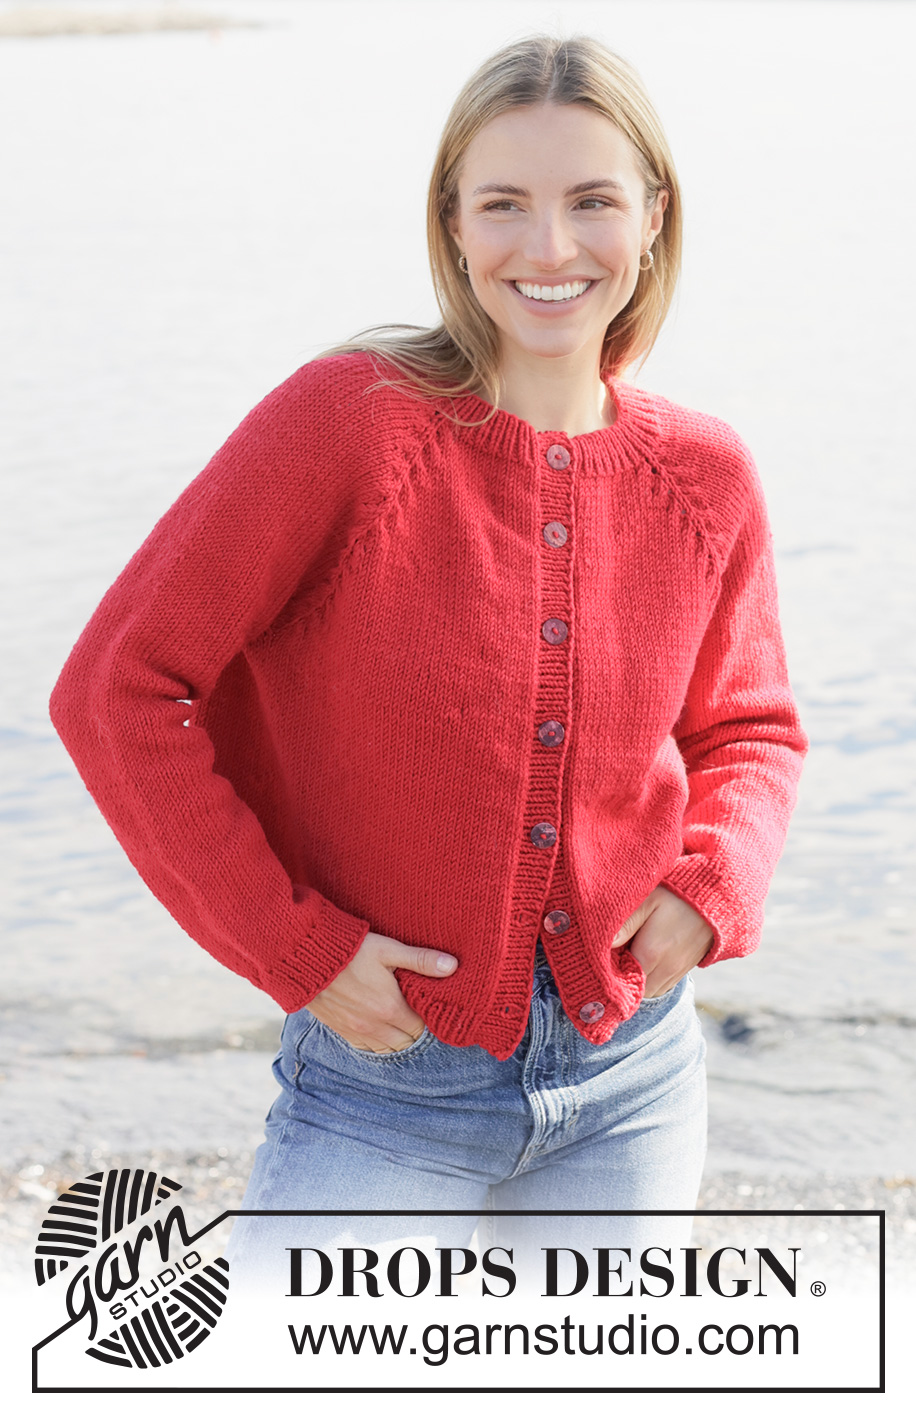
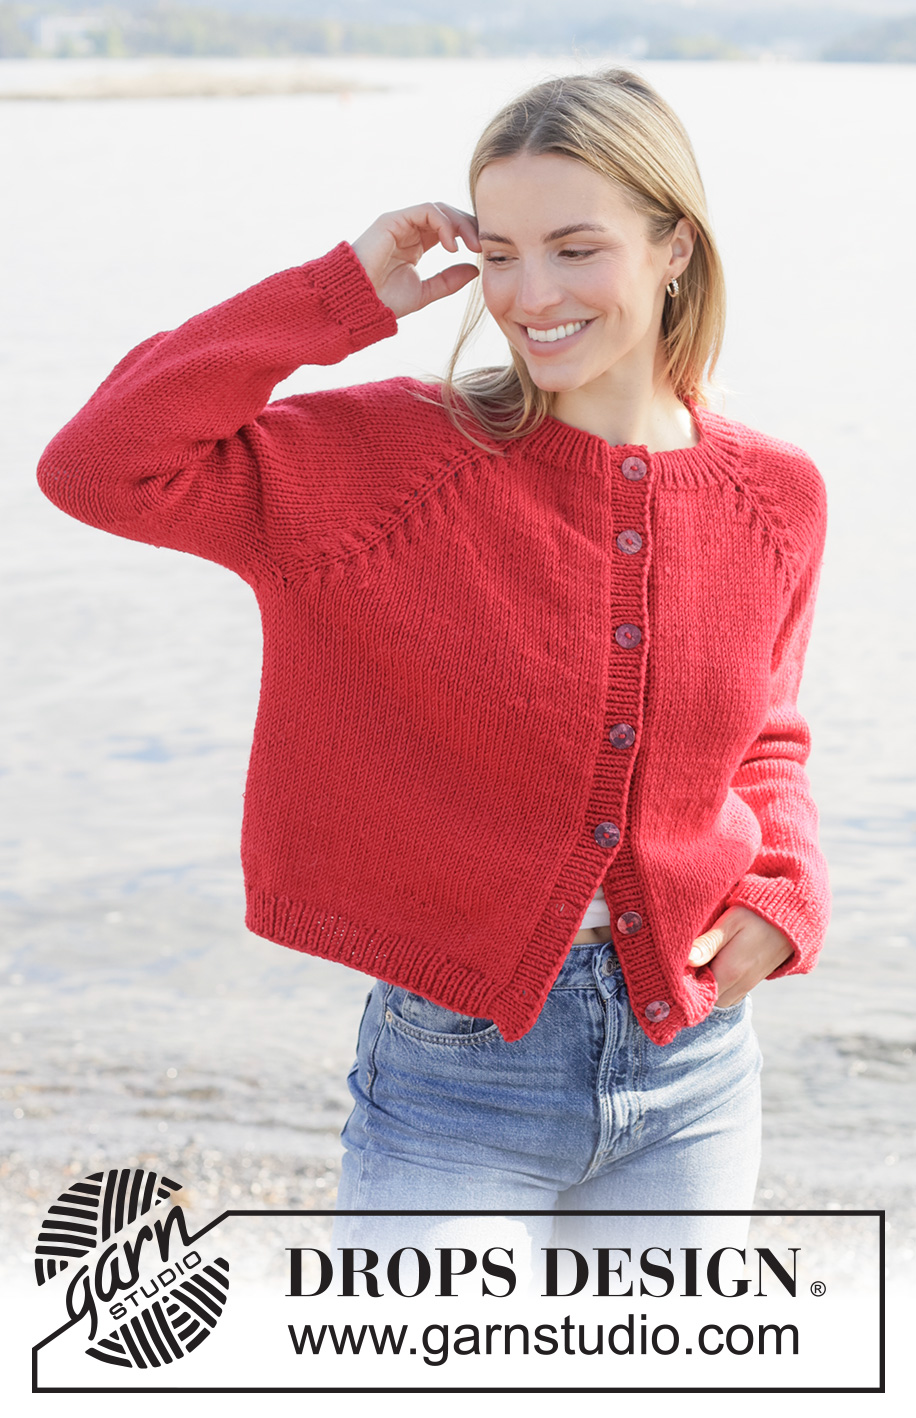
Red Autumn Cardigan#redautumncardigan |
|||||||||||||
 |
 |
||||||||||||
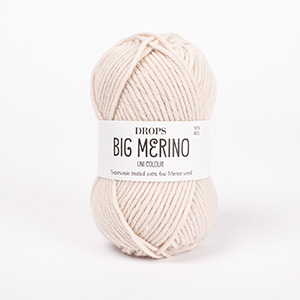
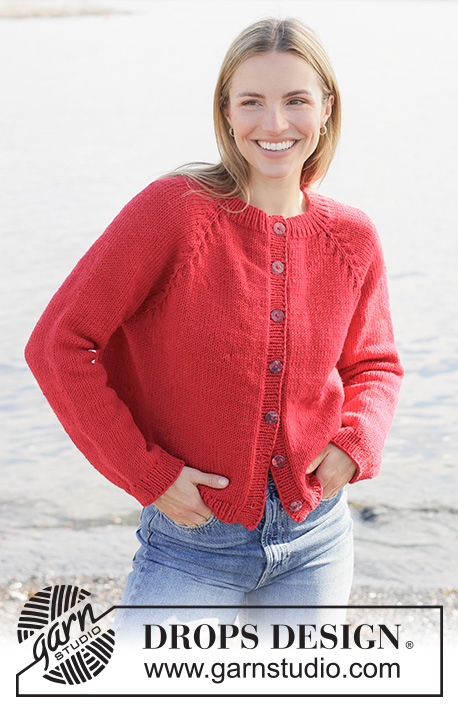
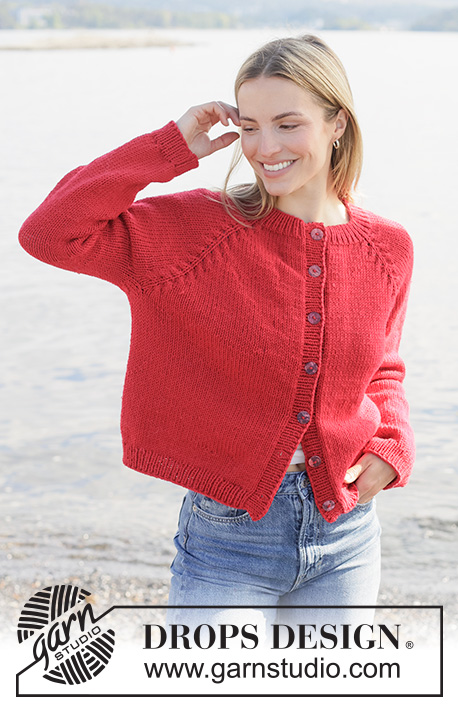
Knitted jacket in DROPS Big Merino or DROPS Alaska. The piece is worked top down in stocking stitch with raglan and cables. Sizes XS - XXXL.
DROPS 272-13 |
|||||||||||||
|
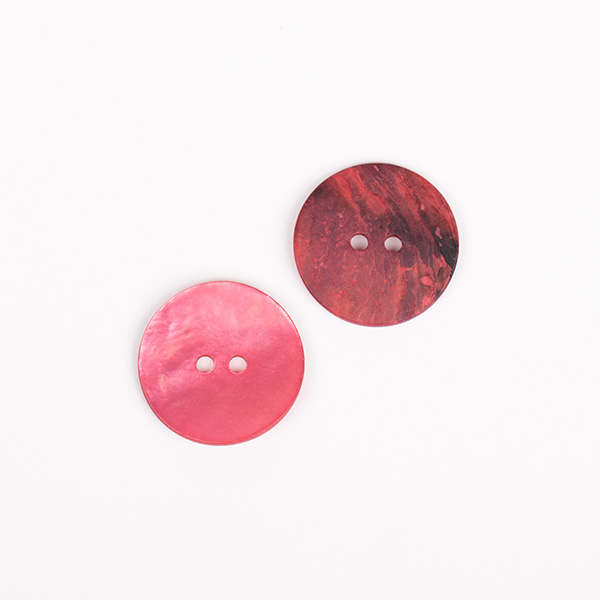
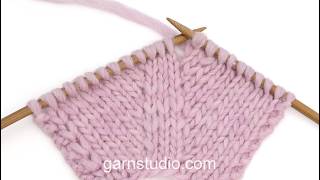
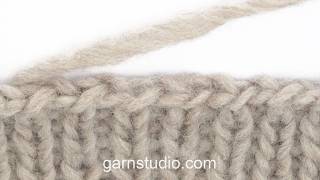
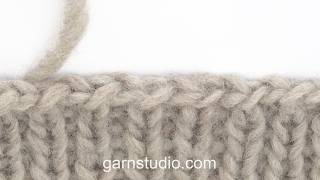
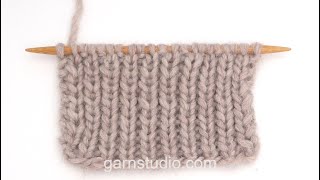
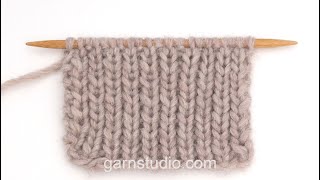
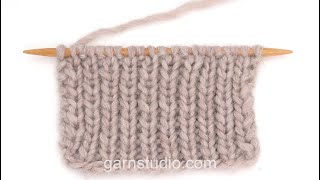
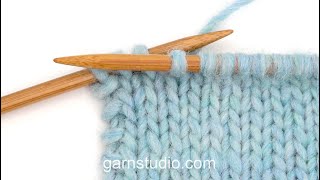
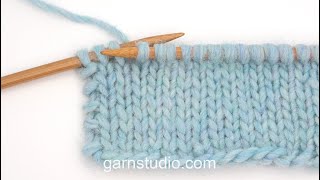
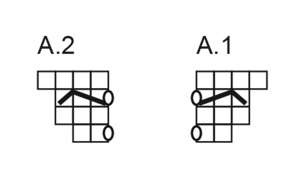
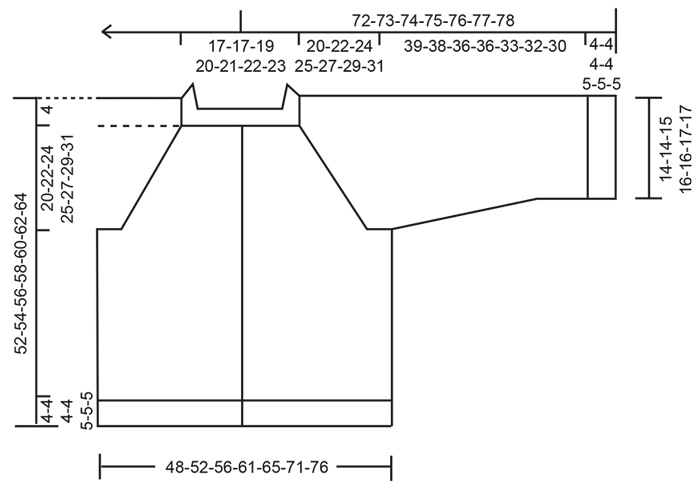
------------------------------------------------------- EXPLANATIONS FOR THE PATTERN: ------------------------------------------------------- GARTER STITCH: Knit all rows, from both the right and wrong side. 1 ridge in height = knit 2 rows. RAGLAN: All increases are worked from the right side! Increase 1 stitch by making 1 yarn over (all increases are shown in diagrams A.1 and A.2). The yarn overs are worked as follows on the next row: BEFORE MARKER (= the yarn over twists to the left): Purl through the stitch loop that lies on the back of the needle (avoids a hole). AFTER MARKER (= the yarn over twists to the right): Slip the yarn over from the left needle to the right needle purl-wise, then replace it by inserting the left needle through the back (the yarn over is the other way round). Purl through the stitch loop that lies on the front of the needle (avoids a hole). PATTERN: See diagrams A.1 and A.2. SLEEVE TIP: When knitting up stitches under the sleeve, you can get a small hole in the transition between stitches on the body and sleeve. This hole can be closed by picking up the strand between 2 stitches and working this strand twisted together with the first stitch between body and sleeve. DECREASE TIP: Decrease 1 stitch on each side of the marker-thread as follows: Work until there are 3 stitches left before the marker-thread, knit 2 together, knit 2 (marker-thread sits between these 2 stitches), slip 1 stitch knit-wise, knit 1 and pass the slipped stitch over the knitted stitch (2 stitches decreased). BUTTONHOLES: Work the buttonholes on the right band, working from the right side:. ROW 1 (right side): Knit 2 together, make 1 yarn over. ROW 2 (wrong side): Work the band as before, knitting the yarn over to leave a hole. Work the 7-7-7-8-8-8-8 buttonholes when the band measures 1 cm, measuring from the bottom edge as follows: XS: 4-11-19-26-33-41 and 48 cm. S: 4-12-20-27-35-43 and 50 cm. M: 4-12-20-28-36-44 and 52 cm. L: 4-12-19-26-33-40-47 and 54 cm. XL: 5-12-20-27-34-42-49 and 56 cm. XXL: 5-12-20-28-35-43-51 and 58 cm. XXXL: 5-13-21-29-37-45-53 and 60 cm. ------------------------------------------------------- START THE PIECE HERE: ------------------------------------------------------- JACKET – SHORT OVERVIEW OF THE PIECE. The pattern uses both long and short needles; start with the length which fits the number of stitches and change when necessary. The neck and yoke are worked back and forth with circular needle, from mid front and top down, increasing for raglan. When the yoke is finished, it is divided for body and sleeves and the body continued back and forth, while the sleeves wait. The sleeves are worked in the round, top down. Stitches are knitted up along each front piece and the bands are worked to finish. NECK: Cast on 91-93-99-101-107-109-115 stitches with circular needle size 3.5 mm and DROPS Big Merino or DROPS Alaska. Work the first row from the wrong side as follows: 1 edge-stitch in GARTER STITCH – read explanation above, rib (purl 1 and knit 1) until there are 2 stitches left, purl 1 and 1 edge-stitch in garter stitch. From the right side: 1 edge-stitch in garter stitch, rib (knit 1 and purl 1) until there are 2 stitches left, purl 1 and 1 edge-stitch in garter stitch. Continue this rib for 4-4-4-4-5-5-5 cm, with the last row from the wrong side. Insert 1 marker on one side of the piece (mid-front); the piece is now measured from here. YOKE: Change to circular needle size 5 mm. Insert 4 markers as follows, without working the stitches and inserting each marker in a stitch (raglan-stitches). You increase for raglan on each side of the raglan-stitches which are worked in stocking stitch. Count 15-15-17-17-19-19-21 stitches (= left front piece), insert marker-1 in the next stitch, count 15 stitches (= sleeve), insert marker-2 in the next stitch, count 27-29-31-33-35-37-39 stitches (= back piece), insert marker-3 in the next stitch, count 15 stitches (= sleeve), insert marker-4 in the next stitch, there are 15-15-17-17-19-19-21 stitches left (= right front piece). Work stocking stitch and PATTERN back and forth as follows, with 1 edge-stitch in garter stitch on each side, increasing for RAGLAN on each side of the raglan-stitches as shown in A.1 and A.2 – read explanation above for how to increase. ROW 1 (right side): 1 edge-stitch in garter stitch, * knit until there are 2 stitches left before the next marker, work A.1, knit the raglan-stitch, work A.2 *, work from *-* a total of 4 times, knit until there is 1 stitch left, 1 edge-stitch in garter stitch (8 increased stitches). ROW 2 (wrong side): Purl and work the edge-stitches as before – remember to work the yarn overs as described under RAGLAN. ROW 3 (right side): 1 edge-stitch in garter stitch, * knit until there are 3 stitches left before the next marker, work A.1, knit the raglan-stitch, work A.2 *, work from *-* a total of 4 times, knit until there is 1 stitch left, 1 edge-stitch in garter stitch (8 increased stitches). ROW 4 (wrong side): Purl and work the edge-stitches as before – remember to work the yarn overs as described under RAGLAN. Work ROWS 1 to 4 a total of 8-9-10-11-12-12-12 times (32-36-40-44-48-48-48 rows worked) = 219-237-259-277-299-301-307 stitches. Remember to maintain the knitting tension. Now increase only on the front and back pieces as follows: ROW 1 (right side): 1 edge-stitch in garter stitch, * knit until there are 2 stitches left before the next marker, work A.1, knit the raglan-stitch, knit to the next marker, knit the raglan-stitch, work A.2 *, work from *-* a total of 2 times, knit until there is 1 stitch left, 1 edge-stitch in garter stitch (4 increased stitches). ROW 2 (wrong side): Purl and work the edge-stitches as before – remember to work the yarn overs as described under RAGLAN. ROW 3 (right side): 1 edge-stitch in garter stitch, * knit until there are 3 stitches left before the next marker, work A.1, knit the raglan-stitch, knit to the next marker, knit the raglan-stitch, work A.2 *, work from *-* a total of 2 times, knit until there is 1 stitch left, 1 edge-stitch in garter stitch (4 increased stitches). ROW 4 (wrong side): Purl and work the edge-stitches as before – remember to work the yarn overs as described under RAGLAN. Work ROWS 1 to 4 a total of 3-3-3-3-3-4-5 times (12-12-12-12-12-16-20 rows worked) = 243-261-283-301-323-333-347 stitches. All increases for raglan are finished: a total of 22-24-26-28-30-32-34 increases in height on the front and back pieces and 16-18-20-22-24-24-24 increases in height on the sleeves. The yoke measures approx. 20-22-24-25-27-29-31 cm from the marker mid-front. If necessary continue working without further increases to the correct length. Now divide for the body and sleeves. DIVIDE FOR BODY AND SLEEVES Work 1 edge-stitch in garter stitch, 37-39-43-45-49-51-55 stocking stitches (= front piece), place the next 47-51-55-59-63-63-63 stitches on a stitch holder/thread for the sleeve, cast on 8-10-10-12-14-18-20 stitches (mid-under the sleeve), work 73-79-85-91-97-103-109 stitches as before (back piece), place the next 47-51-55-59-63-63-63 stitches on a stitch holder/thread for the sleeve, cast on 8-10-10-12-14-18-20 stitches (mid-under the sleeve), work 37-39-43-45-49-51-55 stocking stitches and 1 edge-stitch in garter stitch (front piece). The body and sleeves are finished separately. BODY: = 165-179-193-207-225-243-261 stitches. Continue stocking stitch and edge-stitches as before until the piece measures 44-46-48-50-51-53-55 cm from the marker mid-front. On the next row from the right side, begin the rib, AT THE SAME TIME increase 20-22-24-26-28-30-32 stitches evenly on the first row = 185-201-217-233-253-273-293 stitches, working as follows: Change to circular needle size 3.5 mm. Work 1 edge-stitch in garter stitch, rib (knit 1 and purl 1 – remember to increase) until there are 2 stitches left, knit 1 and 1 edge-stitch in garter stitch. When the rib measures 4-4-4-4-5-5-5 cm, cast off with knit above knit and purl above purl. The jacket measures approx. 48-50-52-54-56-58-60 cm from the marker mid-front and 52-54-56-58-60-62-64 cm from the shoulder. SLEEVES: Place the 47-51-55-59-63-63-63 sleeve-stitches from one thread/stitch holder onto circular needle size 5 mm and knit up 1 stitch in each of the 8-10-10-12-14-18-20 cast-on stitches under the sleeve – read SLEEVE TIP = 55-61-65-71-77-81-83 stitches. Insert a marker-thread in the middle of the 8-10-10-12-14-18-20 new stitches under the sleeve. The round starts by the marker-thread. Work stocking stitch in the round. AT THE SAME TIME, after 1 round, decrease mid-under the sleeve – read DECREASE TIP as follows: Decrease 2 stitches every 2nd round 2-2-2-2-3-3-3 times, then 2 stitches every 10-8-6-4-3-2½-2½ cm 2-4-5-7-8-9-9 times = 47-49-51-53-55-57-59 stitches. Continue working until the sleeve measures 39-38-36-36-33-32-30 cm from the division. Change to double pointed needles size 3.5 mm. Work rib (knit 1 and purl 1), AT THE SAME TIME increase 9 stitches evenly on the first round = 56-58-60-62-64-66-68 stitches. When the rib measures 4-4-4-4-5-5-5 cm, cast off with rib. The sleeve measures approx. 43-42-40-40-38-37-35 cm from the division. BANDS: Use circular needle size 3.5 mm. Knit up 103-107-111-115-119-123-127 stitches from the right side along the left front piece, inside the 1 edge-stitch. ROW 1 (wrong side): 1 edge-stitch in garter stitch, work rib (purl 1 and knit 1) until there are 2 stitches left, purl 1 and 1 edge-stitch in garter stitch. ROW 2 (right side): 1 edge-stitch in garter stitch, work rib (knit 1 and purl 1) until there are 2 stitches left, knit 1 and 1 edge-stitch in garter stitch. When the rib measures 3 cm, cast off with knit above knit and purl above purl. Repeat along the right front piece but when the band measures 1 cm, work 7-7-7-8-8-8-8 BUTTONHOLES – read explanation above. ASSEMBLY: Sew the buttons onto the left band. |
|||||||||||||
Diagram explanations |
|||||||||||||
|
|||||||||||||
 |
|||||||||||||
 |
|||||||||||||
Have you finished this pattern?Tag your pictures with #dropspattern #redautumncardigan or submit them to the #dropsfan gallery. Do you need help with this pattern?You'll find 29 tutorial videos, a Comments/Questions area and more by visiting the pattern on garnstudio.com. © 1982-2026 DROPS Design A/S. We reserve all rights. This document, including all its sub-sections, has copyrights. Read more about what you can do with our patterns at the bottom of each pattern on our site. |
|||||||||||||






With over 40 years in knitting and crochet design, DROPS Design offers one of the most extensive collections of free patterns on the internet - translated to 17 languages. As of today we count 333 catalogues and 12525 patterns translated into English (UK/cm).
We work hard to bring you the best knitting and crochet have to offer, inspiration and advice as well as great quality yarns at incredible prices! Would you like to use our patterns for other than personal use? You can read what you are allowed to do in the Copyright text at the bottom of all our patterns. Happy crafting!
Post a comment to pattern DROPS 272-13
We would love to hear what you have to say about this pattern!
If you want to leave a question, please make sure you select the correct category in the form below, to speed up the answering process. Required fields are marked *.