
Popular categories
Looking for a yarn?


Comments / Questions (26)
![]() ELISABETH wrote:
ELISABETH wrote:
Bonjour, Je vais bientôt arriver aux côtes 2/2 des dos et devants. Sauf erreur de ma part, en prolongement de A2 ( en son centre) , il va bien y avoir 3 mailles ? Merci de me le confirmer. Bon tricot à toutes et tous 🧶
29.04.2026 - 10:04DROPS Design answered:
Bonjour Elisabeth, quand on tricote les côtes du bas, on tricotez en côtes 2/2 mais on continue les mailles de A.2 comme avant, sans le point ajouré, autrement dit on va tricoter les mailles endroit à l'endroit et les mailles envers à l'envers, donc bien avec 3 m envers au milieu des A.2. Bon tricot!
29.04.2026 - 16:04
![]() Katharina wrote:
Katharina wrote:
Liebes drops design Team, könnten Sie bitte schreiben, wie ich die 140 Maschen für die Raglanzunahmen aufteile bzw. wo ich einen Markierer setzen muss. Bin Anfängerin und etwas überfordert. Vielen Dank für Ihre Mühe. Herzliche Grüße Katharina
22.03.2026 - 23:01DROPS Design answered:
Liebe Katharina, so stricken Sie die 140 Maschen bei der 1. Reihe der Passe: 7 BlendenMaschen, 9 Maschen glattrechts, A.1 = 12 M (dazu wird 1 M bei der 1. Reihe zugenommmen), 20 M glattrechts, A.1 = 12 M (dazu wird 1 M bei der 1. Reihe zugenommmen), 20 M glattrechts, A.1 = 12 M (dazu wird 1 M bei der 1. Reihe zugenommmen), 20 M glattrechts, A.1 = 12 M (dazu wird 1 M bei der 1. Reihe zugenommmen), 9 M glattrechts, 7 BlendenMaschen = 7+9+12+20+12+20+12+20+12+9+7=140, am Ende dieser Reihe sind es 144 M mit je 13 Maschen in jedem A.1 (anstatt 12). Viel Spaß beim Stricken!
23.03.2026 - 10:04
![]() Katharina wrote:
Katharina wrote:
Liebes drops design Team, \\r\\nwird die Rückreihe bei der Passe tatsächlich zum Teil glatt rechts gestrickt? Eigentlich müsste diese doch links gestrickt werden?!\\r\\nVielen Dank für Ihre Rückmeldung. \\r\\nHerzliche Grüße \\r\\nKatharina
21.03.2026 - 16:40DROPS Design answered:
Liebe Katharina, ja genau, wenn man glatt rechts strickt, wird man rechts bei den Hinreihen und links bein den Rückreihen stricken. Viel Spaß beim Stricken!
23.03.2026 - 08:28
![]() Martine wrote:
Martine wrote:
Hello, I think you didn't onderstand quite wright my question from 16/10/2025. In the pattern is mentioned: bij BODY ; work further 20-20-20-19-19-18 cm –' and then further: you have to increase 84 stitches (XL) in 1 1 row, just before starting the rib stitch (knit 2, purl 2). Why is this? the pattern mesures 61 cm width: is this before or after the increase? And if I want to make the body longer, I guess i'd better do this before increase?
18.10.2025 - 17:52DROPS Design answered:
Hi Martine, We recommend increasing stitches before working the rib so the rib is not tight. You can leave out the increase if you wish. And yes if you want the body longer than specified, continue working to your desired length before increasing and working the rib. Regards, Drops Team.
20.10.2025 - 06:44
![]() Martine wrote:
Martine wrote:
Hello, Why are so many stitches increased at the end of the yoke? The increase is not indicated in the pattern drawing. If I want to make the bodice longer, do I do that before the increase?
16.10.2025 - 17:48DROPS Design answered:
Hi Martine, The cast-on stitches at the end of the yoke are under the sleeves and allow you to continue in the round, even with the sleeve stitches on stitch holders. If you would like a longer yoke, continue working to the desired length before placing stitches on stitch holders for the sleeves. Regards, Drops Team.
17.10.2025 - 06:55
![]() Roz wrote:
Roz wrote:
Hello. Enjoying pattern but on increase row at end of body you say (for back): "stocking stitch over the next 80-88-96-108-120-134 stitches and increase 36-44-40-40-36-46 stitches evenly spaced over these stitches (116-132-140-152-164-188 stocking stitches), " - some of these totals look wrong. Adding existing and increase stitches together, I get: 116, 132, 136, 148, 156, 180? Or are there misprints in the number of stitches to be increased? Thanks. Roz
16.08.2025 - 16:40DROPS Design answered:
Thank you Roz, you are right, we will check it out. Kind regards!
19.08.2025 - 08:07
![]() Heike wrote:
Heike wrote:
Hallo noch eine Frage bitte, strickt man das Muster A1 nur einmal und dann nur mehr das Muster A2? Oder immer A1, A2 abwechselnd? Danke
07.04.2025 - 22:23DROPS Design answered:
Liebe Heike, A.1 wird nur einmal gestrickt, dann strickt und wiederholt man A.2 bis zum Ende. Viel Spaß beim Stricken!
08.04.2025 - 09:34
![]() Heike wrote:
Heike wrote:
Hallo ,es geht um die Raglanzunahmen, die ich jede zweite Reihe machen soll im Muster A2...wird die Rückreihe auch als eine der 2 Reihen gerechnet? Oder die zwei Hinreihen im A2 immer mit den Raglanzunahmen arbeiten? Herzlichen Dank
07.04.2025 - 09:22DROPS Design answered:
Liebe Heike, wenn man in jeder 2. Reihe zunehmen soll, wird man in jeder Hinreihe zunehmen (= 1 Hinreihe mit Zunahmen, 1 Rückreihe ohne). Viel Spaß beim Stricken!
07.04.2025 - 14:45
![]() Tone wrote:
Tone wrote:
Jeg kan ikke skjønne at jeg skal øke masketallet med 16 masker ved overgang til vrangbord på erm? Vrangborden blir da for stor. Jeg ville heller felle før vrangbord.
05.11.2024 - 15:32
![]() Marjan wrote:
Marjan wrote:
In telpatroon A1 wordt met een zwart ovaaltje een omslag aangegeven. In de uitleg van de tekens staat dat de omslag op de volgende naald GEDRAAID AVERECHT wordt gebreid. Volgens mij wordt de omslag dan GEDRAAID RECHT gebreid.
04.11.2024 - 10:14
|
|||||||||||||||||||
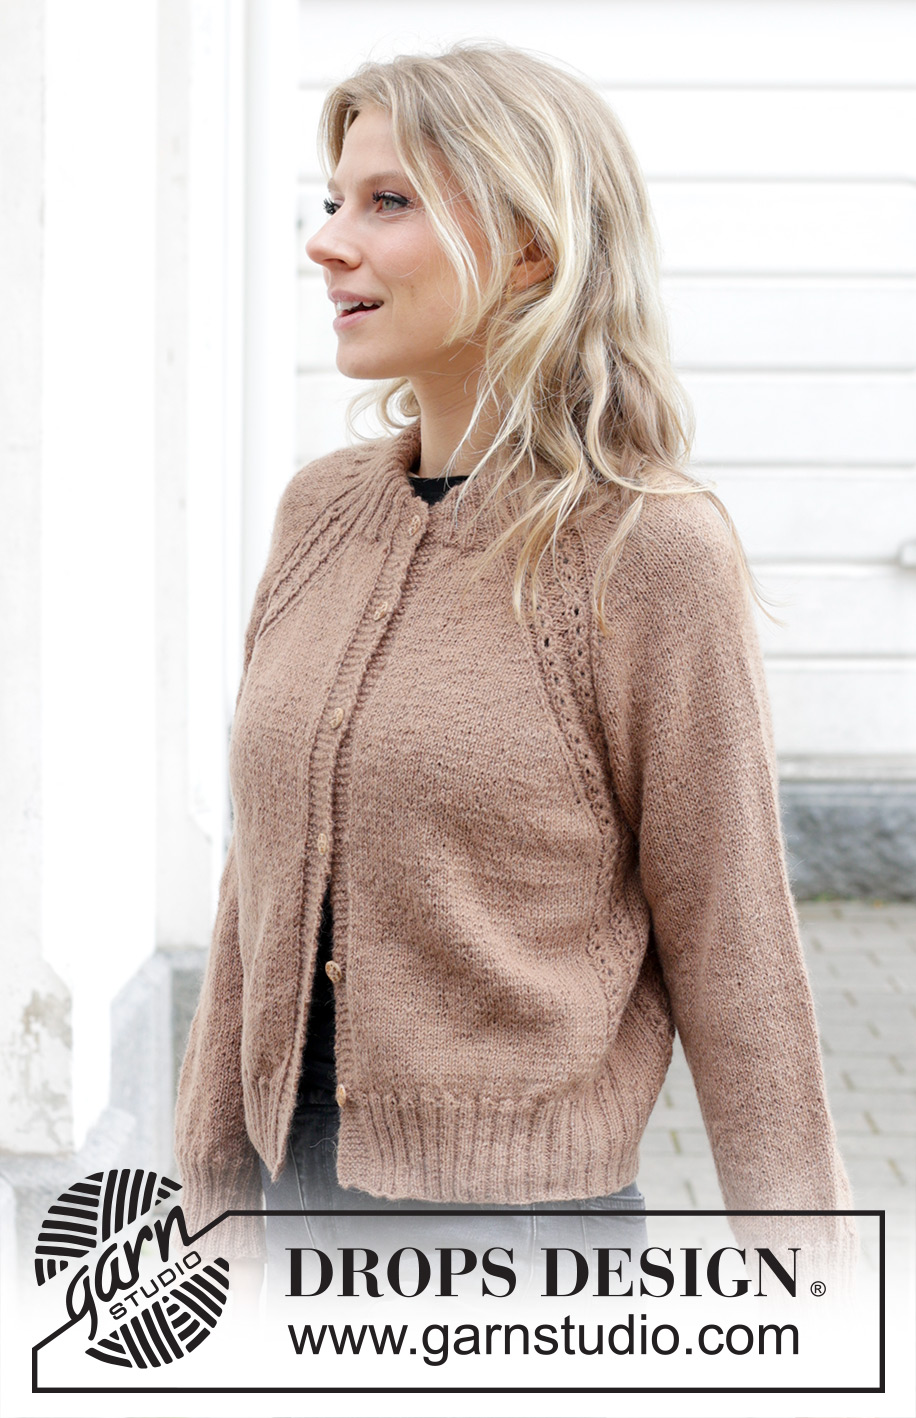
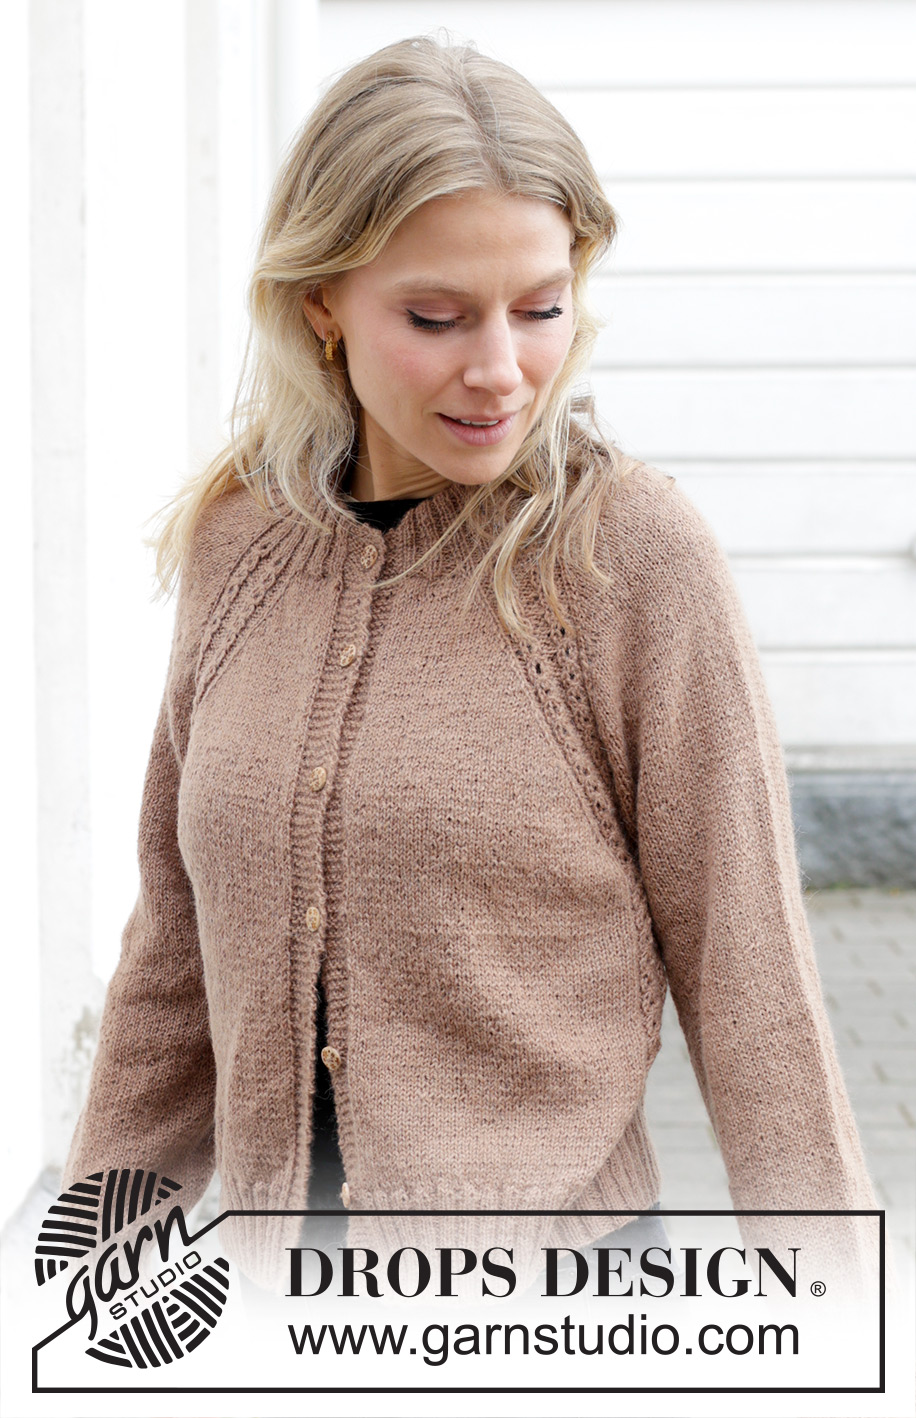
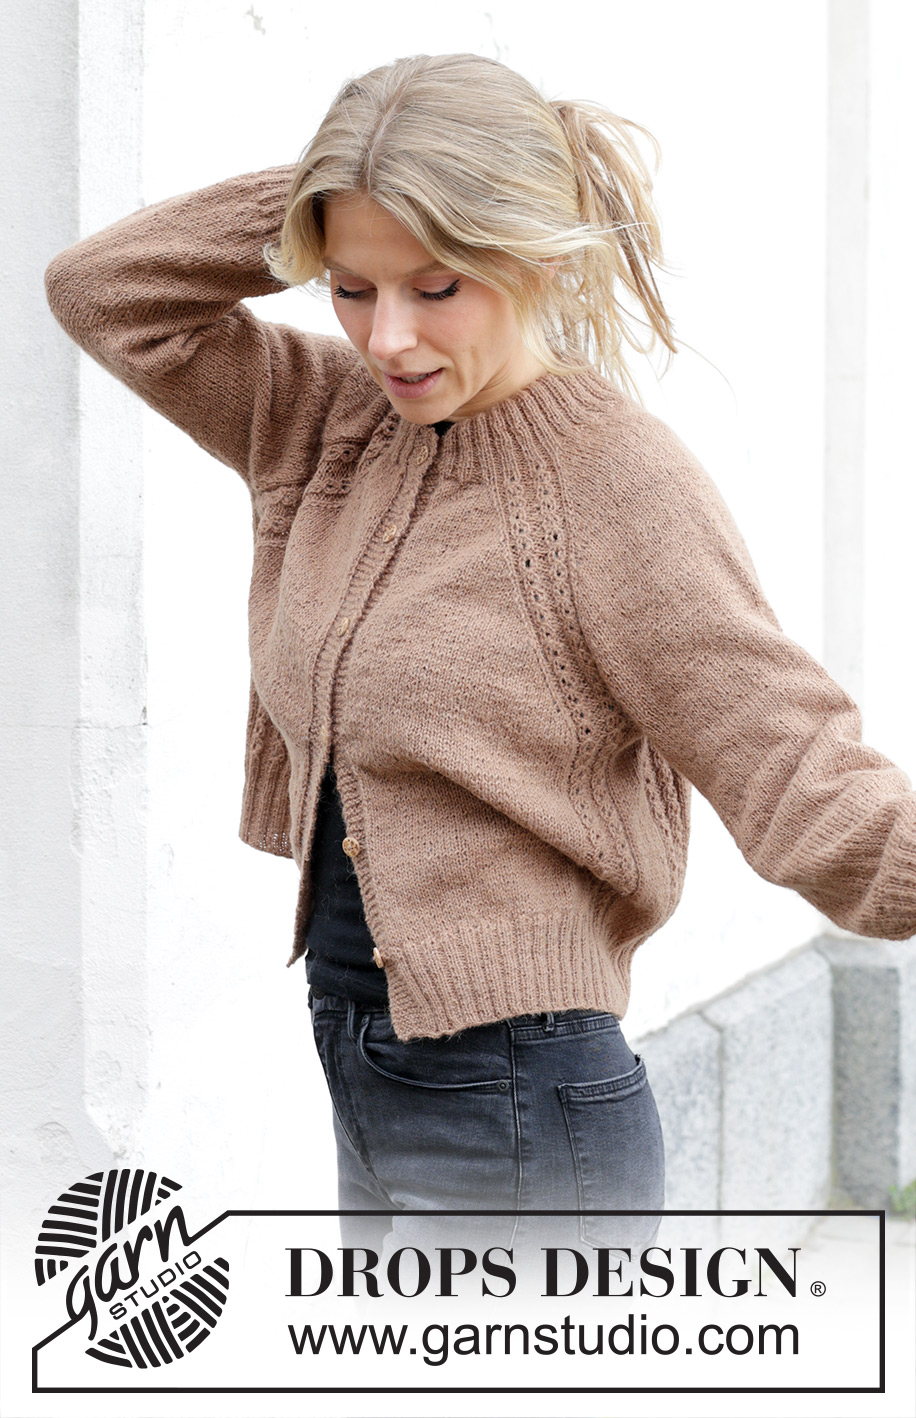
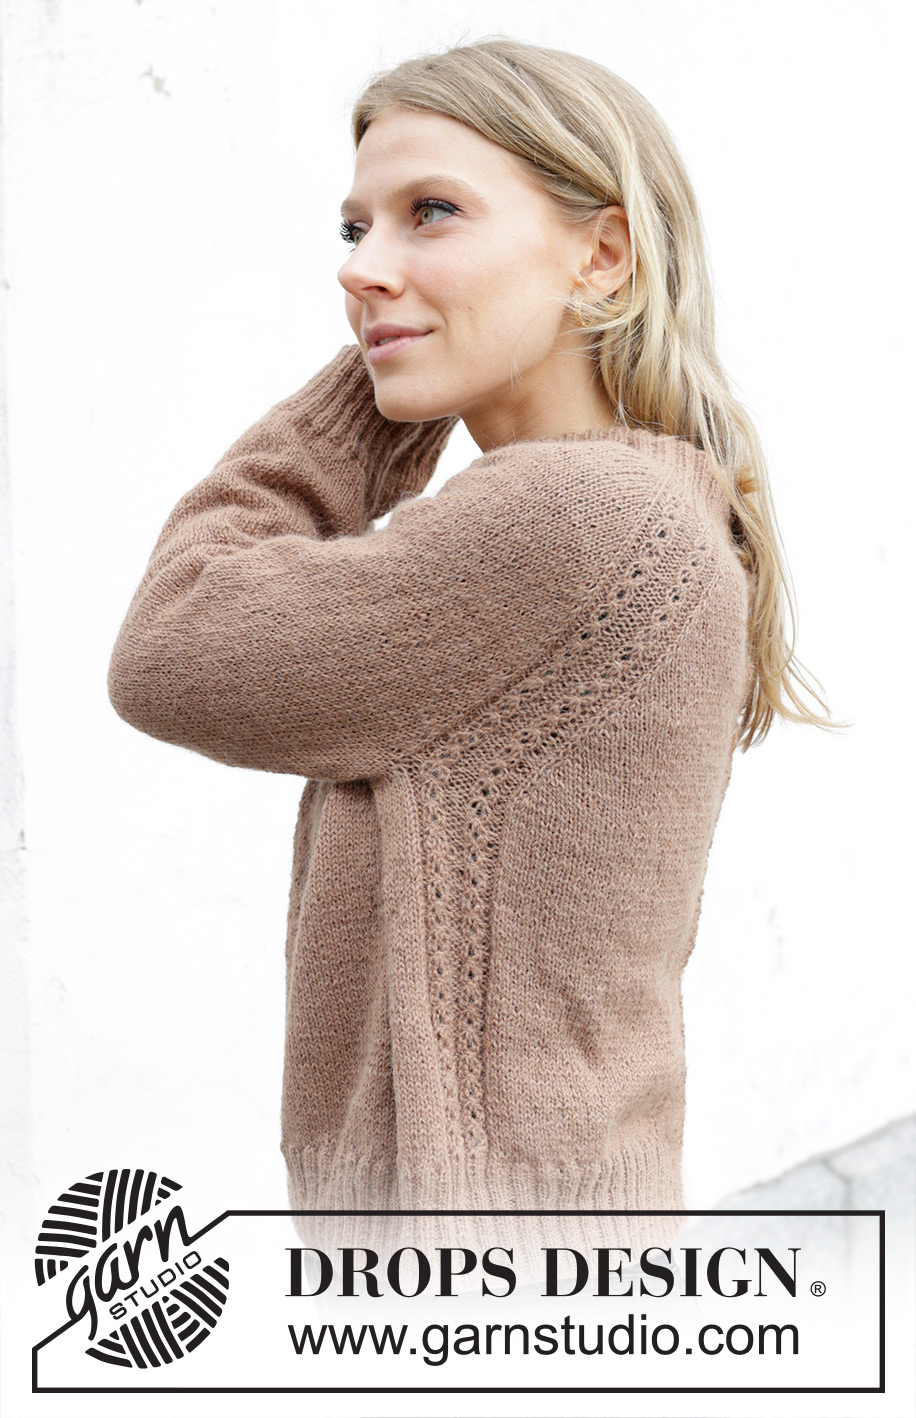
Spill the Beans Cardigan#spillthebeanscardigan |
|||||||||||||||||||
 |
 |
||||||||||||||||||
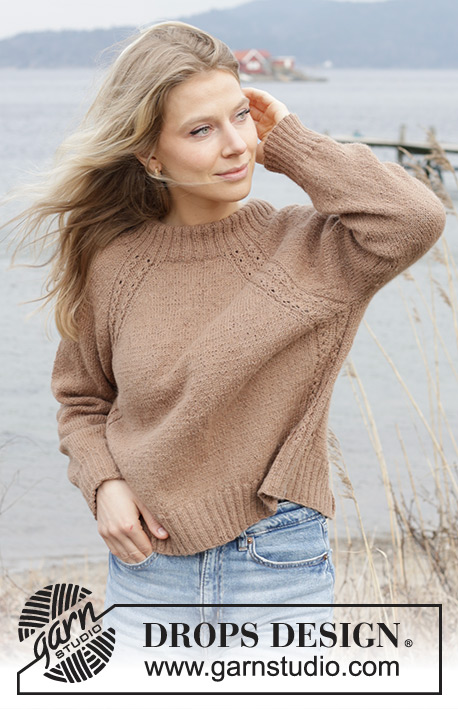
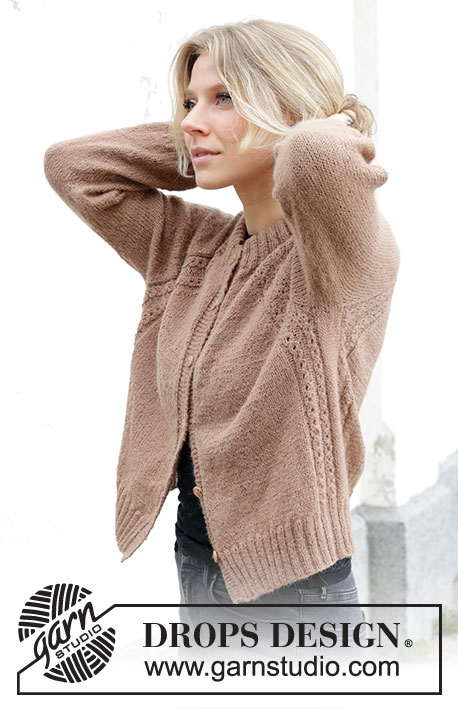
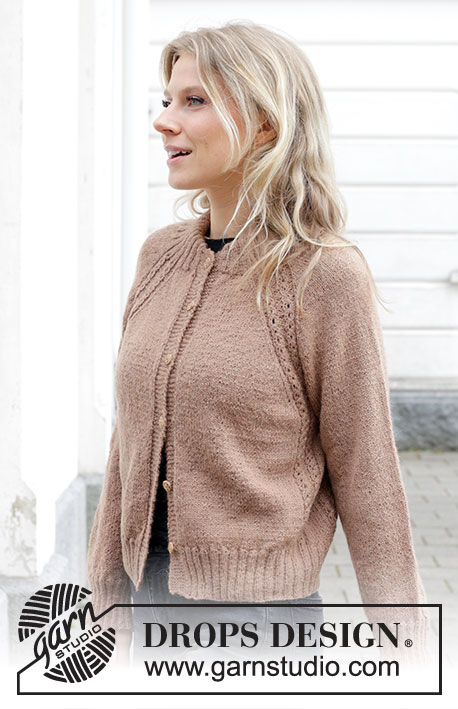
Knitted jacket in DROPS Alpaca. The piece is worked top down with double neck, raglan and cables. Sizes S - XXXL.
DROPS 244-6 |
|||||||||||||||||||
|
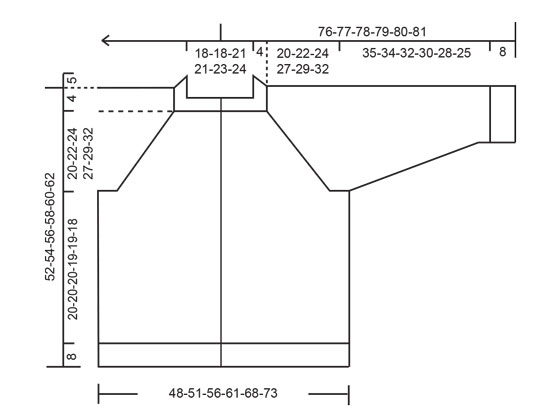
------------------------------------------------------- EXPLANATIONS FOR THE PATTERN: ------------------------------------------------------- GARTER STITCH (worked back and forth): Knit all rows. 1 ridge = knit 2 rows. PATTERN: See diagrams A.1 and A.2. The diagrams show all rows in the pattern from the right side. RAGLAN: Increase before/after A.2 in each transition between the body and sleeves. To start with increase on each side in each transition every 2nd row (8 stitches increased), then continue to increase on the front and back pieces every 2nd row and on the sleeves every 4th row, i.e., every 2nd increase is only on the body and not on the sleeves (4 stitches increased). Increase 1 stitch by making 1 yarn over, which is purled twisted on the next row to avoid holes. Work the new stitches in stocking stitch. DECREASE TIP (for sleeves): Decrease 1 stitch on either side of the marker-thread as follows: Work until there are 3 stitches left before the marker-thread, knit 2 together, knit 2 (marker-thread sits between these 2 stitches), slip 1 stitch knit-wise, knit 1 and pass the slipped stitch over the knitted stitch. BUTTONHOLES: Work buttonholes on the right band (when the garment is worn). Work from the right side when there are 4 stitches left on the row as follows: Make 1 yarn over, knit 2 together and knit 2. On the next row (wrong side), knit the yarn over to leave a hole. The first buttonhole is worked when the garter stitch on the front band stitches measures approx.. 2 cm. Then work the other 5-5-5-6-6-6 buttonholes with approx. 8½-9-9½-8-8½-9 cm between each one. ------------------------------------------------------- START THE PIECE HERE: ------------------------------------------------------- JACKET – SHORT OVERVIEW OF THE PIECE. The neck and yoke are worked back and forth with circular needle, from mid front and top down. The yoke is divided for body and sleeves and the body continued back and forth with circular needle. The sleeves are worked in the round with double pointed needles/short circular needle. DOUBLE NECK: Cast on 126-126-138-138-150-154 stitches with circular needle size 2.5 mm and DROPS Alpaca. Purl 1 row from the wrong side, then work rib as follows from the right side: * Knit 2, purl 2 *, work from *-* until there are 2 stitches left, knit 2. Continue this rib for 5 cm. On the next 2 rows, cast on 7 stitches at the end of each row (band stitches) = 140-140-152-152-164-168 stitches. Continue the rib with 7 band stitches in GARTER STITCH -see description above, on each side until the neck measures 10 cm and with the last row from the wrong side (rib will be later folded towards the wrong side, so that the neck edge is approx. 5 cm). Remember the BUTTONHOLES – read description above. Insert a marker inside one of the bands; the yoke is measured from here. YOKE: Change to circular needle size 3.5 mm and work as follows from the right side: 7 band stitches in garter stitch, 9-9-13-13-17-17 stitches in stocking stitch, A.1, 20 stitches in stocking stitch (sleeve), A.1, 20-20-24-24-28-32 stitches in stocking stitch (back piece), A.1, 20 stitches in stocking stitch (sleeve), A.1, 9-9-13-13-17-17 stitches in stocking stitch, 7 band stitches in garter stitch. 1 stitch has been increased in each repeat of A.1= 144-144-156-156-168-172 stitches. Work next row from the wrong side as follows: 7 band stitches in garter stitch, 9-9-13-13-17-17 stitches in stocking stitch, A.1, 20 stitches in stocking stitch (sleeve), A.1, 20-20-24-24-28-32 stitches in stocking stitch (back piece), A.1, 20 stitches in stocking stitch (sleeve), A.1, 9-9-13-13-17-17 stitches in stocking stitch, 7 band stitches in garter stitch. Read the next section before continuing! Read RAGLAN in the explanations above. Start to increase on the next row from the right side. Continue with stocking stitch, bands in garter stitch and work according to diagram A.2 over diagram A.1. REMEMBER THE KNITTING TENSION! Increase for raglan every 2nd row 22-22-26-30-30-31 times in each transition between the body and sleeves = 320-320-364-396-408-420 stitches. Continue to increase for raglan on the front and back pieces every 2nd row and every 4th row on the sleeves. Increase 8-12-10-12-16-20 times on the front and back pieces (4-6-5-6-8-10 times on the sleeves). A total of 30-34-36-42-46-51 times on the front and back pieces and 26-28-31-36-38-41 times on the sleeves. When the raglan-increases are finished there are 368-392-424-468-504-540 stitches. Continue working as before until the yoke measures 20-22-24-27-29-32 cm from the marker. On the next row from the right side, divide for the body and sleeves as follows: Work 7 band stitches in garter stitch, 39-43-49-55-63-68 stitches in stocking stitch, A.2, place the next 72-76-82-92-96-102 stitches on a thread for the sleeve, cast on 10-10-12-12-14-14 stitches (in side under sleeve), work A.2, 80-88-96-108-120-134 stitches in stocking stitch, A.2, place the next 72-76-82-92-96-102 stitches on a thread for the sleeve, cast on 10-10-12-12-14-14 stitches (in side under sleeve), work A.2, 39-43-49-55-63-68 stitches in stocking stitch, 7 band stitches in garter stitch Finish the body and sleeves separately, the piece is now measured from here! BODY: = 244-260-284-308-340-364 stitches. Continue with stocking stitch, pattern and the bands in garter stitch (the new stitches under each sleeve are worked in stocking stitch) for a further 20-20-20-19-19-18 cm – adjust so the last row worked is row 4 in diagram A.2. The next row is from the right side and there are 244-260-284-308-340-364 stitches. Insert a marker on each side of the 13 stitches in each A.2 - so it is easier to match the following rib to the pattern. Repeat only row 4 onwards, over the 13 stitches in A.2. Work as follows from the right side: 7 band stitches in garter stitch, stocking stitch over the next 39-43-49-55-63-68 stitches and increase 18-22-20-20-18-25 stitches evenly spaced over these stitches (57-65-69-75-81-93 stocking stitches), work A.2 over the next 13 stitches, stocking stitch over the next 10-10-12-12-14-14 stitches and increase 2-2-4-4-6-6 stitches evenly spaced over these stitches (12-12-16-16-20-20 stocking stitches), work A.2 over the next 13 stitches, stocking stitch over the next 80-88-96-108-120-134 stitches and increase 36-44-40-40-36-46 stitches evenly spaced over these stitches (116-132-136-148-156-180 stocking stitches), work A.2 over the next 13 stitches, stocking stitch over the next 10-10-12-12-14-14 stitches and increase 2-2-4-4-6-6 stitches evenly spaced over these stitches (12-12-16-16-20-20 stocking stitches), work A.2 over the next 13 stitches, stocking stitch over the next 39-43-49-55-63-68 stitches and increase 18-22-20-20-18-25 stitches evenly spaced over these stitches (57-65-69-75-81-93 stocking stitches), 7 band stitches in garter stitch. There are 320-352-372-396-424-472 stitches. Work as follows from the wrong side: 7 band stitches in garter stitch, 57-65-69-75-81-93 stitches in stocking stitch, A.2 over 13 stitches, 12-12-16-16-20-20 stitches in stocking stitch, A.2 over 13 stitches, 116-132-136-148-156-180 stitches in stocking stitch, A.2 over 13 stitches, 12-12-16-16-20-20 stitches in stocking stitch, A.2 over 13 stitches, 57-65-69-75-81-93 stitches in stocking stitch, 7 band stitches in garter stitch. Now work rib from the right side as follows: Switch to circular needle size 2,5 mm. Work 7 band stitches in garter stitch, * knit 2, purl 2 *, work from *-* to 1 stitch before the first marker, knit 1, work A.2 over 13 stitches, knit 1, purl 2, work from *-* until there is 1 stitch left before the next marker, knit 1, work A.2 over 13 stitches, knit 1, purl 2, work from *-* until there is 1 stitch left before the next marker, knit 1, work A.2 over 13 stitches, knit 1, purl 2, work from *-* until there is 1 stitch left before the next marker, knit 1, work A.2 over 13 stitches, knit 1, purl 2, work from *-* until there are 9 stitches left, knit 2, 7 band stitches in garter stitch. From the wrong side work garter stitch over garter stitch, knit over knit and purl over purl. Continue this rib for 8 cm. Loosely cast off with knit over knit and purl over purl. The jacket measures approx. 52-54-56-58-60-62 cm from the shoulder down. SLEEVES: Place the 72-76-82-92-96-102 stitches from the thread on the one side of the piece on short circular needle/double pointed needles size 3.5 mm and knit up 1 stitch in each of the 10-10-12-12-14-14 stitches cast on under the sleeve = 82-86-94-104-110-116 stitches. Insert a marker in the middle of the new stitches under the sleeve. Start at the marker and work stocking stitch in the round. When the sleeve measures 4-3-3-4-2-3 cm decrease 2 stitches mid under sleeve – read DECREASE TIP. Decrease like this every 3½-3½-2½-1½-1½-1 cm a total of 9-9-12-16-18-20 times = 64-68-70-72-74-76 stitches. Continue working until the sleeve measures 35-34-32-30-28-25 cm from the division. Knit 1 round and increase 20-16-18-20-22-20 stitches evenly spaced = 84-84-88-92-96-96 stitches. Change to double pointed needles size 2.5 mm and work rib (knit 2, purl 2) for 8 cm. Loosely cast off with knit over knit and purl over purl. The sleeve measures approx. 43-42-40-38-36-33 cm from the division. Work the other sleeve in the same way. ASSEMBLY: Fold the neck double to the inside and fasten with a couple of stitches on each side. Sew the buttons onto the left band. |
|||||||||||||||||||
Diagram explanations |
|||||||||||||||||||
|
|||||||||||||||||||
 |
|||||||||||||||||||
 |
|||||||||||||||||||
Have you finished this pattern?Tag your pictures with #dropspattern #spillthebeanscardigan or submit them to the #dropsfan gallery. Do you need help with this pattern?You'll find 31 tutorial videos, a Comments/Questions area and more by visiting the pattern on garnstudio.com. © 1982-2026 DROPS Design A/S. We reserve all rights. This document, including all its sub-sections, has copyrights. Read more about what you can do with our patterns at the bottom of each pattern on our site. |
|||||||||||||||||||


With over 40 years in knitting and crochet design, DROPS Design offers one of the most extensive collections of free patterns on the internet - translated to 17 languages. As of today we count 324 catalogues and 12290 patterns translated into English (UK/cm).
We work hard to bring you the best knitting and crochet have to offer, inspiration and advice as well as great quality yarns at incredible prices! Would you like to use our patterns for other than personal use? You can read what you are allowed to do in the Copyright text at the bottom of all our patterns. Happy crafting!
Post a comment to pattern DROPS 244-6
We would love to hear what you have to say about this pattern!
If you want to leave a question, please make sure you select the correct category in the form below, to speed up the answering process. Required fields are marked *.